When you have an 18th century-esque dress that looks like this:


It just begs for a hat. And who am I to deny the dress what it wants?
I began by looking for a base hat:
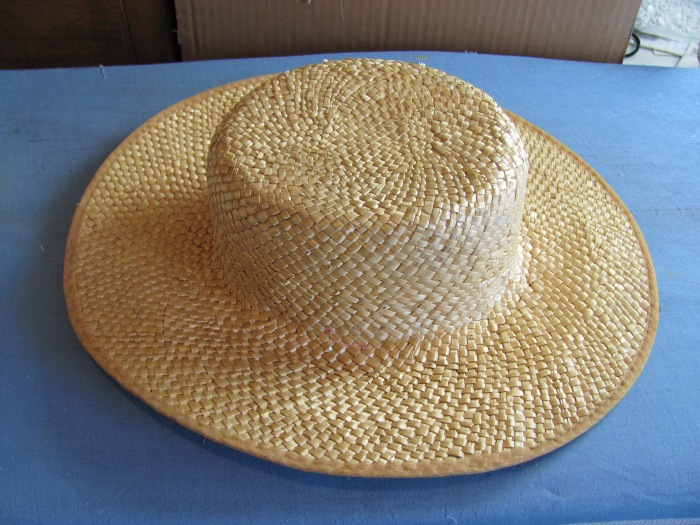
I would have preferred one with a flatter crown, but, I didn’t have one, and I didn’t feel like trying to alter this one smaller. A quick google search reassured me that while a flat crown is a good look, there are plenty of other hats with different shapes in the mix. Over-the-top decorations are probably just as important, and THAT I could do.
I had the leftover pieces from the unexpected Garden Party dress. I still had both sleeves, a good-sized piece of lace applique and the remnants of dress #2.


I wanted to cover the hat in cream fabric as I thought the dress called for something more formal than straw. I found this dress:

This dress had appeal because it offered a source of lace and trim, and the lining was a lightweight knit . . so no fray material, with a bit of a stretch, which is always a plus.
I traced the hat to make a pattern:
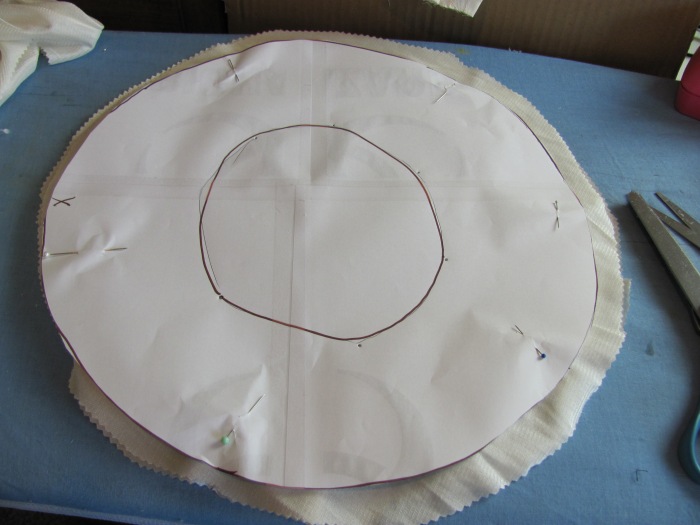
I marked a point on the pattern to match with the hat later on (see the X). I cut out two circles, and then I sewed them together while still pinned to the pattern, since my seam allowance wasn’t very even. After clipping the curves, I cut some wedges into the center, and slipped it over the hat.
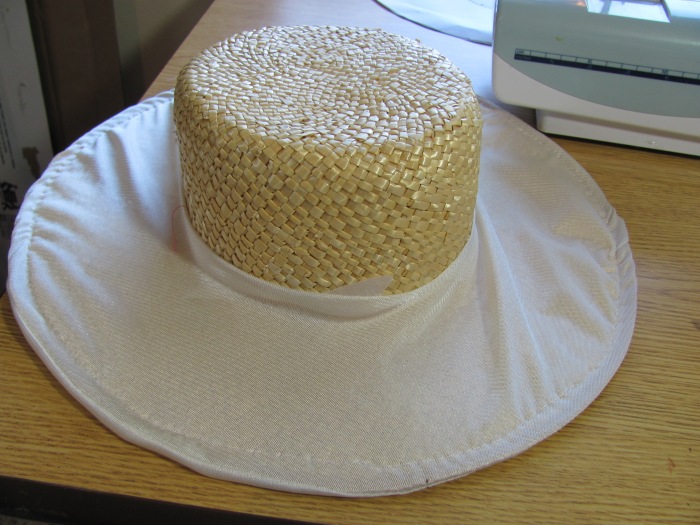
I stitched the fabric in place . . it pulled a bit, but I wasn’t concerned about that.
I enlarged the slits on the inside and hot glued the wedges to the inside of the crown.

I decided that I would like a ruffle around the brim. I measured the width, and then added a bit, plus a seam allowance for gathering, and cut a continuous strip off the bottom of the dress.


A single row of gathering thread was enough to do the job.

I cut a piece of the lining fabric and glued it to the top of the hat. I trimmed the edge as I went, gluing the excess in pleats.

I cut the waist yoke off Dress #2 along with 3″ of the micro pleats. I messed with this until I liked it around the crown, securing it with pins as I went. I used a safety pin to secure it in the back, and ran some hot glue around the top.

After that, I just messed around with the pleats to create a look that I liked. I added some cream satin fabric flowers.

And the leftover lace appliques.

Eventually I folded up the brim on one side and secured it with a few stitches. I added a third flower (I like odd numbers better) and a feather.
I pinned some ribbon ties to the inside. This way if you just want to pin the hat to your head you could, or, if you thought the hat was more flattering a different direction you could adjust the ties to your preference.

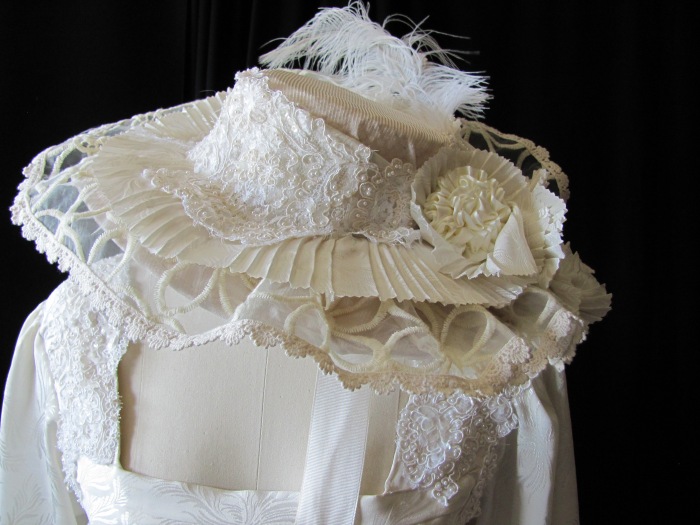
The finished hat:


The outfit all together:
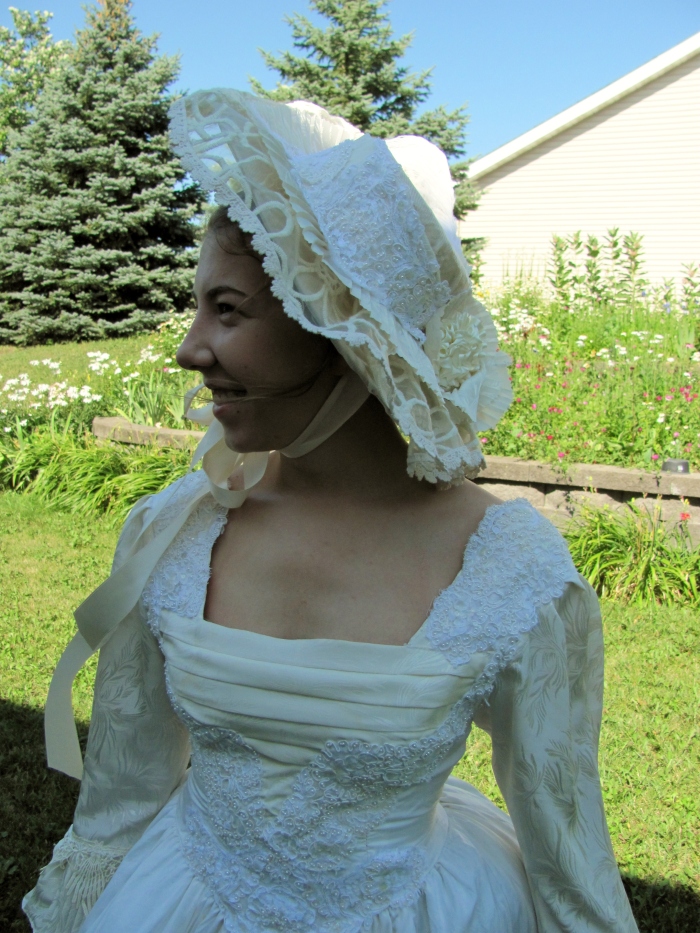


Now . . . what should I do with those leftover SLEEVES?????
Here is the companion youtube video post.


The hat is quite a transformation!!
LikeLike
A plain straw hat makes a great base, it isn’t about what is on the bottom . . . . 🙂
LikeLike
LOVE the hat! With the sleeves– naturally, a reticule!
LikeLike
A reticule would be the perfect addition!
LikeLike
Today I needed to face creating a hat for Truly Scrumpcious for our upcoming production of Chitty Chitty Bang Bang. The supplies have been sitting on my floor staring at me all week, leaving me completely uninspired. I remembered this post and came back for ideas. Just what I needed! I had already cut down the brim of my $4 Wal-Mart sun hat. I used the concept you showed of covering the base hat with fabric before decorating with flowers and chiffon. It turned out great! I wish I knew how to upload a picture!
LikeLike
I don’t think wordpress lets you upload a picture comment, which is a bummer. If you want to share, you can upload one to the Facebook “Costumecrazed” page.
LikeLike