In the Broadway Version of “Cinderella”, Ella has to ditch her traditional Disney-blue gown for white. There really isn’t any way to get around this. When Marie asks about going to the Ball, Ella replies she dreams of a white gown, done up with pearls. There are other references to the color of her dress, as well as mentioning that the Prince also wears white. So, white it is. If you want to upcycle, one great advantage is that there are a ton of old white wedding and Prom dresses out there from which to pick, either as the entire costume, or from which to scavenge fabric, trim and other goodies.\
Where to start:
One of the first considerations is the transformation into the Ball gown. How this will occur, the lighting, and resources available to you will influence much of the decision-making from this point forward. My previous post discussed our blue transformation outfit.
Along with that, you need to decide if the Ball gown under the transformation outfit is going to be THE Ball gown, and if not, how you plan to upgrade it, and when. If you closely watch the Broadway videos, Ella transforms into a simple dress and then twirls off-stage and comes back with a bigger “more” skirt. This is easiest to see in the Keke Palmer video because of the angle and she doesn’t quite get it on right. You can also easily add “more” between she leaves for the Ball, and when she arrives because you have the whole “Gavotte” scene. Even the addition of a petticoat can make a huge difference. The whole transformation scene happens so fast, and she gets in her carriage so quickly, that basically no one in the audience memorizes her costume. Besides which, this is Fairytale land . . . maybe her gown continued to grow on the trip to the Palace, lol.
Obviously, you do want Ella’s dress to fit in with the other Ball gowns. It is OK for it to be of a simpler, less garish style, because it is her simple goodness and kindness that attract the Prince. However, she still need to be “Cinderella” and fit in, especially with the Cinderella Waltz dancers.
Our Dress:
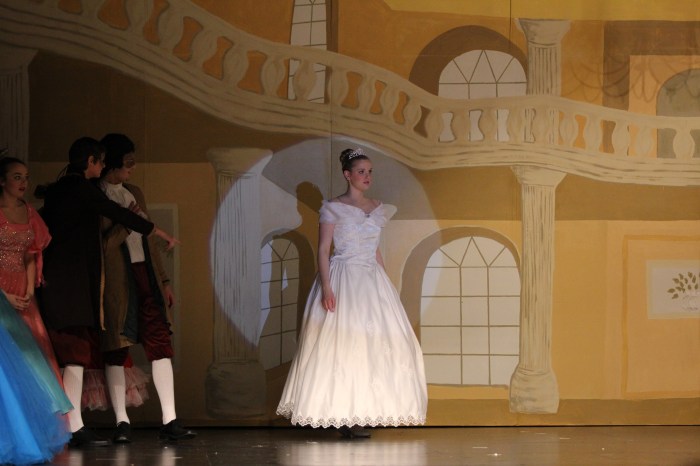
This is our transformation Ball gown, the left is an early version and the right is the final version.


The costume was made by my friend. She chose to make a two piece outfit. The fabric was purchased from Fashion Fabrics Club. When we began this project I really had no idea how much fabric we would need, so I purchased a 15 yard bolt of white bridal satin, a yard of the white eversong brocade ($9.95/yd) and 2 yards of the white sparkle organza ($4.95/yd). Eventually I ordered 3 more yards of the organza. The bodice is fitted and boned, with a center front dipped waist-line. Originally it closed with a row of hook and eye fasteners in the back. This was later changed out for a separating zipper. The shoulder drape is of organza. The skirt is made of satin with an organza overskirt. The hem of the organza is finished with heavy fishing wire. The hem of the overskirt and underskirt are tacked together at intervals and are weighted with washers/drapery weights.
The skirt is two widths of fabric and is attached to the waistband. Eventually, the waist was pleated, and some of the pleats were sewn like darts for shaping and to eliminate bulk around the waist. This kept the hem straight, which made it very easy to hem.
The dress was very pretty. If the skirt had been a little fuller, that might have helped with the transformation as it would have dropped a little easier. Initially we did have some problems with the skirt dropping, although it may have had more to do with the design of the transformation bodice (no side slits) than the white skirt. The addition of weights to the bottom definitely helped with the drop of the skirt. If you do the twirling transformation, stopping is also important. If your skirt isn’t dropping, maybe the cast member needs to stop moving.
So . . the fabric I chose, I love the Bridal Satin by the bolt that FFC sells. It is a really nice weight. It sews nicely, it washed nicely, and the price is quite reasonable. However, for a transforming costume, bulk is an issue. A lighter weight fabric would certainly have packed into a smaller space. However, that would mean sacrificing drape and shape. The fabric also needs to be thick enough that you can’t see the transforming costume underneath. Dilemmas dilemmas . . . I don’t know the right answer. I would have liked this dress to have a bit more “bling”. It could have had crystals glued on, but that could have gotten pricey and taken forever. Possibly some white sequin fabric? I try to avoid glitter fabrics that shed to keep my theater-guy on my good side. Mesh fabric condenses pretty well, but, if you are like me, and you don’t have access to many specialty fabrics locally, mail order options can be hard because you can’t actually see and feel the fabric.
Then comes the question of layers and trim. Anything you add: horsehair braid, lace, sequins, ruffles, etc, all add to the bulk of the skirt. This really is a balancing act between what the outer layer of the transformation costume looks like, and how much “more” your Ella Ball gown can have.
Some thoughts:
The way our transforming costume was designed, a two-piece dress was definitely the way to go. This later allowed us to upgrade the skirt.
The weight of the fabric needs to be considered.
A gored skirt would probably have been helpful–but not too gored, since it has to pack away.
Adding weights to the hem helped the skirt to drop.
A separating zipper in the back of the bodice made for easy on-and-off.
Design:
Our Ella Ball gown was very simple. The idea was that her simple goodness, kindness and grace was what set Ella apart from the other women at the Ball.
Our Upgrade skirt:
The more we watched the dress rehearsals of Cinderella’s Waltz, especially once we added the Petticoats, our Ella costume was not fitting in. Despite the fact she and the Prince were center stage, her dress just didn’t swing enough, and while she could just fit a hoop under it, it just looked a little too much like something that one of the Stepsisters would give her to wear.
So . . . we needed to upgrade. We DID have enough of the original satin to make another skirt, but we did not have any more of the nice quality organza. I did have a bolt of el-cheapo organza, but, it had a much brasher look. Time was of the essence since it was the weekend before the show, AND, I had been fighting an energy-sucking virus. I could do something for an hour, and then rest for a couple of hours. So . . . I took the easy way out and decided to make a “good enough” skirt by upcycling a wedding dress and just accept it wouldn’t really match. Truth be told–most people couldn’t tell. I heard more than one person asking “Was she wearing the same dress at the Ball as she did earlier?”. I thought it was GLARINGLY obvious, but apparently not. Again . . . . few people in the audience had time to memorize the transformation Ball gown. By keeping the same bodice, and by upgrading the skirt but not changing the basic silhoutte too much, magic happened.
I have a stash of old wedding dresses, mostly because I can’t bear to leave them hanging behind in a thrift store when they are dirt cheap. I had also known I would need some for the Wedding Scene, so I had picked up a few extra along the way (I always like an excuse). It is on my bucket list to do more dying experiments and work on ways to upcycle them to justify their existence in my life . . . but that will be in the future, so back to the project at hand.
I began with this wedding dress:


I will say at the outset that I did not do a good job documenting this upcycle. It was late in the evening, I was sick, and pictures just didn’t happen. This was a sleeveless, slightly drop waist dress that I had purchased several years ago. You can see the date I bought it, and then the “W” which means “washed” on the tag. I picked this because the skirt was full, fairly plain, AND the white matched the white of the bodice that we already had. The skirt had a zip back and a train (I unfortunately, didn’t take a picture of the back). It had a lace and sequin detail hem, the skirt had scattered emblellishements, and the center back of the train had more lace/sequin detailing.
The first thing I did was remove the skirt from the bodice.
The front had that little dip, and I didn’t want to mess with that, so I sewed a piece of waste fabric in the space to hold it. This would work out fine, because our bodice had a dip in the front. Is there an official name for that design feature?
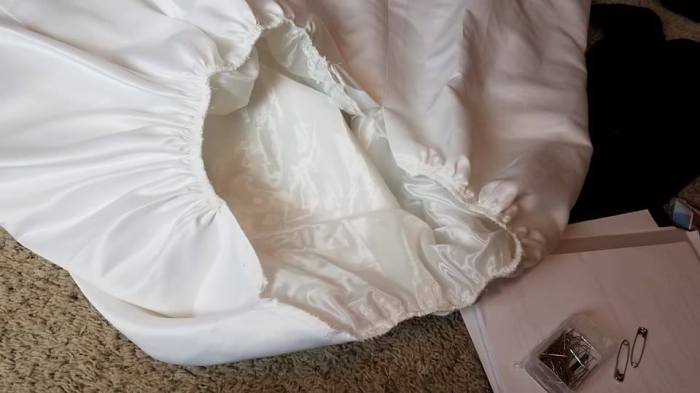
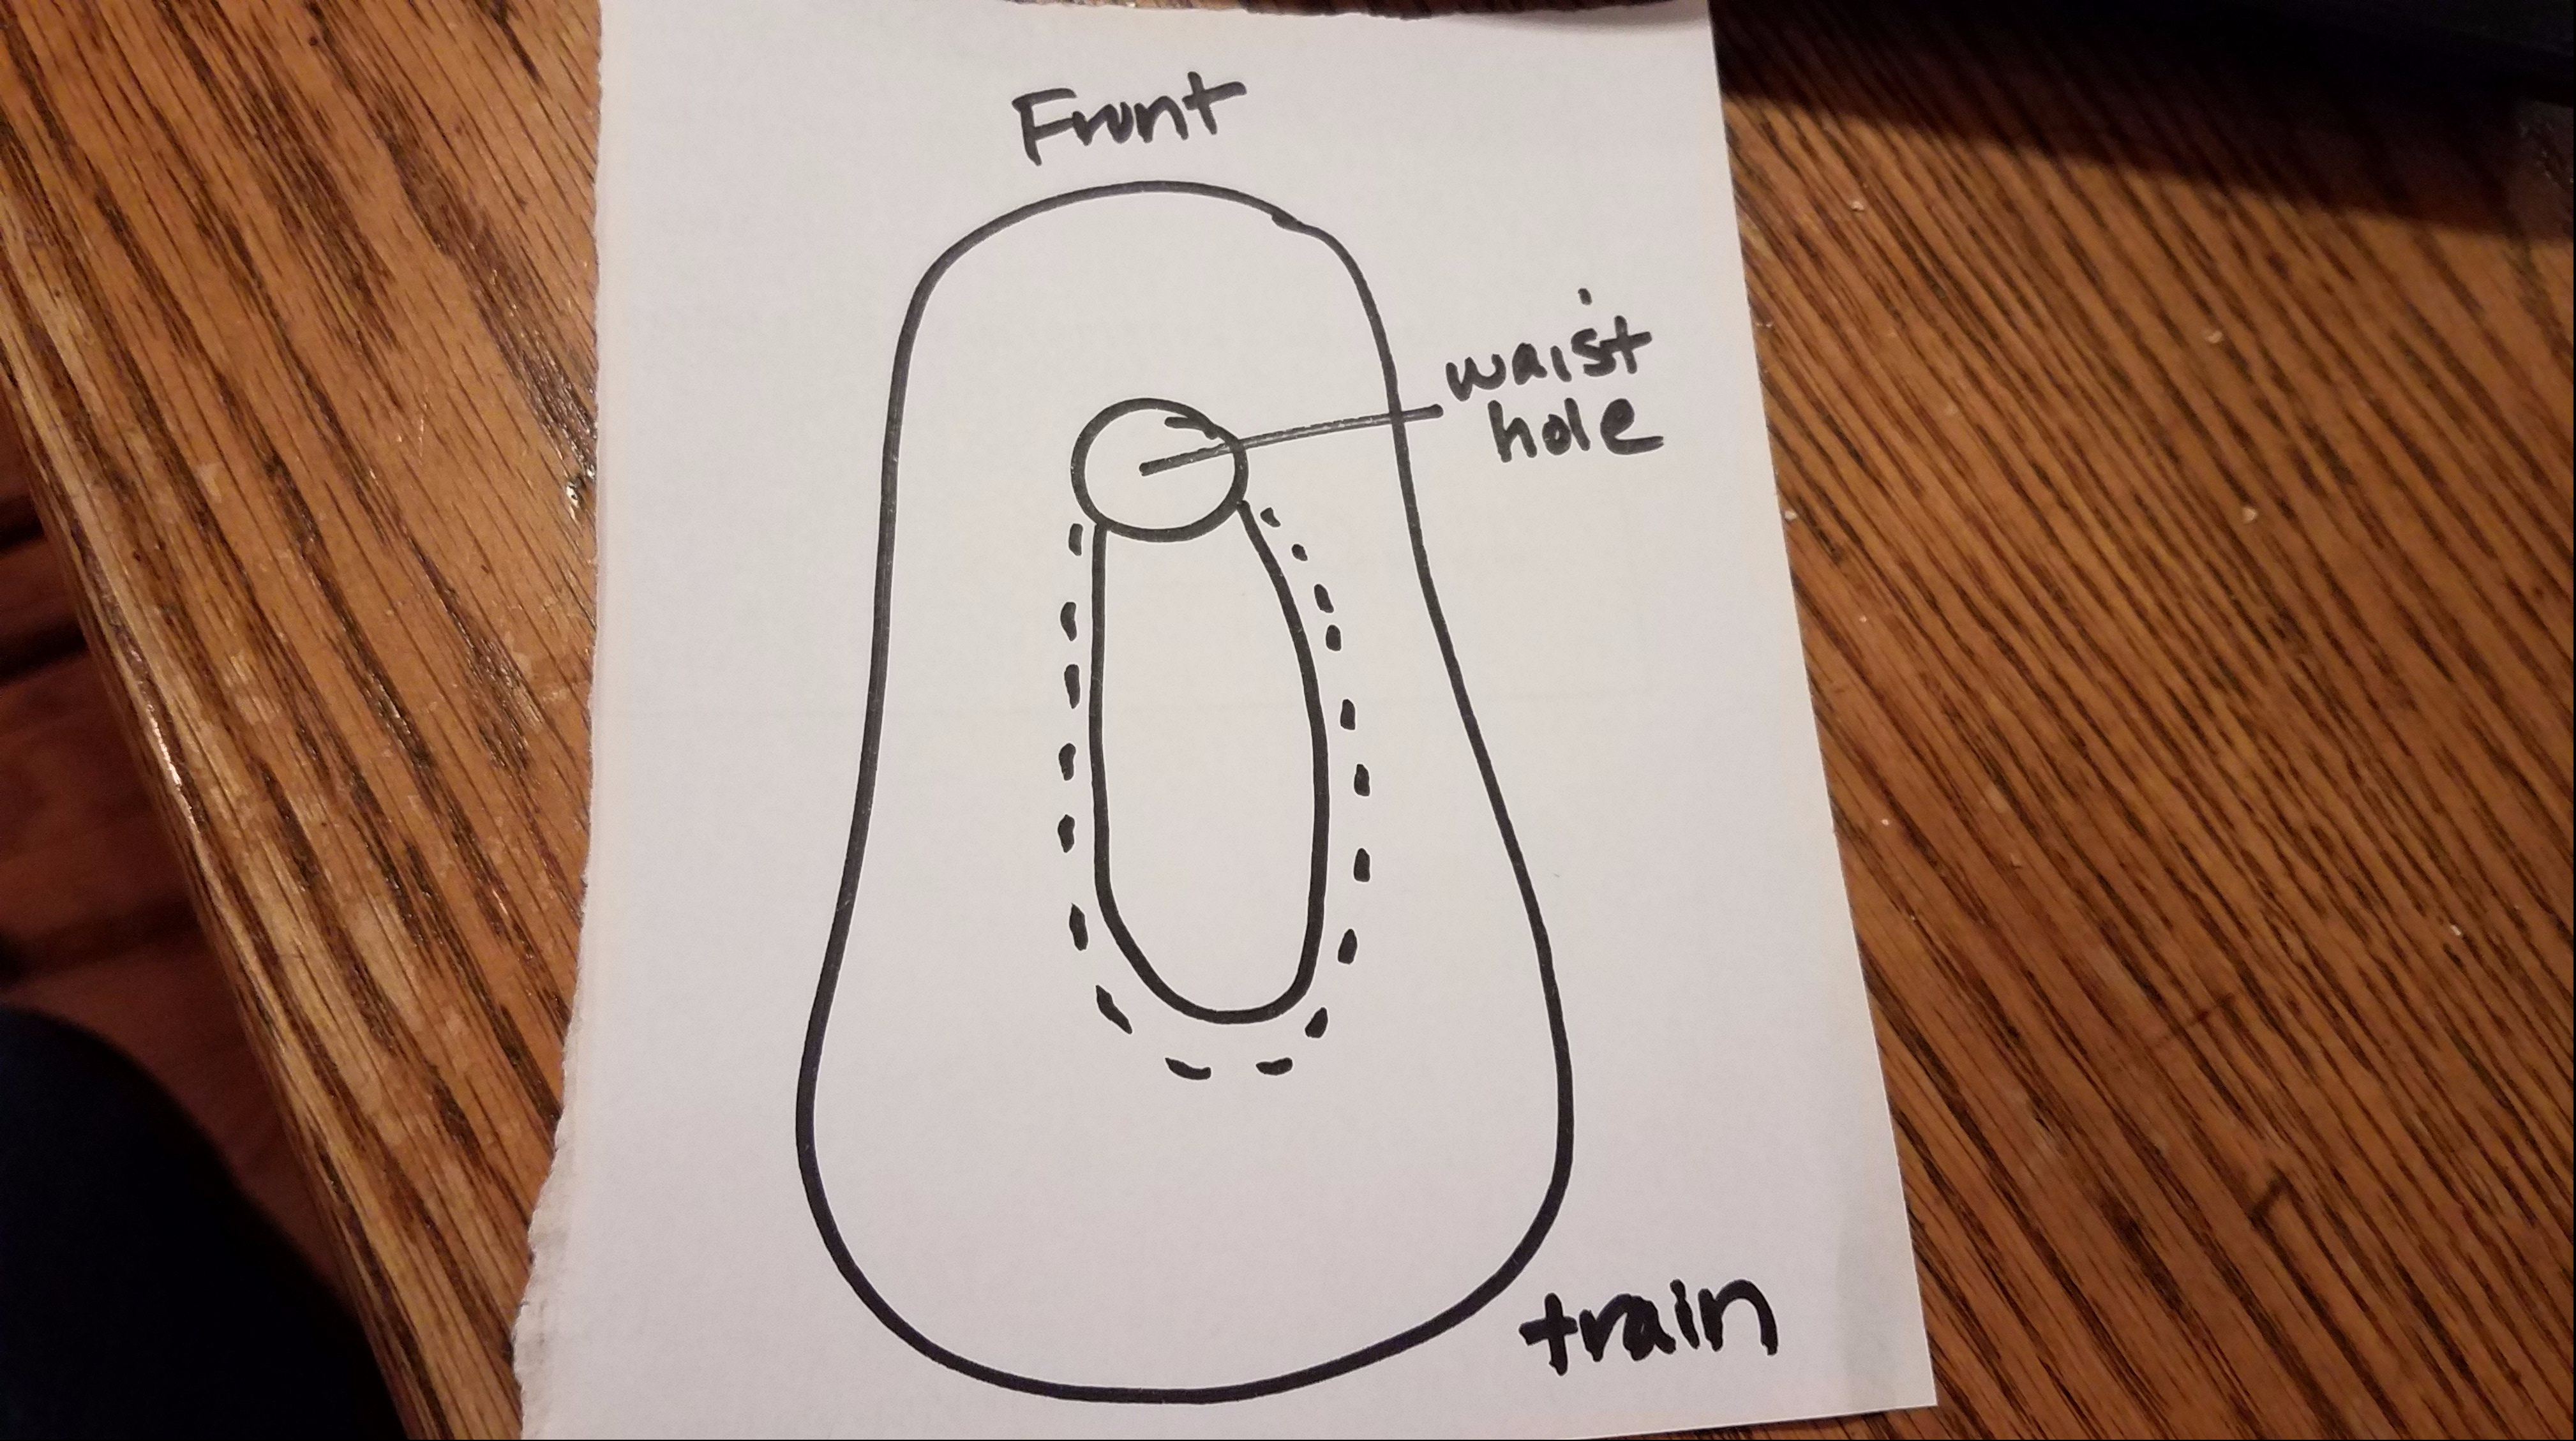
The next part was sort of an “Oh-Whatever-it-will-be-good-enough-my-brain-is-fried” solution. The wedding dress had a train, and I didn’t want the train in the back for tripping purposes during the dancing. The dress had really nice lace trim on the hem, and I wanted to keep that as well as all of the fullness from the train. I had the bright idea to just measure around the skirt the same distance from the edge of the dress and cut out that “hole” and then pleat/gather that all in to the waistband. Think: permanent bustling with the top part removed. This was complicated a bit because the dress had a lining, which I wanted to keep. The lining ended at the floor and did not extend to the train. So, I separated the lining from the wedding dress, recut the wedding dress, made a waistband, and figured I’d just sew it back together.
Cutting the chunk out of the back of the dress–looks like a disaster doesn’t it?

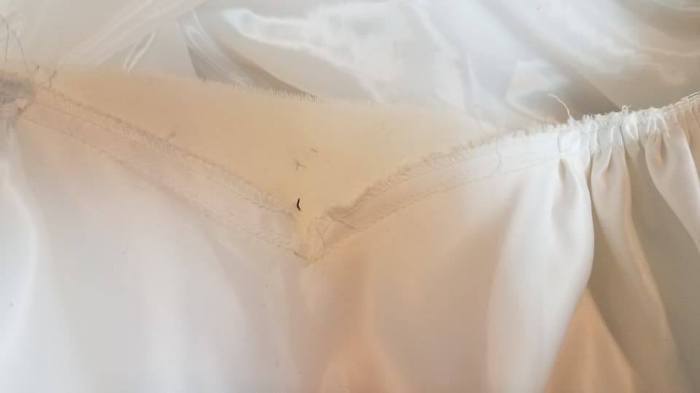
This was also complicated because the wedding dress had some pretty lace and sequin appliques on the train which I wanted to keep in the center back. This led to some creative pleating and gathering to make it work. I will be honest and say it didn’t hang well to begin with, and, I wasn’t as careful in my hole-cutting measurements as I should have been. The dress is not even on the bottom. I also did some creative tucking and tacking to make the back hang straight and look pretty. For a costume . . not bad, but, my technique could have used some refinement. As you can imagine, in a few places the grain-line of the fabric was a little off-kilter.
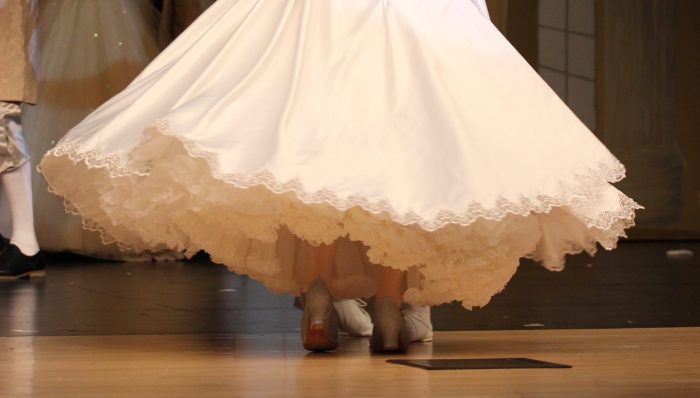
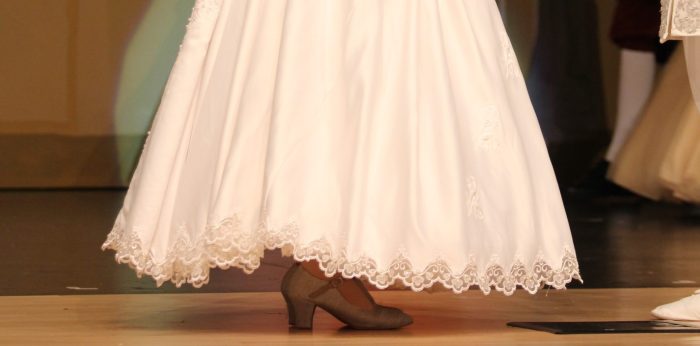 However, most of the added fullness did end up in the back, which made the initial silhouette impression when she arrives at the Ball quite similar to the original dress (reference the two pictures as the top of the post).
Back fullness:


Fairly narrow front:


When we upgraded the skirt, we also needed to upgrade her petticoats, especially for the Cinderella Waltz sequence. Unfortunately, I did not have any more of the petticoats that I had used for the Cinderella Waltz chorus members on had, and didn’t have enough time to order any more. So, I used what I could find at school.
I made her under-the-hoop petticoat out of an old slightly off-white square dance petticoat. I cut the elastic off, and stitched it to the bottom of an old white skirt. The girls called this the “mermaid petticoat”. It could easily be recycled into a square dance petticoat again.

Then, I embellished her hoop. I had a roll of petticoat chiffon I had never used. It was probably either 60 or 90 yards. I ran this through the pleater and then added pre-gathered lace to the edge of the pleats. I then sewed this around and around the lower edge of the hoop. I was ready to shoot myself by the time I was done. I also added some elastic to the top of the hoop to make it fit better. This is a super cheap hoop. If you are going to upgrade them I would recommend taking the hoop steel out and re-stitching all of the casings before you begin. Quite a few of ours needed a little work by the time we were done with our production. The velcro was also pretty bad, and so we replace quite a bit of it along the way. Drawstrings are great, just be sure to stitch or pin them in the center front, otherwise they will quickly be pulled out. (This was a lesson I learned the hard way in “Beauty and the Beast” when they pulled the string out of Belle’s hoop right before the big dance scene).


This looked pretty good on stage:


Changing Costumes:
This is not a quick-change. There is plenty of time to get her changed during the “Gavotte” sequence. It still is easiest to do it with the help of her dressers.
Ella comes off stage. Her helpers are waiting. They unfasten the back of the white transformation skirt. They remove it, and then remove the blue transformation bodice, the blue transformation skirt and her petticoat. (She should have her bloomers on, we forgot them–it had been several weeks since the show when we did these photos).


She steps into her mermaid petticoat. This goes UNDER the hoop.


She puts on her hoop.

She puts on her bum pad. Note how one helper has her skirt prepped with her hands in the waist opening and a second helper is prepped to “catch” the skirt. This helps to keep her hair nice and avoid catching on the tiara.


She puts on her upgrade skirt (note she has flipped up the front of the bodice).


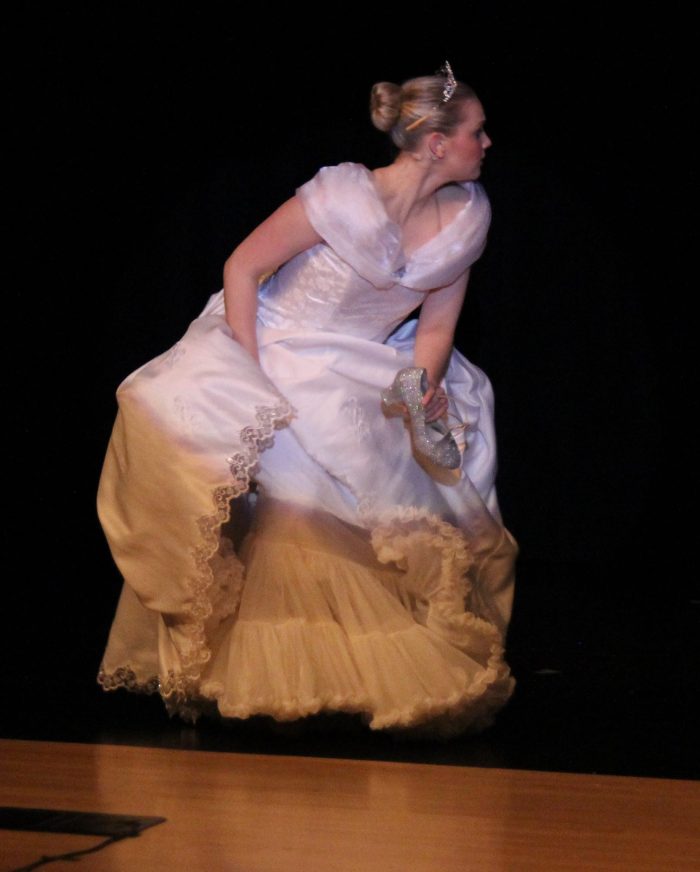
Her skirt is fastened and adjusted. She would also have changed her shoes from the slip in glass slippers to her HTV covered character shoes.


And . . she is ready to head out to the Ball.