This post is a continuation of my pre-show costume/pattern concept exploration. My last post reviewed the pattern testing of the Black Snail #0816 Edwardian Blouse pattern. If you read the post, you’ll recall that I constructed the blouse (for the most part) as the pattern directed out of flat fabric. My next step was to try and explore some upcycle possibilities to cut down on time and hopefully, utilize some of the pre-existing design features found in a modern ready-to-wear men’s shirt.
I began by finding a man’s shirt from my stash. As a rule, the larger the shirt the better. Most thrift stores sell men’s shirts for one price, so go for the larger ones if you can since you get more fabric. The process began with deconstruction. I started with the collar and picked out the stitches on either end of the neck band, and then pulled/ripped the rest of the collar off.

The second picture shows one of the ends of the band. DO take the time to rip the stitching out of these with a tool before “tearing” the rest. I know I should do this . . but sometimes I get lazy. The first shirt I chose I only un-picked the first end and when I just ripped the rest of the collar off, I got to the other end and the path of least resistance was the fabric of the shirt. Sigh. So instead of tearing the collar off, the fabric tore down the front button placket. So . . . .I picked a different shirt and our project is blue instead of peach.
Next, I carefully cut the sleeves out along the shoulder seam. I have found that it is not worth my time to un-pick the sleeve stitching. Typically the sleeves have a double line of stitching, or serging, and the tiny amount of fabric that is gained isn’t worth the time.

It is easiest to work with a flat piece of fabric, so next I cut along the shoulder seams and then lay the shirt out flat, folded in half along the center back, carefully lining up the buttons/buttonholes.


I messed around the the pattern pieces, and ended up laying the blouse back along the center front button line to take advantage of the buttons, and the blouse front along the back fold. I was planning to make the peplum version, so I’ve folded it up on the back piece in this picture and obviously, the front pattern is hanging off the shirt. In the end, I only cut the front peplum and left the back as a solid piece.


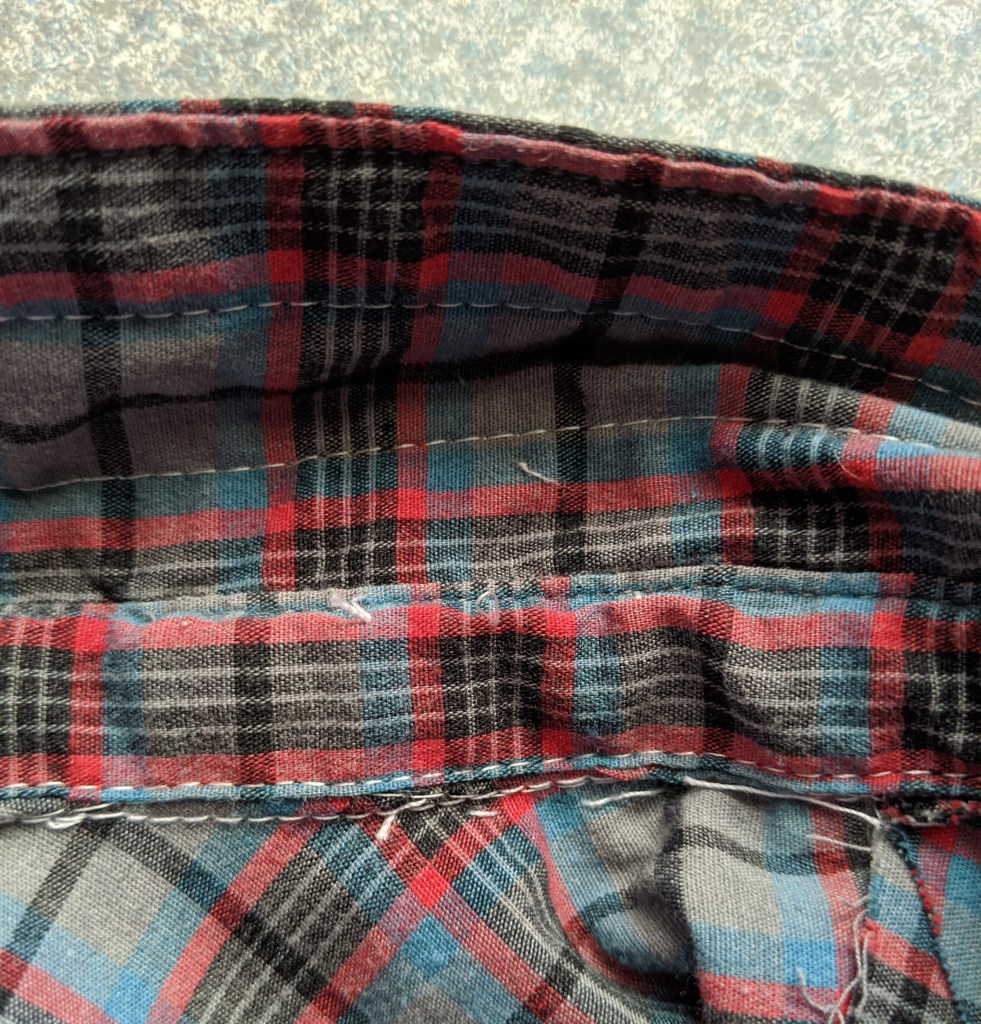
At this point, I cut the back yoke off the shirt. A man’s shirt typically has a self-fabric lined back yoke–so this can be a source of fabric, so I cut the lower shirt and NOT the yoke. The top edge of the shirt back is curved, and often has a box pleat in the center. Just something to be aware of if you assume that will be a straight line. It doesn’t affect this project, since we are using a pattern.
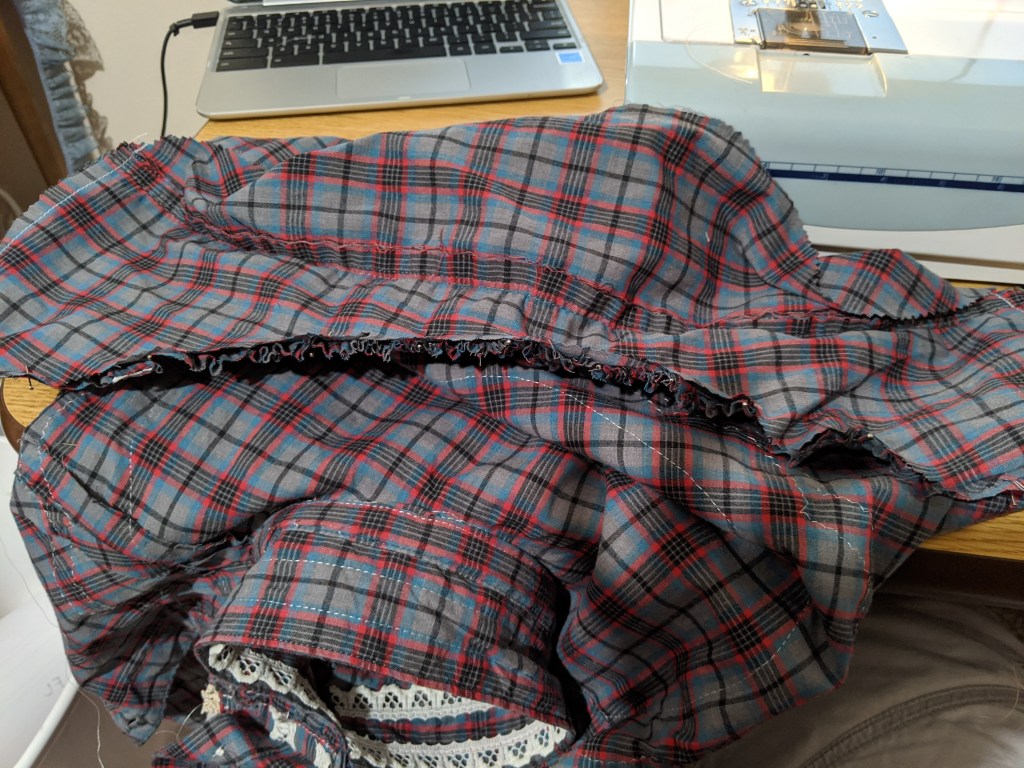
I was able to get the peplum cut out of the remaining shirt largely by utilizing the opened-up yoke. I used scraps to splice in the rest.


I was planning this blouse would be tucked in. Another time, I would just cut the peplum out of some coordinating scrap fabric. I think t-shirt knit would work. I was hoping that using the peplum would decrease some of the bulkiness of the blouse that I didn’t like when I made the pink blouse (although tucking the blouse inside the petticoat helped smooth things out). This was a lot of monkey-ing around and I’m not sure the time was worth the outcome.
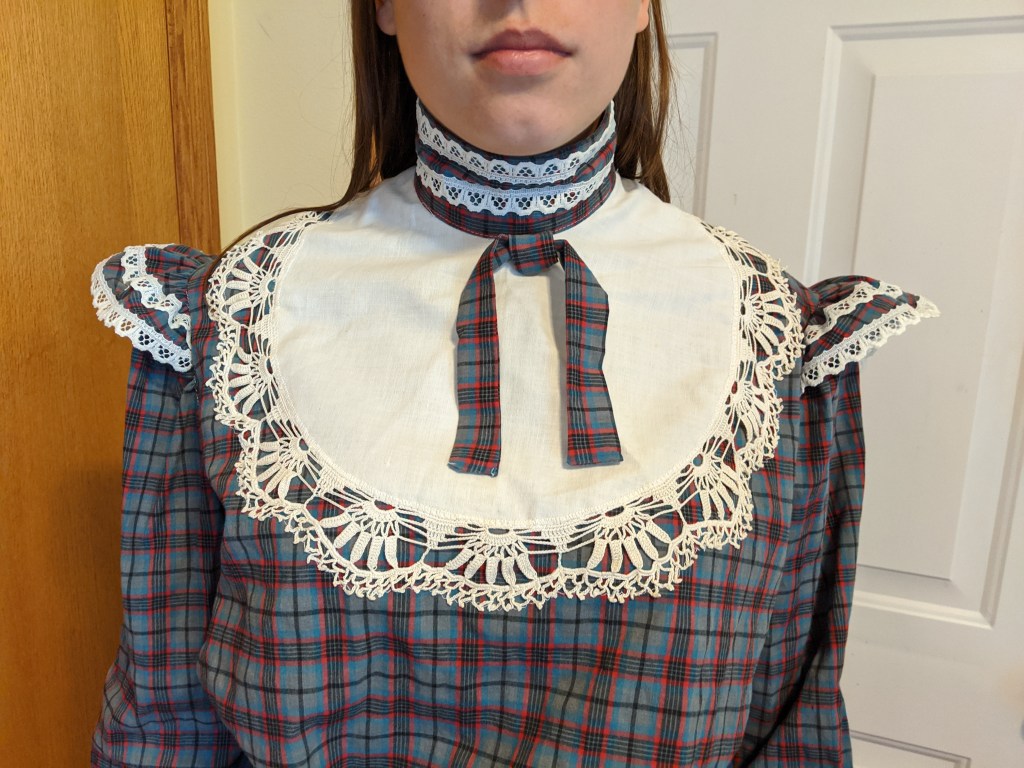
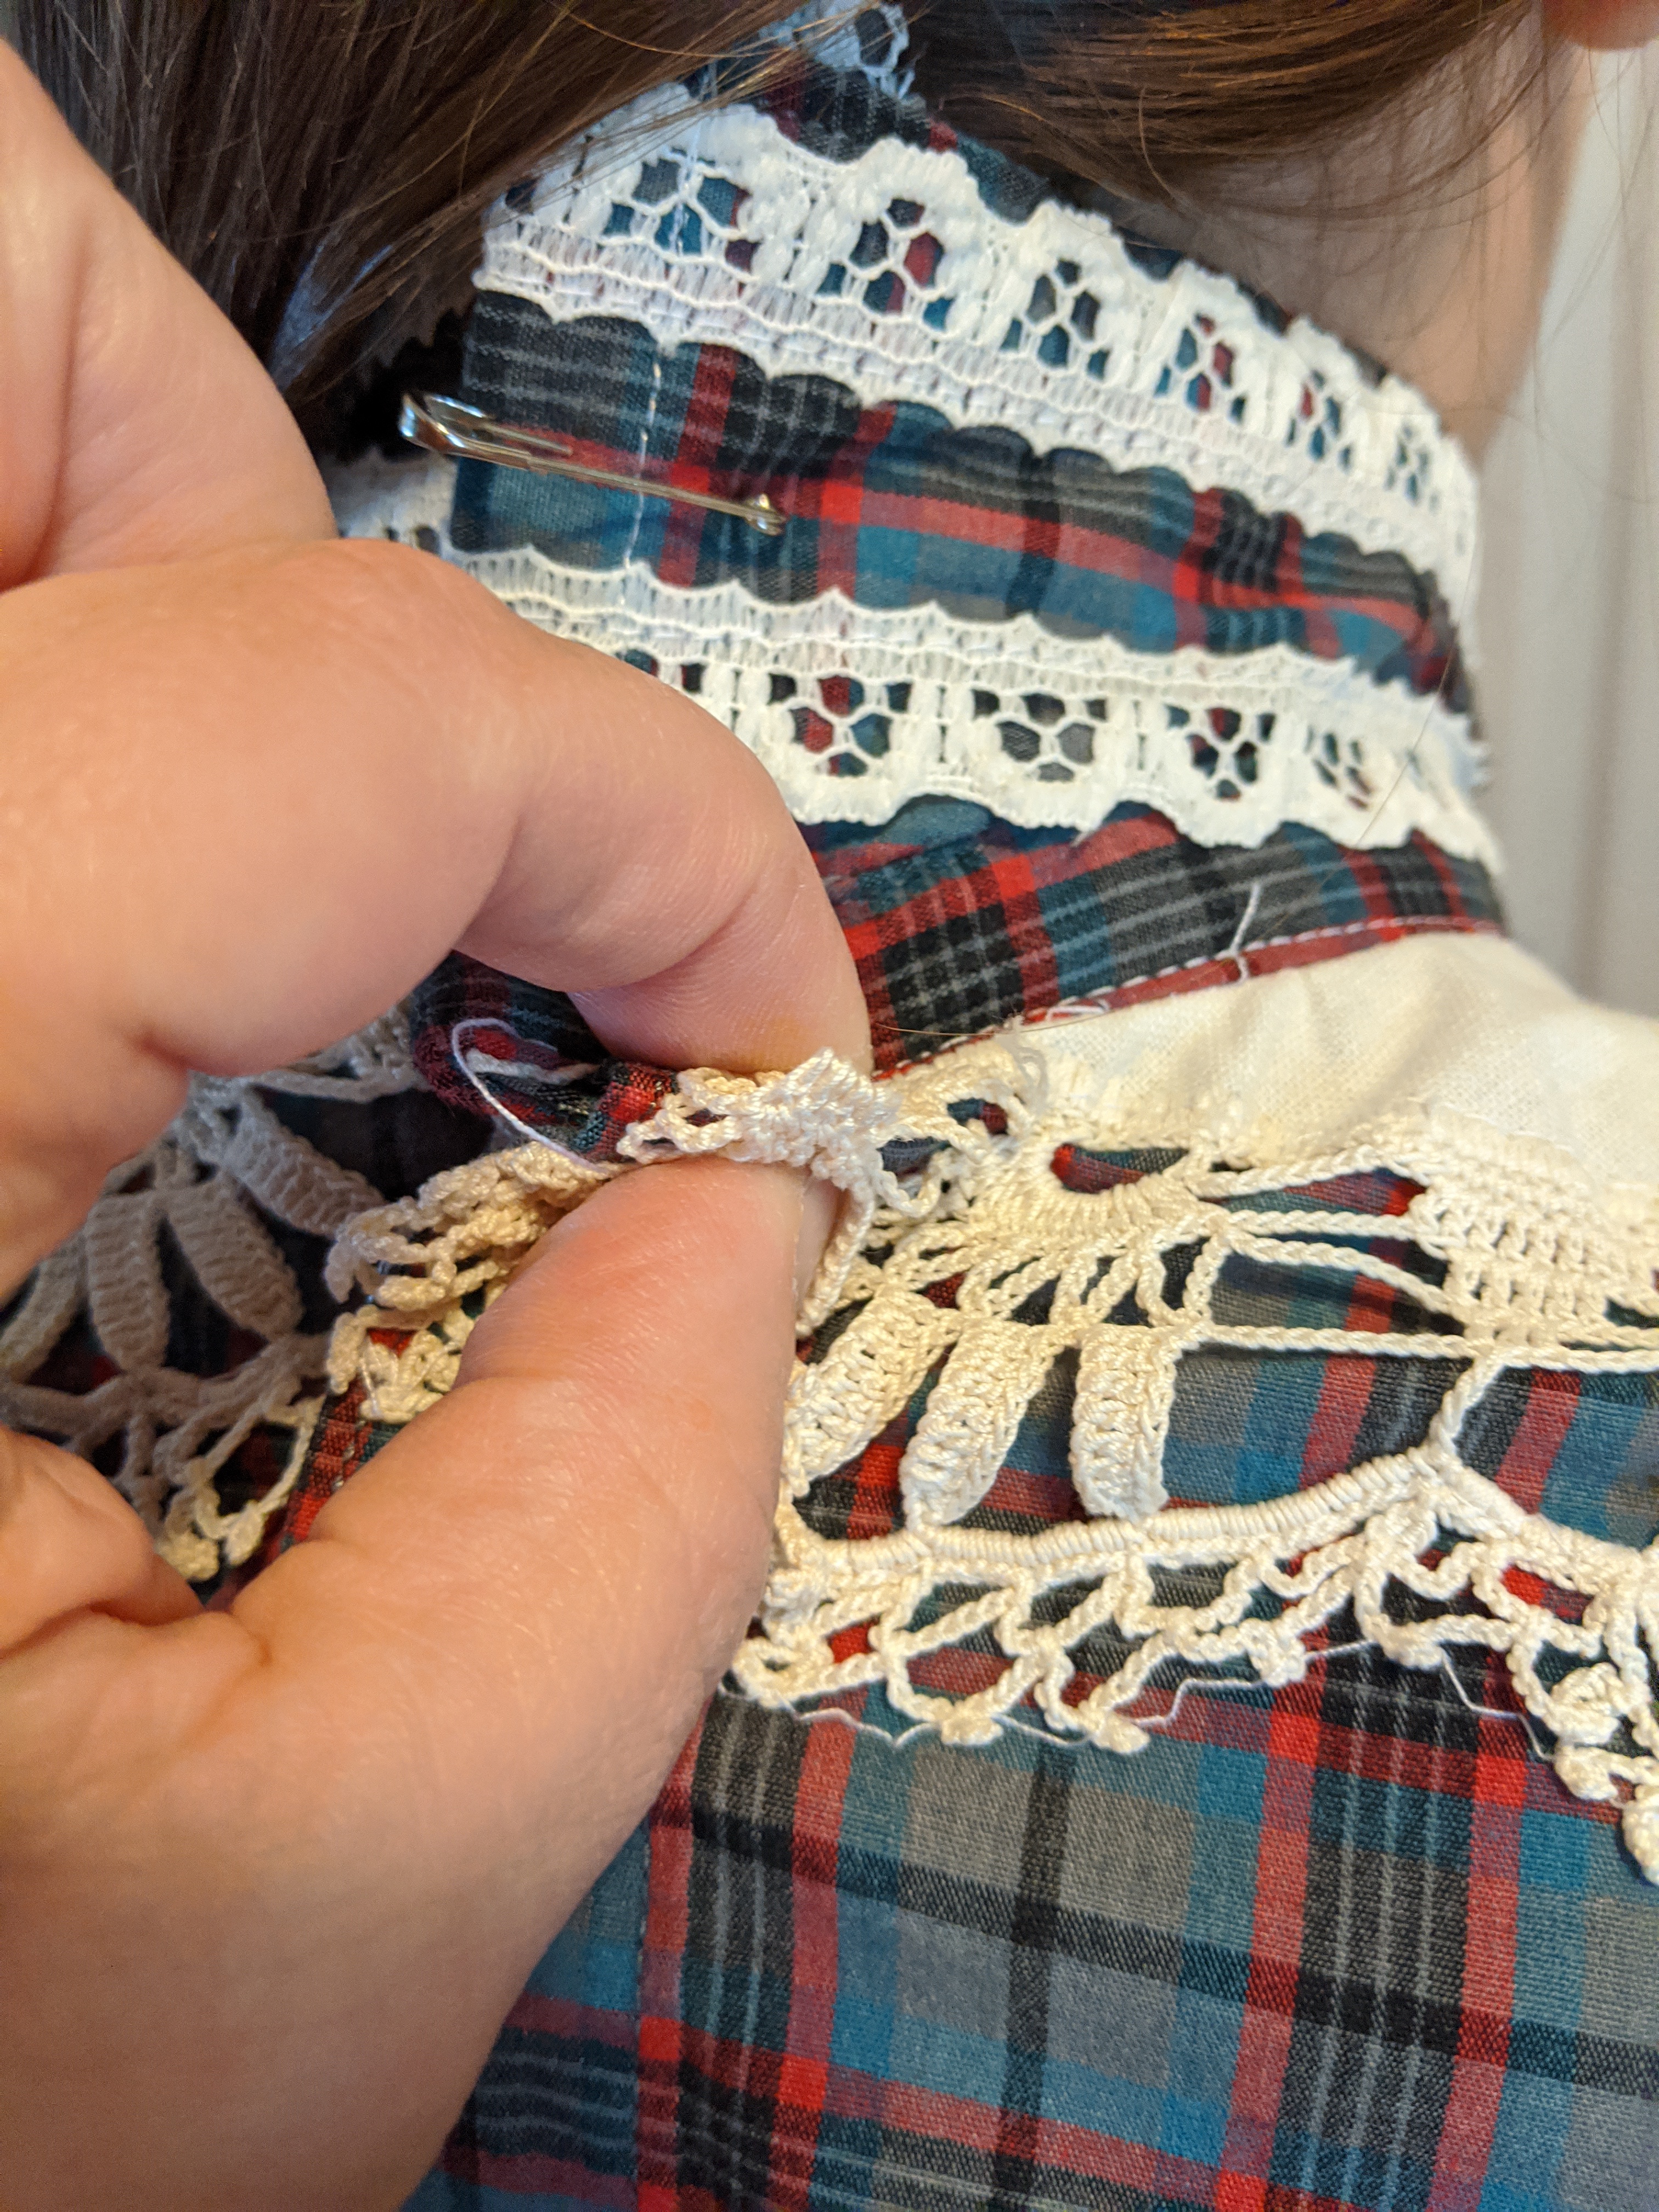
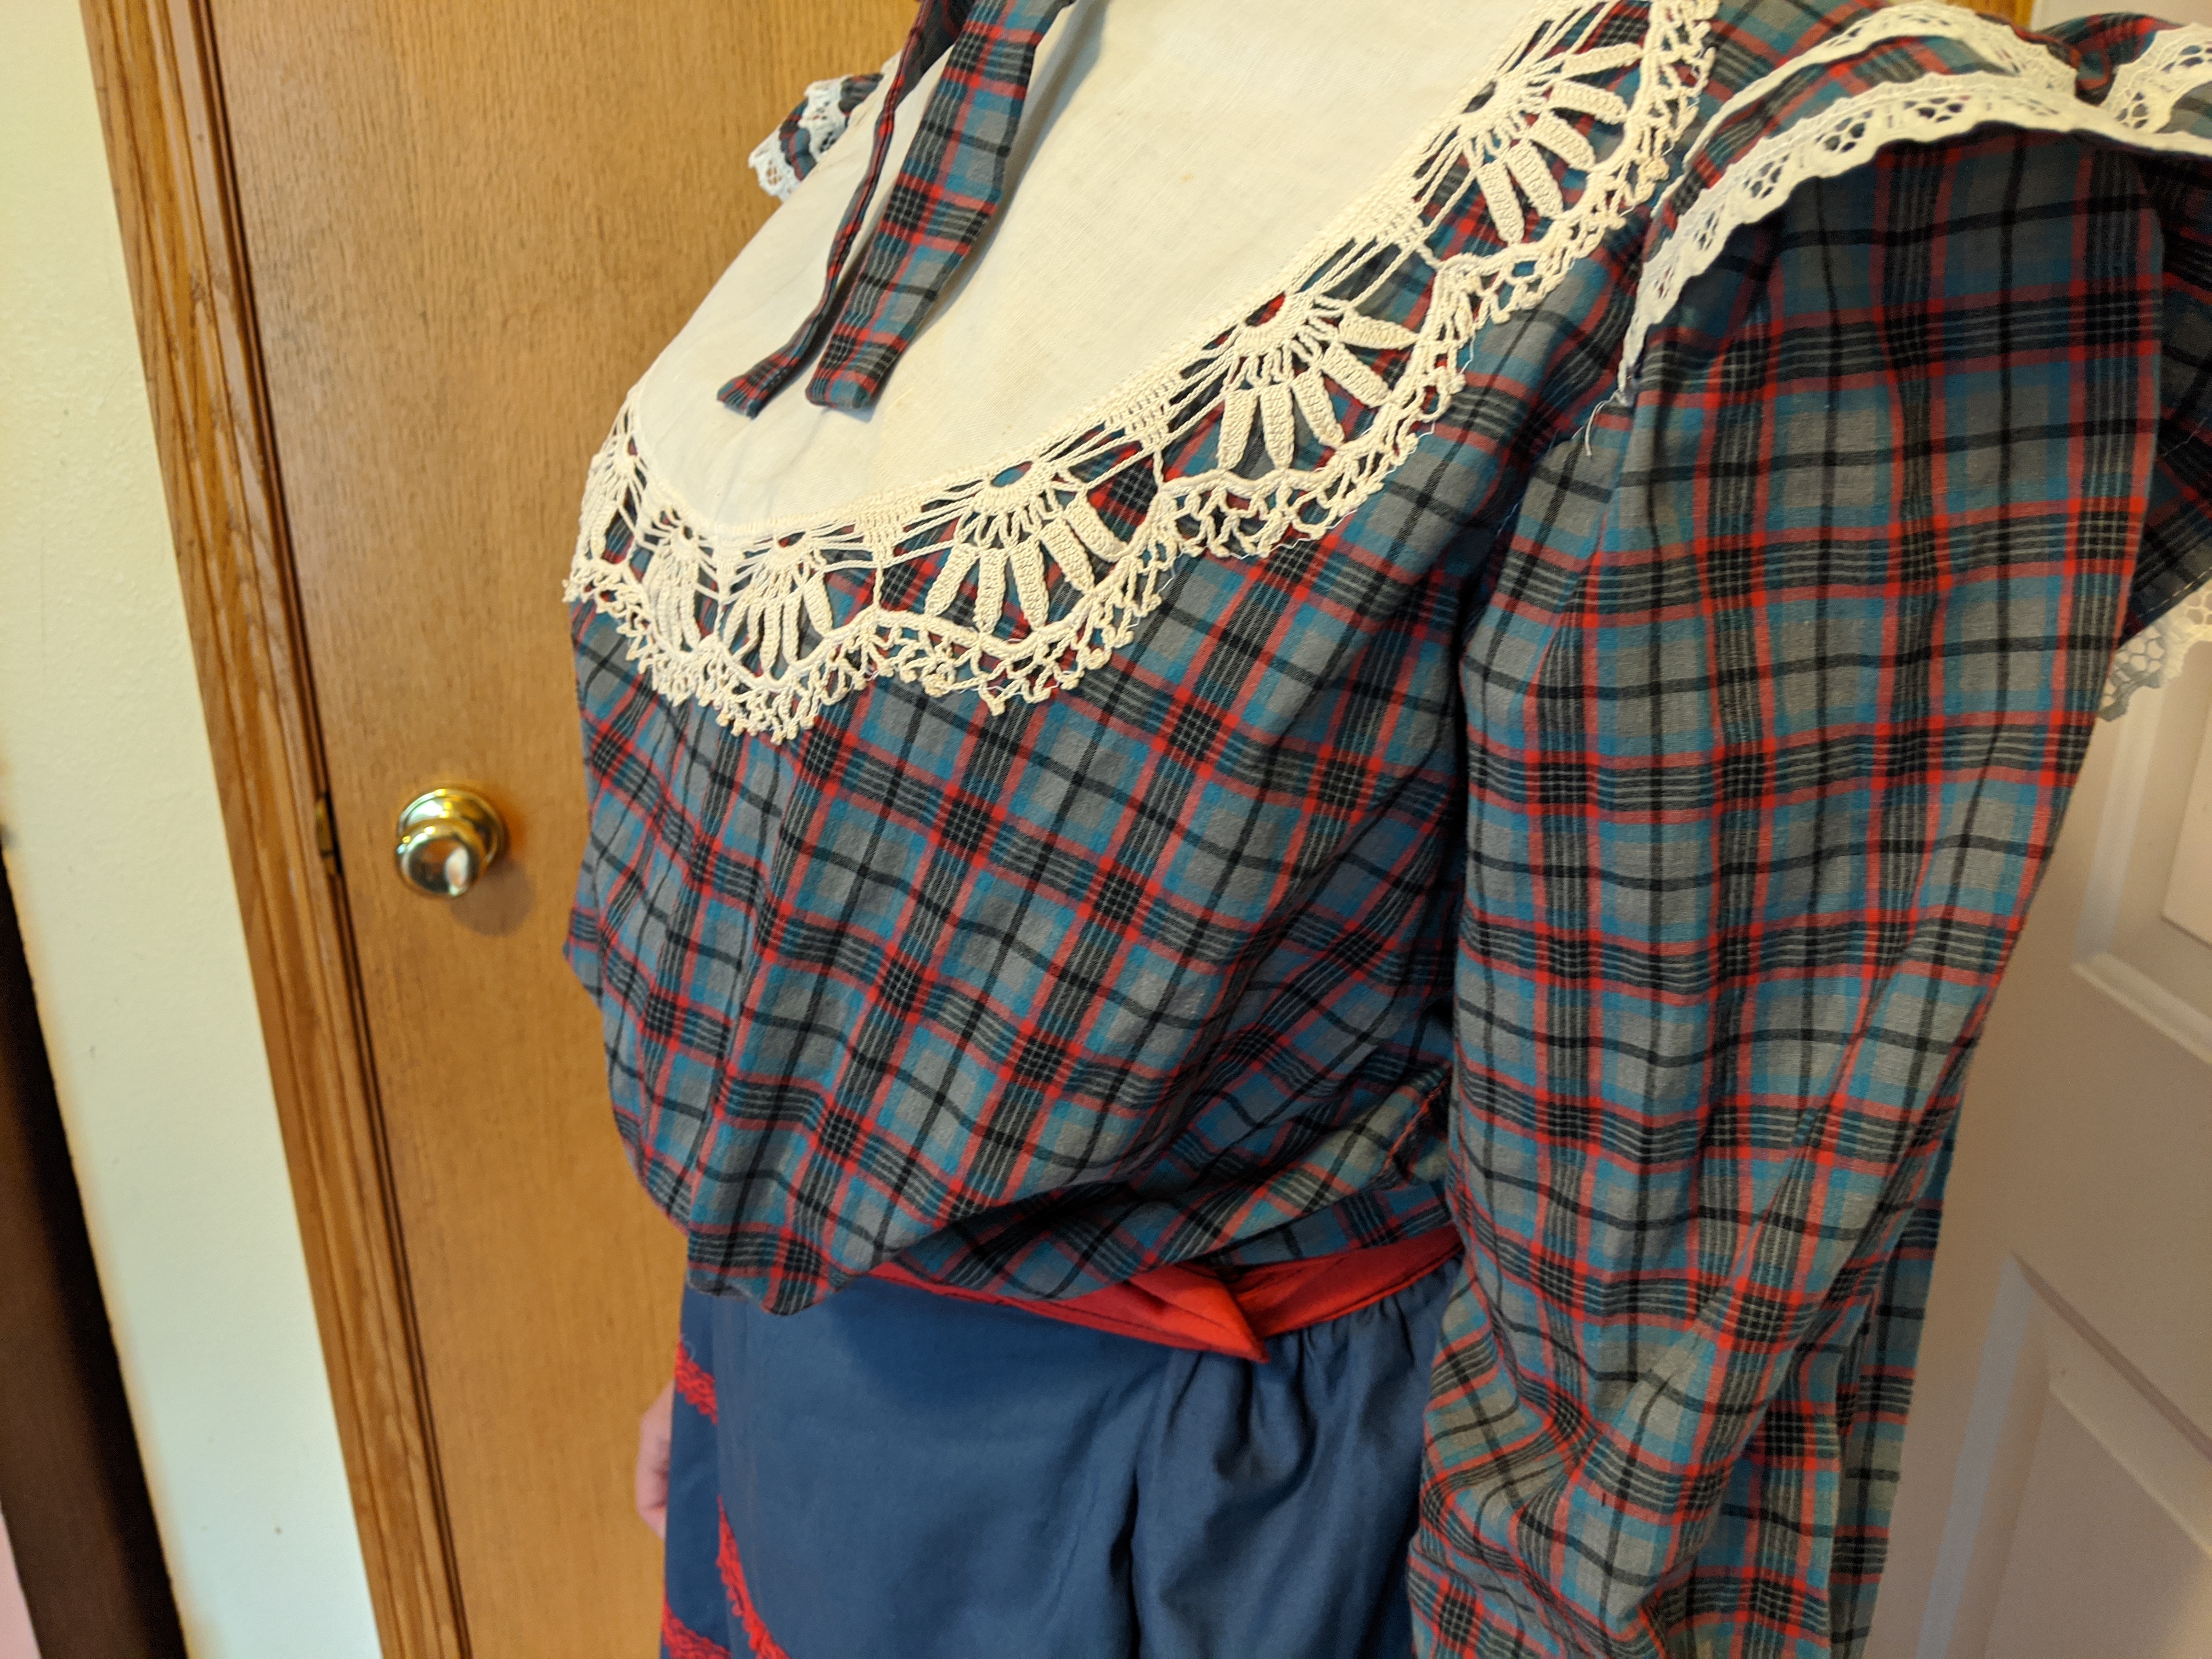
Next up was the collar. I found a doily that I liked. I stitched the blouse shoulder seams and then, instead of using the collar pattern, I just carefully lay the bodice flat, and stacked the doily on top, pinned it well, and cut the neck opening out.

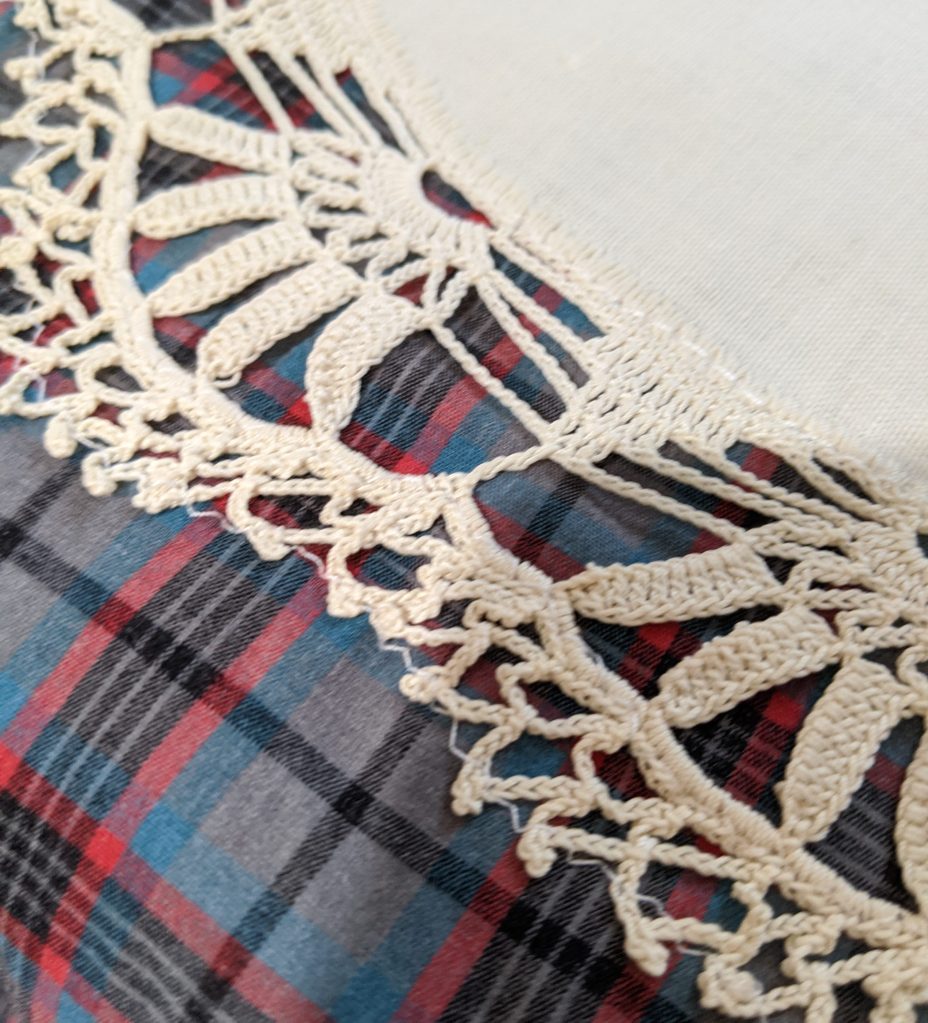
I stay stitched (basted) the neckline, and then stitched the doily to the bodice. I ran a row of zig-zag long the edge of the trim, just to (hopefully) help stabilize it through the wash and keep the crochet edge from wadding up.
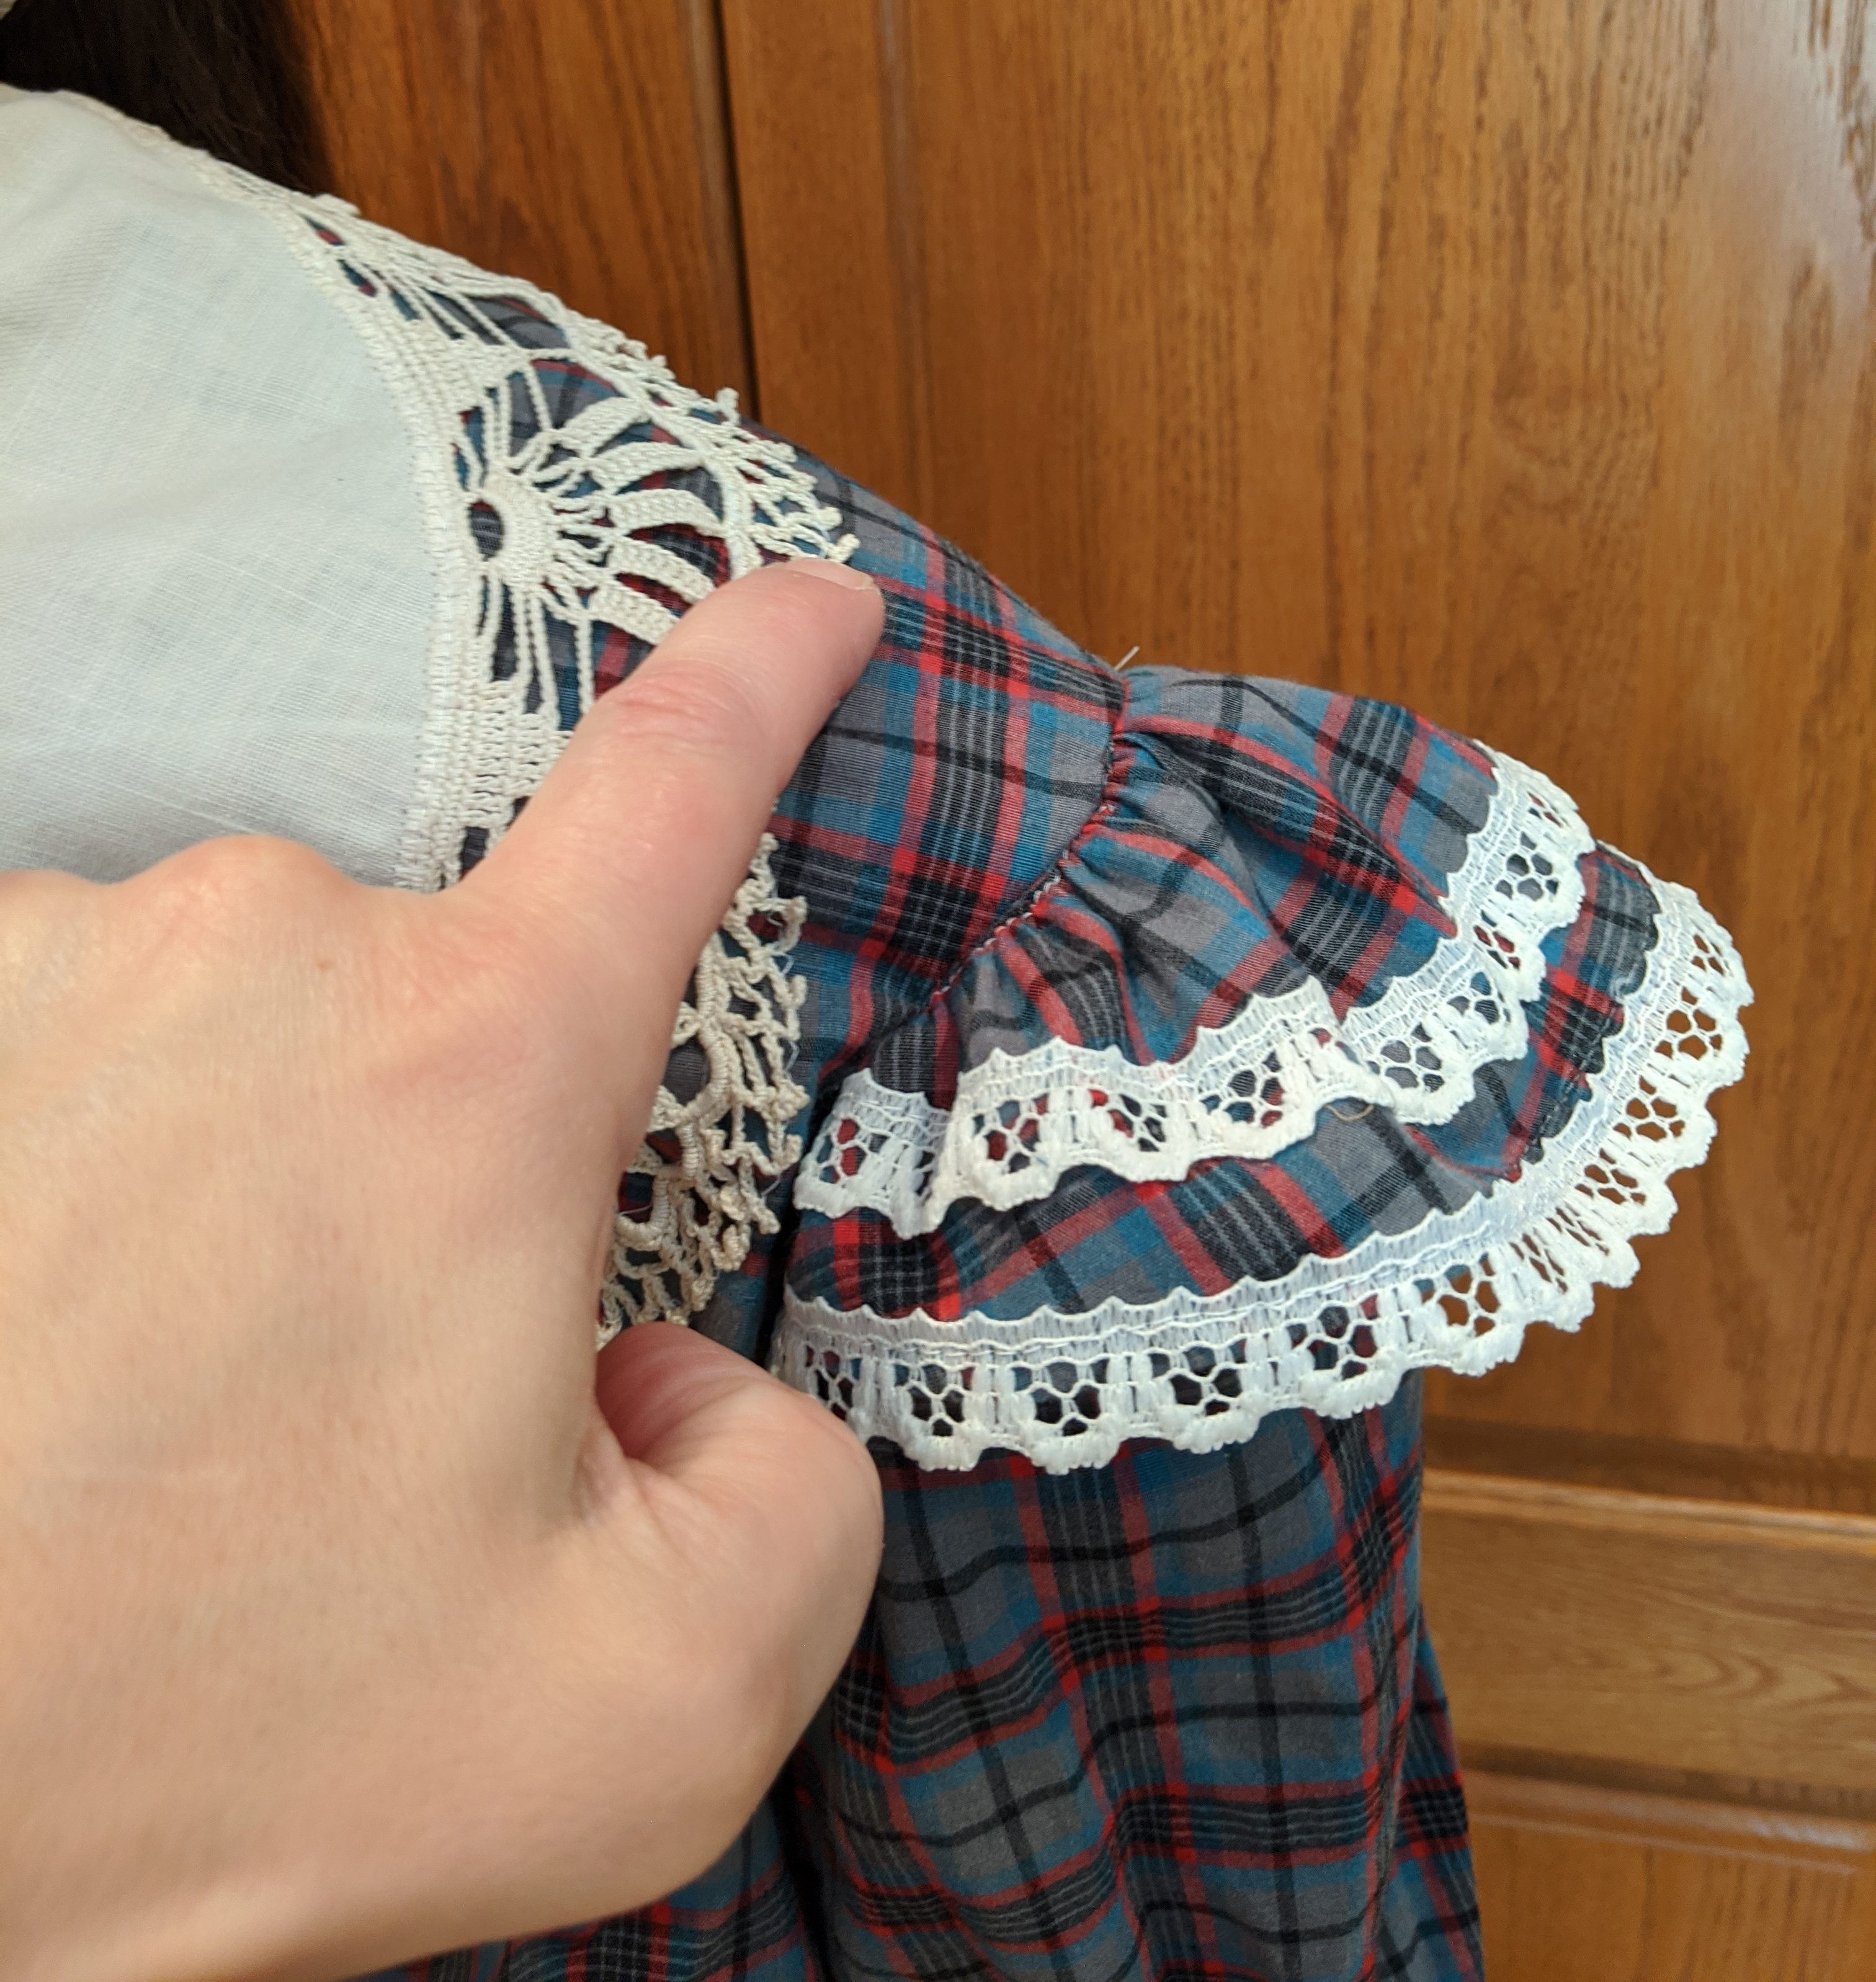
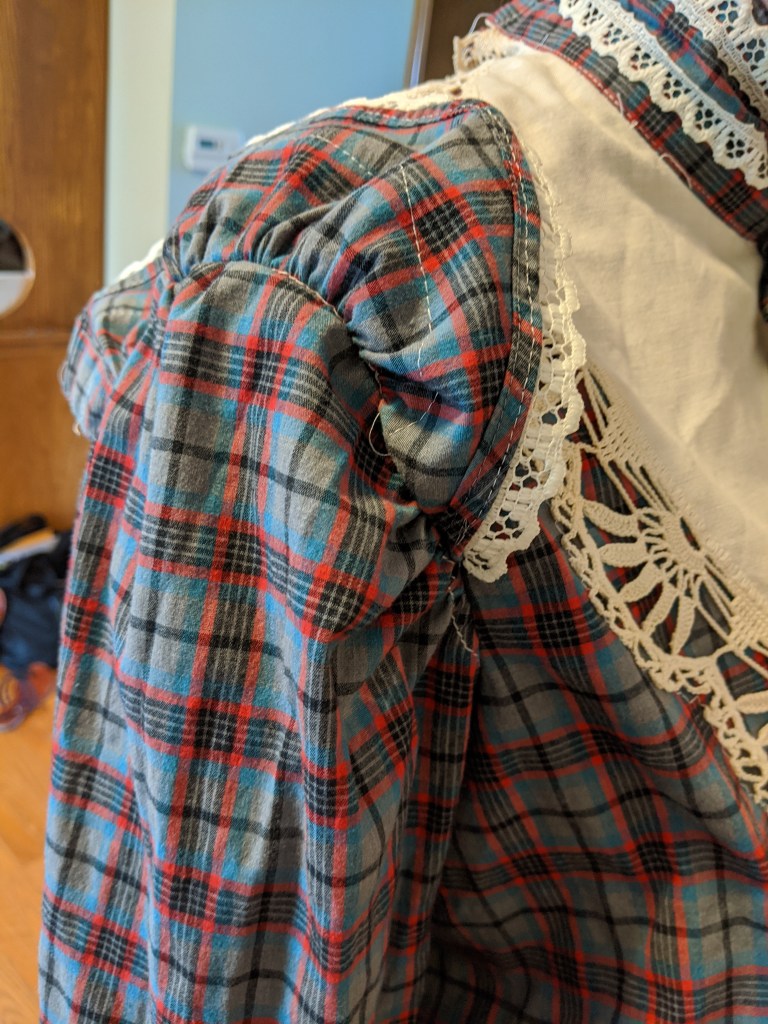
I was getting ready to put in the sleeves, and I happened to remember the lower edge of the front of the shirt–two nice pieces with a little hem. I had the inspiration to add them as a sleeve detail to reflect pictures of 1902 blouses I had seen


I just used the two pieces in the shape they were. I trimmed them with lace, and then attached them to the bodice. Then I inset the actual sleeves. I figured doing it separately was an extra step, but would likely save time since the ruffle would be stable.


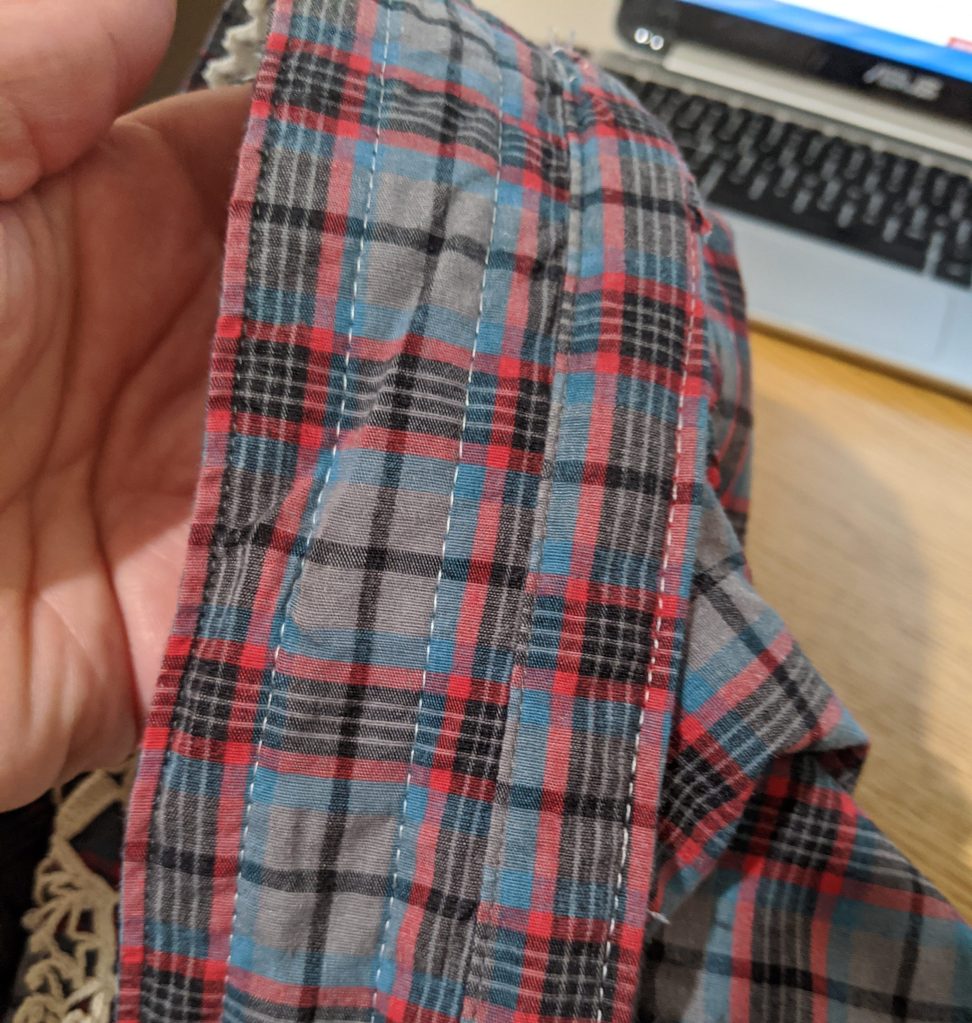
I added similar trim to the existing sleeve cuffs. I then decided to try using the collar I had detached as the blouse collar. I cut it down a bit in length (cutting the collar points off), added lace, and then stitched it in place, starting in the correct position on one end, and cutting it off when I got to the other end. It works for this blouse pattern because the collar is a rectangular shape. It didn’t turn out perfect as the upcycled collar got wider on the edges–but behind hair and on stage? It’s probably OK, and it was super quick.
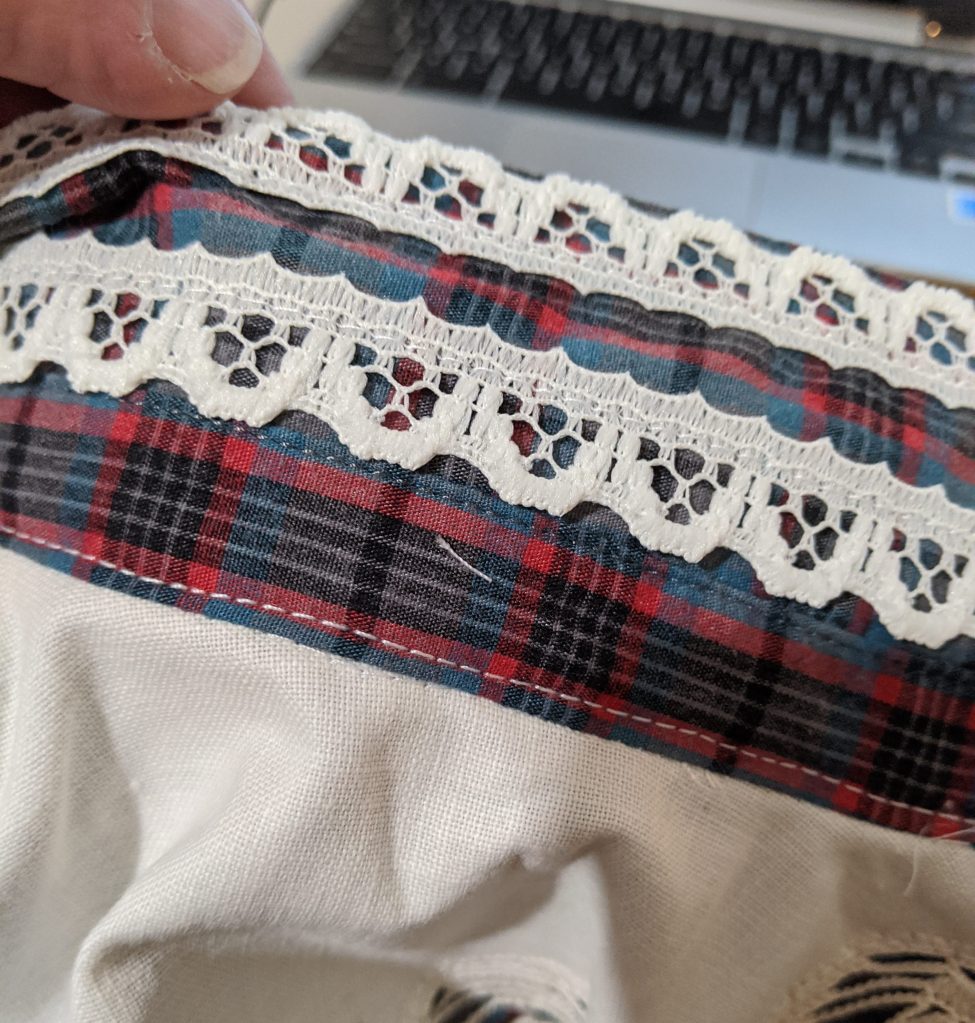

The collar was already lined, and the seam allowances are nicely pressed along the opening where it was removed from the original shirt. That made it easy to just sew the front edge to the bodice, and then top stitch to hold the “lining” in place. This made a nice (mostly) finished edge on the inside with no hand sewing.


The final step was to gather the lower front edge and add the peplum.


It’s not perfect, and the side edges needed a little fudging, but it worked. At this point, the blouse was complete as the buttons from the original shirt were still in place in the center back and the cuffs.
Finished shirt:
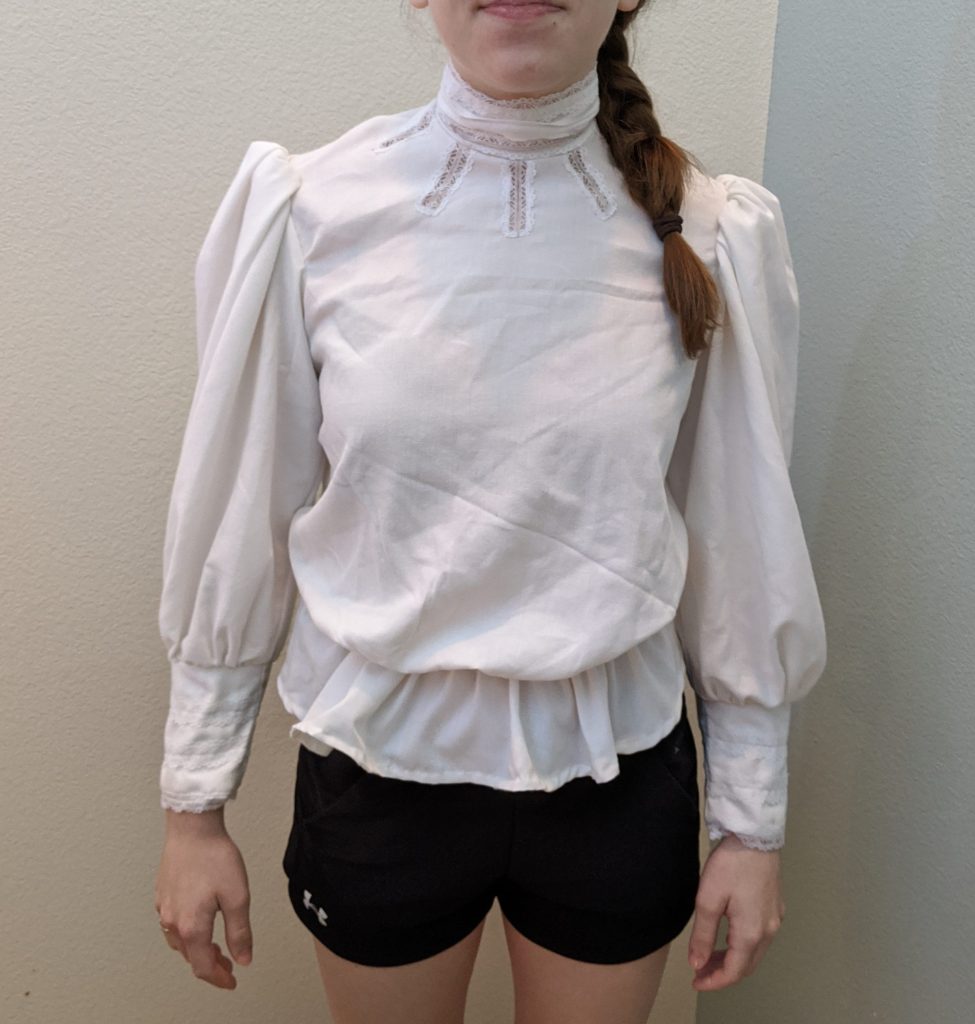
Smaller model (women’s XS/X):


Note how the added sleeve ruffle pulls this blouse off her shoulders and makes it look much larger on her than the pink blouse cut from the same pattern. I also like the fit of the elastic at the waist. Possibly consider adding elastic even with a peplum? I would also position the collar back a bit farther.
Larger model (women’s medium, larger chest):


Here is a visual of how far back the shoulder seam sits (about 2″ back from the top):


So . . . my original goals?
I did have enough fabric. I was able to utilize the collar, sleeve/cuffs, button/buttonholes. Did I save a lot of time over using a piece of fabric? No. I was able to utilize the sleeves, and the buttons/buttonholes for the back closure as well as the collar, however the peplum was a time sink. How did the sleeves look? Well, my great idea of the extra ruffles sort of obscured that, lol.
I like the sleeve ruffles, but another time I would try topstitching them to the blouse itself, versus inserting them in the seam. Using the doily for a collar was easy, and you can’t see the extra stitching along the lace edge from any distance.
After I made these two blouses, I did use the size 8 pattern for my smaller model. I’m going to show that to give you an idea of how the blouse fits “for real”.
You can see how much higher the shoulder seam sits, as well as less excess fabric in the waist area. That said, with the looser pidgeon breast bodice, I think you can easy up-size fit for a costume, and that makes it more flexible to pre-make pieces before the start of a production. The two blouses below are cut from the same size pattern, but the choice of embellishment really makes a difference in how they appear to fit.


I probably would be inclined to add a casing and elastic to the waist seam even if I used a peplum, as I think the tighter waist improves the general look. This could be done with a drawstring that ties at the back waist.
Supplies: man’s XL long sleeve shirt, doily, lace, pattern
If you enjoyed this post, don’t for get to “like” and “follow” and LOVE to hear comments and talk costumes. Try making one? Send me a picture to costumecrazedliz@gmail.com and I’d love to add it to a post (I wish comments supported photographs).


I love the way that came out. Using the men’s shirt was a great idea. I try often now to repurpose pieces to be turned into costumes. I find the best part of it is the variations you can get in fabrics that aren’t what necessarily you would find in a fabric store.
Those collars rarely rip well in the button area, I too have found out the hard way.
Seeing these costumes make me want to do something requiring period costumes.
We are going to continue with Bye Bye Birdie as our next show. At this point we are aiming for Thanksgiving which will let the senior leads come back from college and still perform in at least a show or two.
Is that pigeon chest supposed to be stuffed or stiffed out or does it just stay loose. It is hard to tell when looking at historical pictures I have seen.
Thanks for sharing!
Nancy Figur
LikeLike
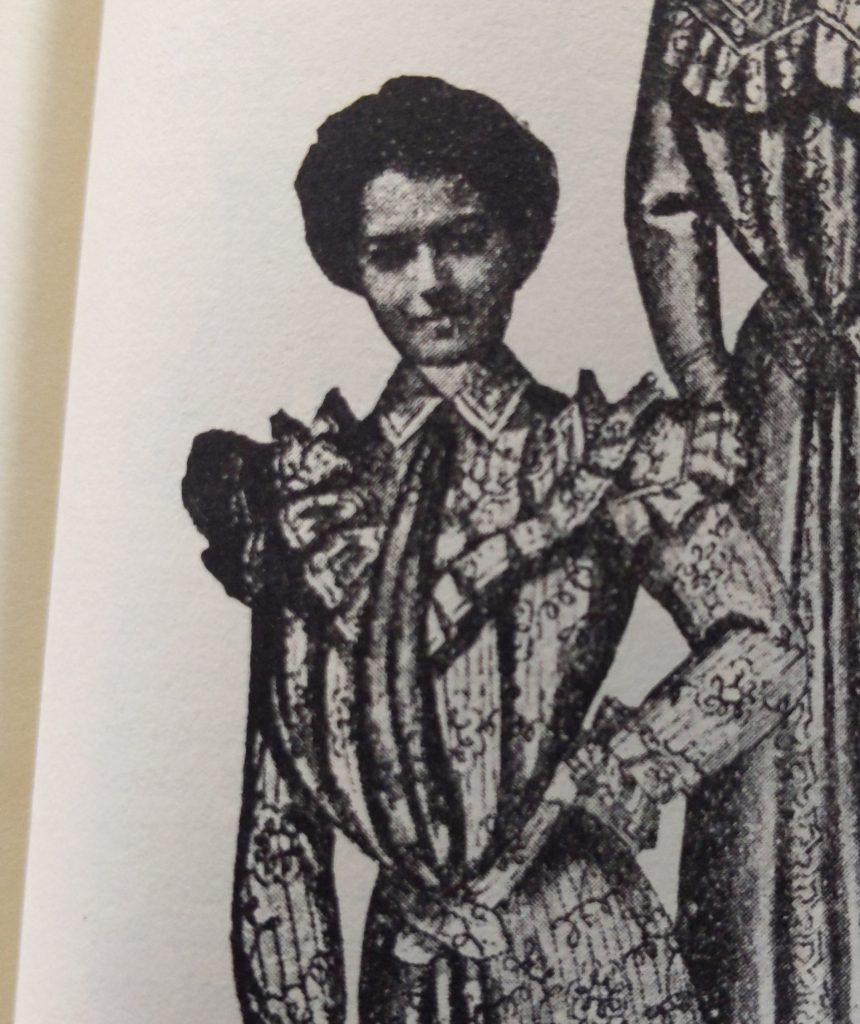
I am not an expert on Edwardian clothes, lol, but I have read that the “S” shape was caused by a straight front corset (that was designed to be more “heathful” and laced looser, but women laced it tight since that’s what they were used to, causing the odd silhouette). The pigeon breast style DID allow women to skip wearing a corset and contributed to it’s downfall. Corsets also ended below the bust, and women had corset covers and pads that added to the bust, and some also had hip/butt pads to help create the desired silhouette.
As for the lining . . I did just make a top that has a fitted and boned lining, which helps push the blouse down below the waist and keep it’s shape. I have a couple turn-of-the-century pattern books and some of the tops have linings, and some do not (although these “patterns” just gave the basics). I think a lot of the illustrations are over-emphasized vs. what things would have actually looked like on a body. It’s kind of fun because there are some photographs of the 1904 World’s Fair so you can do some comparison of illustration vs photograph.
LikeLike