I love books . . . and books on costuming and period clothes are a periodic indulgence when I receive a gift or decide to treat myself after I’ve worked an extra shift. Could I find most of it online? Probably. But I like sticky tabs, dog-eared pages, and a ready reference to pull off the shelf.
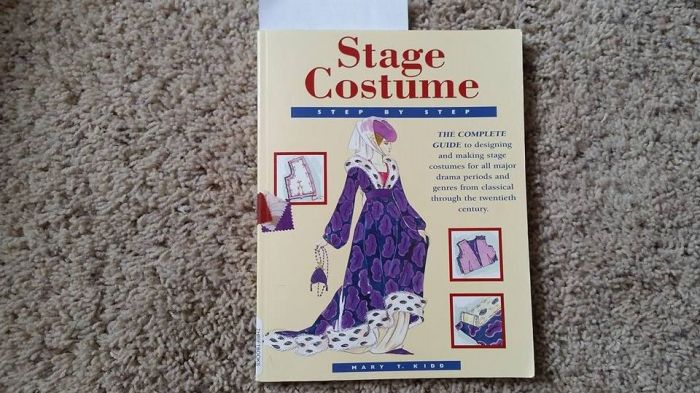
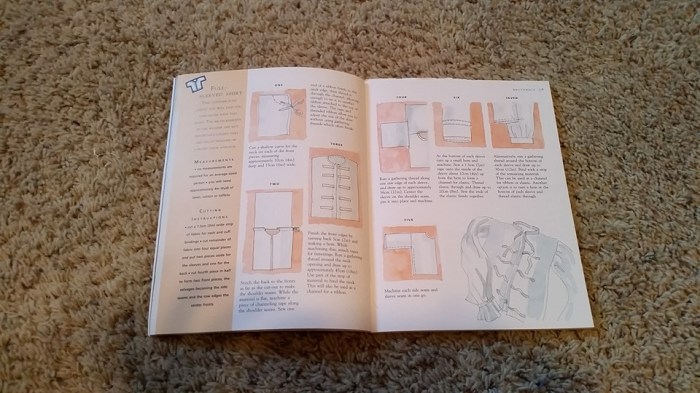
The idea for this shirt comes from “Stage Costume, Step by Step” by Mary T. Kidd. The book probably tries to cover way too much in too few pages, BUT, she does have some tidbits of techniques and some nice pictures. I am not wild about the stylistic drawings, and I would like actual pictures of some of the garments she gives instructions for, but, there is useful information, especially for a costume newbie like myself. There is a section in the back called “Tricks of the Trade” which has some useful bits.
The shirt I am making is described as a “full-sleeved shirt” that can fit basically any person (unless they are particularly big or small) and is something of which “you can never have too many”. It also claims to require no measurements for the average-sized person, and no pattern. It is in the ” basic shape” section of the book, as it is made of rectangles. It was intriguing enough that I wanted to try it.
The first challenge is that the directions state “you will need approximately 4m (4 yd)” of fabric. Width????? 36″? 45″? 60″? After conferring with a friend, we decided it HAD to be 36″ fabric. (This was eventually confirmed when I re-read the introduction to the book). She also states you can use 45″ fabric. Even the difference of meters vs yards seems huge over 4 yards, as one yard = 39.4″, which is an extra 13″+ over 4 yards. That seems like an awful lot of variability . . . but, it was time to boldly press forward.
Cutting the pieces:
The first step it to cut a 3″ wide strip off one end for the neck and sleeve binding. I had decided to make my shirt out of a twin sized sheet, so I sort of fudged these directions. I should have waited to cut this strip as I had plenty of odd-sized leftovers.
The second step is to cut the remaining fabric into four equal pieces. Two will become the sleeves and the third is the shirt back. The fourth piece is cut in half and makes the front.
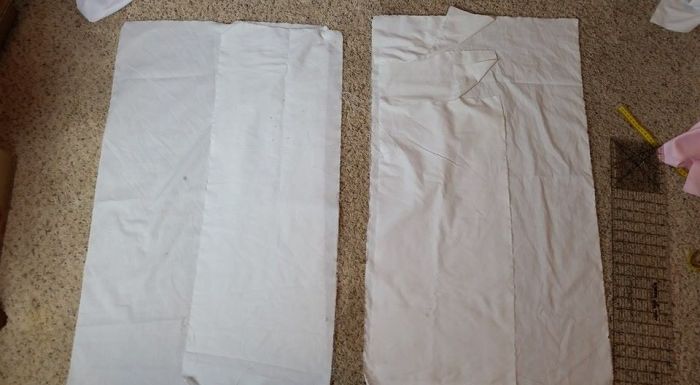
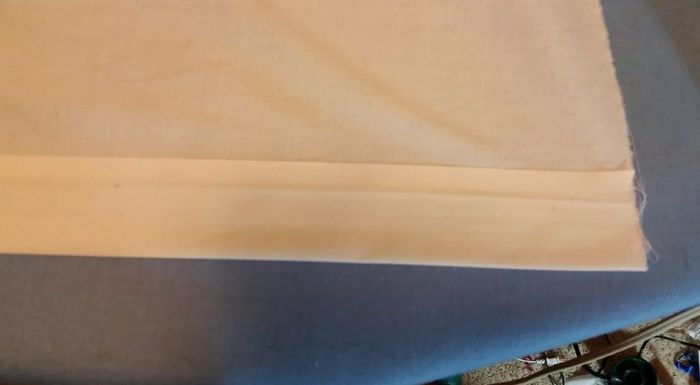
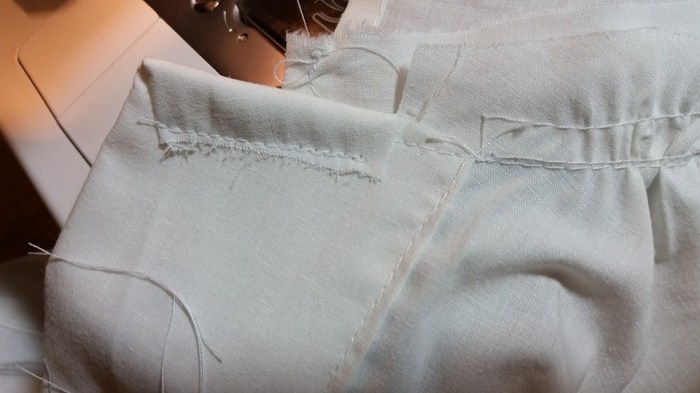
My twin size sheet was not exactly the right size. I was able to get one 36″ square for the back. I then cut (2) 20″ x 36″ rectangles, planning to add a 2″ facing. I later realized the instructions included a facing, so this just gave me an extra layer. I had to piece the sleeves in order to get 36″ squares . . .. but it only took a few minutes, and it doesn’t show at all. You can see below, for my sleeves, that I had to add a strip on one, and the other had a pieced strip.
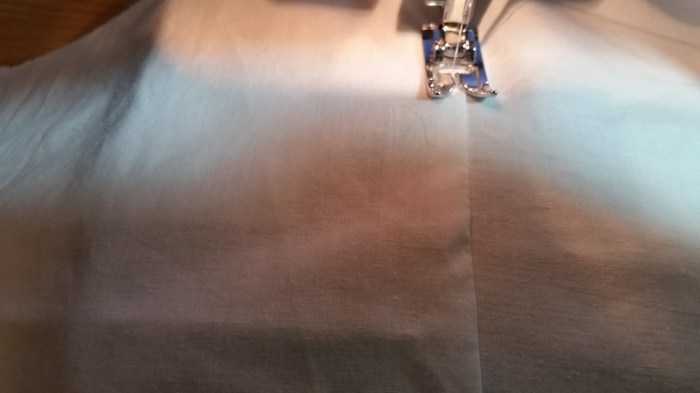
To piece the fabric I sewed a 1/4″ seam, and then top-stitched it to one side. This made sort of a poor-man’s flat-feld seam.
Now that I had my (3) 36″ squares and my 2 front pieces I was ready to begin!
Since I was already messing with the sleeves, I went ahead and ran two rows of gathering threads along one edge. Then I set these aside.

Sewing the shirt:
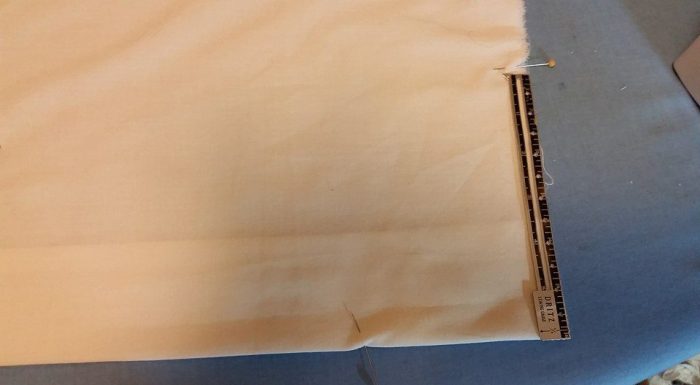
Step 1: The front pieces are laid right sides together and a shallow curve, about 4″ x 6″ is cut to make the front neck line. Since I had added an extra 2″ to the center front, I went ahead and folded that under at the beginning.
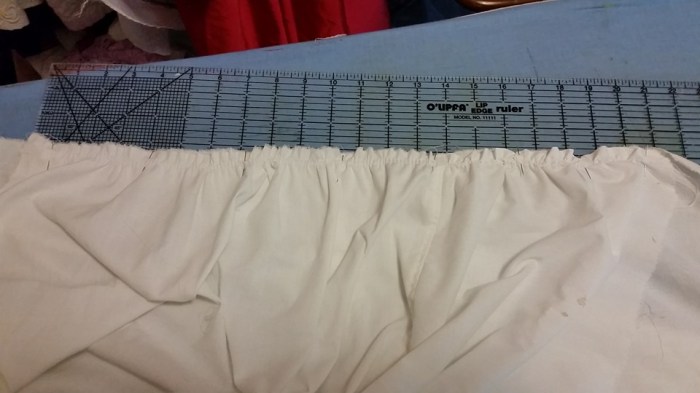
And then I marked the 4″ x 6″ measurements (see pin & ruler) and cut out the neck curve from pin-to-pin.
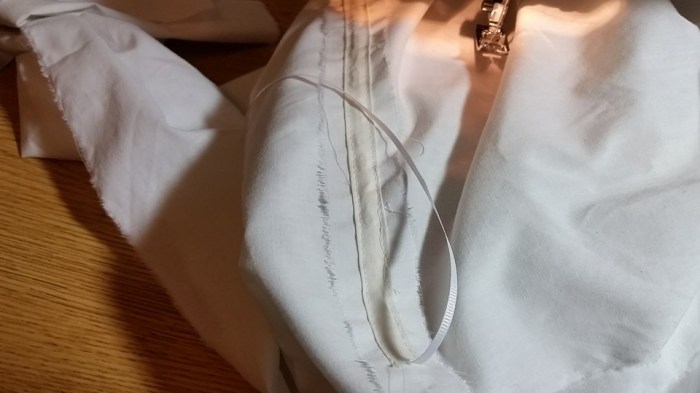
Step 2: Sew the shoulder seams and then press them open and flat. The sleeves of this shirt are made adjustable by creating gathers on the shoulders. To do this you need “channeling tape” (I used bias tape). There is bias tape in the picture, although it is a bit hard to see since it is white-on-white. I sewed the bias tape directly over the shoulder seam. I sewed the first side of the bias tape to the shirt. A piece of narrow grosgrain ribbon is secured on the NECK side. I tucked the ribbon into the bias tape and sewed down the remaining side, taking care to keep the ribbon away from the needle so it didn’t get caught. I was not quite 100% successful, but I made sure to pull on the ribbon and loosened any caught parts as it was easy to fix at this point. A second ribbon will be sewed to the top of the sleeve which allows the size of the shoulder seam to be easily adjusted. You could certainly thread wider ribbon through the bias tape, only I wouldn’t try to do it while sewing, I would pull it through with a pin and then tack the neck edge.
Step 3: Finish the front edges by folding them over 2″ and make a hem. The author has you sew on ties at this time to close the shirt. I didn’t want to use ties, so I just folded the front edge over another 2″ and planned to add closures later.
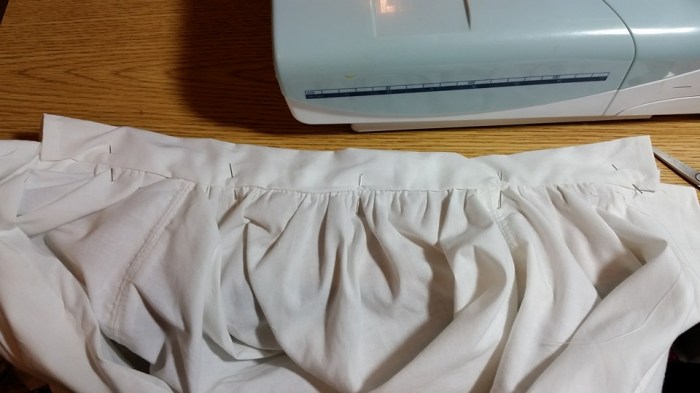
Step 4: Sew gathering threads around the neck opening and pull up to about 18″. Attach this to a piece of the 3″ strip that was cut earlier. I mis-measured and my band ended up about 15″, but it still works OK.
Gathering threads:
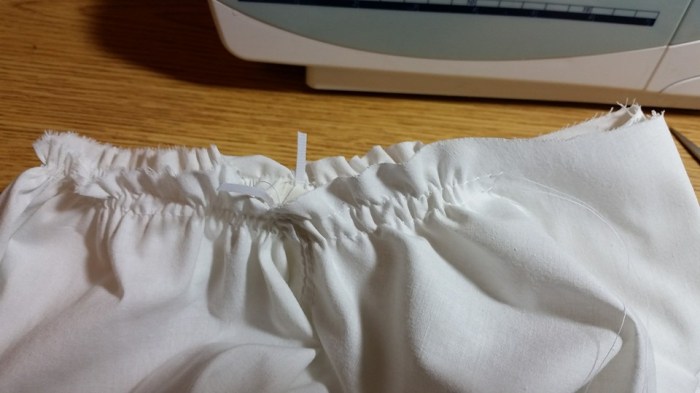
Pinned to band:
Center front folded down and stitched (because my shirt would overlap in the center front, I couldn’t run the band all the way to the edges of the shirt because they would overlap also).
Once the first side is stitched, fold the band over and pin to secure. Sewing in the “ditch” on the right side will hide the row of stitching. This is the backside. The stitching isn’t perfect, but it is good enough to hold. If there are too many places that miss the band, you will have to re-do it.
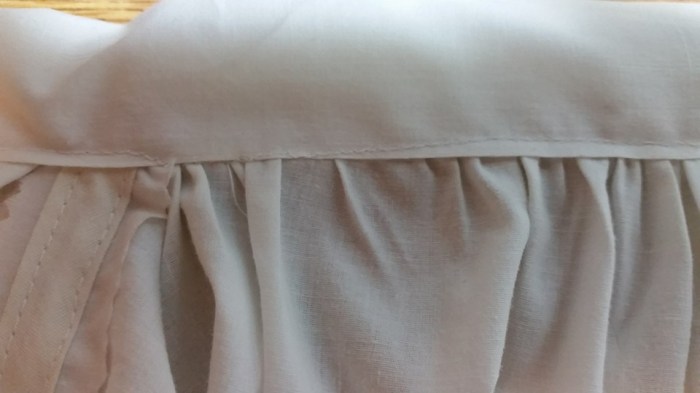
The band now creates a channel that you can run a ribbon through. I used a hem off one end of the sheet.
Step 5: Sewing the sleeves on. If you haven’t already run gathering threads in the sleeves, start by doing that. Then, pull up the gathers to about 22″. Center this on the shoulder seam, and pin securely and then sew in place. Secure a piece of ribbon opposite the channel/ribbon combo on the shoulder seam. This will be how you adjust the sleeve size.
Your shirt now looks rather like a “+” with the back and front as the vertical sections, and the two sleeves sticking off horizontally on either side.
Step 6: Decide how you will close the bottom of the sleeve. You can gather the sleeve and make a band (similar to the neck, but about 12″). You can make a casing and put elastic at the bottom of the sleeve, or, as I did, you can hem the sleeve, and then sew a channel for elastic about 4″ up the sleeve. I stopped the casing about 1/2″ from the edge of the sleeve so that when I sewed the sleeve together the ends of the casing would come together and I could run elastic (about an 8″ piece) through.

At some point, depending on how you are finishing the bottom of the sleeve, sew the underarm seam (bottom of sleeve up to underarm and back down the side to the bottom of the shirt).
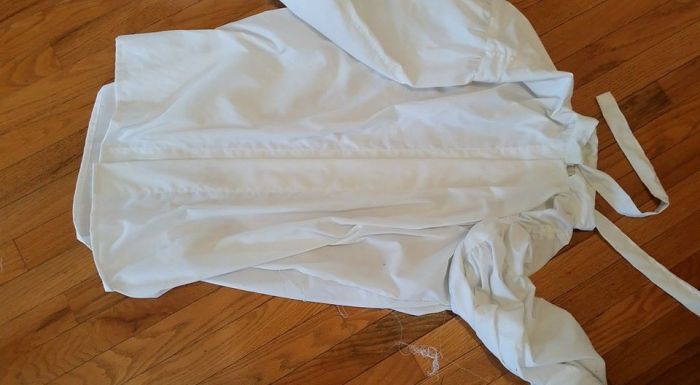
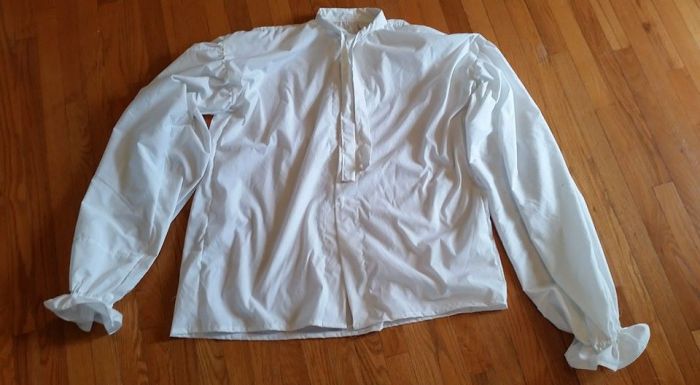
And here we are:
I had a new toy, so I decided to add snaps to my shirt.

I am in love with snaps! These are called kamsnaps. I bought a starter kit with the hand held device, an awl, and a variety pack of the snaps.
I marked where I wanted the snaps to be:
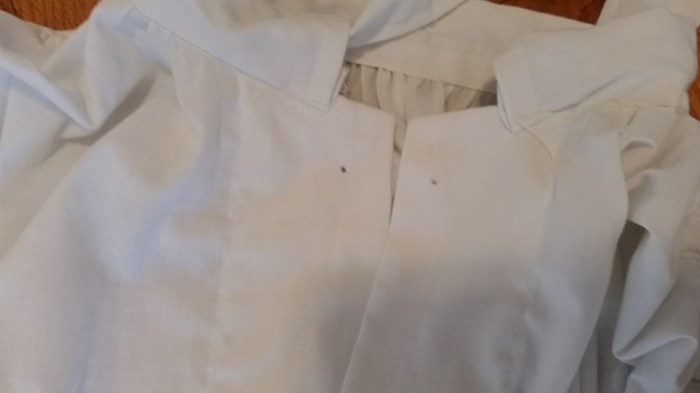
And in less time than you can imagine, my shirt was done.


On my size 4 dress from the shirt looks HUGE! The sleeves are soooo long. I decided a needed some real bodies to try it on.
Nephew #1 is about 5′ 11″ and weighs 210. He is definitely a football linebacker type shape with broad shoulders. The sleeves are a bit long, and we could have gathered them up a bit more. He wears a 17″ neck and 32/33 sleeves.


Nephew #2 is about 6’4″ and 190 pounds. He needs a 36″ sleeve. This shirt accommodated both of them nicely.


The time to make this shirt was about 2.5 hours. I anticipate the next one will be significantly faster.
Cost: basically nothing. I used an old sheet, a little hand-me-down bias tape, some ribbon and 4 snaps.
Fit: Overall I was impressed with how flexible the fit was. The sleeves are VERY long. If you were lacking fabric, you could easily make them a bit shorter. They are also very wide. It would not be unreasonable to taper them a bit toward the bottom, although you wouldn’t want them much smaller at the top.
My next project will be to try and make one that is 32″ square. I think that might be a better fit for the high school boys I am often costuming.
I would definitely call this project a success, and will be making more of these shirts.


I have that book too and agree with your assessment. I made similar shirts but I wound up not using her pattern but a similar commercial one. We used them a million times. Shakespeare, Cinderella, Once on this Island, Brigadoon, I am sure I could come up with plenty more. I love having a stash of go to pieces that work for lots of shows and fit various sizes. I made mine in white rayon which draped beautifully. I got a whole role for a great clearance price. But, it does wrinkle and really needed to be ironed in between performances. I think I would trade the drape for a little less maintenance.
You did a great job. Love your blog.
LikeLike
Thanks for the kind words 🙂 I am all about low maintenance. The rayon sounds gorgeous, but, I am partial to permanent press sheets!
LikeLike
Pingback: Fairytale “Folk” Outfit with No-Pattern Peasant Shirt (v.2) | costumecrazed
Pingback: White blouse remodel #1: Upcycle | costumecrazed