
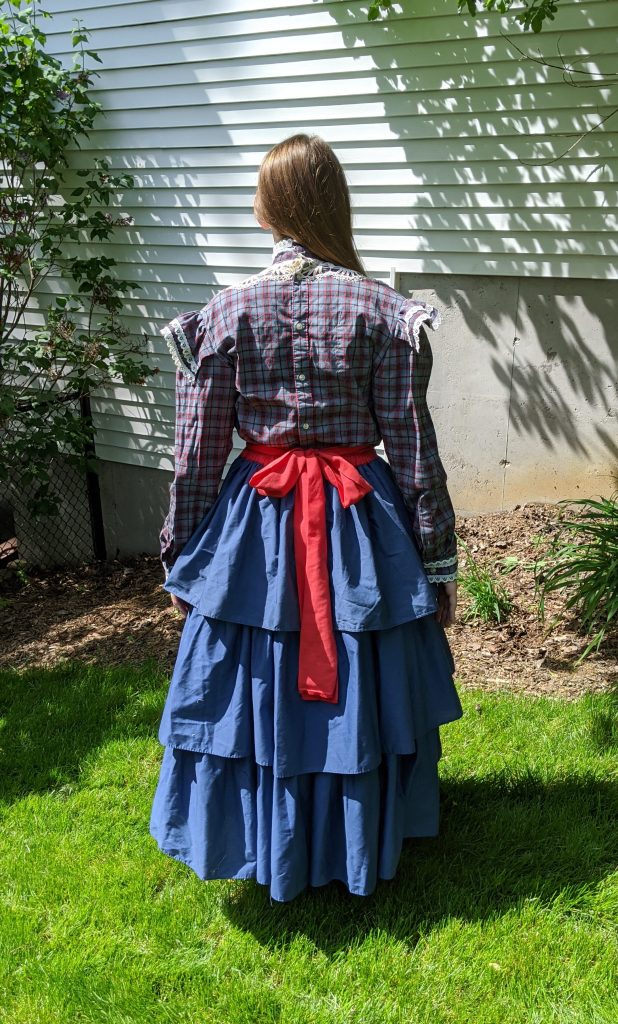
This project began (roughly) as an attempt to alter the skirt from Simplicity 9723 to have an adjustable waist. I’m not usually an elastic fan, but I decided to try a skirt that had a non-stretch front and an elastic waist back. I like to call this my “hot mess” skirt and am glad I was making as a concept costume, as some of the details are a little bit “iffy,” lol. That said, the idea isn’t bad, and I like how the skirt looks . . from a distance!
I had the blue plaid blouse done and I headed off to find a compatible fabric for the skirt . . . and my eyes fell on this blue bedskirt. I love bedskirts for petticoats and underskirts, and have long mentally played around with figuring out how to efficiently use one to make a tiered skirt to go over a small hoop. I liked the ruffle on the pink skirt, so thought “Why not?”
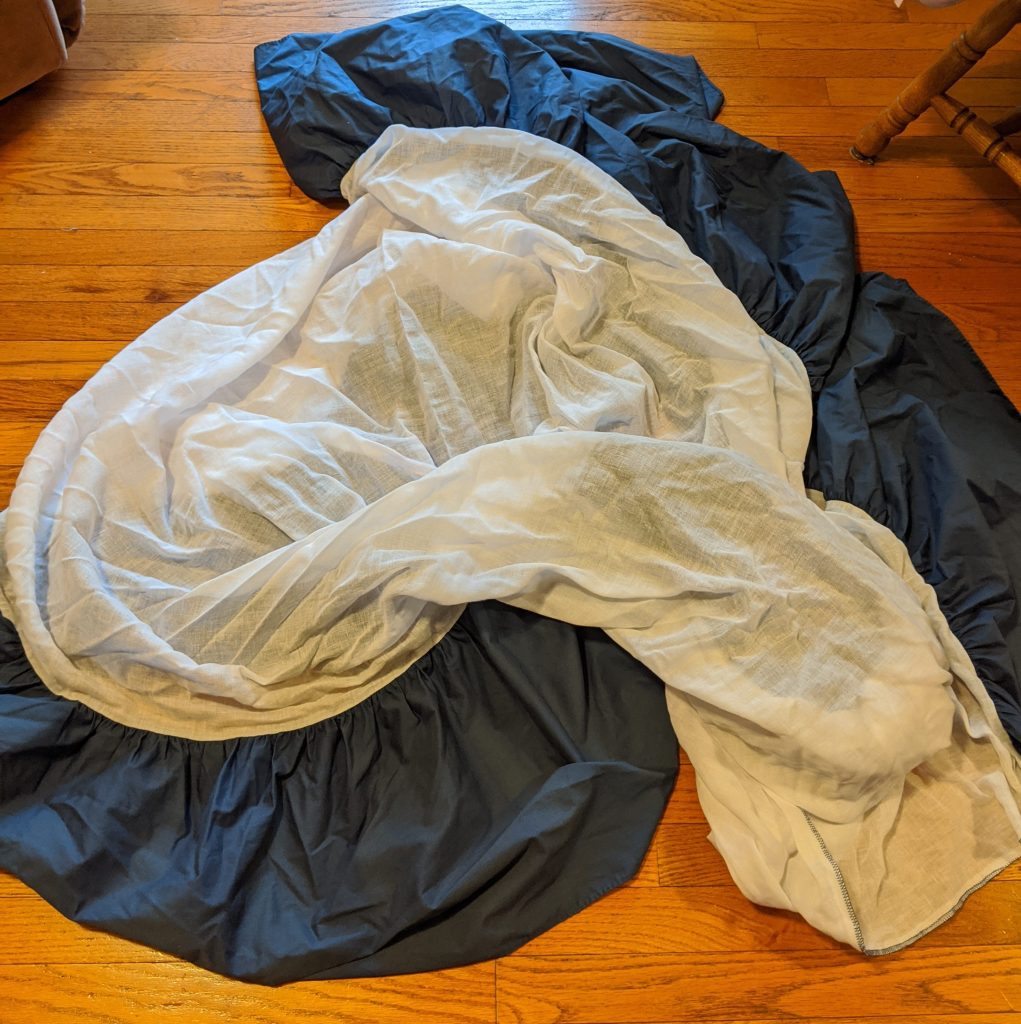

The pattern has a center front panel, which is usually cut on the fold. My bedskirt wasn’t wide enough, so I measured the length of the pattern and cut off two lengths of bedskirt, pressed the gathers out, and cut out the front section (it will have a center front seam, and the width might have to be adjusted based on the length of the skirt and the width of the fabric panels),


Next it was time for a little math & calculating. I started with the desired skirt length. I measured the width of the ruffle. I was planning on three back tiers. The bottom tier would be attached to some of the white bedskirt fabric and form the base of the rest of the skirt.
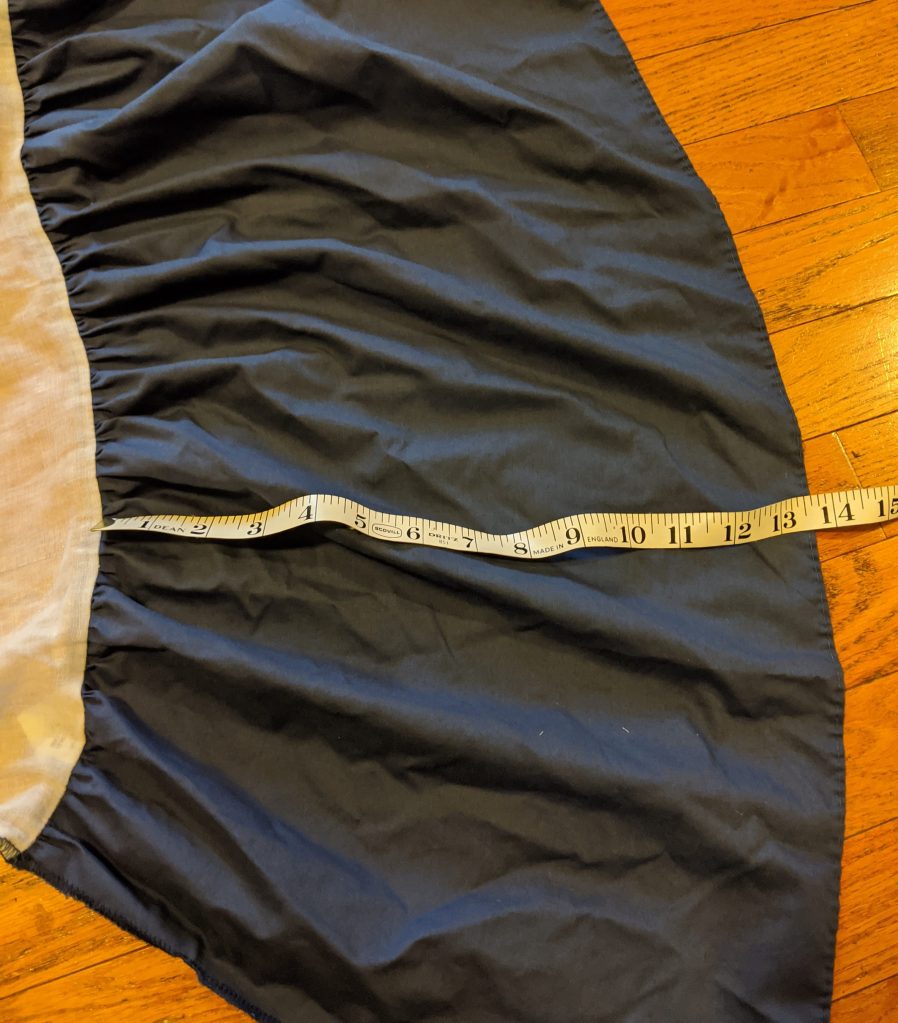


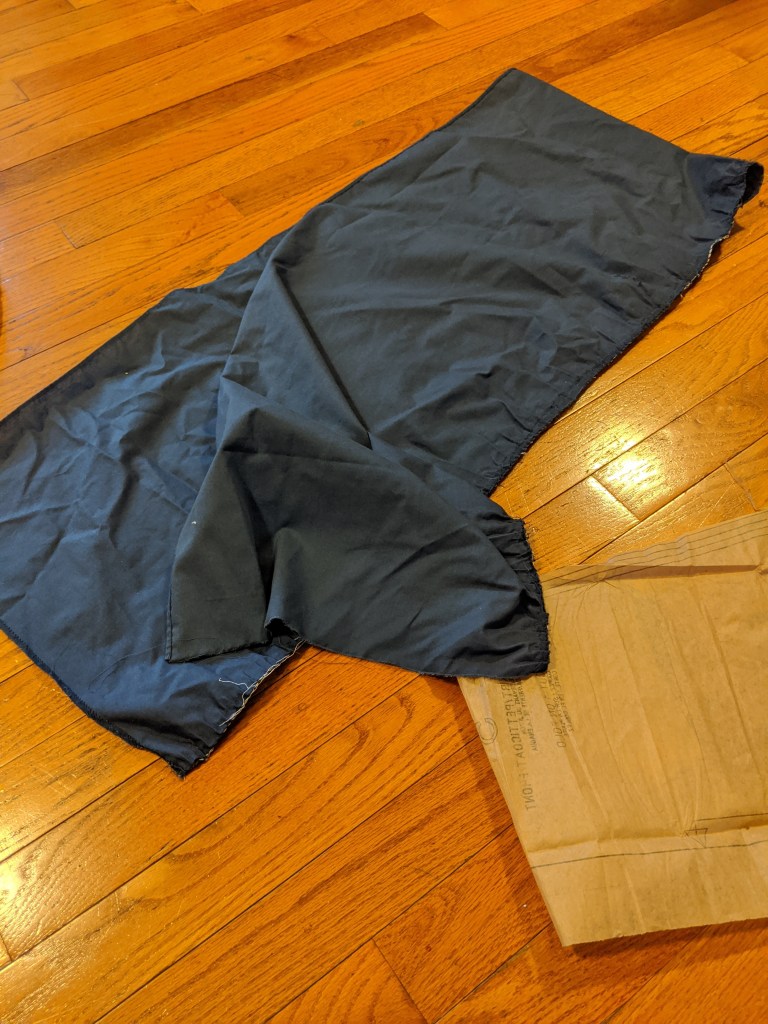
The pattern is a-line and the bottom of the skirt is curved. My bedskirt is straight, so I used the pattern for length, but cut the back skirt as a rectangle. I cut it about 2″ longer in the back to accommodate body shape and any potential bustle/bum pad. The side seam that connects to the front panel is slightly curved, so I used the pattern for that. The back is cut in one piece on the fold, and is the width of the bedskirt.


I wanted to make a contrasting waistband for a “mock” belt. I used the waistband pattern and stopped it at what I estimated would be the side seams. I cut a casing for the back for elastic (I cut it too narrow, but didn’t have enough fabric to recut it. In retrospect, I should have backed it with some scrap fabric to make it wide enough). I also cut out two long strips to make sashes. The waistband is lined with blue, and has fairly heavy interfacing.

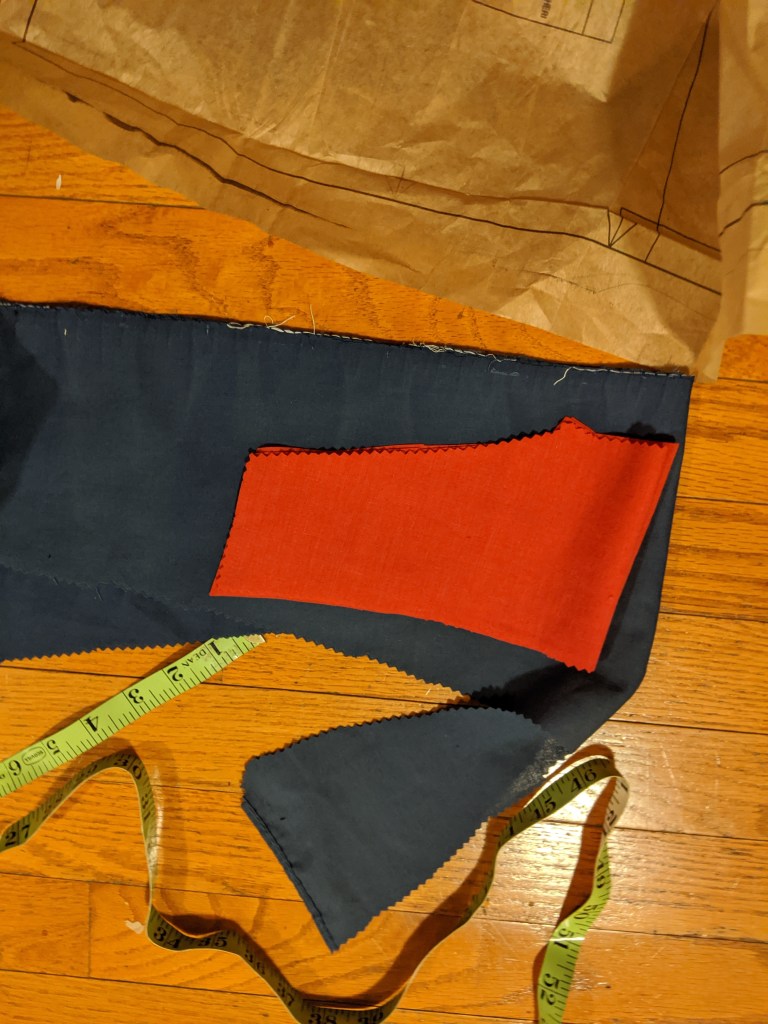

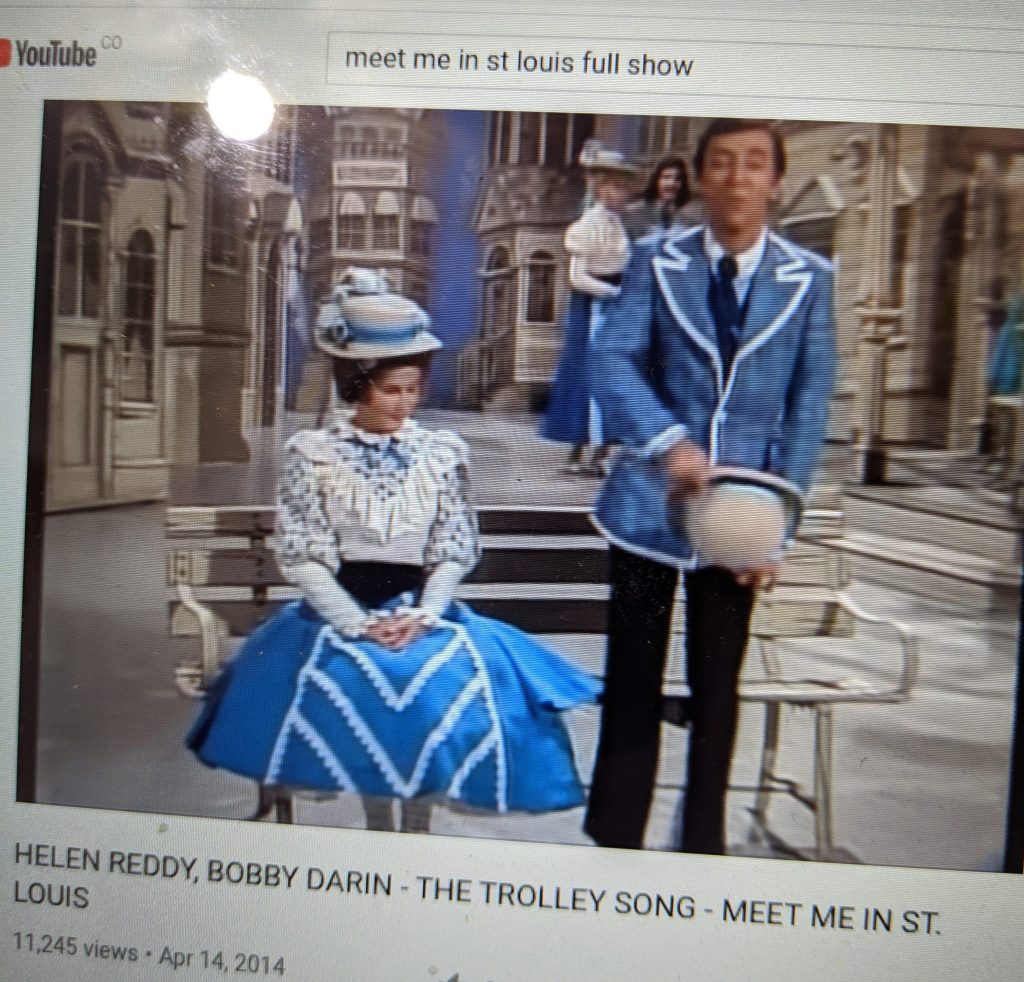
I was inspired to embellish the front panel with lace after watching clips from the Jane Powell televised version of “Meet Me in St. Louis”. I marked the lines with chalk and then appliqued the lace.


I did some measuring and cut the remaining bedskirt into two pieces (I had the short “end of the bed” ruffle, and what what left from the side I used for the front panels. One piece would be attached at the top, and the second would be between the two ruffles. The base fabric was too wide, so I ran some vertical pleats to narrow it down to the width of the top & middle ruffles.
I stitched on the top ruffle, and then I figured out where I wanted the middle ruffle, marked the stitching line on the base layer and top-stitched the middle ruffle in place. The two skirt pieces were then stitched together.
I had this idea that I would make the front waistband piece with the sash ends attached to it. The back waistband would form the casing for the elastic, and it would be tucked behind the sash and attached with a gap in the casing so the elastic would be accessible so the skirt could be adjusted. This was a vague idea, and it didn’t come together as planned.
As I mentioned, I cut the back waistband too narrow and it is very tight on the elastic, which is affecting the stretch. I also should have made the top back of the skirt narrower to reduce bulk. I had left the top layer of bedskirt gathered, and I maybe should have removed the gathers. Another time I might try sewing on a facing to make the elastic channel and allowing the top of the bedskirt to make a self-fabric waistband (on the right side), and let the sash create the “belt”. I didn’t visualize how the sash and front waistband would connect–and let’s just say, it’s a mess and I probably need to redo it if I ever want to use/sell this skirt. So . . no pictures of THAT!.


You might also note in the side pictures that I didn’t have the ruffles inserted in the front panel seam evenly–and I didn’t notice it until I was looking at photographs. That has been fixed.

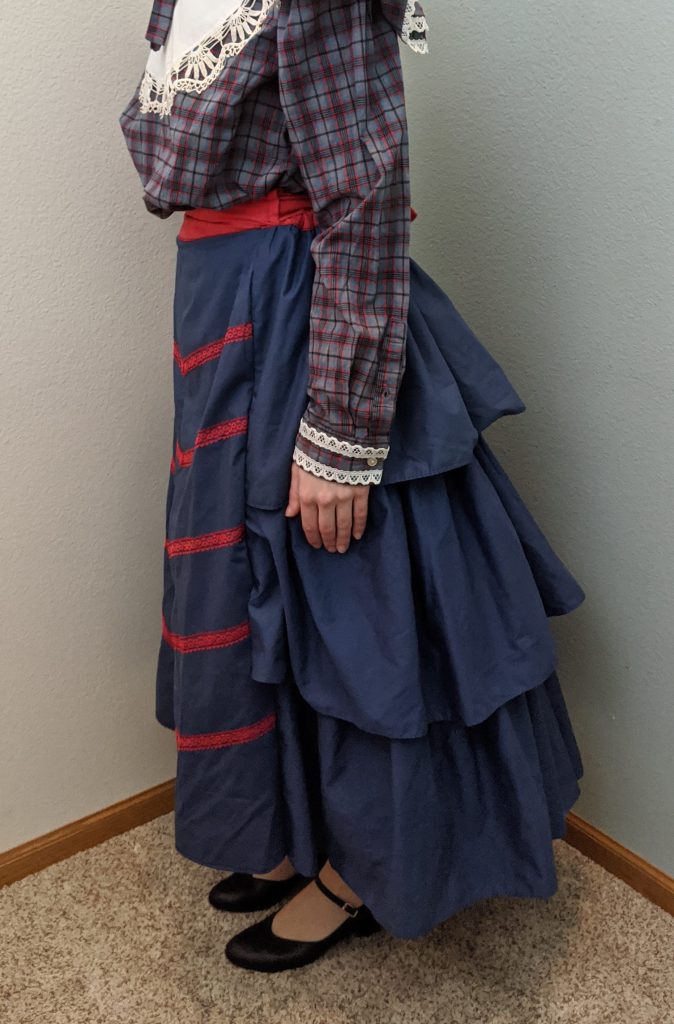


I think the skirt is cute, and it moves very nicely. It isn’t necessarily period-accurate, but I think has a great period-costume vibe. It also is very full and is fun to wear. It has lots of potential for adding lace & trim to the back tiers.


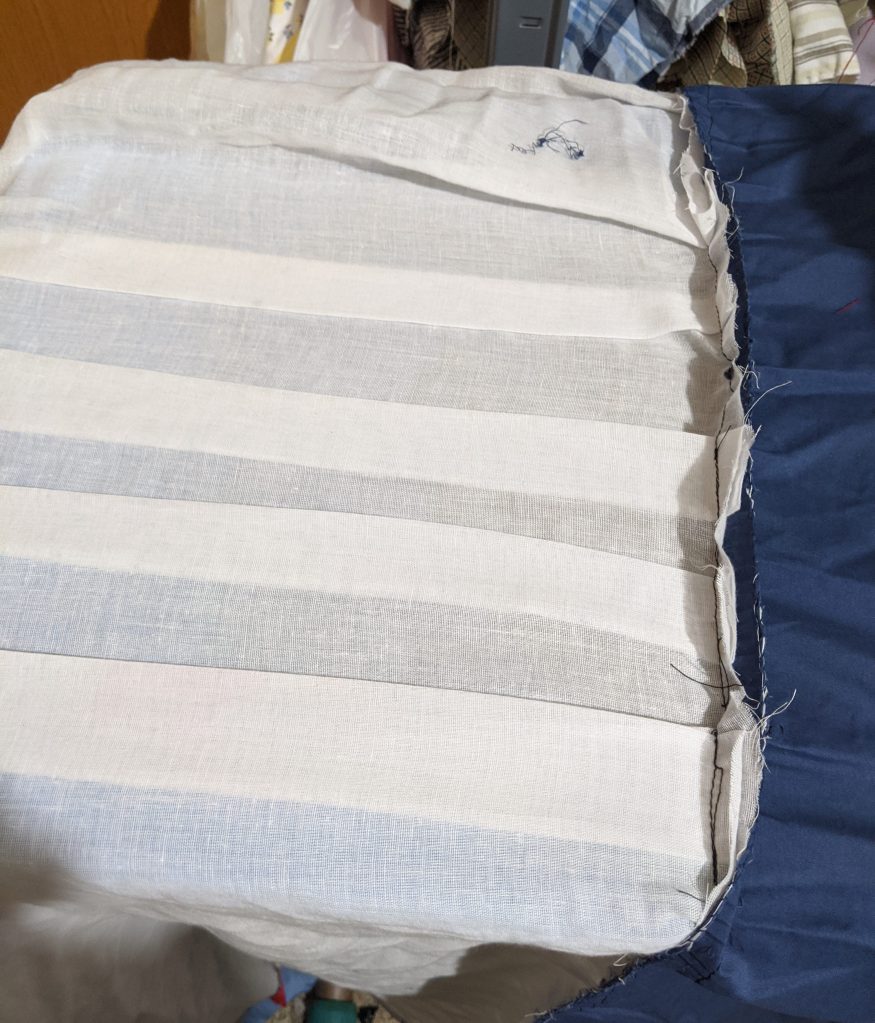
The petticoat is another one that I made out of a discarded prom/wedding dress underskirt with added trim along the hem–very inexpensive and very quick. I used eyelet, but you could use anything–even simple strips of white fabric.
Here is the skirt without a petticoat:


Overall, I like the look of the skirt from a distance, although the waistband definitely needs some tweaking–it’s bulky and at this point there are raw edges everywhere. The skirt took me longer to make than I would have liked as messing with re-sizing the back and the waistband was time consuming, especially the first time around. In my area bed skirts are quite inexpensive, and the lace also came from a resale shop, so the skirt was very, very low budget.
I also like the contrasting waistband/belt and the sash. No forgetting or losing the belt. The chevrons were easy to do, and hide the center front seam. I used red lace, but you could use just about anything, including bias tape or paint. Not my best effort in execution–but the idea has definite potential.


Supplies: bedskirt, scrap contrasting fabric, interfacing, elastic, trim
If you enjoyed this post, don’t forget to “like” and “follow” and I love comments and talking costumes.


I think it looks great and gives the right vibe. I also love how she has her character shoes on in some of the pictures. You can always tell a show kid because they can whip out those shoes at a moments notice.
LikeLike
Lol . . . actually . . . I had to buy her those at a thrift store. When V. graduated from HS I gave her character shoes to the school, but . . . for these costumes, it seemed like she needed something more “theater” to wear.
LikeLike
You’re so clever!!! It looks great!
LikeLike
Thanks!
LikeLike