

My next project was to return to the Black Snail #0816 pattern. I had a couple of goals in mind. First, I wanted to make a smaller size that would fit my model better. Second, I wanted to continue tweaking the man’s shirt upcycle possibilities.
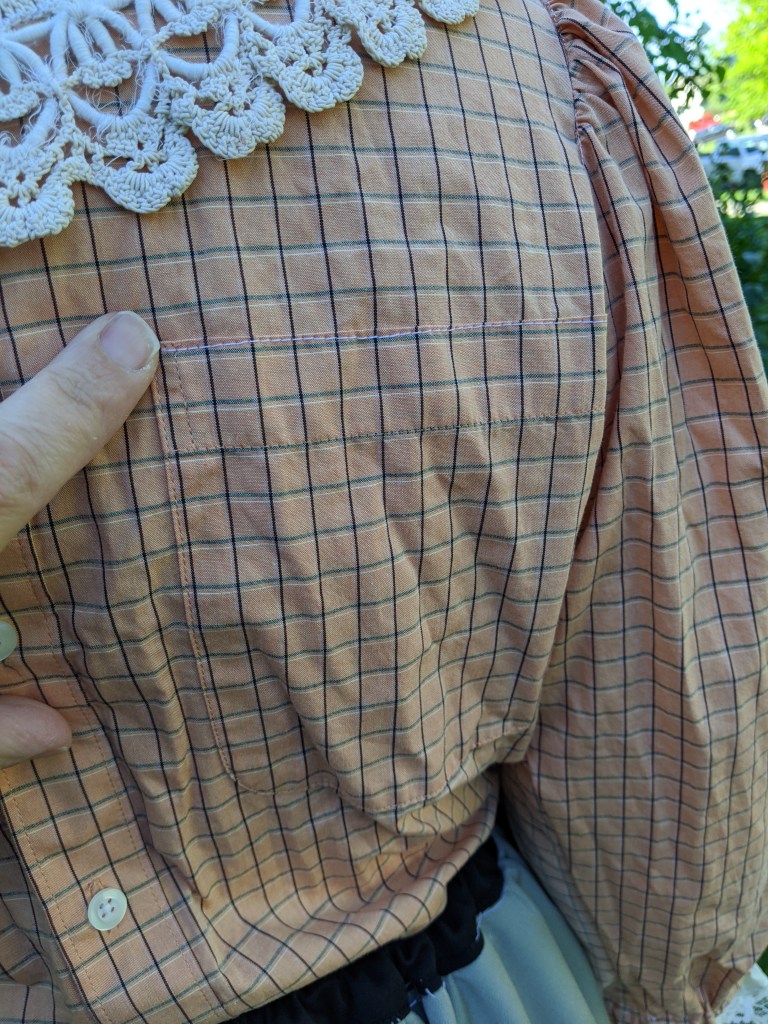
I started by deconstructing the chosen shirt. I removed the collar and band, cut out the sleeves and removed the back yoke (I’ve shown the pleat typically found on men’s shirts). I opted to leave the pocket in place–would it be noticeable?


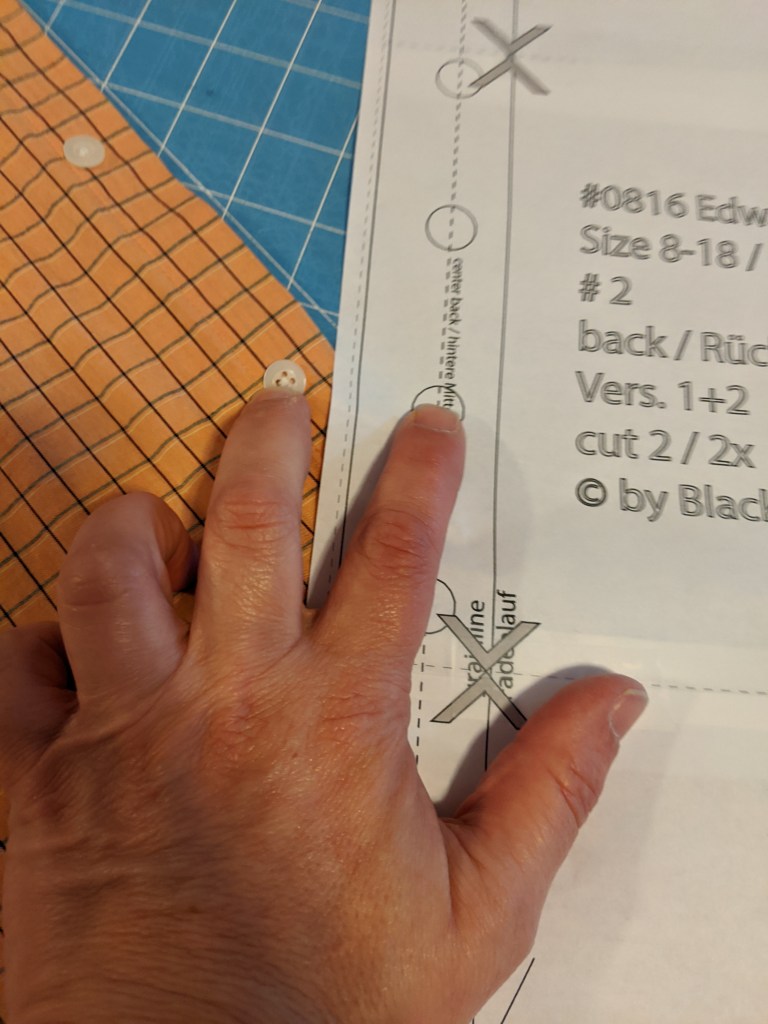
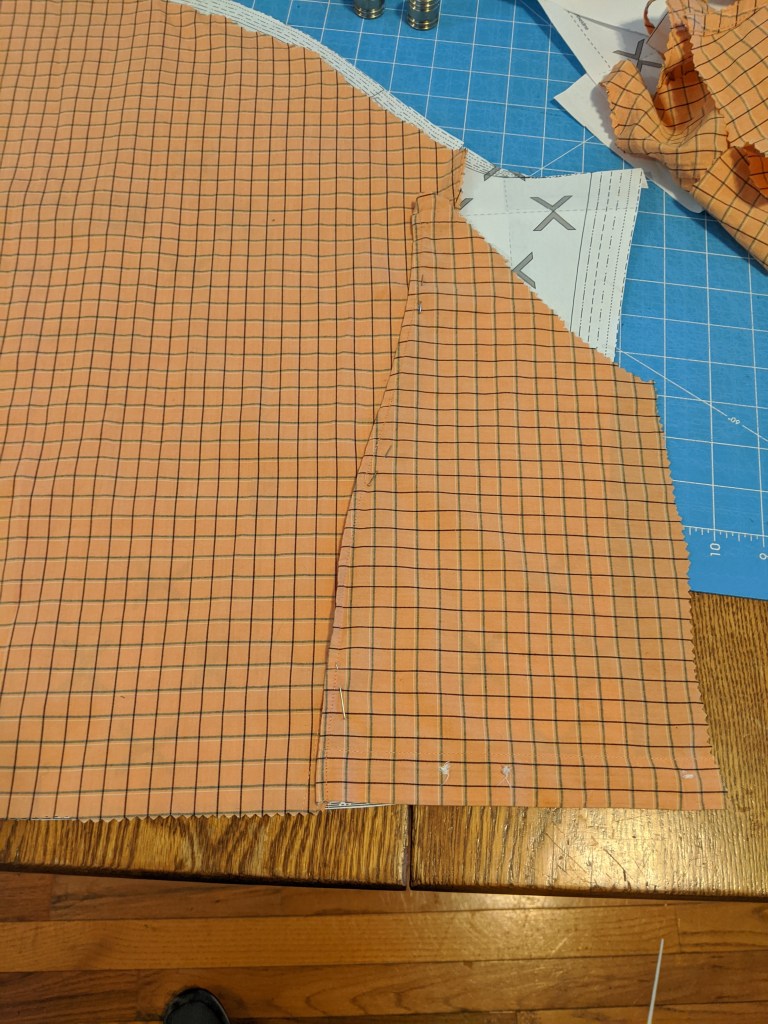
Since I had already done a similar shirt (Blue plaid Edwardian Upcycle Blouse (Meet Me in St. Louis) ), I didn’t need to play around with how to lay the garment out. The front was cut out of the folded back of the shirt, and the two front pieces were cut from the original shirt front, lining up the button line with the existing buttons.


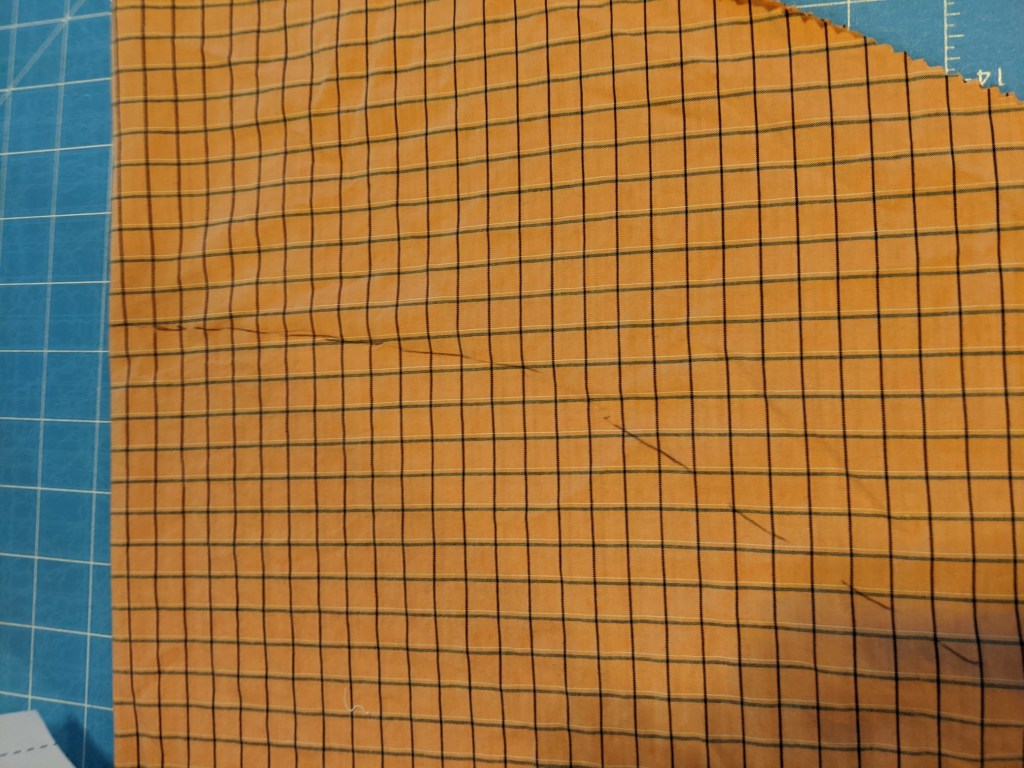
I marked the waistline on the shirt and front backs.

I opened the sleeves up along the seam and removed the cuffs. Then I played around with the piece of fabric and my pattern. Part of the decision making process was if I would just inset the sleeve I had, add an insert in the center, or ??? This pattern is a little tricky since the sleeve piece is not symmetrical.


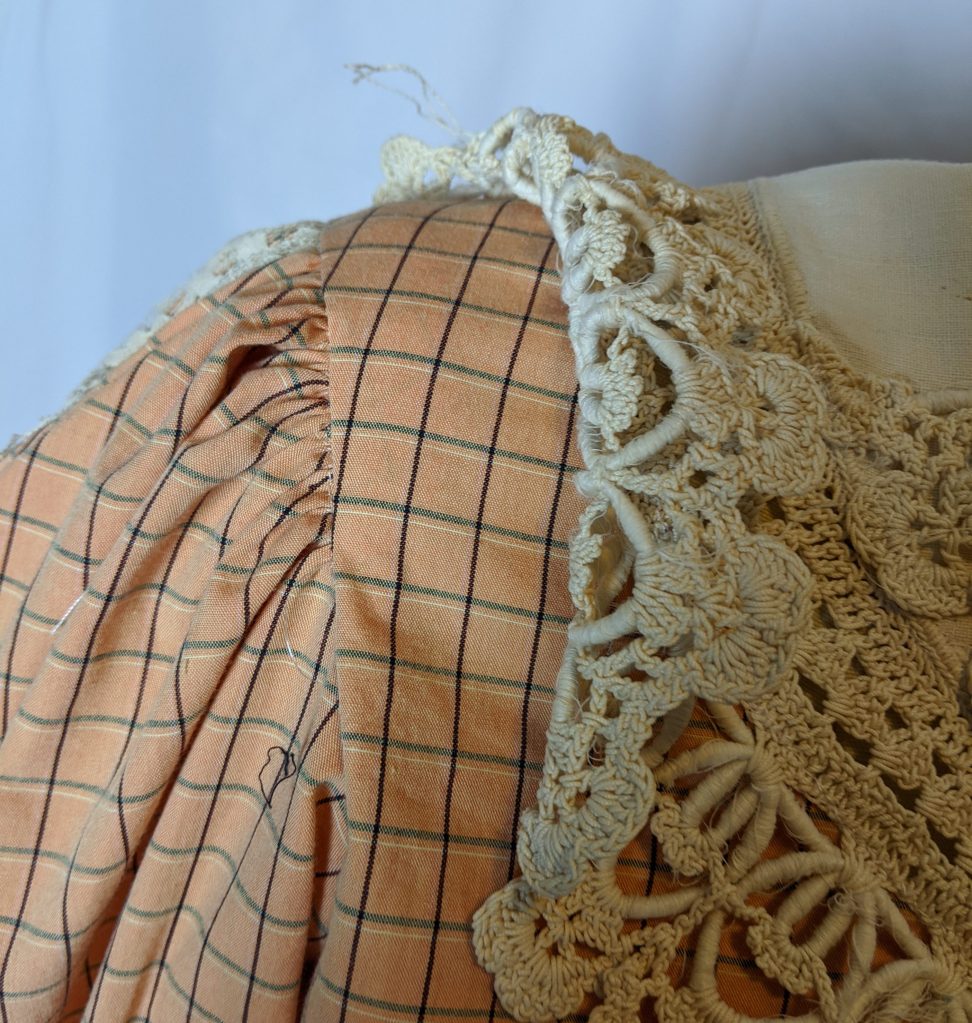
I decided to use scraps of the leftover fabric and splice in the missing parts. The sleeve is a little off grain, but not enough to make any discernible problems.


The splicing was done in a way that “makes sense”. Sometimes I made a traditional right-sides-together seam, and sometimes I folded the edge under and topstitch it in place. No right or wrong–just whatever works with the pieces. In this case, I did make an attempt to line up the plaids.
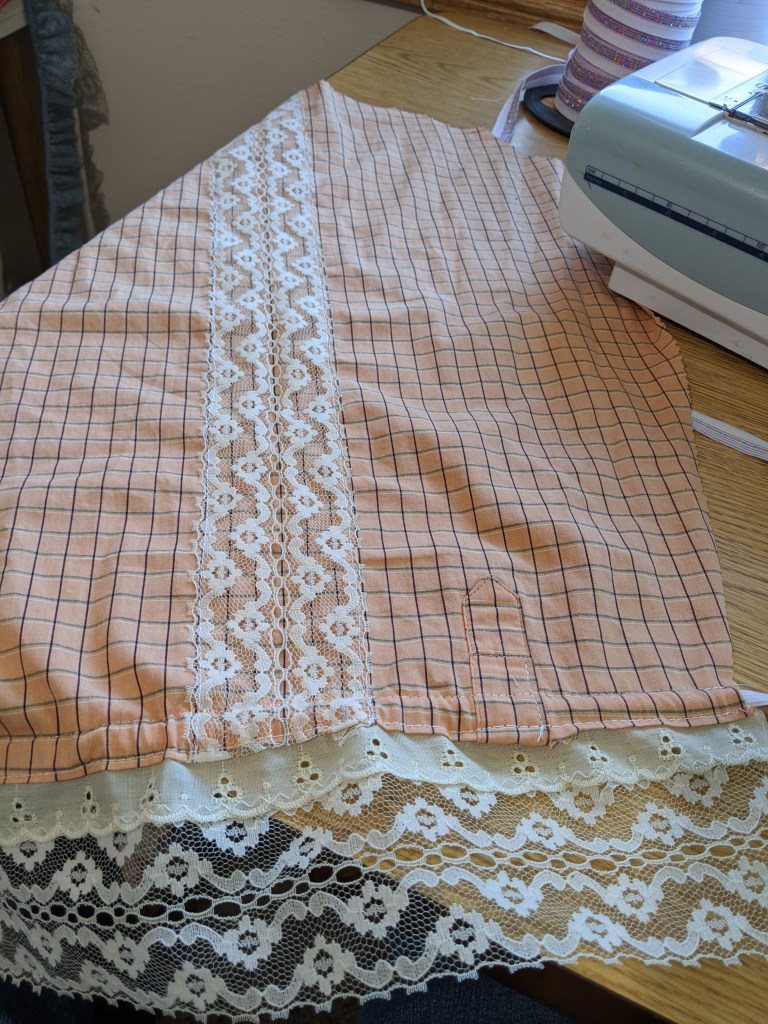
Once I had my sleeve shape stitched together, I added some lace and finished the lower edge while it was flat. I used some wide eyelet to make a casing, and the added some extra lace. Elastic is threaded through the casing and stitched in to the seam. The top edge has gathering threads placed.


I decided to use a doily for the collar. Instead of using the pattern to cut the neck hole, I simply stitched the front & backs of the blouse together, pressed the garment to be sure it was smooth and flat, and carefully lay the doily on and pinned it in place. I hadn’t envisioned such a large gap in the back, so I check it on the dress form, and yep, it was on the way it needed to be.
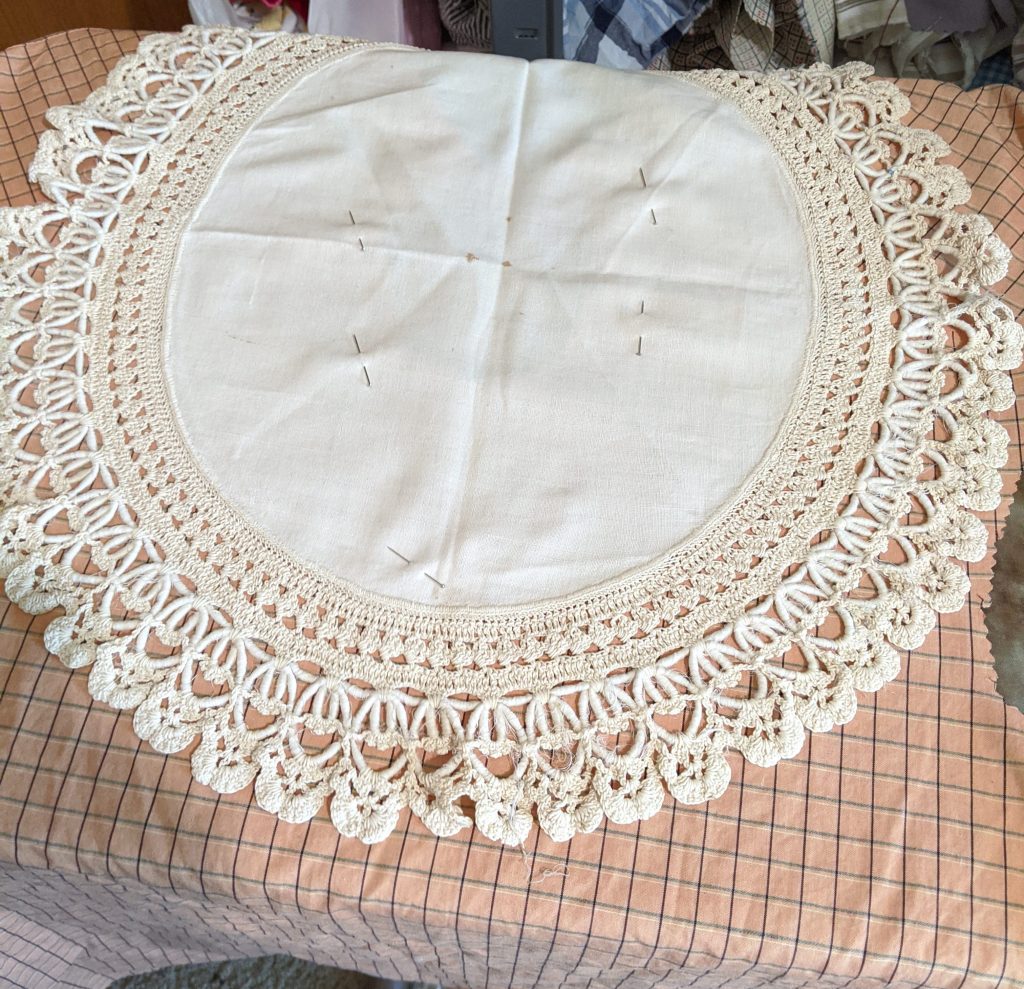


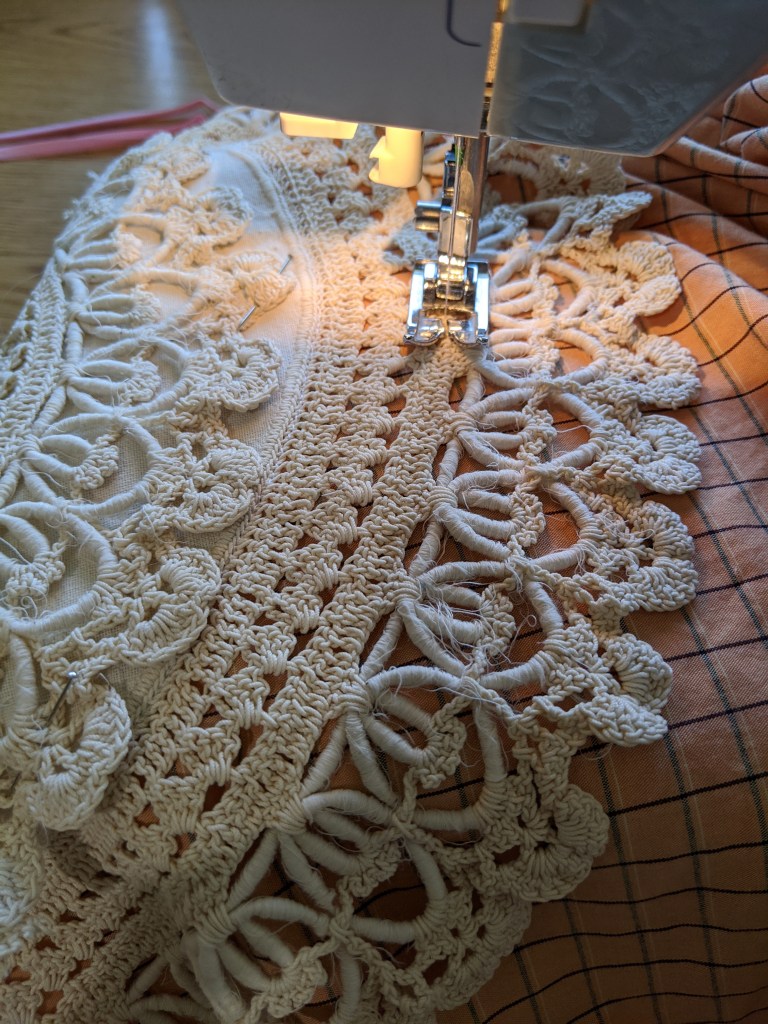
I cut out the excess doily, and then basted the neck opening and stitched the rest of the doily in place. I decided to cut out the fabric from behind the inner circle, but, it doesn’t really show when it is worn.


I appliqued on the waste doily, because, why not?

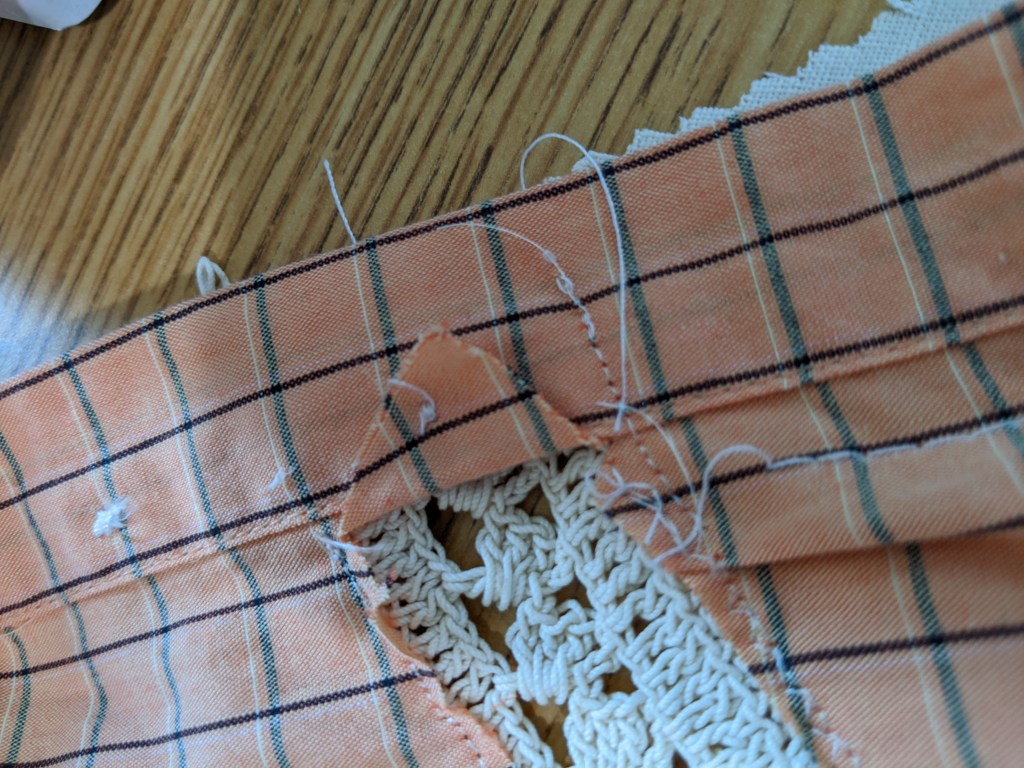
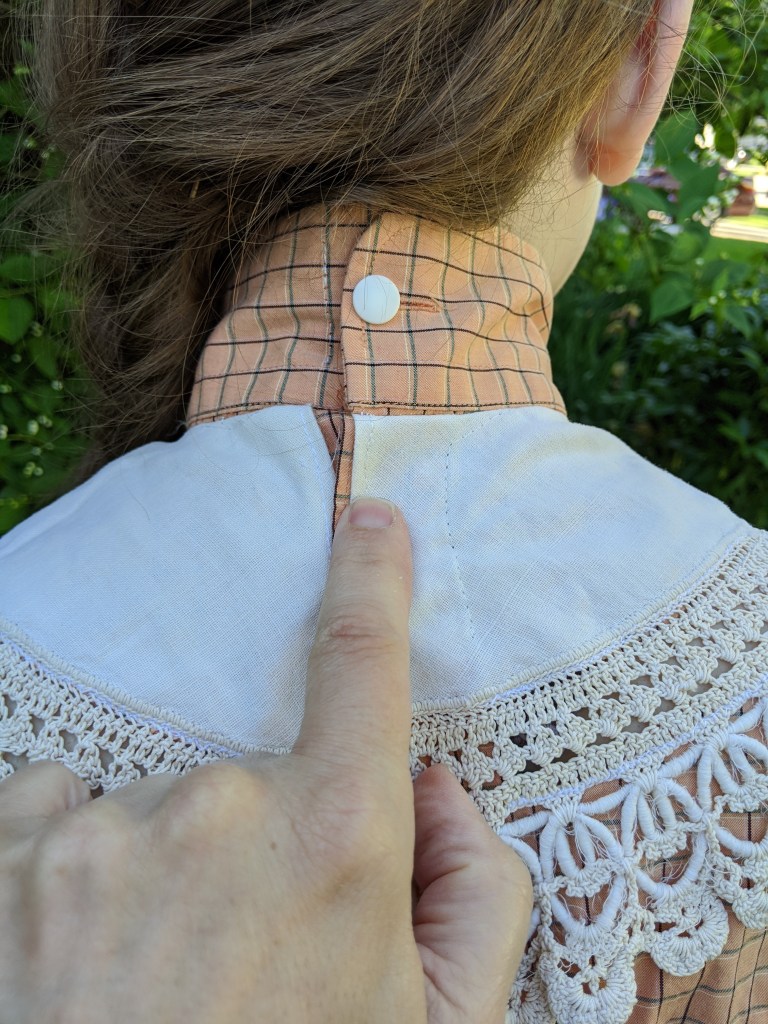
I decided to use the discarded cuffs as the collar. I stitched the cuffs together, and just sewing the piece to the neckline, trimming it when I got to the opposite side. The seam is off-center, but it doesn’t really show. Note that I cut the cuffs off leaving about 5/8″ to create the seam allowance.


Next I added elastic to the waistband. For this project I added sewn in elastic on the two back pieces, and a casing with pulled through (adjustable) elastic on the front. On a subsequent shirt I just ran a casing on the whole thing. Six of one, half a dozen of another.
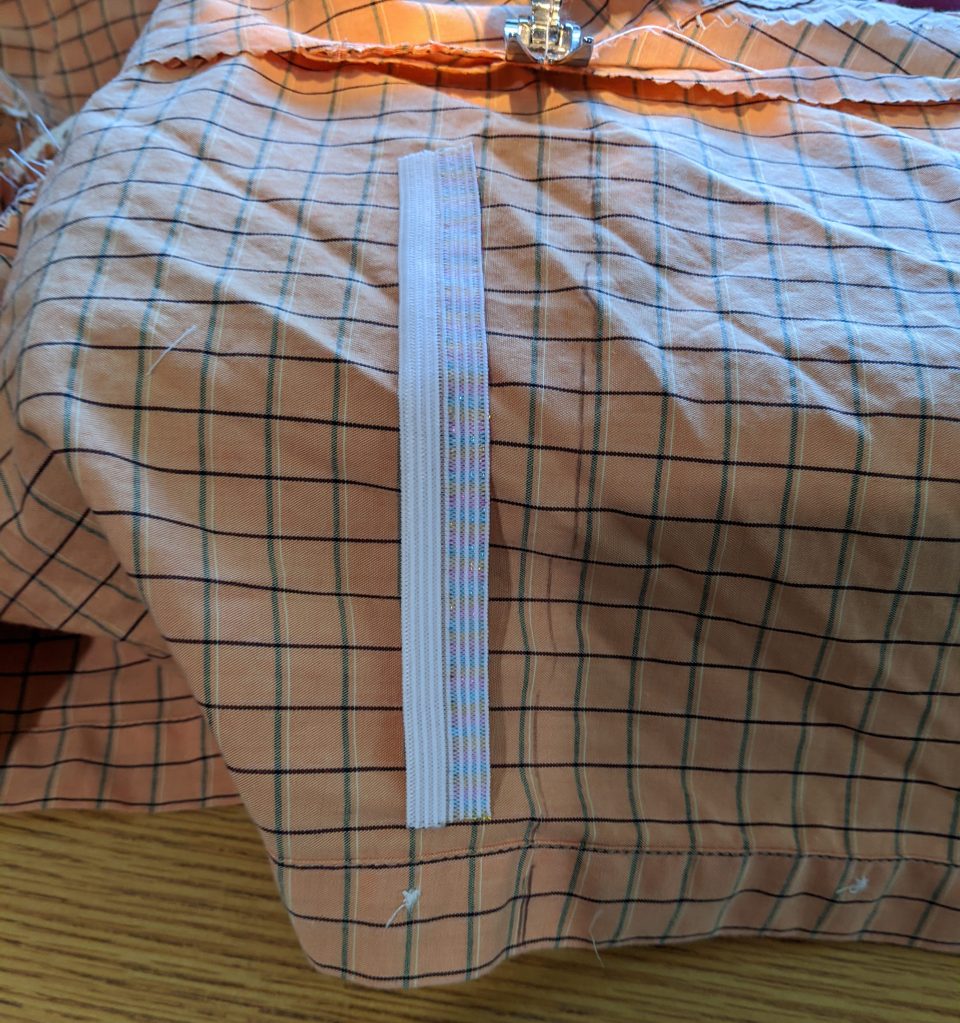
elastic cut slightly smaller than fabric 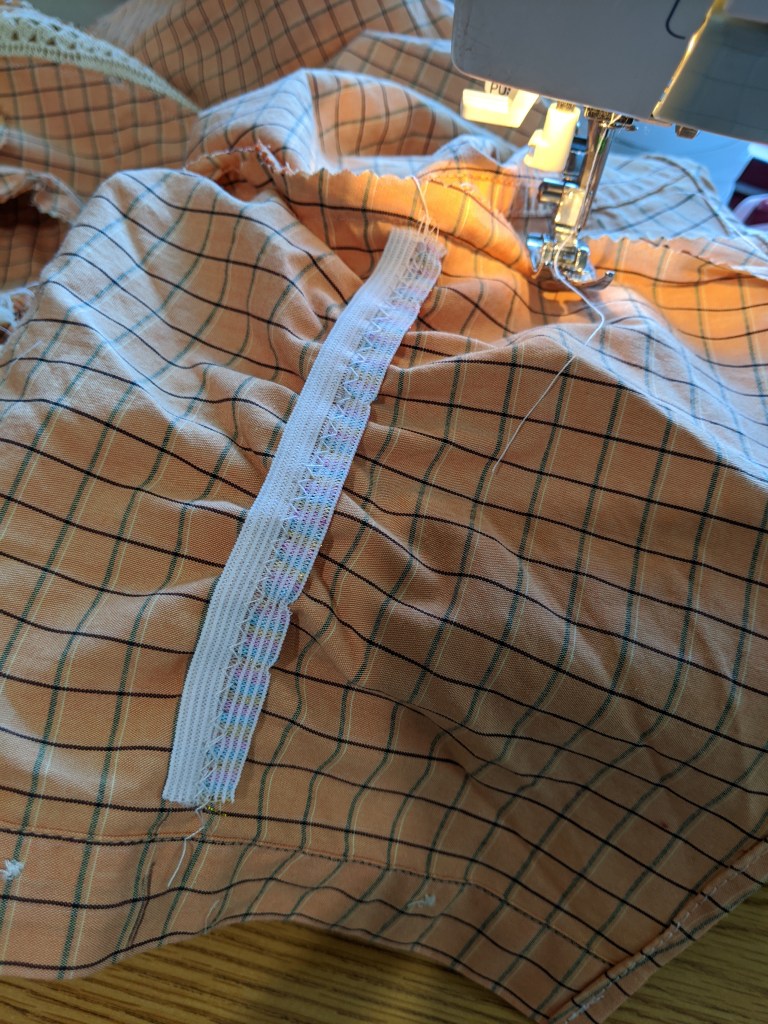
elastic stretched and zig zagged in place 
I added a kam snap to the back of the collar. The shirt probably needs another snap at the top of the button placket. The doily isn’t perfectly even, but for a costume I don’t think it matters.

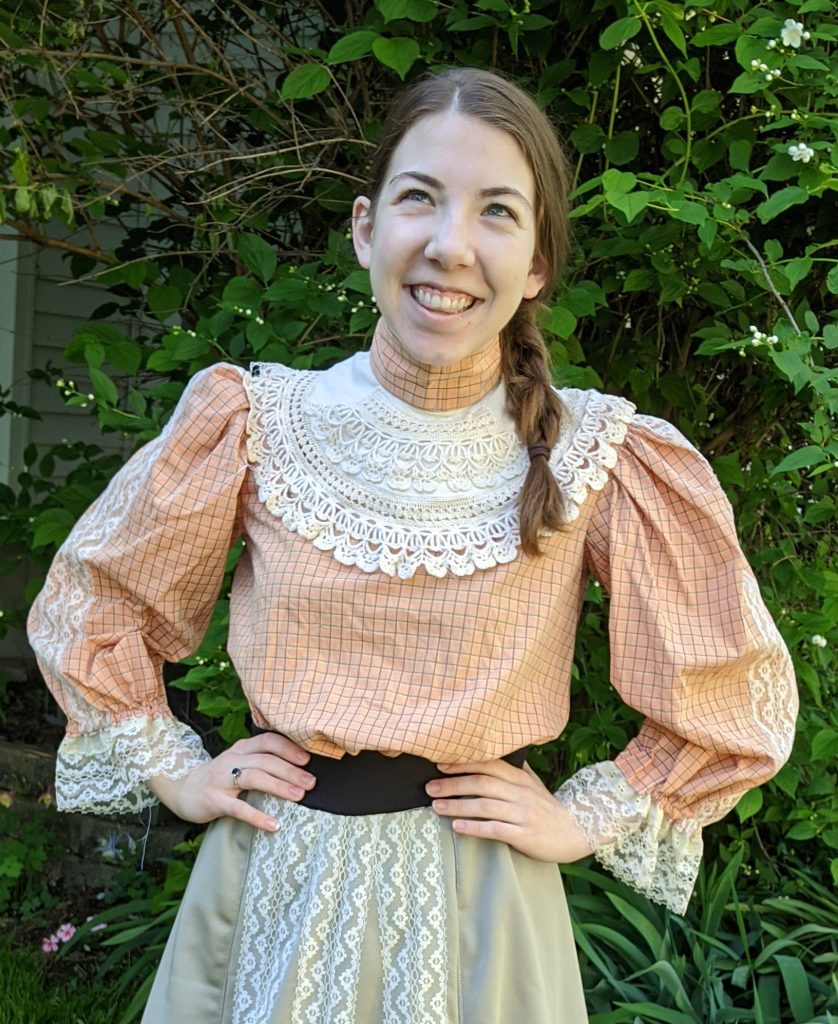
Finished shirt:


The spliced sleeve really doesn’t show at all. Nor does the pocket on the back (the top was stitched shut).
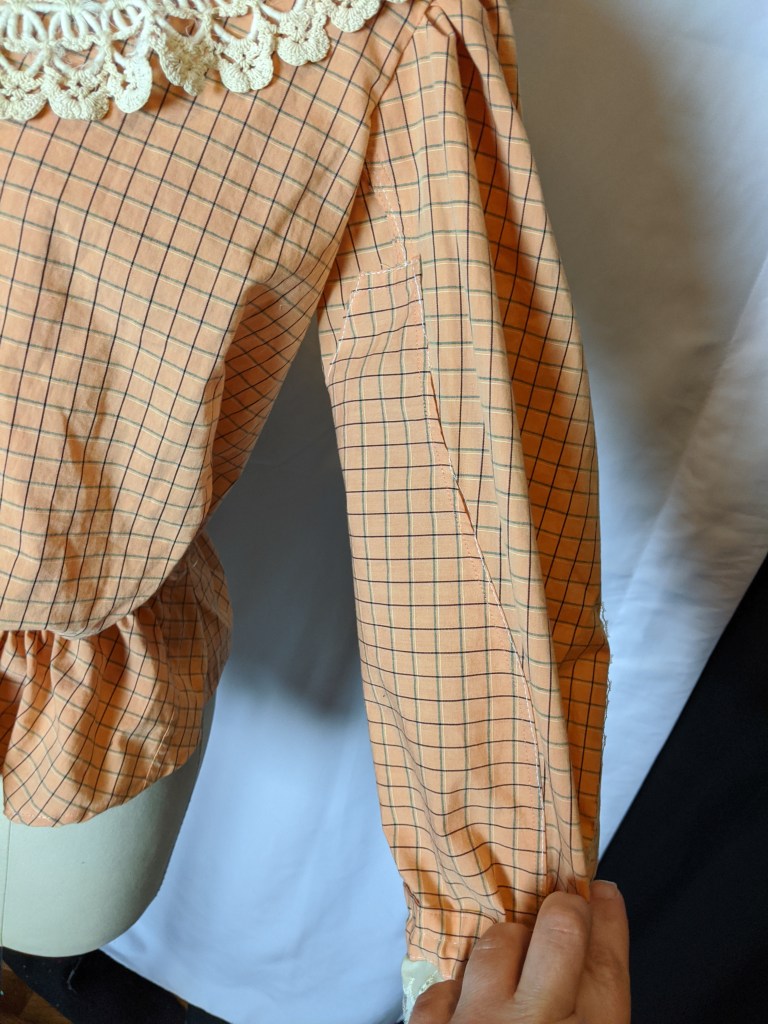
I really like how this blouse turned out. It fits my model well. I love the fuller sleeves and while the splicing took a little bit of time–the cost benefit ratio was reasonable. It was not worth the time to remove fabric behind the cutwork of the lace, largely because of the peach tones of the shirt match the skin tones of the model. Another shirt or a different model, and it be more noticeable Using the cuffs for the collar was really easy. My daughter was loving this costume.


Supplies: man’s button down shirt, doily, trim (lace, eyelet), kam snap, elastic, bias tape
In my area, a thrift store shirt can range from $0.25-$5. It pays to “stock up” when stores are having a winter clearance and you can pick up long sleeved shirts. I also suggest buying the largest size possible. Other than the button placket, this project is using the shirt for fabric more than anything else. Doilies obviously vary in price, but in my area it’s $0.50-$3 depending on the store, size of doily, stains etc.
*****************
Enjoy this post? Don’t forget to “like” and “follow”. I love talking costumes–so comments are more than welcome! Unfortunately, wordpress doesn’t allow photo comments, but if you make a similar costume you’d like to share I’d be happy to add it to my post, you can email me at costumecrazedliz@gmail.com


Hi, I wasn’t really sure where to ask this question but I figured since this was your latest post I would ask here.
I was looking for costume ideas but I’m a little confused on my era’s, I’m wanting to base a somewhat historical accurate costume around a straw poke bonnet that I created (and a red cotton multi tiered floor length skirt I found at a thrift store ) . However I’m not really sure what year I should look up to see what style of clothing was worn with this style bonnet, or what accessories like bloomers/petticoats and etc go along with the era. I’m somewhat of a beginner in sewing clothing so that’s why I say I’m only looking to make something somewhat historically accurate because I don’t know if I could easily recreate something fancy, thanks in advance for any reply and I’ve really enjoyed your site and tutorials!
LikeLike