So . . . . being a Dance Mom, in addition to the Band Mom, Musical Mom, 4H Mom and Mom-of-College-Kids-who-need-help-moving can keep a person a LITTLE busy. Therefore . . .very little costuming this summer 😦
One of my big summer projects was to update the Pom uniforms worn by our high school dance team. They were purchased a number of years ago, and with repeated washing the gold metallic fabric has dulled markedly. Along the way, someone had embellished the tops with inexpensive plastic gems attached with E6000 glue. The gems were beginning to look dull and yucky . . not shiny at all.
While this post isn’t exactly costume related, the updates I did could be used to embellish costumes. I will also do a quick review/tutorial on how to make a basic cheer/dance bow, the general principals of which can be used to make bows for productions.
POM UNIFORMS:
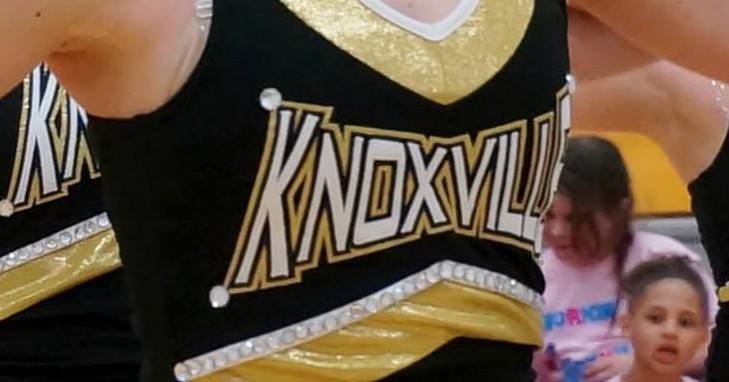
This is how the uniforms looked. You can see the gems are glued on. I was able to find out they were glued on with E6000 glue. I did some googling, and found a nice Ice-Skating-Mom blog where they talked about removing that sort of glue (and hot fix glue) with Goo Gone (also paint thinner) without damaging the gems OR the fabric.
I had 15 tops that needed the gems removed. I found the easiest method was to use Q-tips and “paint” the Goo Gone on from the back, wait a bit, and then peel the gems off. I did this outside to avoid fumigating myself. I then had a bunch of really smelly tops. I washed them with some Dawn, thinking that might help break up the compound . . did it help? Who knows. I then washed them in my HE front loader on gentle and hung them to dry. They did still smell initially, but it went away. My washer also smelled, but, that too, eventually subsided.
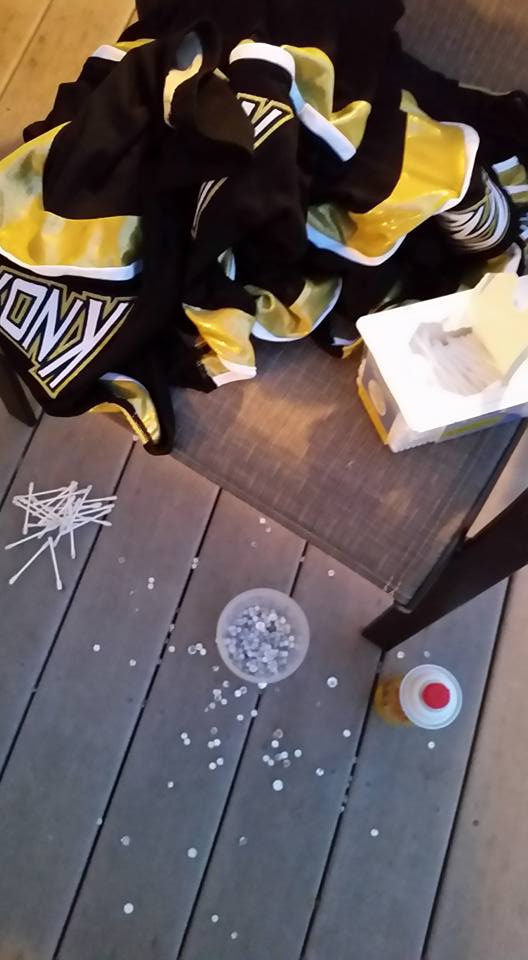 Piles of tops, Q-tips and gems ALL OVER. I think some are still stuck between the boards on my deck (altho most popped out with a butter knife).
Initially, I did quite a bit of research and brainstorming to figure out what to add to the uniforms that would be 1) glittery 2) economical and 3) relatively easy to put on. After all, I had 19 uniforms to do! I considered hot fix gems, but to get gems of any size it was not going to be cheap, AND, I suspected, to made the rows straight on the front of the tops was going to be harder than it looked. A big consideration is that the tops need to stretch. This eliminated a lot of options. Along the brainstorming though process I considered string sequins, sequin fabric, glitter heat press fabric, sew on glitter sheets, jewels, etc.
Eventually I settled on DecoSparkle from Specialty Materials. The instructions for the stuff tells you that it will not work on nylon, but, it also says it is ideal for dance and cheer wear . . .so . . .since I couldn’t figure out the fiber content of the uniforms definitively . . .I am hoping it stays on! Luckily, my local screenprinter is (almost) always willing to help me out with crazy projects, and she was willing to cut out YARDS of the stuff into “sequins”. (I think she regrets it now, LOL). (Prior to beginning, I did test some of the “sequins” on the inside of the outfit and they did go through the wash successfully.)
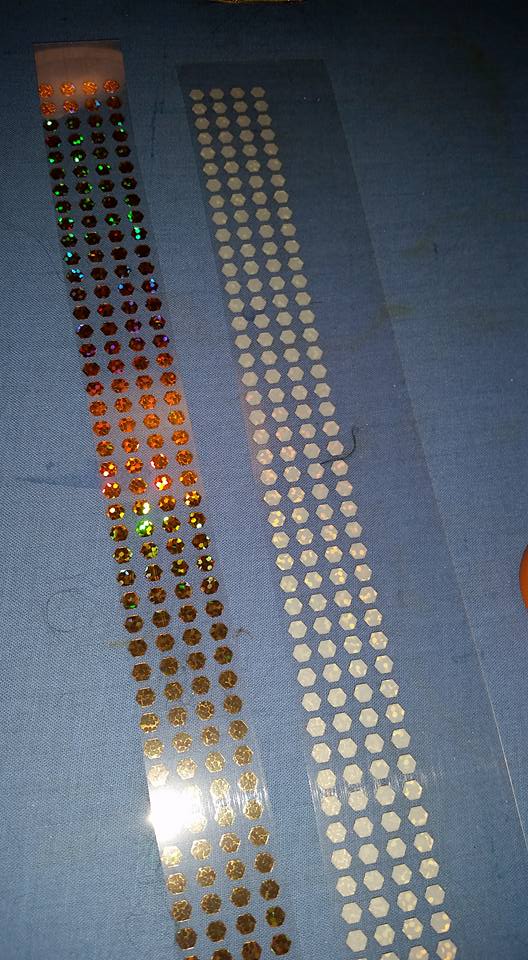 This is what it looks like when it is cut out and “weeded” (I have saved the removed sheets of glitter stuff with holes cut out . . eventually they will be used for a different project). I received it in sheets that were about 18″ x 12″. I then cut it into strips as needed. Initially I tried applying it with my household iron. You can do it, and I did get about 2/3 of the “sequins” to stick well enough to go through the wash, however, with the amount I was putting on, it was hard to maintain even pressure and make sure they were all well attached (about 320 degrees for around 15 seconds). Right now, I have the “sequins” lightly pressed to the uniforms and I am going to go and use the heat press in the shop to (hopefully) seal them on. The good thing is, if a few fall off, I can easily iron on some replacements, but, I believe they will stick with more uniform pressure and heat. (Actually, I heat pressed them yesterday and they look FABULOUS. That took about 3 hours with the commercial heat press).
Right now I have piles of uniforms ready to be heat pressed:

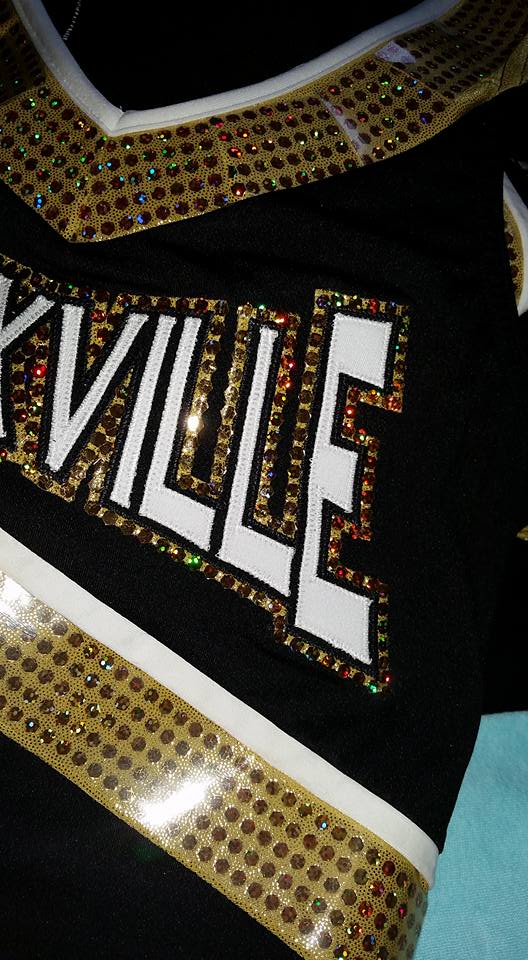
I used strips of “sequins” around the bottom of the skirts, the neckline, and the front gold stripe. I used single strips of the “sequins” to outline the logo on the front. I used a small adjustable temp quilting iron to iron on the sparkles. You can use a teflon sheet, but, I have found out that the backing is heat-resistant, and you can iron right on that. Did this take time? Yes. What is horrible? No. It actually went reasonably quickly, and the uniforms look better and it makes my daughter happy.
As with all things . . .doing one wasn’t bad. Doing two was kind of fun. Doing the next 17 . . . B-O-R-I-N-G. The real test will come in a couple of weeks when they perform on the football field . . . hopefully they will look wonderful.
Cost? Well, that depends on how much it will cost you to get the “sequins” cut which would vary by vendor. You can buy small sheets of glitter/hologram bond stuff at Craft Stores like Hobby Lobby, but is is fairly expensive that way, but if you only need a little, it is not a bad way to get some to try. You can also order it from a place like HeatTransferWarehouse, and the price varies by how much you order. But, to do a big project like this, access to the commercial equipment made a world of difference.
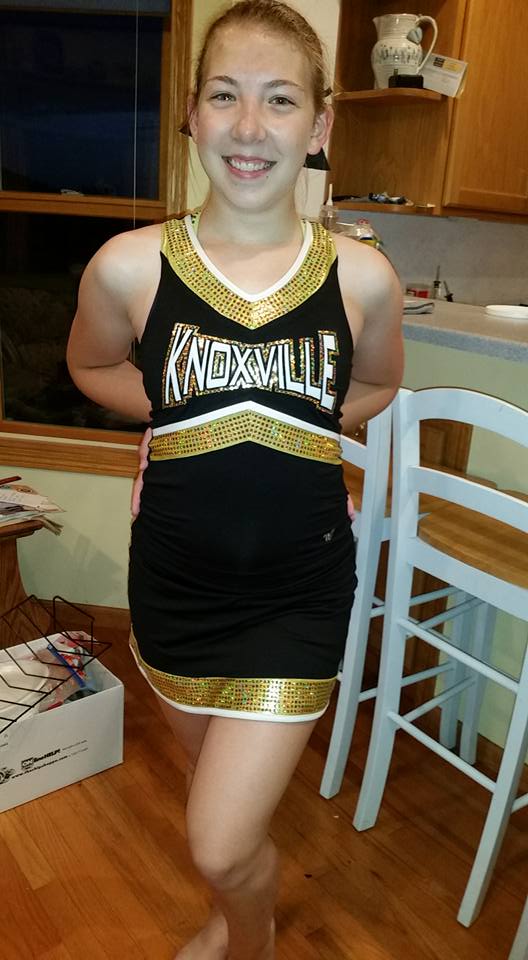
Completed uniforms.
I truly am in love with heat bonded sparkle and glitter stuff. My local screenprinter will give me scraps of stuff she has weeded off of shirt orders. These are great for adding “gems” to costumes. It is also a great way to add non-shedding glitter to garments. I am also able to order strips of shapes for projects. We used this method to put the logos on the back of our T-bird and Pink Lady jackets (another future post!). I previously used some in the post of the Ana-inspired costume.
CHEER/DANCE BOWS
I do not pretend to be an expert on making bows. I love a good tutorial, and I have read many of them on the internet and watched a number of videos.
This is one of my favorite ones. It is followed by a link for a Cheer bow template, which I have found very helpful. This is a one piece bow.
Click to access 5843a6e764.pdf
The other method I have used it to make it in two pieces: one making the top loops, and the other making the tails.
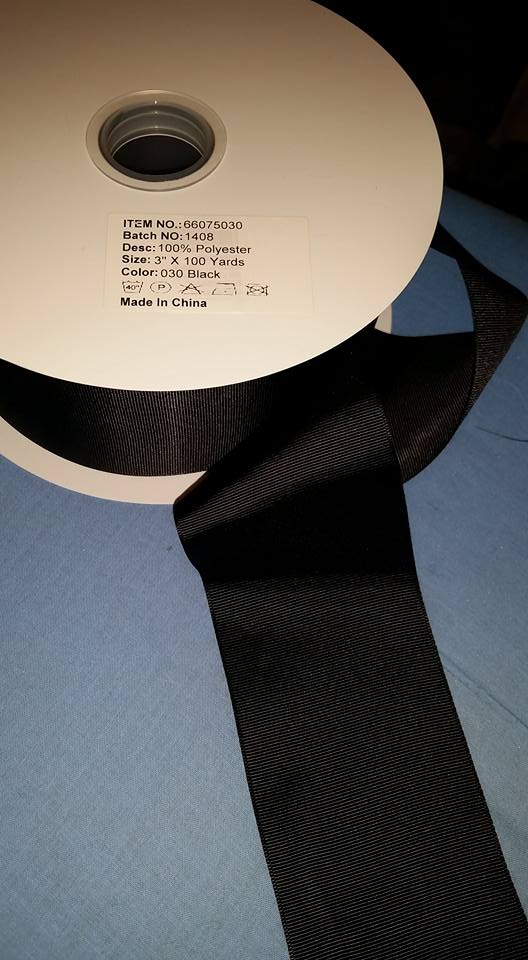
The advantage to making your own Bows is cost savings. It does take a little practice, so I would recommend messing around with some scraps before using your “good” supplies. The main “base” of a cheer bow is 3″ grosgrain ribbon (or 4″ if you are really into big bows). You can find 3″ ribbon in small rolls at a craft store like Hobby Lobby. If you are going to make enough for a team, order it online in 25, 50 or 100 yard rolls.
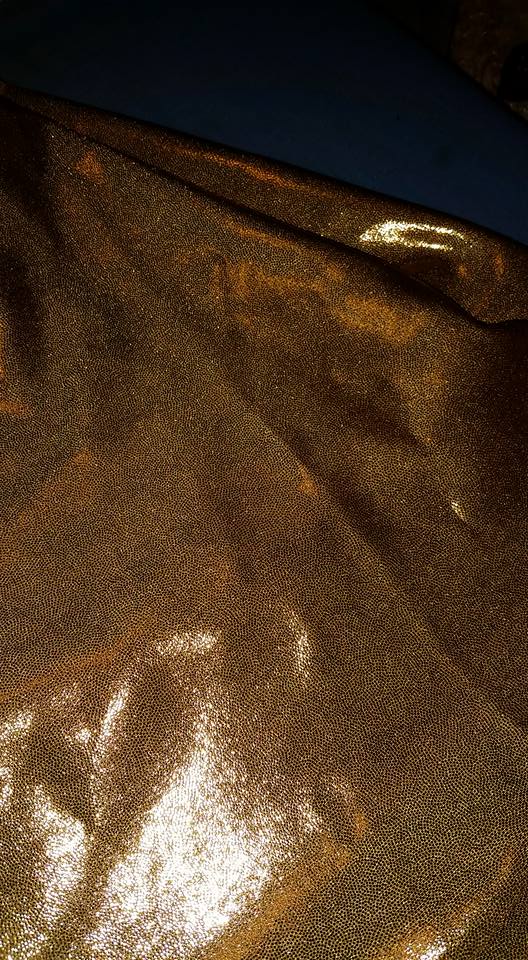
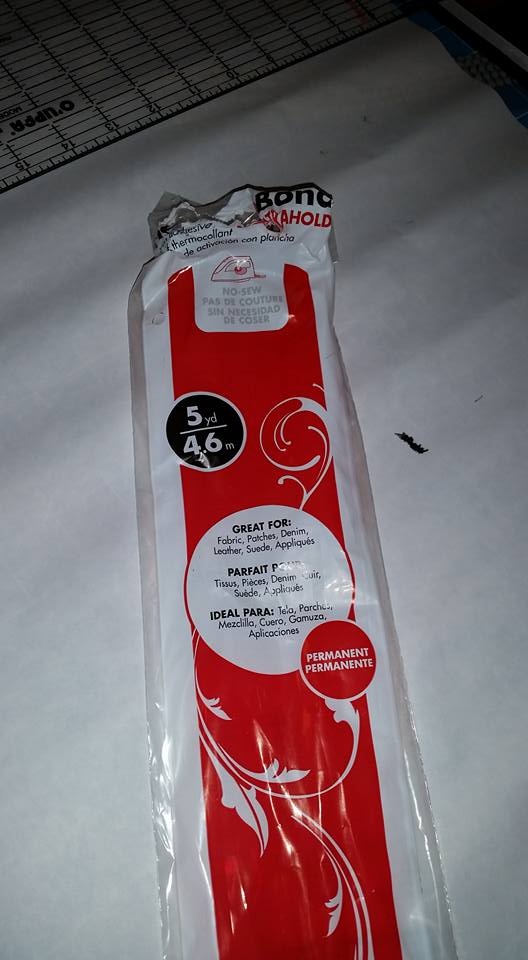
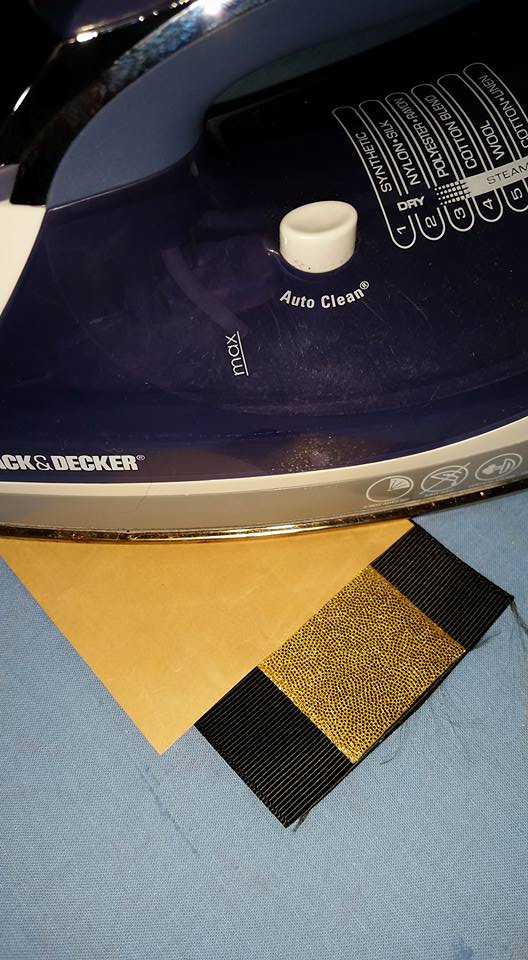
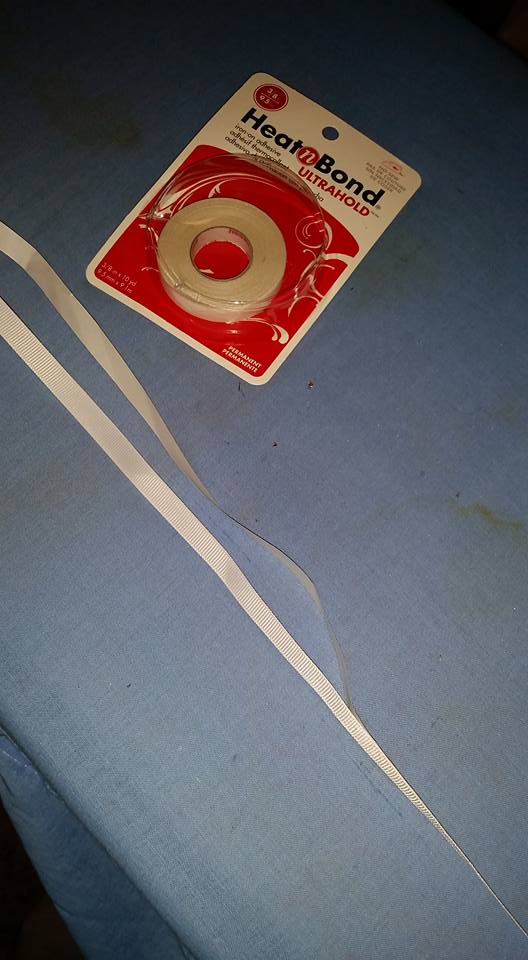
Other supplies you will need are sheets of Heat’n’Bond (I use red), a scissors, a rotary cutter and matte (optional, but make life easier) and whatever fabric & embellishments you want to add. I have seen tutorials using fabric glue (ie FabriTac, or spray on adhesive. I have not had good luck with those). For this project I am using black 3″ ribbon, gold metallic fabric, white 3/8″ grosgrain ribbon and strips of decosparkle “sequins” (seen above).
If you can’t find 3″ ribbon, you can buy 1.5″ ribbon and attach it together. You can do this by using a large zig-zag (and then I like to cover that with bonded ribbon), or just bond them next to each other on the base ribbon. A nice stiff bow has two layers bonded together. The bottom layer is the grosgrain ribbon and the top layer can be whatever you want in terms of ribbon or fabric. It does make the bows a bit more expensive, but, I like them stiffer. There are other methods of stiffening/shaping bows, but, I just use the Heat’n’Bond. (Single layer bows can be “shaped” by baking them–look up how to make korker ribbon to get the idea. Just remember that if you used hot glue to finish your bows, it will melt in the oven.)
I start by cutting a 28″ piece off my Heat’N’Bond. I use a rotary cutter, however, a ruler, a pencil line and a scissors would work as well.
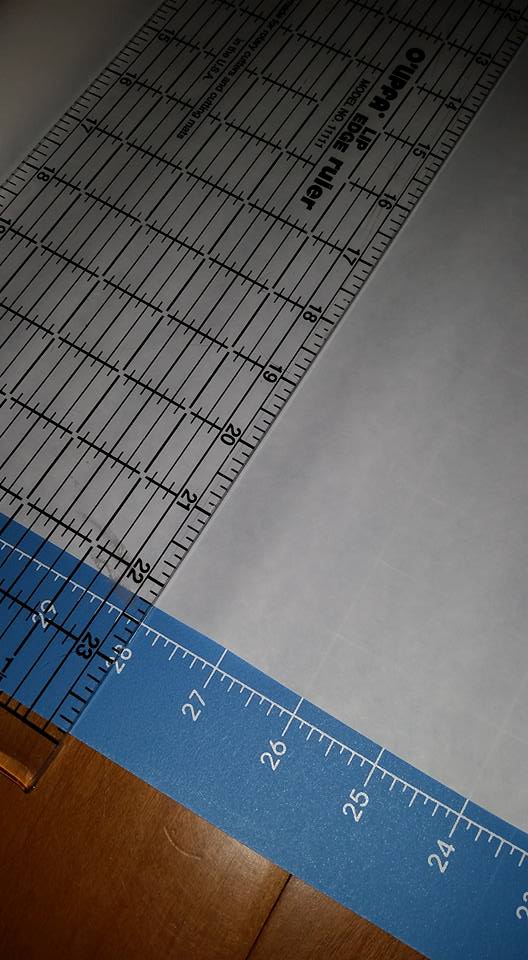
Next I fold the piece in 1/2 the long ways (to make 28″ strips). I cut them just a tiny bit smaller than the ribbon (measure the ribbon, it often isn’t exactly the width it is labeled).

This is a leftover strip just for illustration, the strip for a 3″ wide bow is about 2 7/8″ wide.
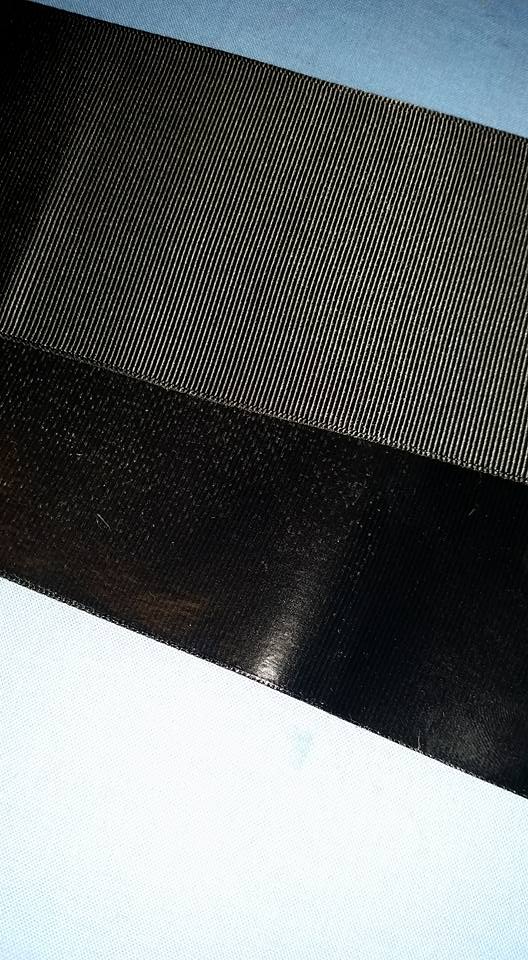
Then, take those strips and bond them to the ribbon that will be the back/base of the bow. I iron them on one after another in long strips. Follow the directions on whatever kind of bonding stuff you are using for temp and time of heating. I think of this step as just lightly bonding (“tacking”) just enough that I can pull off the backing.

Note the ribbon is slightly larger than the bonding material.
Next, layer the backing with whatever you will use on top. In this case, I am making bows that have black on the top as well as the bottom. Note the shiny side that is the bonding material . . carefully line up the edges and sandwich them together, iron lightly.


After it the two layers are bonded together, cut them off of the long strip (you could pre-cut the ribbon, but, by using it long, you don’t need to measure after the bonding strips are cut).
Next I needed to prepare the metallic fabric. I cut a piece of 28″ bonding material. I carefully laid this on the BACK of the gold fabric and ironing it on. I then folded it in 1/2 (mostly so it fits on my cutting mat better) and cut out 1.5″ strips using the rotary cutter.
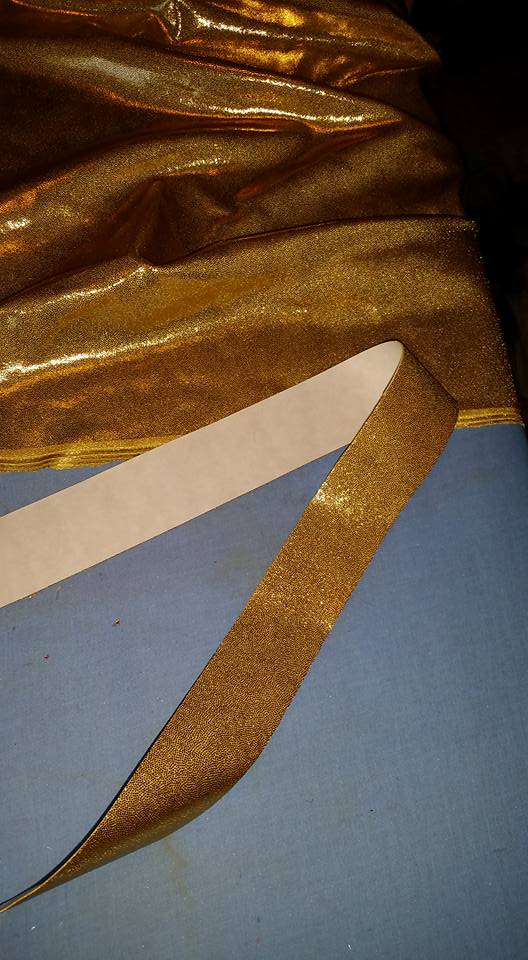
Fabric and prepared strip.
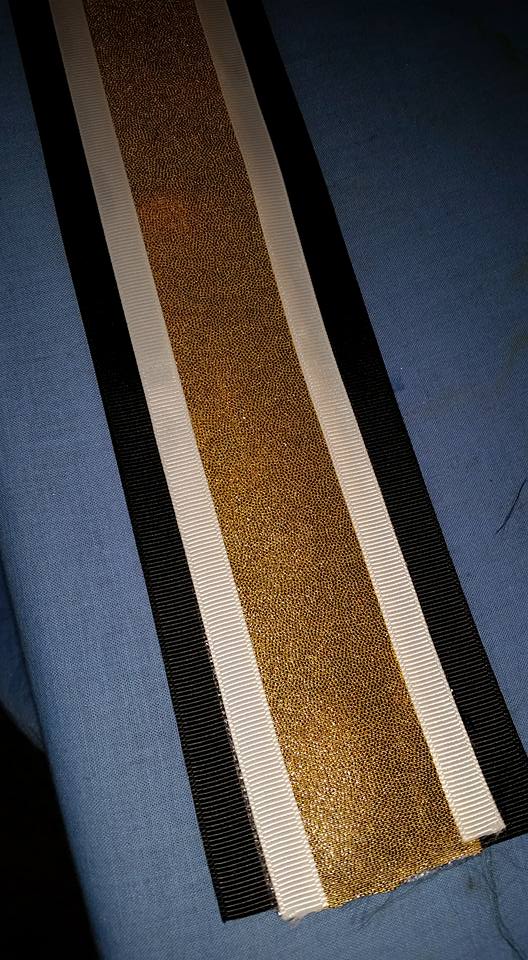
I then bonded this to the black double-layer ribbon. I just eye-balled it in the center. Yes, you want it to be reasonably nice, however, keep in mind, these will be seen from a distance and often in motion . . . weigh careful measuring and exactness against the time it takes to make lots of bows. Once I had it positioned the way I wanted, I ironed it down using a sheet of teflon paper.

Next I ironed YARDS of precut 3/8″ strips of Heat’n’Bond onto the white ribbon.
The white ribbon was ironed on to the edges of the gold stripe.
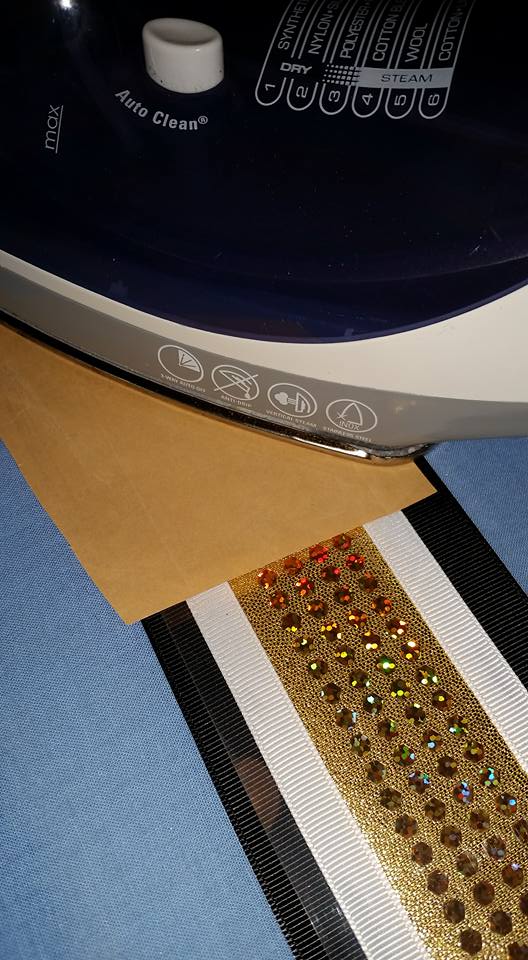
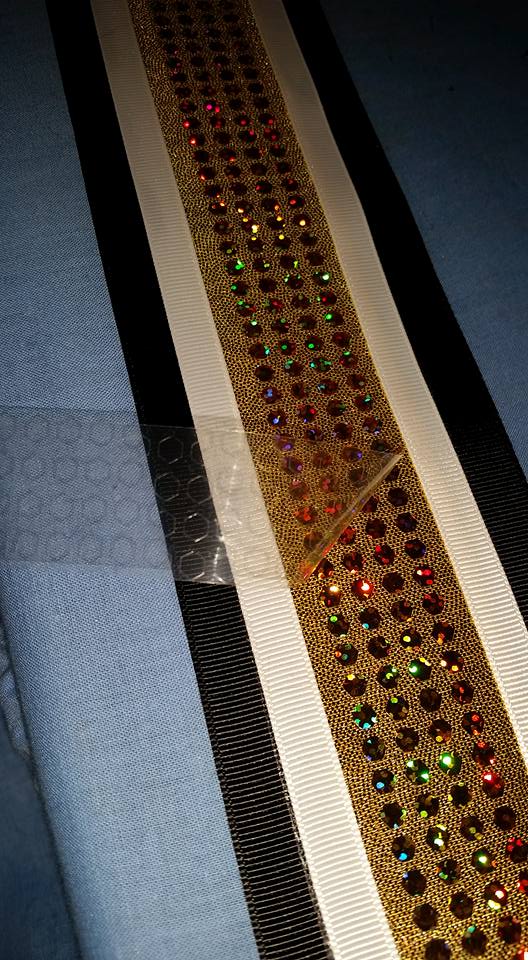
Next, I added strips of the decosparkle “sequins”. I used teflon paper to protect the gold fabric. Once they cooled, I peeled off the backing. I then flipped the bow over and ironed it well from the back to make sure everything was bonded securely.
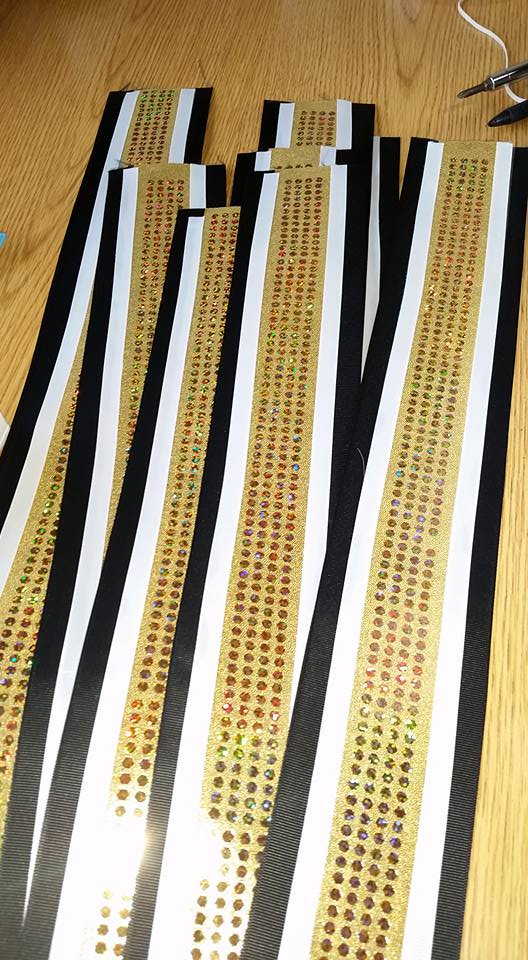
Strips of bows waiting to be formed:
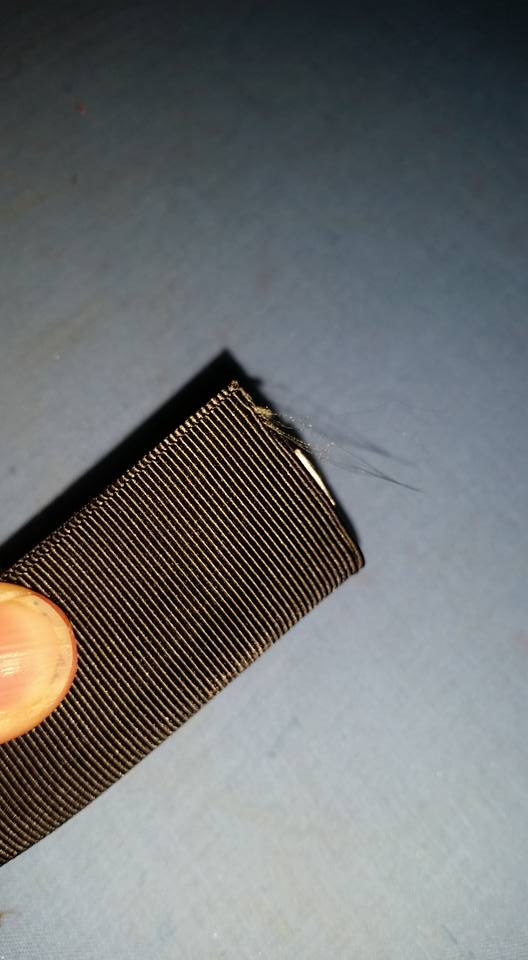
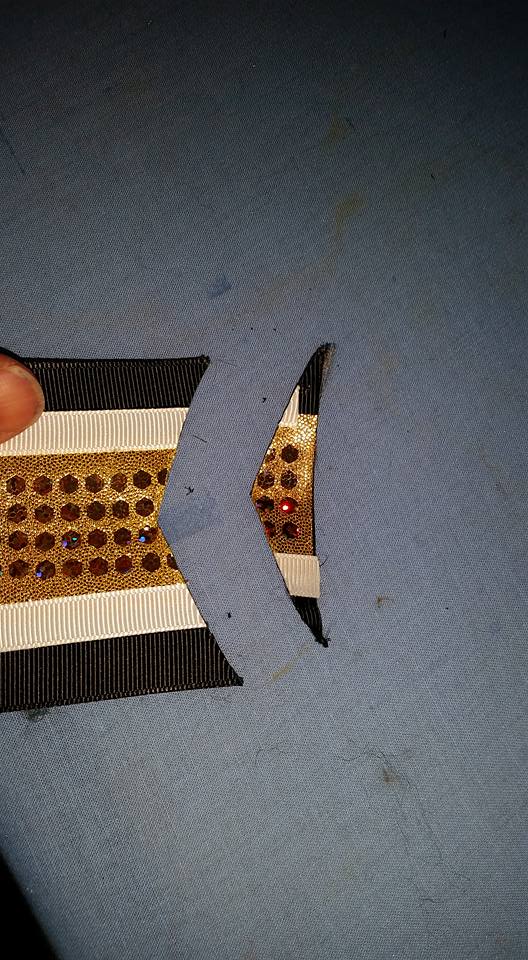
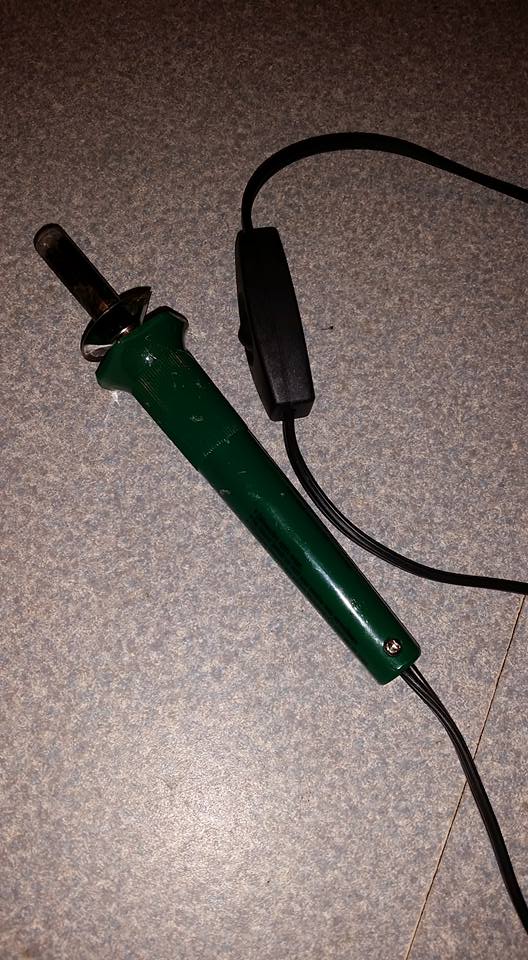
I like pointed ends on the bows. I fold the ribbon in half and cut it at an angle to make the points. If your bow strip is too stiff, soften it with an iron. I then run an electric woodburner lightly along the edges to heat seal them (it will smell),
Next comes the tricky part: shaping the bow. This particular ribbon is REALLY stiff because it has so many layers. Running an iron over it to soften the bonding agent it one way to help soften it for shaping if necessary. After I realized how stiff it was, I shaped them as I made them.
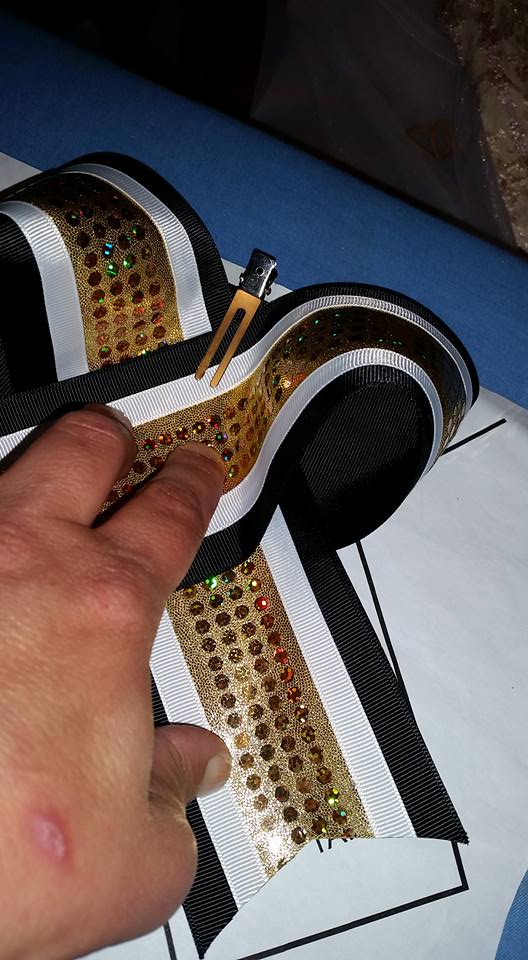
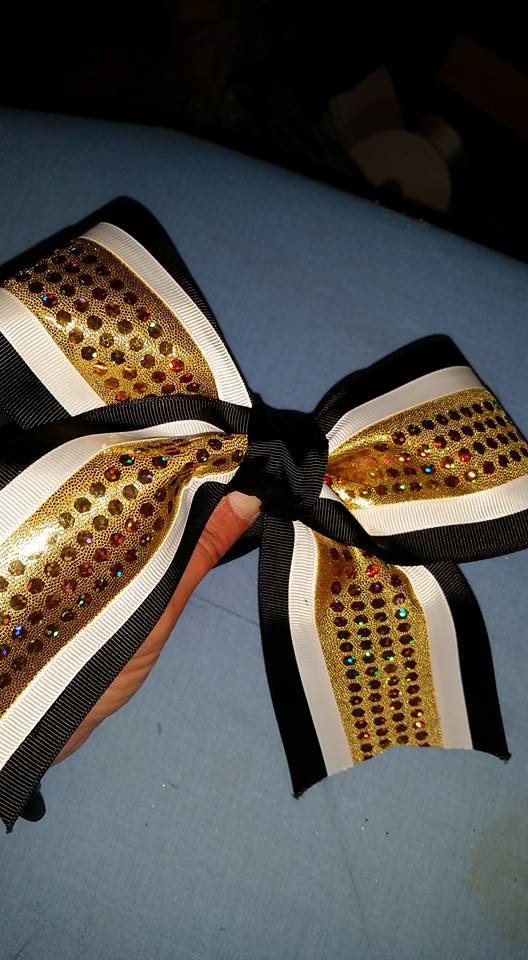
I line the ribbon up on the template, and put a hair clip in the top. I then squish it together with a folding motion to make about 3 folds. When making multiple matching bows, be sure to keep the same tail on top when crossing them. Once you have it squished kind of like you want it, wrap a zip tie around a LOOSELY secure it.

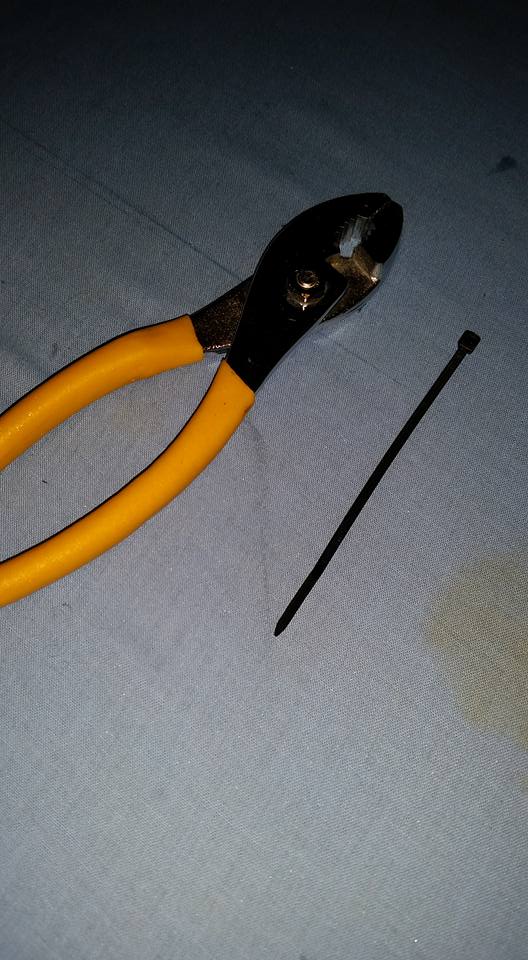

I ended up having to use a larger zip tie than I usually use since the ribbon was so stiff. Some people prefer to wrap their bows with wire or with string. Some people will include the pony-o in the zip tie to give it added security. I think that is personal preference . . I’ve read pros and cons both ways.
Once you have the bow loosely secured with the zip tie, then you can pull and adjust the tails and the loops until you are happy with how they look. If they get really messed up, clip the zip tie and start over. When you are happy, using the pliers pull the zip tie tight. Trim off the excess zip tie. This one is a bit of an overkill. I think I will go buy some that are just a bit smaller.
Next you will want to pick something to cover the zip tie. You can use ribbon wrapped flat around the center, you can tie a loose knot and glue that on, you can add an embellishment, whatever you want.
I plan on using a black ribbon for the center:
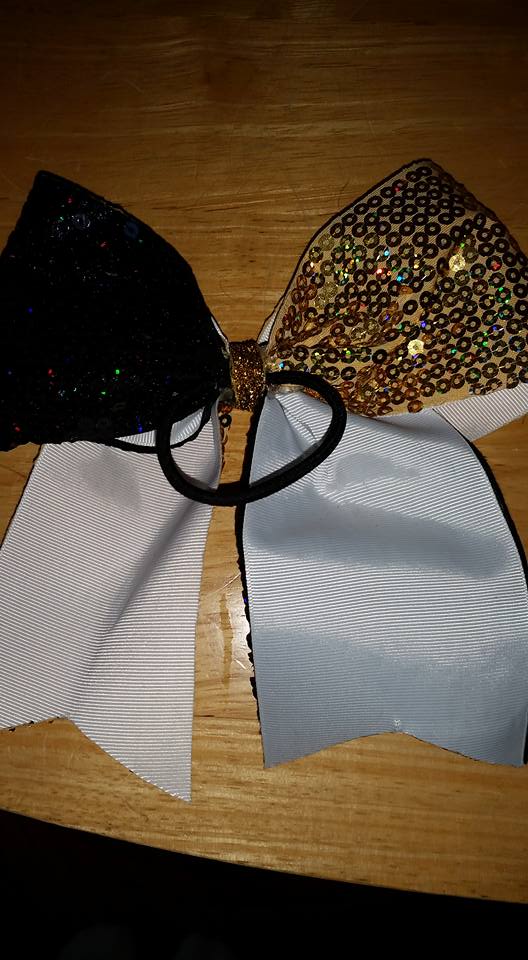
You need to decide to to attach the bow to your head. You can also use pony-o’s, french clips or just long ribbon ties for securing the bow. First I glue the pony-o in place. Once it has cooled, then I glue the ribbon around it, overlapping to help secure it.
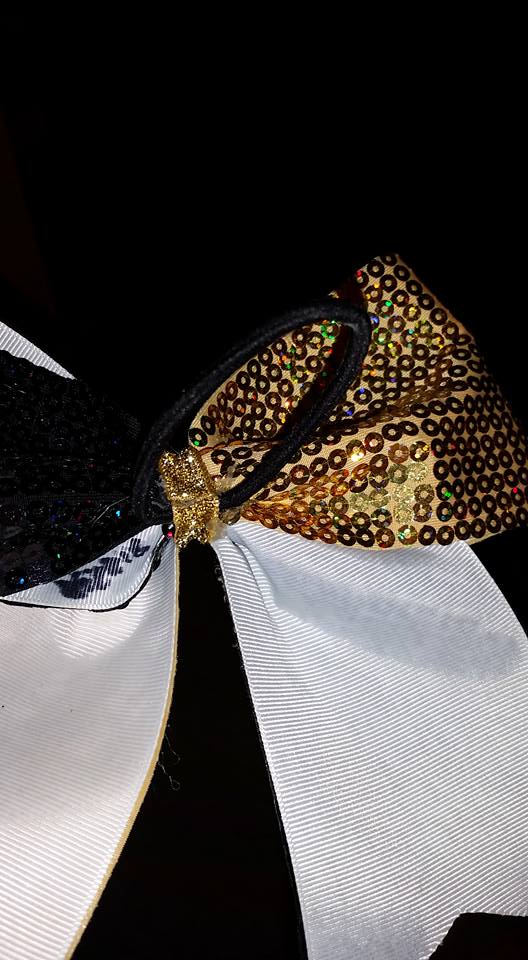
pony o secured by hot glued ribbon.

That is really all there is to making a cheer/dance bow.
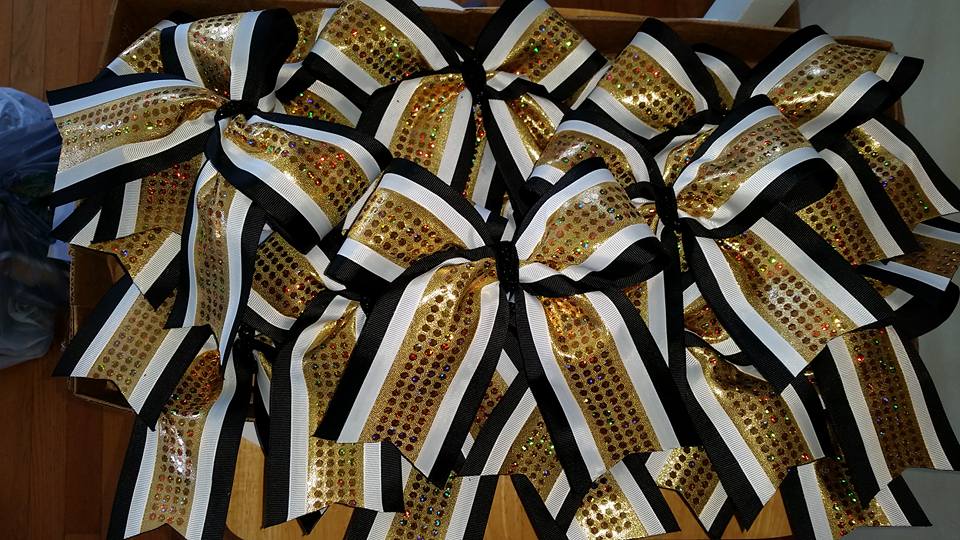
20 bows done and ready!
Once you start making bows, it is great fun and kind of addictive because there are SO many cool fabrics and ribbons out there!
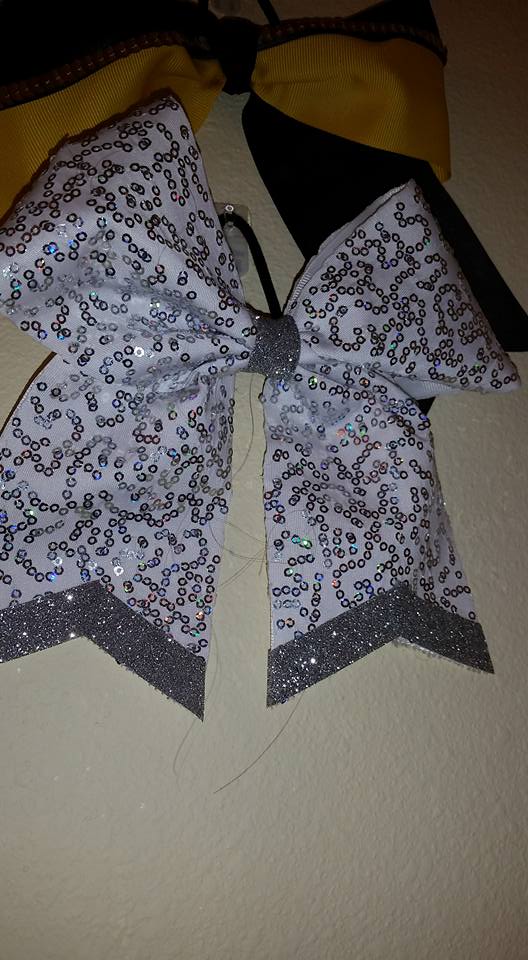
This one is made with white sequin fabric, on a white backing. The silver glitter pieces are scraps of leftover heat fix stuff. It has silver glitter ribbon wrapped around the center.

Spliced ribbon.
This ribbon was made for a traveling “Iowa-Iowa State” Pep Rally of sorts. They were made last minute, so I didn’t have a lot of good ribbon. Both the yellow and the red ribbons are spliced together on the backing ribbon. The ISU emblem is cut from fabric. The football center is a button. The red glitter ribbon is just cheap wire edged stuff. To make the bow two-colored, just cover the backing ribbon with two 14″ pieces in contrasting colors.
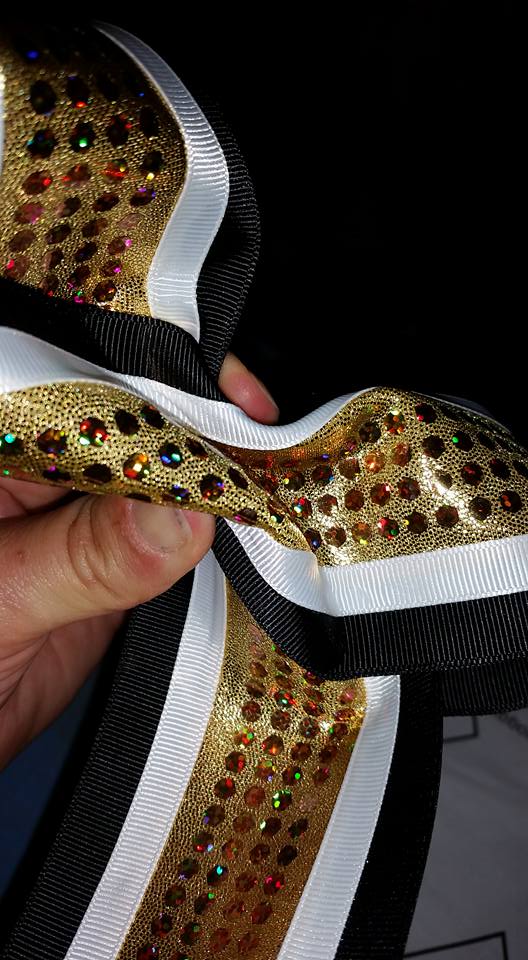
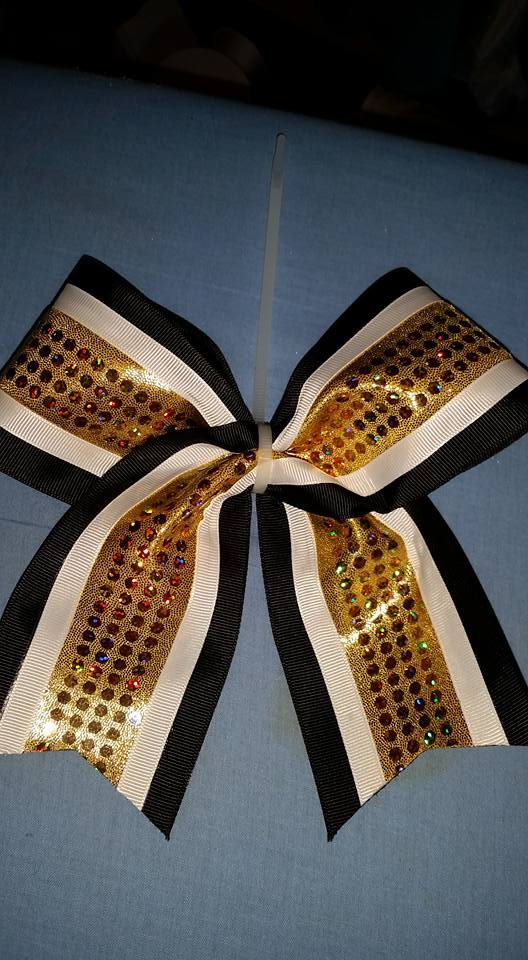
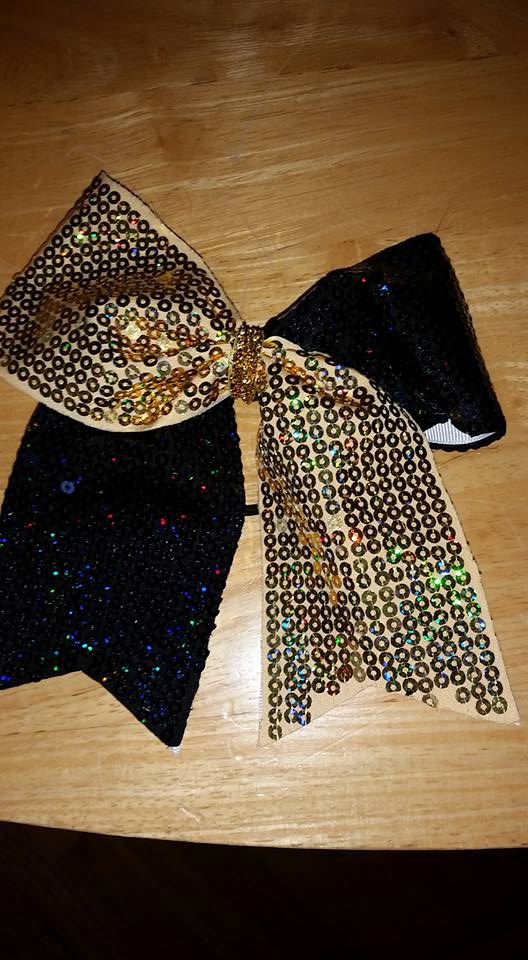
This ribbon is made with a white backing ribbon. The top layer is a stretch sequin fabric. I left a small gap in the center between the two colors which made it easier to fold and shape the bow. Again, it was important to pay attention to how I crossed the black & gold to make sure the bows all ended up looking the same.
 This one is made of printed sequin stretch fabric bonded onto ribbon. My daughter is actually using it as the bow on a tulle wreath right now.
I purchased my rolls of ribbon from http://www.hairbowcenter.com, but there are other sources out there. The sequin fabric comes from http://www.solidstonefabrics.com. I buy the Heat’N’Bond locally. If you want to try some heat bonded glitter sheets, you can buy it at some craft stores, or you can get free samples from http://www.specialtymaterials.com, and you can also find them on Facebook. They were very helpful in answering my questions about their products. You can order the products through http://www.heattransferwarehouse.com, although I get mine through my local screenprinter. Another place I like for fun ribbon is http://www.ohmygoshgoodies.com. She has a wide variety of ribbon in trendy patterns and sizes.
The bows vary in price depending on the price of the ribbons & embellishments, so it is hard to say exactly.
I feel like this post was sort of off-topic, but, you never know when you might need a nice bow!


Pingback: Dressing Serena in ‘Legally Blonde’ | costumecrazed
Pingback: Dressing the Basketball Players & Cheerleaders: High School Musical | costumecrazed