This is my third post relating to my eggplant colored bridesmaid dress. . . . today is “Historical Casual Friday”. Really, as nobility, it is a drag constantly walking around in a huge petticoat and formal clothes . .and . .maybe you just want to go to the market, or the local alehouse, or something . . .
Or, maybe you are costuming a show and need a change of costume for your character, but don’t want to invest in a complete change out outfit.
Or, maybe you just want to tweak the era just a bit, but don’t want to invest in an entirely new costume.
So . . . let’s make some changes!
We will start with the eggplant purple upcycle overdress (you can read about this dress in a previous post here).
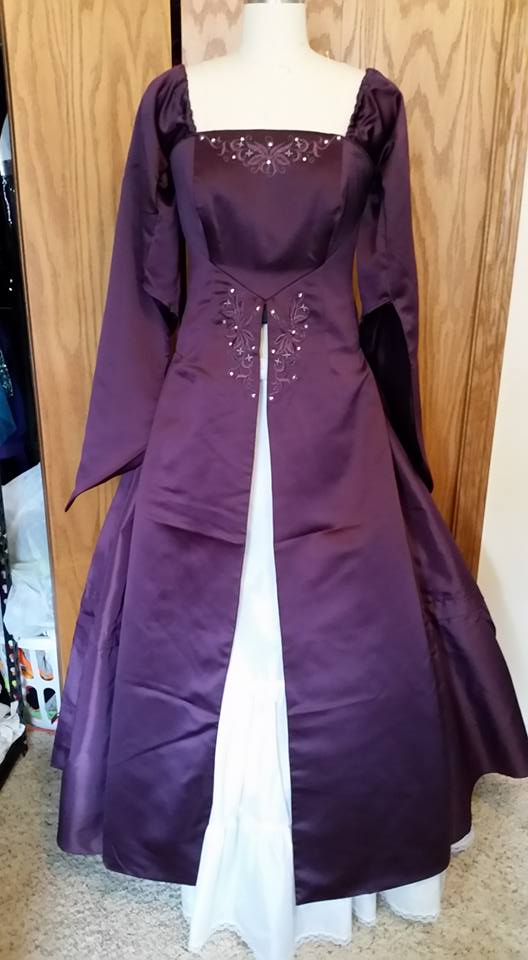
Overdress.
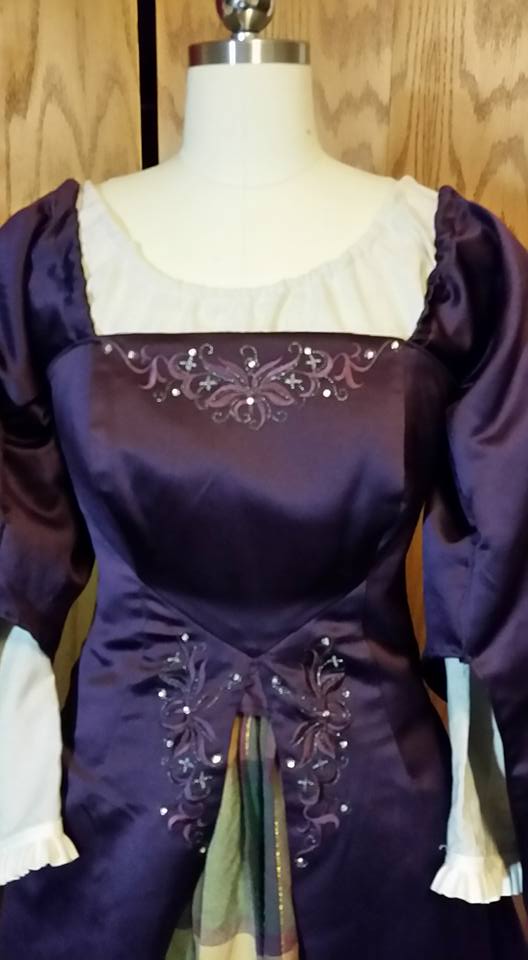
Let’s add a mock-chemise under the overdress. Today I will start with a mans dress shirt:
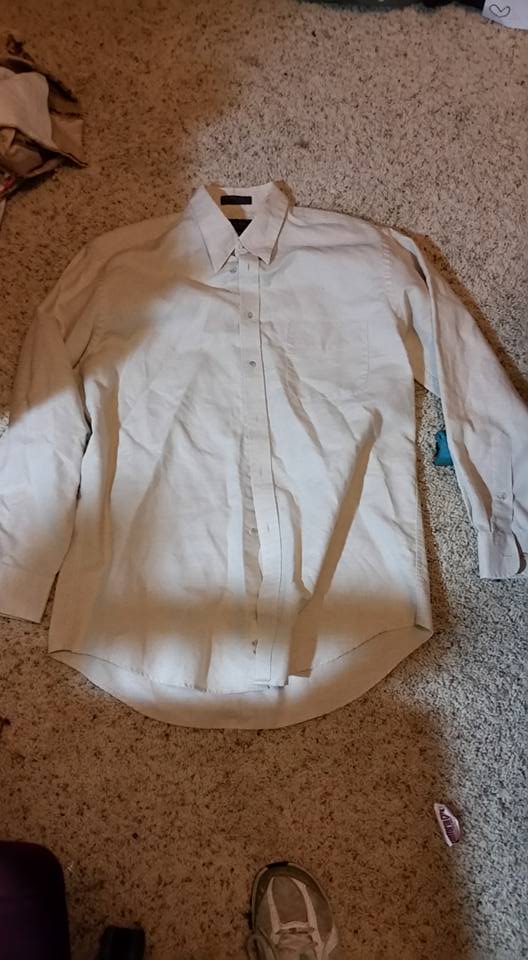
Linen blend dress shirt.
I LOVE this shirt. It is a linen blend, in a natural cream color. Ideally, you would look for a shirt a couple sizes larger than what you might typically wear. This is a neck size 16, and I am making this for a person who wears a Jr. small (0-2). Since this shirt is intended to be worn under the overdress, which has sleeves, I am not bothered that the sleeves will be fairly fitted at the shoulder.
First, I put the shirt on my dressmaker model backwards, so that the opening is in the back.
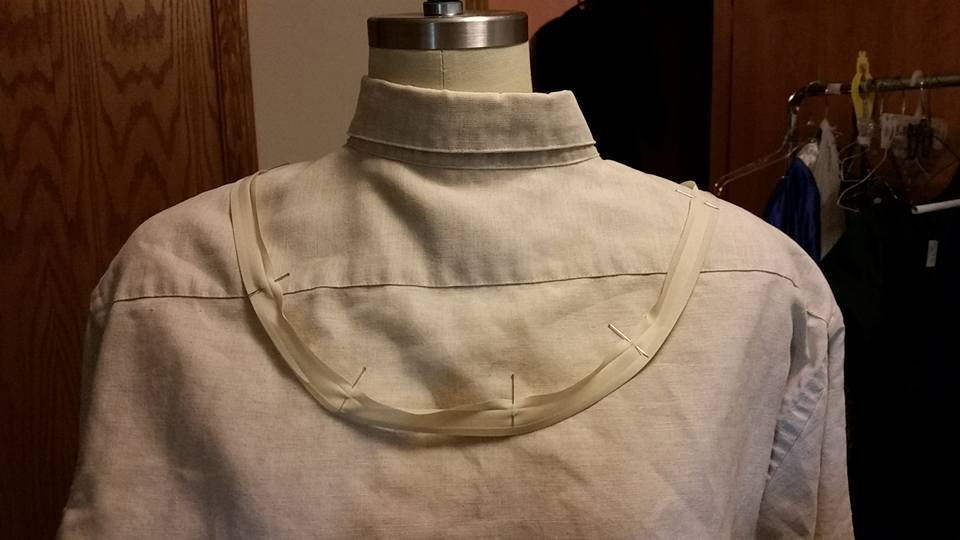
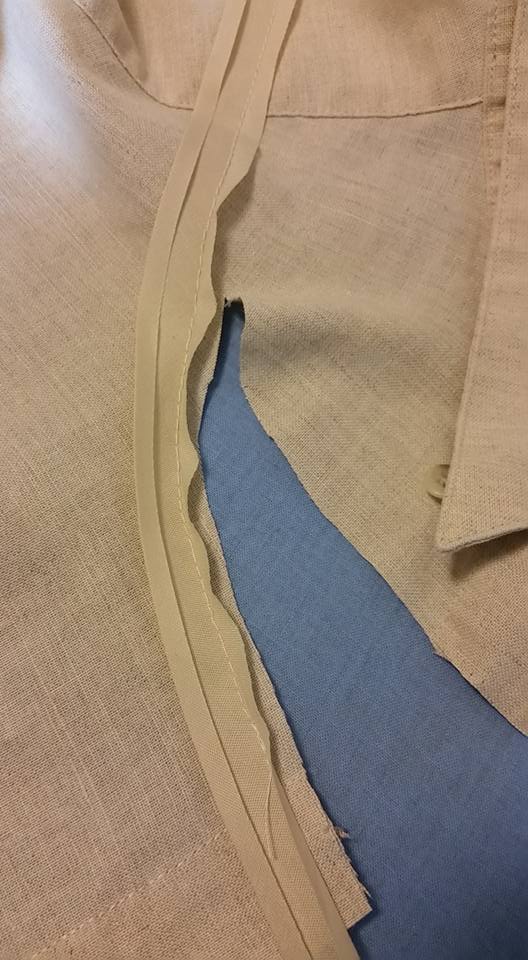
Then, I draped and pinned a piece of bias tape along the shirt to create the new neckline. I briefly pressed the bias tape open on one side, that will be the stitching line.
After I sewed the bias tape on, I trimmed out the collar and excess fabric.
Next, I flipped the bias tape over, and pressed it down. I then sewed along the edge of the bias tape at the fold. This will form a narrow casing. You could run a cord or ribbon through it. I chose to run narrow 1/8″ baby elastic through it. I use a safety pin attached to the elastic to run it through. I didn’t cut the elastic until I had it adjusted with as much gathering as I wanted. Then I was careful to pin the ends so it didn’t pull up into the casing.
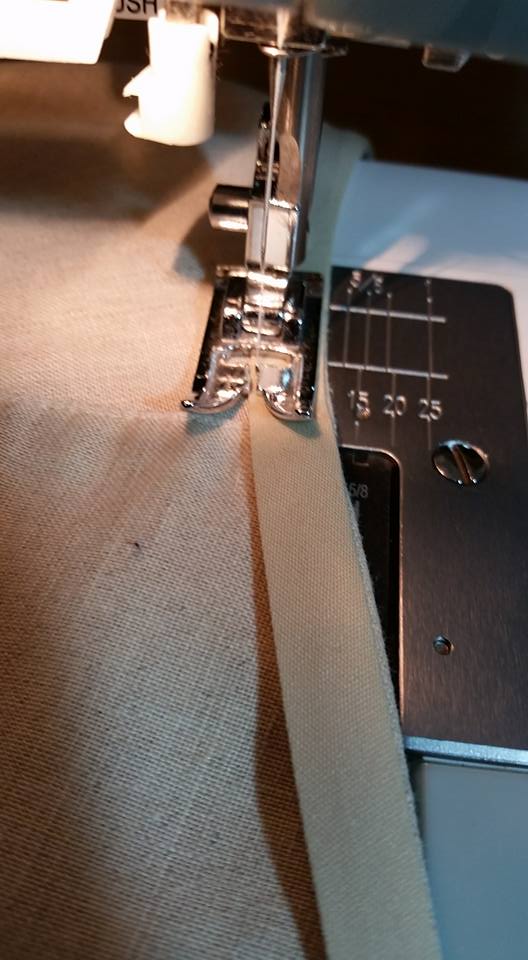
Sewing the bias tape to make a casing.
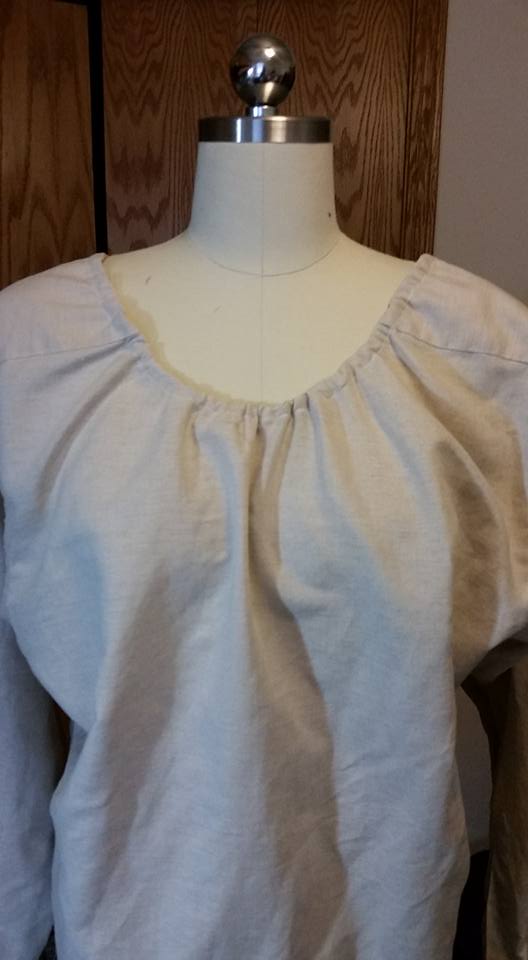
Adjusting the gathers at the neckline.
I removed all of the button from the shirt (and saved them for a future project), and then sewed up the back, overlapping the placket so that the buttonholes didn’t show. I left the top 4-5″ open, and finished the neckline with a small piece of velcro. However, when the person tried the shirt on, this would not have been necessary.
I cut the cuffs off, sewed the sleeve placket shut, and finished the sleeves with a little bit of cream trim.
Now . . let’s add a different underskirt. Today I will start with a tablecloth:
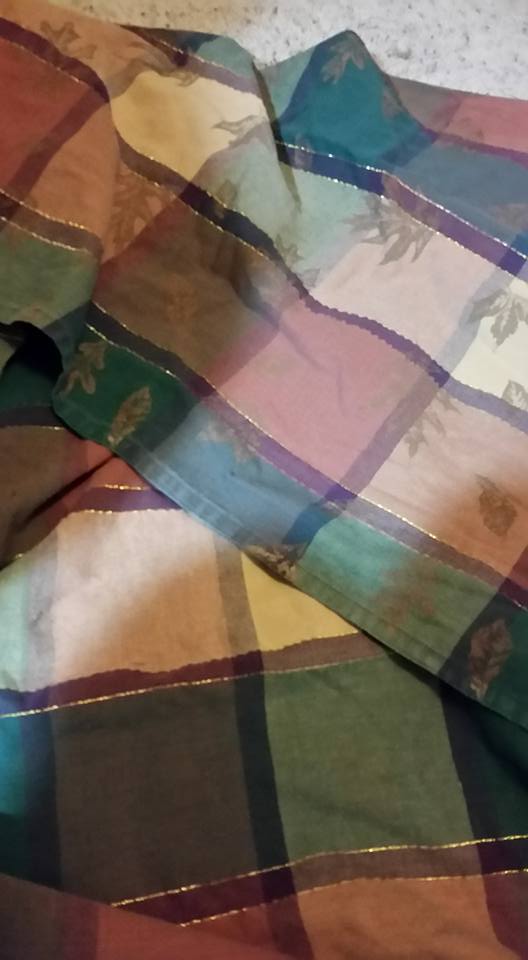
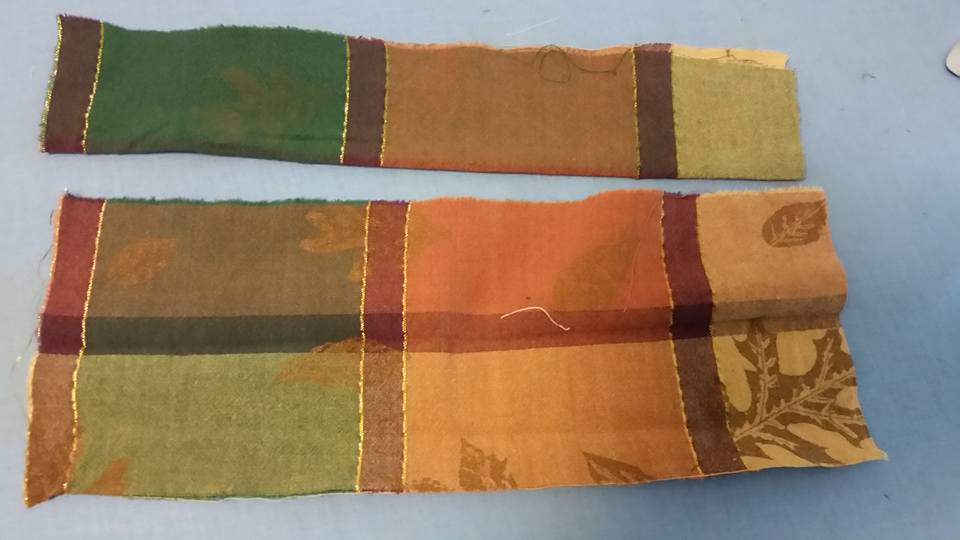
This particular tablecloth was a fall plaid, with some gold threads running through it, and gold leaves printed on it. The leaves only showed on the front, so I flipped the fabric over and used the back.
I decided how long to make the skirt and tore the tablecloth along the grain line on either end to create two pieces for the skirt. Tearing woven fabric is often the quickest and easiest way to get equal pieces along the straight of grain, or straighten a piece of fabric. Just make a small snip with your scissors, grab each end, and tear. Practice with an old sheet if you’ve never done it. I intended to match the plaids at the side seams in case I ever wanted to use this as a stand-alone skirt, but I messed up, so they don’t match up.
I thought I would demonstrate making an adjustable waistband with this skirt project. This is a great way to make underskirts and petticoats for stock costumes as they are VERY flexible. I did make one error in making this in that I made the waistband pieces too short, and so when you tie the skirt on there is a gap between the sides. If I had made them longer, then they would overlap and the side seam would be “closed”. It is fine for this as it is intended to be under the eggplant overdress, but, it would always need something over the top of it.
First I sewed the side seams of the skirt closed, leaving about 8″ at the top open. The picture does not show it, but, I added a tack where the stitching ends to keep it from tearing out. I did not need to hem, as I used the finished edge of the tablecloth for the hemline.

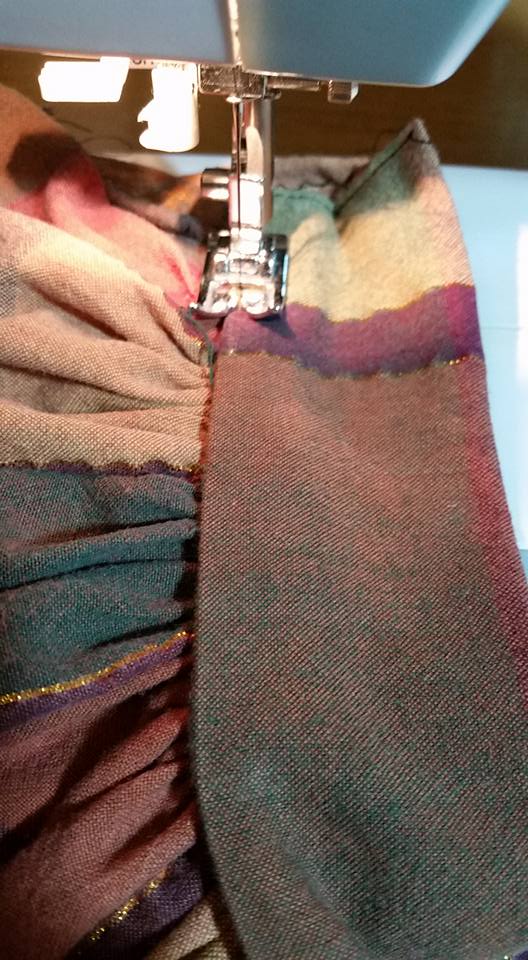
Then, I ran gathering threads along the front and back. I like to use two parallel gathering threads. The gathers are finer, the fabric stays flatter (instead of wanting to twist around the single thread) AND if you break one of the threads, you still have one left. If you try to cut this corner, and you break the thread 3/4 of the way around a skirt and most of the gathers fall out . . you will curse yourself enough you won’t do it again.
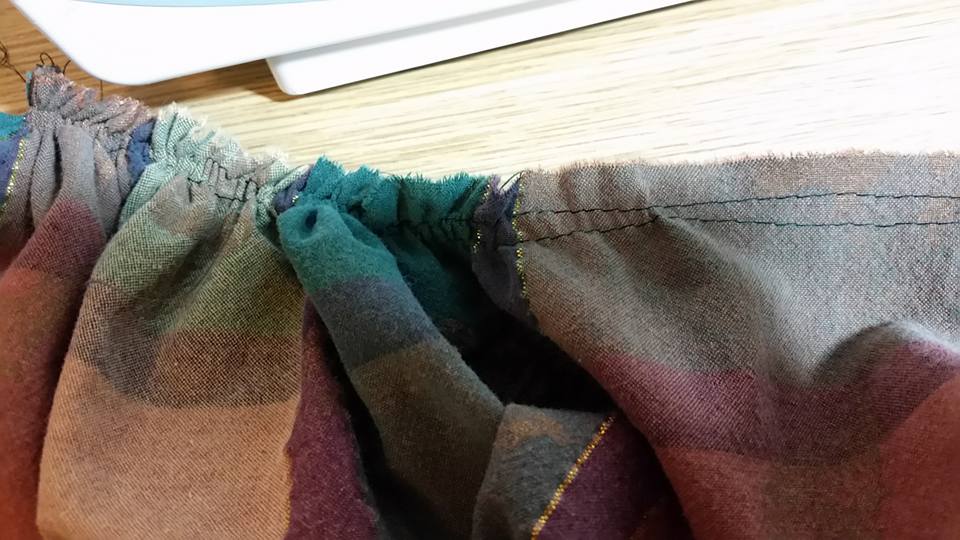
Run two gathering threads. Use the largest running stitch your machine makes. Pull on the bobbin thread. Leave extra long tails.
For the waistbands, I cut two pieces of the fabric and folded them in 1/2, lightly pressing the fold line.
Two waistband pieces, one for the front, and one for the back. Cut the fabric twice the width of the desired waistband, plus 2 seam allowances. Add seam allowances on either end.
This skirt closes with ties, so I tore four strips of fabric, and folded them over on themselves and zig-zagged them into strips.
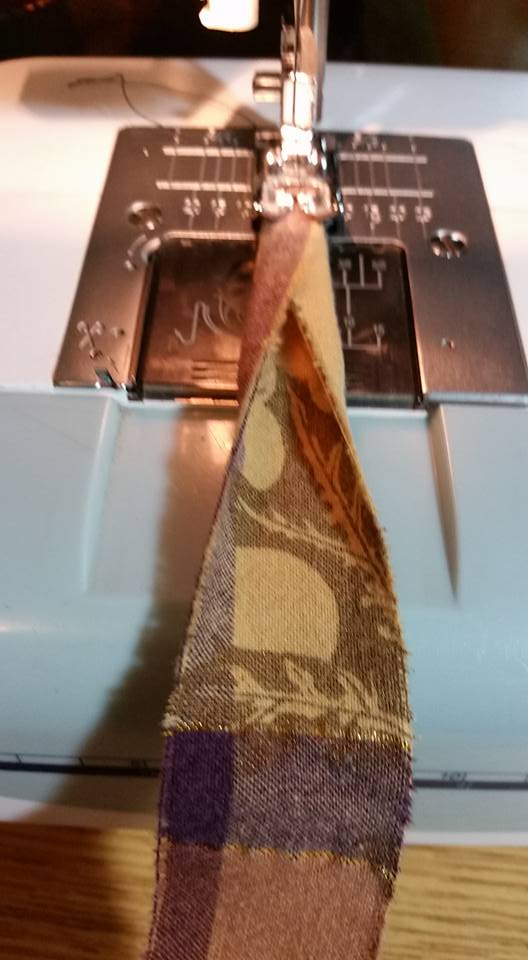
Make four long strips for ties.
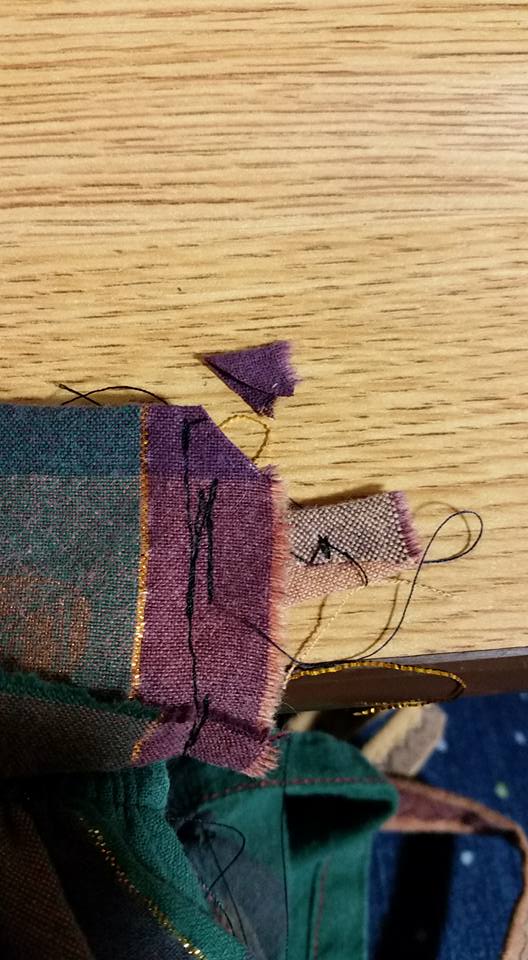
The plan is that you will sew the skirt on to one side of the waistband, and then fold the waistband over the top of the gathers and topstitch the waistband down. This will look nicer if you sew wrong side of the skirt to the right side of the waistband, and then fold it up and over toward the front. When you sew the skirt on, leave space on either end for the side seams.
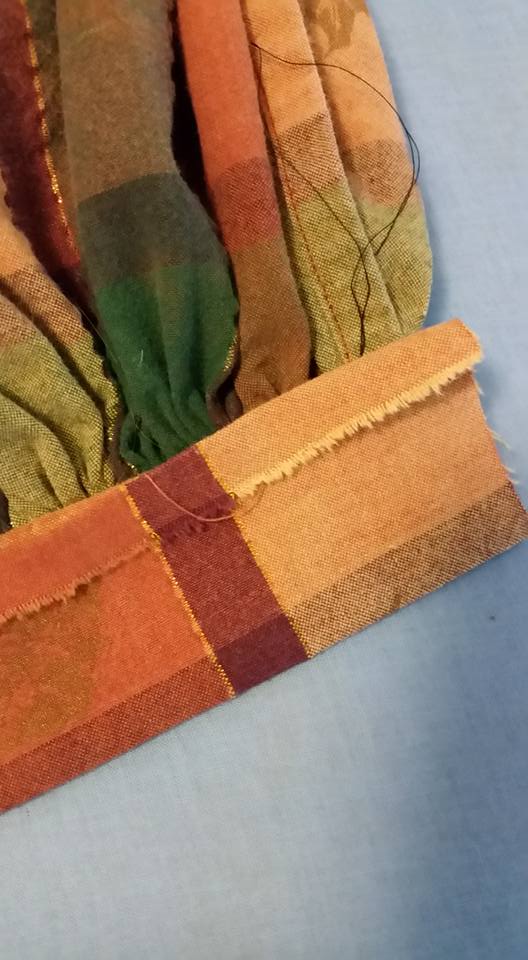
At this point, the skirt is sewn onto the waistband on the back-side, and the front seam allowance is pressed up. The next step is to sew the side of the waistband pieces. The ties should be sewn into the waistband seam. Since the waistband will be turned right-side out, the ties need to be on the inside.
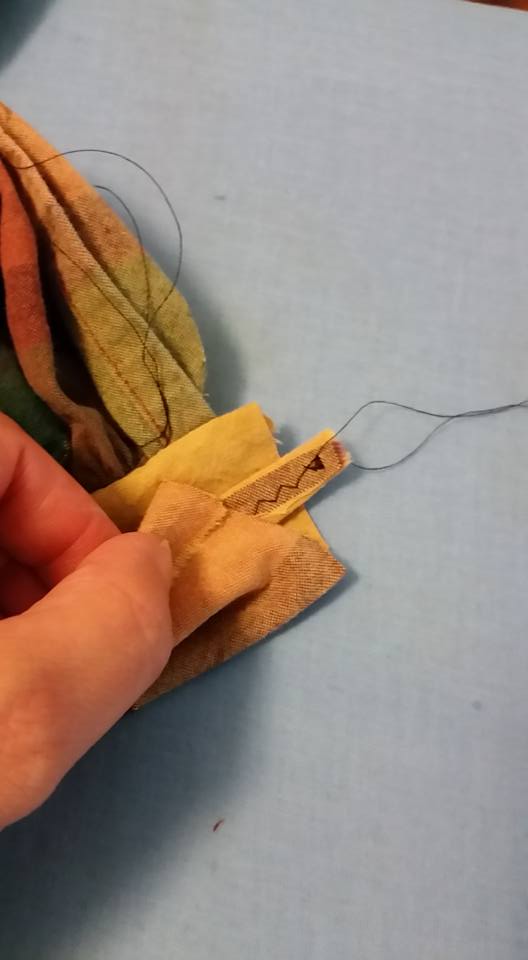
Sew back-and-forth over the ties to reinforce the stitching. Clip the corner to make turning the point easier. Do not clip through the stitching.
Then, turn the waistband, press, and topstitch on to the front of the skirt. Use a pin to help pick out the corner. I topstitched the side seams where the ties came out, just to provide a bit more strength at that stress point.
Repeat this on the back side.
To wear this type of skirt, tie the back on first, then tie the front on, like an apron,
The back is tied on, the front is hanging loose.

Front and back tied on . . . the waistbands should have been made longer so that the sides overlapped.
So . . . if a lady has a new outfit . . . surely she needs a NEW HAT!
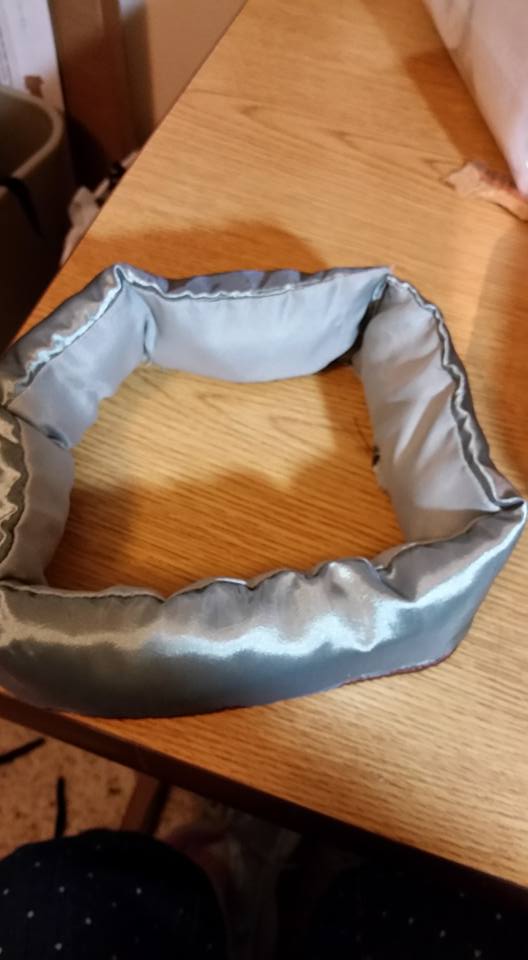
I took the top of the pillow sham that I had cut off while making the underskirt for the original dress project.
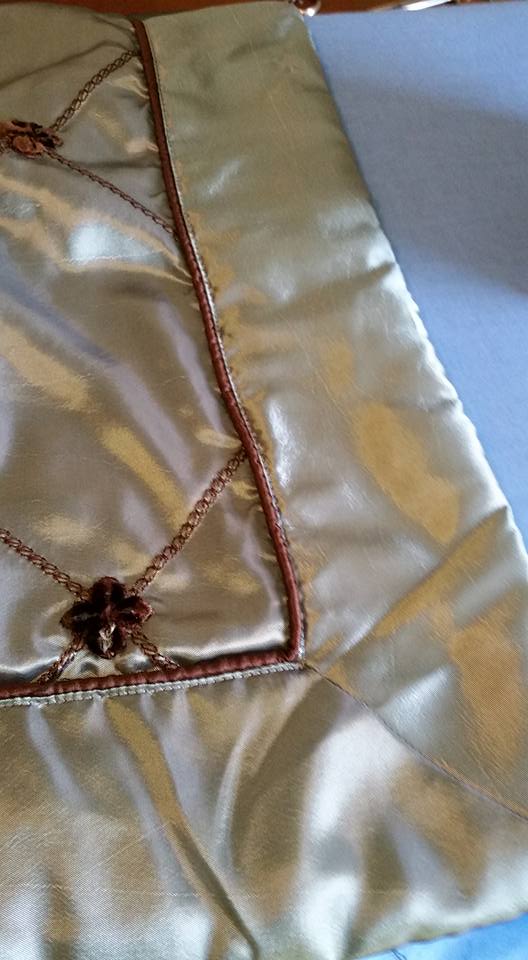
I cut the top edge off right under the brown piping.
The top of this sham made a wonderful tube. I stuffed it with some fiberfill, and sewed the back shut forming a circlet. If you are making your own tube, make it longer than you think you need because when you stuff it, it takes up more space, and you need a longer piece.
I had a piece of the plaid fabric left, and I wrapped that around the hat, and then I added some fake pearl garland.
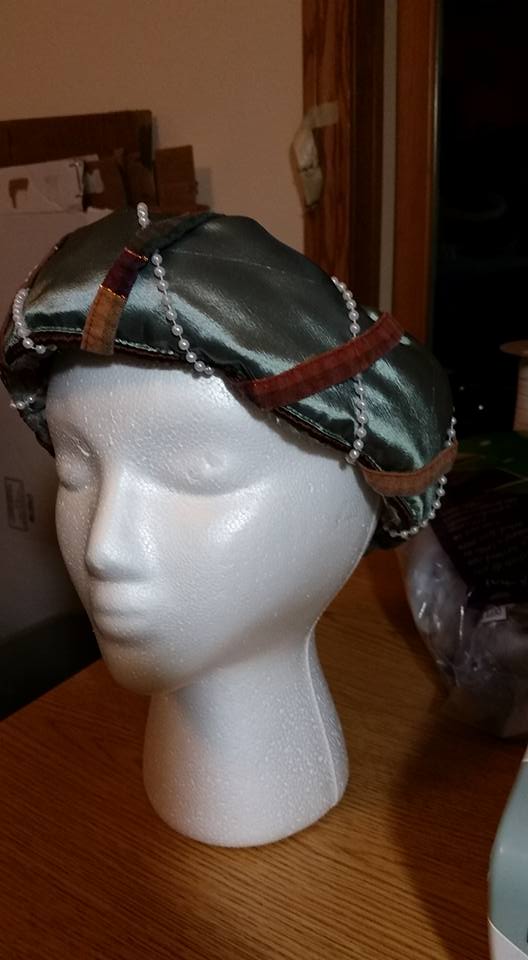
I adjusted this until I liked it, and then I tacked it down with hot glue.
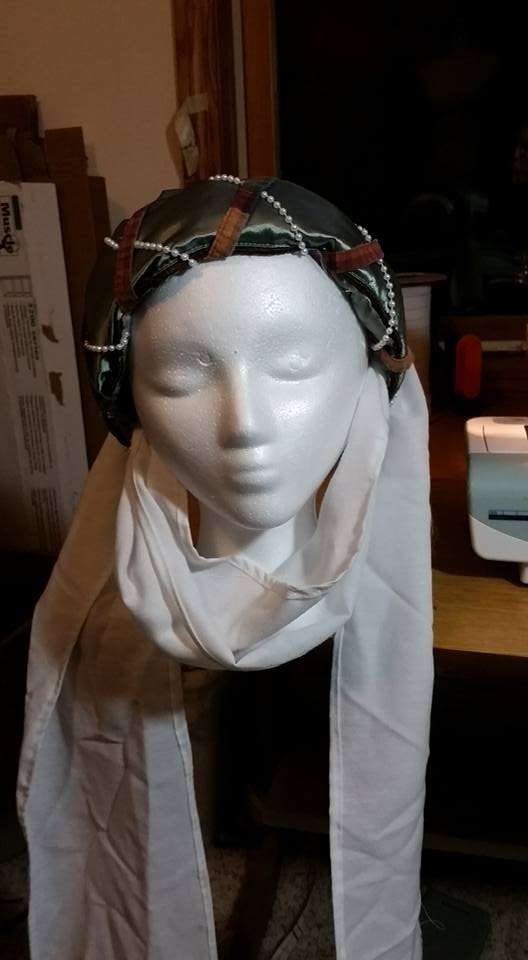
I wanted a veil, and I happened to see the leftover center section of the bedskirt I’d used for the underskirt in the original dress project. I rolled the edges under for a hem, and pinned it to the hat. A lighter weight, more gauzy fabric might be nice, but, this works. The veil goes up the inside and out over the top of the back of the hat. Initially I just tried pinning it to the inside of the circlet, but this method looks nicer. (A good pressing would help the veil).
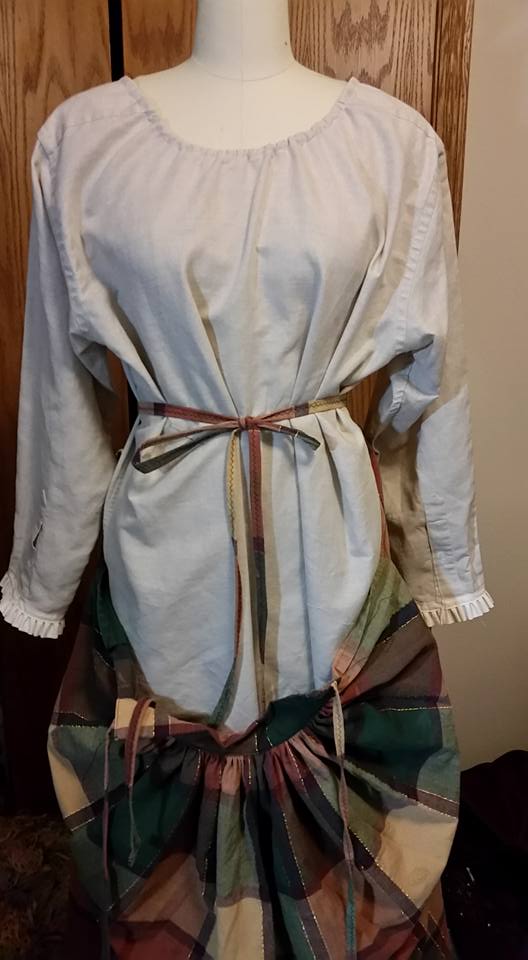
Ta Dah! A new look!
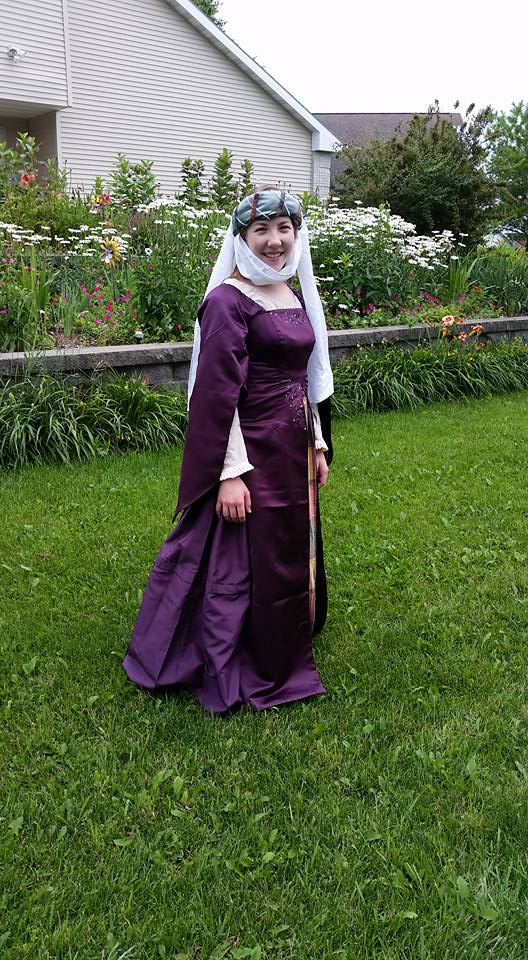
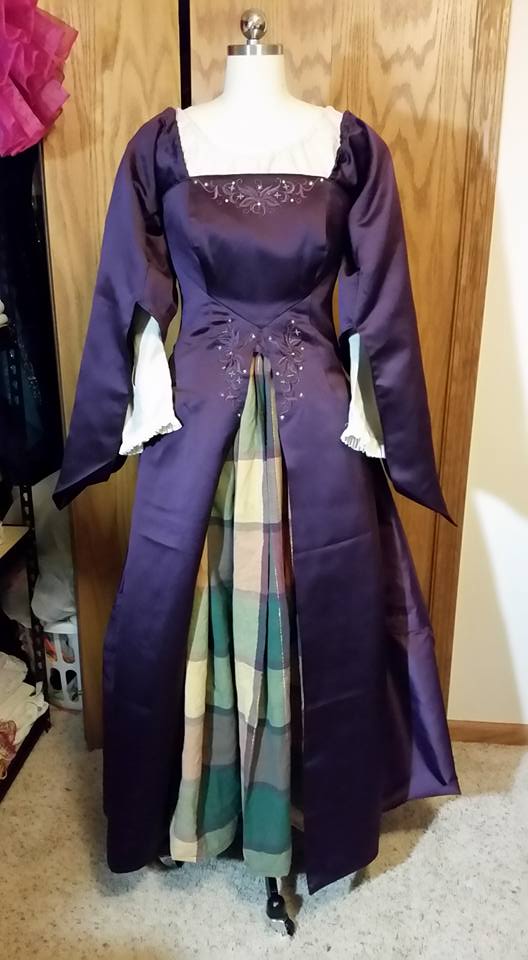
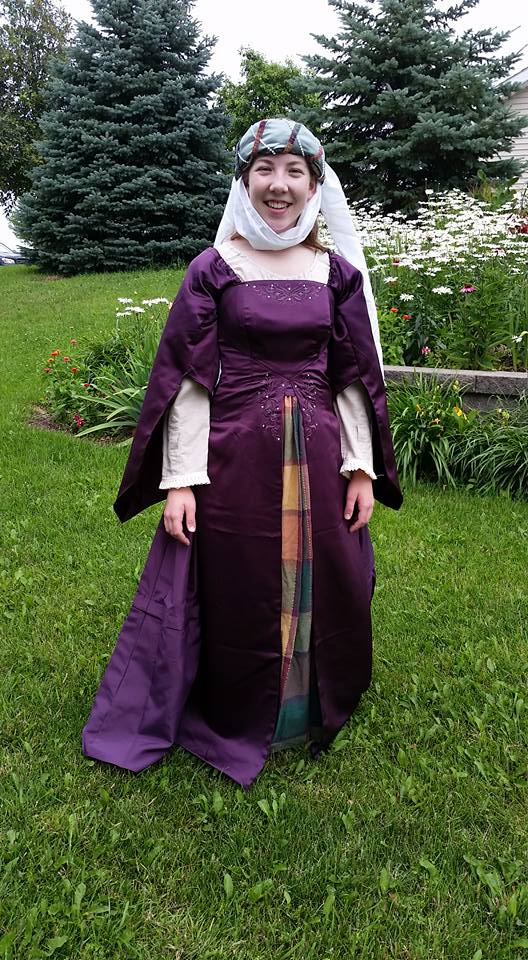
The overdress has a very different look by changing the accessory garments. The poofy petticoat was also eliminated which changes the shape of the skirt.
Cost: shirt: $1.70, tablecloth: $2.99, hat–all leftovers, plus a bit of fiberfill and some fake pearls.
Time: 2-3 hours. Seriously. This is costume sewing.


I will use is shirt make over for sure! So fast and easy!
LikeLike
Pingback: Fairytale “Folk” Outfit with No-Pattern Peasant Shirt (v.2) | costumecrazed
Pingback: Peasant Skirt/Petticoat Tutorial for “Cinderella” Sewers: Over the Bum Pad | costumecrazed
Pingback: Petticoat Upcycle: Youtube DIY Companion Post | costumecrazed