This dress is similar to some I have done, and yet different. It has separate poofs for sleeves, and I pleated the skirt and the overskirt together, which has pros and cons as I will discuss later.
I started with an aqua dress that was quite long–which I was thrilled to find for one of the taller girls in the cast. It is a one piece dress, however the bodice was constructed separately and just joined at the top seam and the back zipper.


The dress needs to be just a little bit smaller than my dress form, so the back will stay open in the pictures. The top has beading trim. It also has a matching stole. I felt that this skirt was quite full, and would probably be enough fabric for the back and sides of the new dress.
I began by deconstructing the dress. On the inside you can see the long stitches that loosely connect the bodice and the skirt/lining. I cut out the lining of the skirt.

I was really excited to find that the top had been previously altered and there was extra fabric in the side seams.
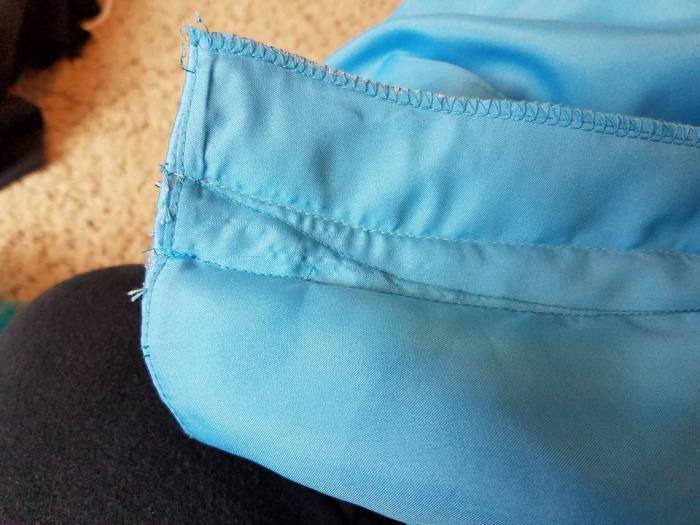
Once again reinforcing that before you start any major adjustments to pays to take a good look at the inside to see what you might find. I took the extra stitching out and it opened the dress up enough that it should fit my cast member.
I cut down and around the zipper using a pinking shears. I just left this “tail” hanging, and it should be able to be tucked up under the bodice when the dress is being worn. I cut the skirt on the center front fold, and it will become the back of the new dress.
I wanted something contrasting in the front, and I found this silvery blue curtain.

I cut off the top, and removed the lining, and cut it to the length of the skirt section, allowing for a hem on the bottom. Then I sewed by skirt sections together to make a large tube.
I wanted an overskirt since I thought the skirt wouldn’t be as full as some. I had two aqua sheers with a swirly pattern on them. I decided to gather these sheers on to the skirt before I pleated it to the waistband. It worked that I could turn the curtains sideways so I had extra fullness and wouldn’t need to shorten or rehem the curtains.

I pinned the sections together in quarters. I then continue to progressively divide the fabric until I have manageable sections. I do this by lining up the last two pins I placed, and then pulling the two fabric sections apart–you can see the silver folded to the left, and the sheer folded to the right. I take the two fold points and pin them together, evenly dividing those sections. This goes really quickly. Then I squish gathered the sheers to the skirt. The two sheers met at center front and center back.
Once the skirt was stitched together, I pleated it on to the waistband. What I hadn’t tought about previously, is that I ended up pleating both the underskirt AND the sheers into the waistband. This does give a little different look, and sort of flattens out the overskirt. Initially I had it just hanging and I didn’t care for that look at all. In the end I looped the corners up to the sides and tacked them in place. I do like the way the pleats fall on the skirt. However, if you were wanting side poofs that you could really make “poof”, I would gather the overskirt separately.
For the sleeves, I decided to try something different and make some sleeve “poofs”. The stole that came with the dress had some nice embroidery on the ends. It probably won’t show from on stage, but I still liked it.

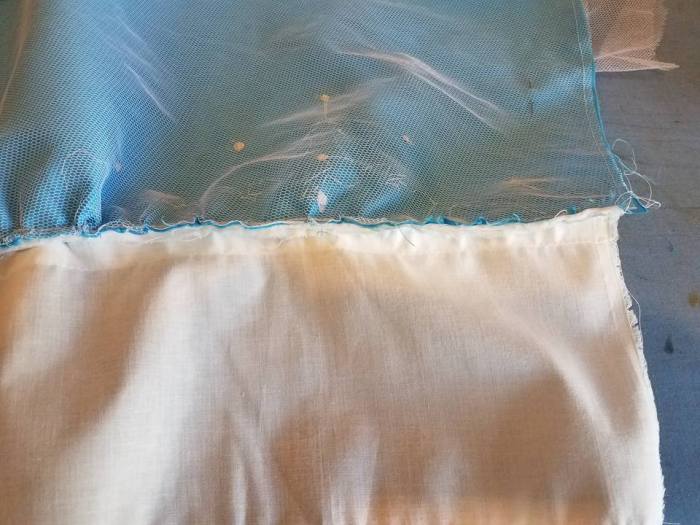
This stole was a double layer of fabric and so I began by opening up the side and end seams. I cut a 10″ strip off either end. Obviously the embroidery is to one side, and there would be a seam near the front, but, it doesn’t show. I basted petticoat net to the back of this fabric to give the sleeves body. I ran gathering threads down the long sides.
I used a bit of scrap fabric to cut a lining. I ran a row of bias tape down either side to serve as a channel for the elastic. The lining size depends upon the width of your arms and how big you want the sleeves.

I added some lace to the bottom of the sleeves. I used some preruffled stuff I had and inserted it into the lower seam.

Sewn together and the tube turned:

Next I sewed the outer sleeves together. The inner sleeve remains open.


The sleeves were finished by threading elastic through the casing. If you were making something nice, you could slip stitch that inside opening shut by hand. I just left it open.
I wanted to make narrow straps for the dress. I cut strips of the stole, and used a discarded strap as the guide.

I sewed the strip around the guide:

Starting with a slight curve to assists with the initial turning. You do have to work to get it to begin.

Eventually you pull it inside out and then cut the guide off, and you have a narrow tube.

The straps are just pinned in until we have fittings.


Cost: blue dress $10, sheers: donated; shower curtain: $2.
Time: I can’t remember! I’m going to need to start jotting it down as the dresses are getting made much faster than I can post.
Onstage:


Fantastic!
LikeLiked by 1 person
Pingback: “The Prince is Giving a Ball” Aqua dress with wired pleats | costumecrazed
Pingback: “The Prince is Giving a Ball”: “Candyland” dress | costumecrazed
Love it!
LikeLike
Thanks!
LikeLike