If you’ve been following along, you know that one of my goals when I originally started making ball gowns what that they didn’t scream “modern Prom” and had a historical twist. As production deadlines are looming closer, and time is getting shorter, my goals are quickly disintegrating! Is it a dress? Does it fit? GOOD ENOUGH! Oh, how the standards change, lol.
For this particular project I started with a very modern looking donated Prom dress.

This dress was quite small, I think a size 2. It is shown just hung on the front of the dress form as I wasn’t going to struggle to get it on. The dress has a dropped asymmetrical waistline. The bodice has a corset back, pleated and wrapped detailing and bling in the bust area. The skirt is deeply ruffled with wire edged ruffles.
The second dress is a much simpler design but a very similar color.


Of note, I initially deconstructed this dress when I was making the previous aqua dress, and so I had already removed the zipper from the back, removed the skirt from the bodice and opened the center back seam.
I began this project by deconstructing the Prom dress. I removed the ruffled skirt from the bodice. I was happy to find that the fashion fabric has been basted to the lining on both the bodice and the skirt, which made separating them really easy.

The skirt had a row of horizontal ruffles at the waist and then vertical, swirling ruffles throughout. The skirt also had an uneven hem (excuse the horrible picture).


I twisted and turned and manipulated the skirt quite a bit trying to decide where the center front and center back were. In the end, I lucked out a lot because the place I picked for the center back had a straight vertical gap in the ruffles that extended almost all the way to the bottom, so I didn’t have to cut through nearly as many of the ruffles as I had thought I would need to.
Since I had already removed the zipper, I stitched velcro into the back of the bodice. I was not concerned with making the bodice smaller.
I wanted to use the bling on the new dress, so I removed it, and then, as it was shaped for different size dress, I opened the seams up. I stopped when the beading started crossing the seam line, as I didn’t want to deal with the beads falling off due to cut threads. I was pleasantly surprised how far I could open the seams.
The skirt of dress #2 was several inches longer than the lining of the Prom dress. I stitched the two skirts together from the hem up, and then evened the top as I pinned the skirt to the bodice.
I did not have a firm idea of where to position the ruffles when I started this. I had thoughts of putting them in the front as an underskirt. Then I tried putting them in the back, and I pinned them in various ways, pulling them ends around to center front . . .gathering at the sides . . . pulling up and poofing the sides . . . Basically just playing around with different looks, and how the uneven ruffles could be adapted. In the end I decided to put the ruffles on one side of the dress. I did all the pleating and pinning of this skirt on to the bodice while the dress was on the dress form with the hoop underneath. This really allowed to me adjust the direction of the pleats, and also adjust the length.
These pictures show some of the differences in length.


I did consider using the lining (seen by the white petticoat net) to add a strip to the lining of the ruffled dress to even the hem. Linings are often a great source of color matched fabric.

There was a section of the ruffles along the front edge that hung down a bit far. I cut it off with a pinking shears, and divided them up, attaching them to the bottom of the skirt to even it up. In the end, I decided I didn’t need to add to the lining, as the ruffles took care of the unevenness adequately.

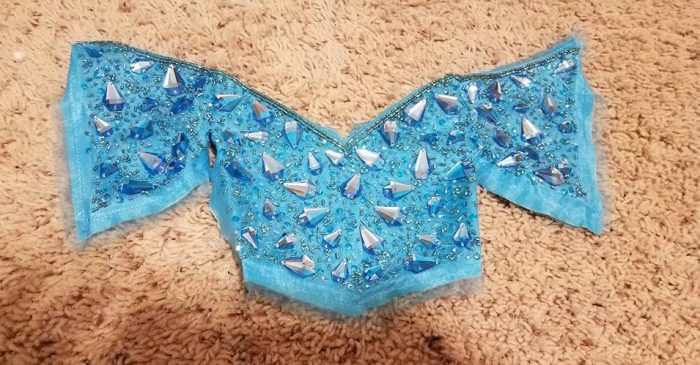
I wanted some sleeves for the dress, and thought I could do something with the bodice. The idea of using the corsetting loops as trim popped into my head.
The bodice wasn’t symmetrical, but a quick snip of the scissors took care of that little problem. Once taken apart, the pieces looked like this:
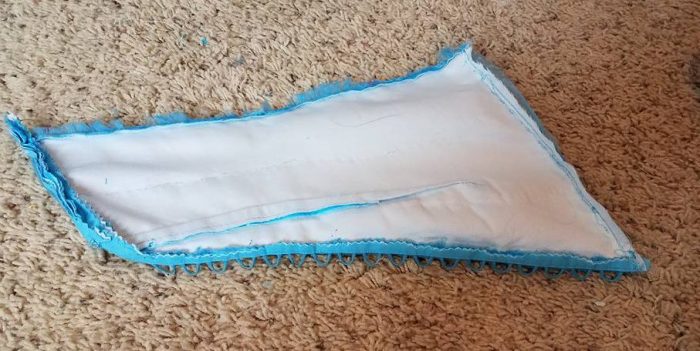
I didn’t care for the white lining, so I picked the stitching out of the dart, and trimmed the interfacing and blue fashion fabric, leaving behind the pleated chiffon.

I added a bit of white & gold lace behind the corset loops. I played with this piece on the dress form a bit, and ended up running a row of gathering threads along the top and the longer edge. I thought they turned out kind of fun.
I positioned the beaded piece on the bodice, pinned it well, and then whipped it in place by hand. I am not a big hand-sewer if I can do it by machine, BUT, between the size of the beads and the shape of the front, I figured this would actually be quicker. Then, I took the flowers that had come from the shoulder and stuck them in the gaps. I like how they fill the gaps, but, the positioning is a bit unfortunate. I am going to wait to see how it looks when it is on the cast member before I decide if they need to be changed/moved.
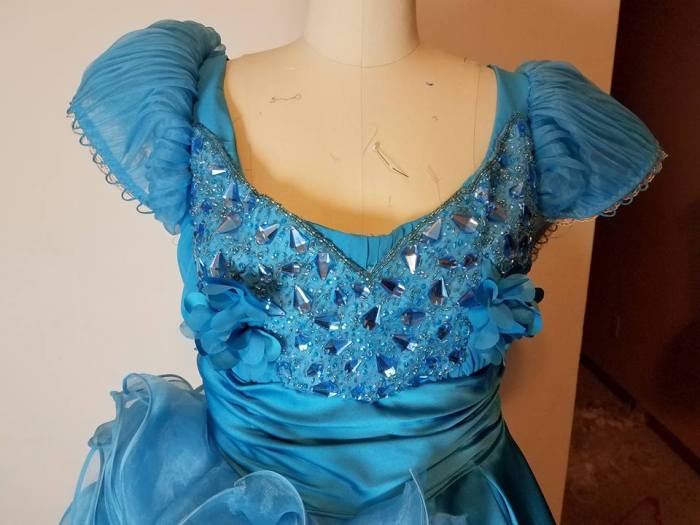
The finished dress:


This is definitely a “Fairytale” dress. It doesn’t necessarily scream “Prom” (something about sleeves . . ) but it doesn’t say “historical” either, lol.
Cost: $6 for Dress #2.
Time: 3-4 hours.
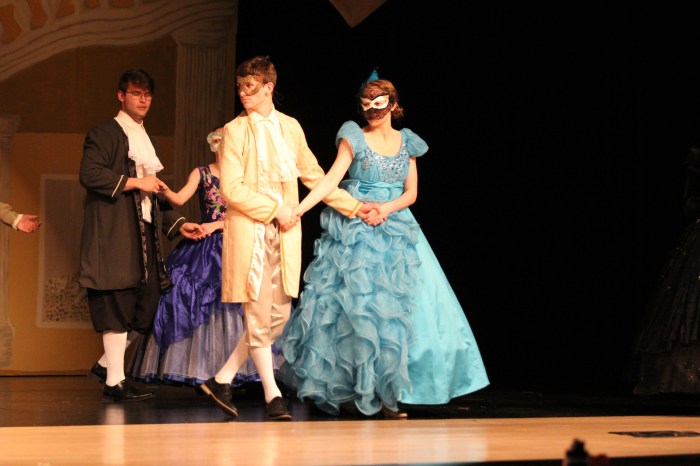
On stage:


Been following this series and love see how you refashion all these dresses to better fit the play. I wish I had a reason to refashion as much as you do! Love how the side ruffles look on this one, hope the flower placement works on the actress. Cheers!
LikeLiked by 1 person
Thanks . . it has been fun. . .altho I wish I didn’t have quite as many to do! LOL. Appreciate the kind comment 🙂
LikeLike
I too love the placement of the side ruffle. I would not have thought of that and I love it. You are making me think out of the box.
LikeLiked by 1 person
Thanks. If symmetrical doesn’t work, then go totally in the other direction! Glad you like it.
LikeLike