Every once in a while you come across a really lucky find. Something that makes me pretty excited is finding matching garments at a thrift store. Occasionally they show up together, and other times they will show up separately. I know that sounds crazy . . but . . there is one thrift store that I frequent regularly. About 3 years ago I bought a very distinctive Bridesmaid dress . . . . just a couple of weeks ago, another one showed up. Doesn’t that make you wonder the history behind those dresses?
One day I found matching dresses–one in black satin and one in red. They were different sizes, but, the same style & brand. They were in a very useful style: princess seamed with a full gored skirt, a boned bodice, attached petticoat and a matching stole.
Coincidentally, I needed to make an “upscale” cape for a character (nothing great, just a step up from my usual “skirt cape” (see previous blog). I thought a black cape, lined with red, with some gold trim of some sort would be just the thing.
I figured I would have to do some adjusting . . .after all, the dresses were different sizes. However, very interestingly, after I deconstructed the dresses and lay the skirts together . . they were basically exactly the same size until right at the waist line. How easy did THAT make this project?
To deconstruct the dresses I first needed to decide where to make the cut in the skirt that would make the “front” of the cape. The back zipper was the logical spot. So, I carefully cut that seam open up to the zipper. Since I didn’t have a plan for the tops at that point, I left the zippers attached to them. I then cut off the underskirt/petticoat at about the level of the zipper. Then I cut the top of one of the dresses off at about the waist level (with a curved edge–imagine the curve on the neckline of a t-shirt. It may be helpful to look at some pattern pieces to visualize the shape & size of the curve before cutting*). I next layered the two dresses together (using the previously cut one as the “pattern”) and cut the second one to match. This is when I discovered how similar the skirts were in size.
I decided that I wanted a hood, and so I looked through my patterns for a hood pattern, and I cut that out of the stoles.
Everything looks better with a little pizzazz, so I decided that for the trim I would use some leftover liquid lame fabric that I had, so I cut strips of that. Indicentally, I was HIGHLY impressed with how the liquid lame looked under the stage lights. It provided a significant amount of gleam for the cost of the fabric. The down side is that it in no way looks “period-anything”, but I was in the midst of a Fairy Tale . . .so who cares?
To construct the cape, first I pinned the two skirts together and sewed them (wrong sides together).
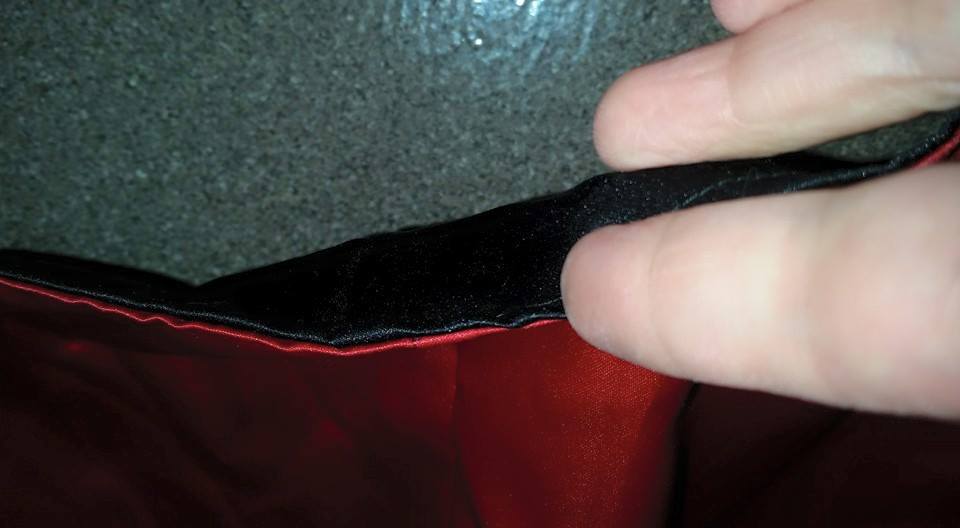
Next I made the hood, and attached it to the neckline. If I wanted the cape to be completely reversible I could have sewn it accordingly, but, I didn’t really care, so I took the easy way, and just sewed the two hood layers to the two cape layers, and eventually I sewed a length of black ribbon over the top of the raw edges to cover them. If you wore it red side out, the black ribbon would be mostly hidden by the hood. You’ll note there are a few gathers in the cape to allow it to fit on the smaller hood–this also helps give shoulder room.

I added the trim to the edges by folding the strip of fabric in half and sewing it to the cape.
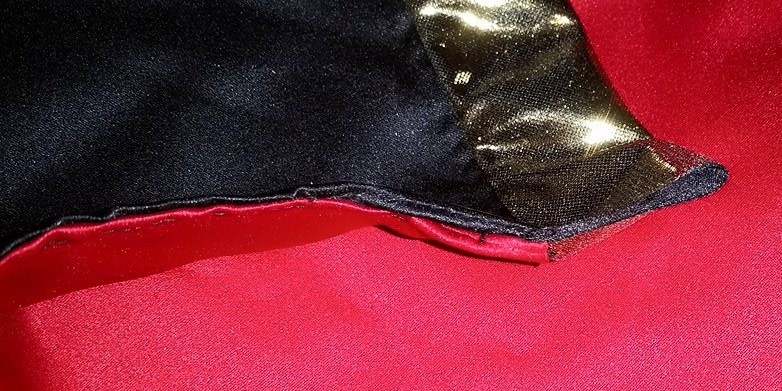
If you’ve been looking at the stitching in the pictures you’ve probably picked up that the tale I’ve just told doesn’t quite fit the pictures, so I’ll be honest and admit I did this cape awhile ago. I don’t recall exactly when or how I added the gold trim . .but, it honestly doesn’t matter. It can be attached in any manner, at any point along the way.
The final thing I did was to add a decorative tie:
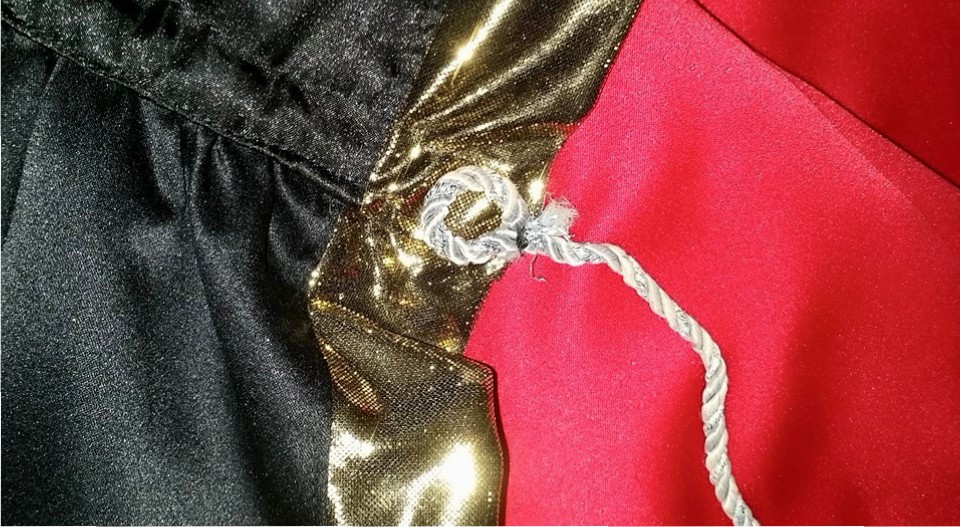
And . . the cape is done.
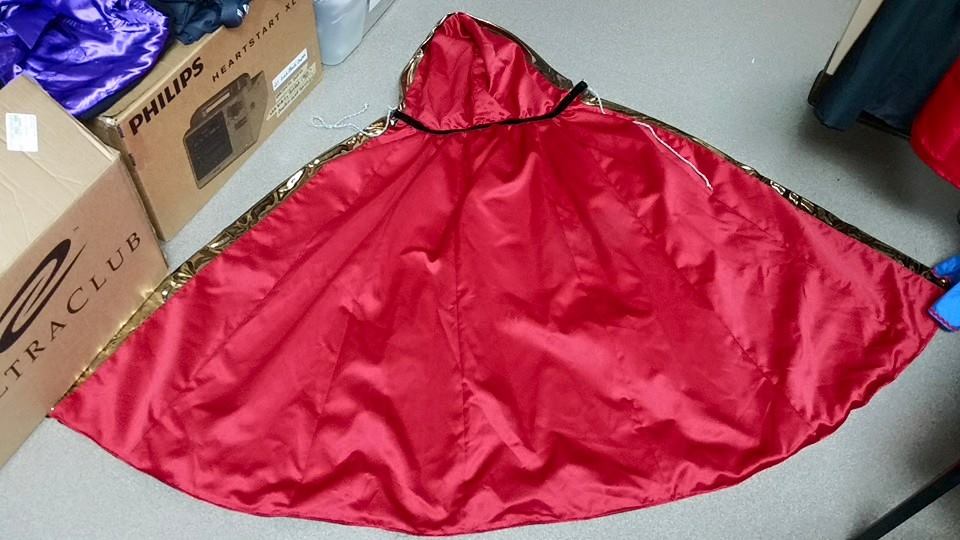
Red Dress side

Black dress side
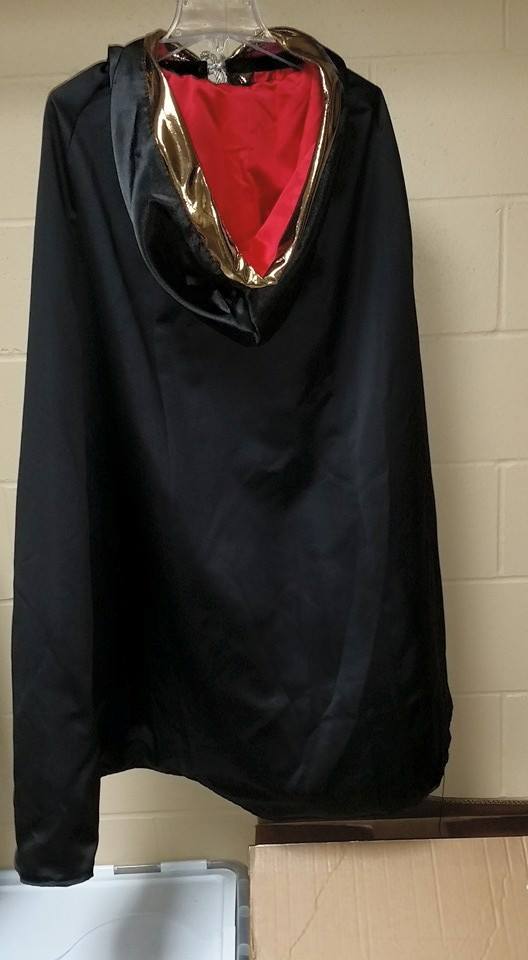
Back view
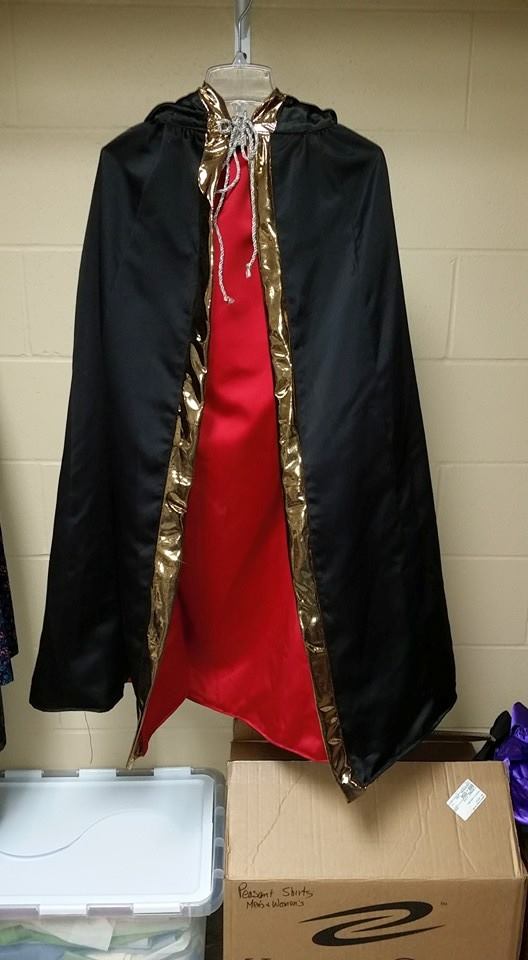
Front view
Cost of this project: 2 dresses $6. The gold fabric, cord & ribbon are leftovers from other projects. Liquid lame runs about $4-6/yard.
I subsequently used the two petticoats on another project (see the Mermaid costume post). I considered using the bodice pieces as a bustier type thing, but, rejected that as I had ended up cutting some of the boning when I removed the lining. Had I planned ahead better, I probably could have made that work.
If you do not happen to have to identical dresses, you could cut a lining out of fabric–a sheet, lightweight blanket, shower curtain, or drapes would be a good source of a large piece of fabric. You could also cut the lining in several sections and sew them together. Don’t forget to add seam allowances, and, if the fabric frays, enough to turn the edges under.
Happy creating!
*Reviewing pattern pieces: In my upcycling projects there have been various things that have helped me along. One of the major ones has been looking at patterns, whether they are full-sized commercial patterns or historical scale versions and thinking critically about how the pieces go together and/or how they differ from others (ie sleeve shapes).


Pingback: Enchanted Rose Costume: Prologue “Beauty & the Beast” | costumecrazed