The 1950’s will be a prevailing theme for a bit . . . our production of “Grease” necessitated the upcycling of somewhere between 40 & 50 dresses . . .so there are a lot of variations on a theme! Obviously some turned out better than others . . and a few bit the dust as “fails” . . . but that is the glory of upcycling . . . you just put that one aside and try, try again.
In my area of Iowa, I have access to a variety of thrift stores–both national “chains”, and locally run charities, plus an assortment of consignment stores, located in both Des Moines & Iowa City and many of the smaller towns in the surrounding area. Prices not only vary considerably from store to store, but also within a “brand” depending upon the area (not all Salvation Army or Goodwill stores are priced alike). Many of these stores will also run “sale” days based on colored tags, typically starting with a weekly colored tag sale for 1/2 price, and then some further discount, for example “Quarter Day”, 5 for $1, or all you can stuff in a bag for $2. Since many of these stores are run by volunteers, the value of a certain item is in the eye of the beholder. It is always fun to find an unexpected gem at a surprising price.
What to look for?
The easiest upcycles are often worked upon garments as close as possible to the desired outcome. Depending upon the goal, that could be color, texture, fabric, or construction feature.
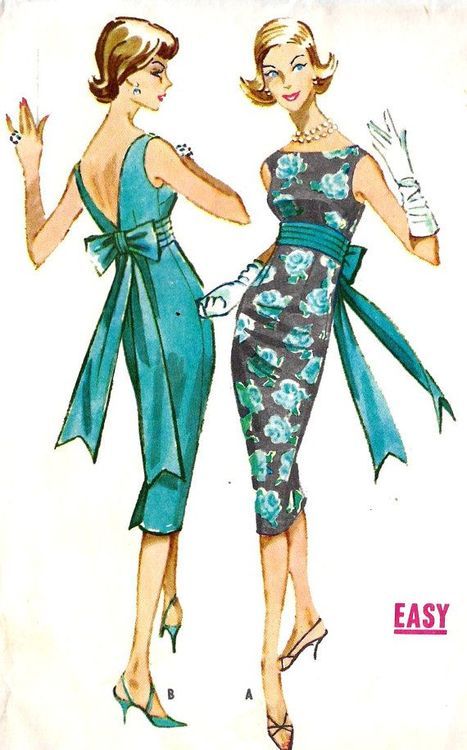
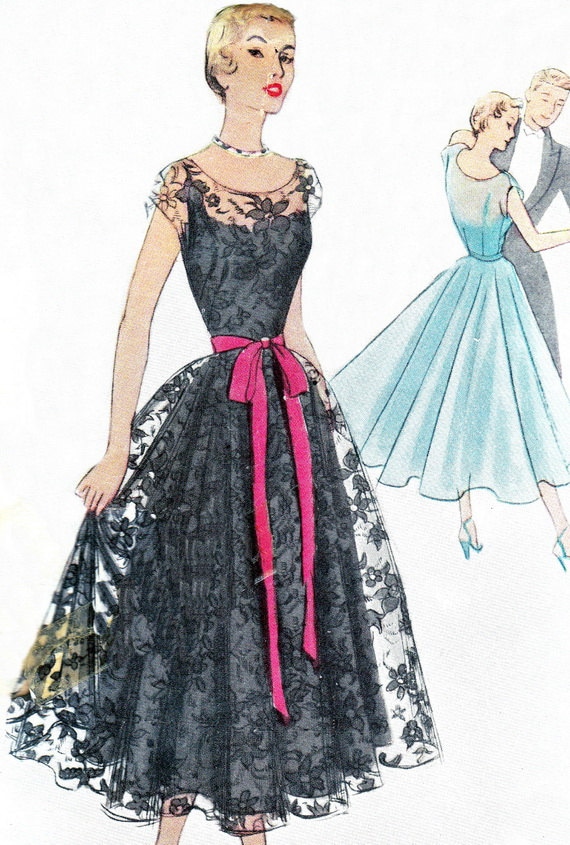
For my current project, the general silhouette I was looking for was a fitted bodice, with a full skirt sitting at the natural waist. Good ideas come from searching: 1950’s dress patterns


THE DRESS:

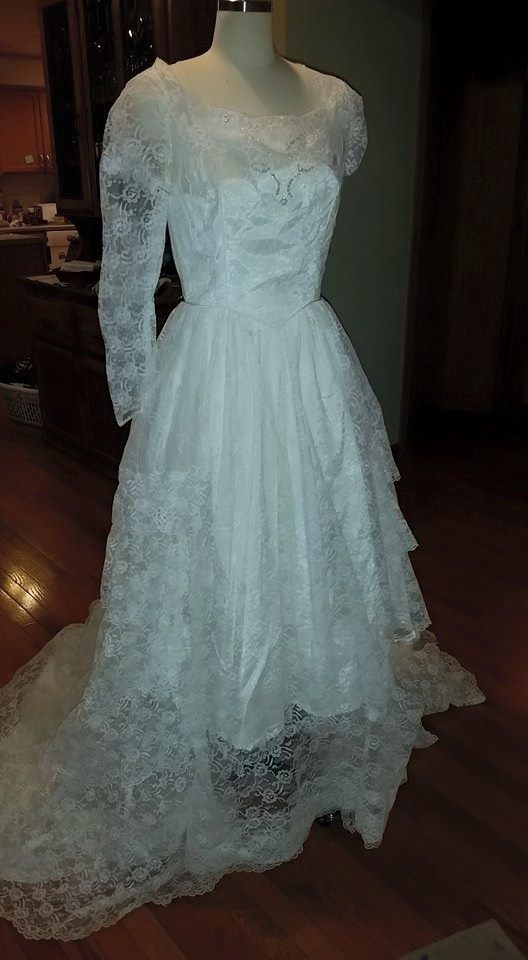
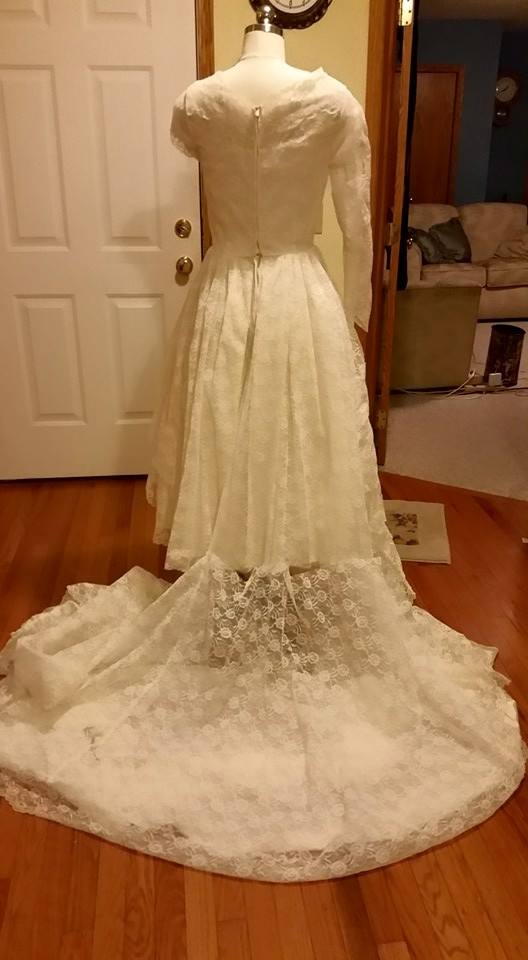
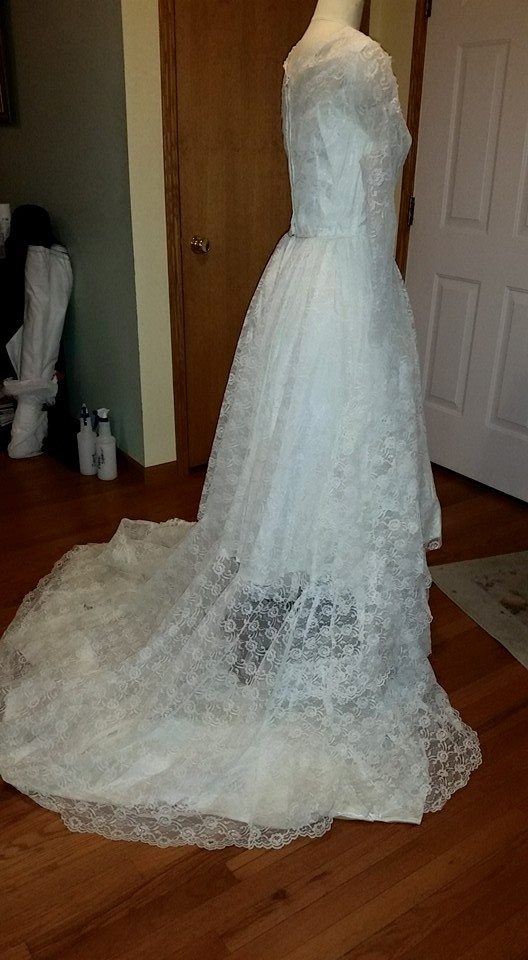

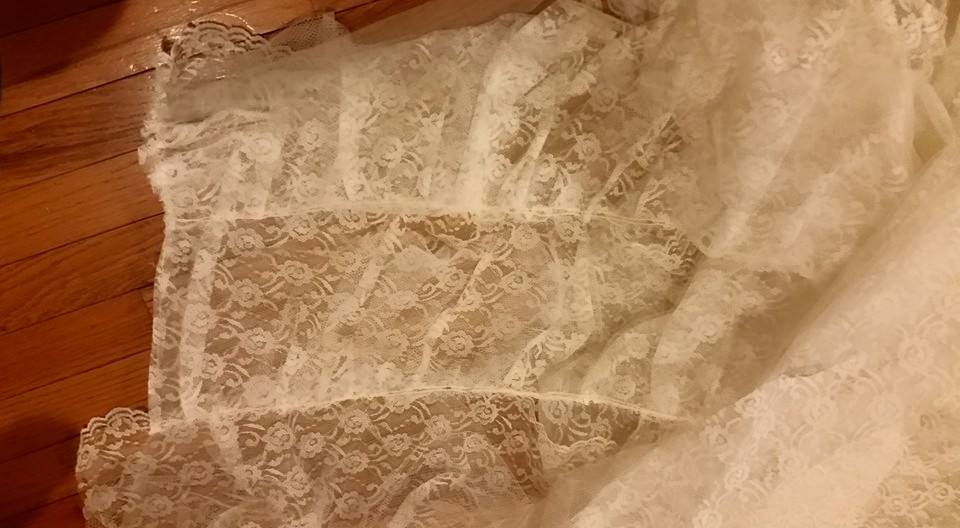
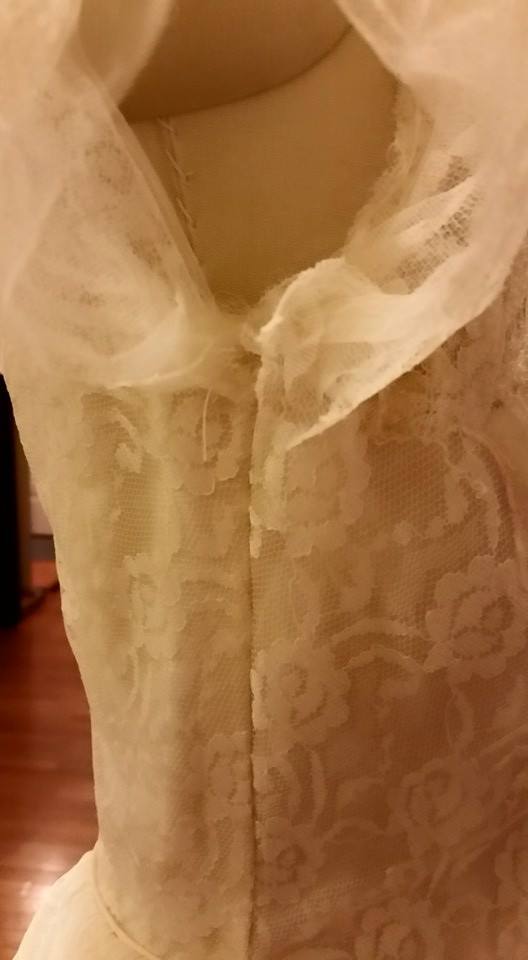
This particular upcycle started with a vintage wedding dress. I do not have a “before” picture–but I did pin the parts back together to give a general idea of what the dress looked like at the beginning..
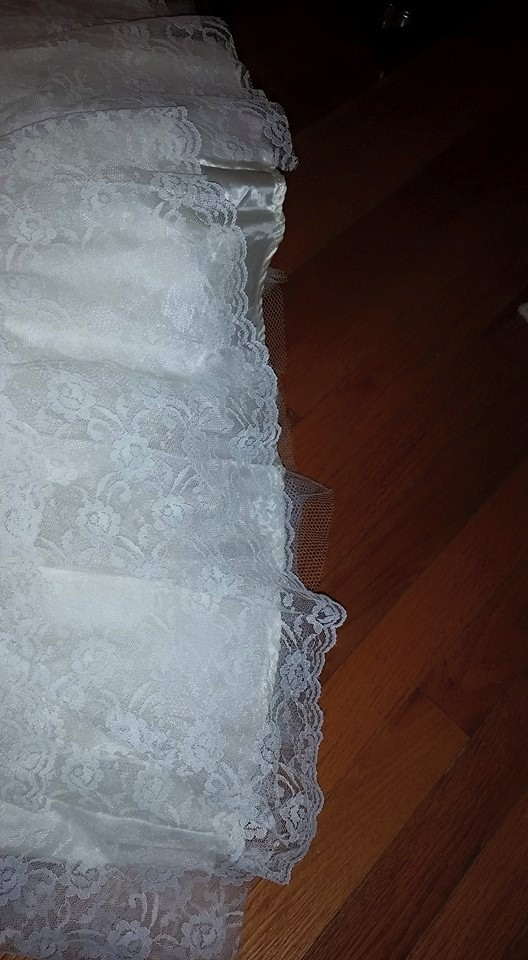
The dress was a cream lace, with fitted long sleeves, and a scoop neck embellished with a scattering of sequins and pearls. It has a zipper back and a moderate train. The two side panels are rows of deep ruffles. It is fully lined (except for sleeves) with a cream It has an attached tiered ruffle net petticoat.
The dress features that I was looking at included: the full skirt, bodice ending at natural waist, and simple neckline.
Anytime I am approaching a dress for a upcycle, I like to look at it over a period of time to contemplate the options. I particularly look at the construction details & methods. I want to preserve as much of the “work” as possible. For example, if I am deconstructing a dress with a gathered skirt, I want to preserve the gathers, as I do not want to do them again.
Typically to shorten a dress, you would cut off the bottom “x” inches of a skirt, measuring up from the bottom. However, in this case, with the train, I decided it would be easier to measure down from the waist. I also made note of the rows of ruffles on the side, and did some preliminary measuring to come up with a plan on how best to trim the bottom of the dress. I wanted to save the bottom in a useable piece, as I anticipate that it will find itself embellishing the bottom of a different dress or petticoat some time in the future.
When we measured the cast members, one of the measurements we got was the “desired skirt length”. I used this as the measurement for cutting off the bottom of the gown.
Part of deciding how to cut, is understanding the shape of the original fabric pieces. For example, a simple gathered skirt is a rectangle of fabric, sewn into a tube, gathered and attached to a waistband. A skirt that is made with gores has a curved bottom (think of a piece of pie–wedge-shaped, with a curved edge). The dress I was starting with had a gored skirt. If I were to lay it flat on the floor and cut straight across, the dress would be longer on the sides and shorter in the middle when I picked it up. The odds of actually making a smooth, even, acceptable cut are also pretty slim.
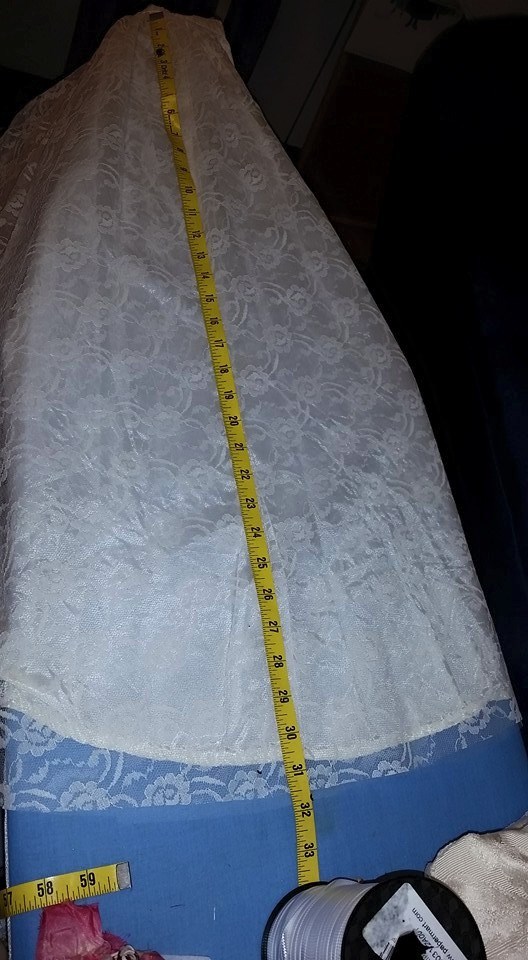 Therefore, I wanted to cut around the dress in a circle. My tape measure moves around the dress, with the waistband at the “center”, making a similar pattern to the spokes on a wheel. To do this, I use an ironing board, with a chair to support the dress. This dress has an attached petticoat, so I moved that out of the way, and carefully smoothed the lace & lining on the ironing board. Then, using the tape measure, I measured down from the waist, rotating as I went. Initially I place a few pins in a few identifiable places (seam lines, ruffle edges, etc). I then “eyeballed” it to make sure it “looked” fairly even, and compared parallel areas by holding them up to each other, to compare the length. Once I was happy with those markings, I began the actual cutting, moving my tape measure every few inches and cutting along the imaginary line between my cutting line and the end of the tape measure.
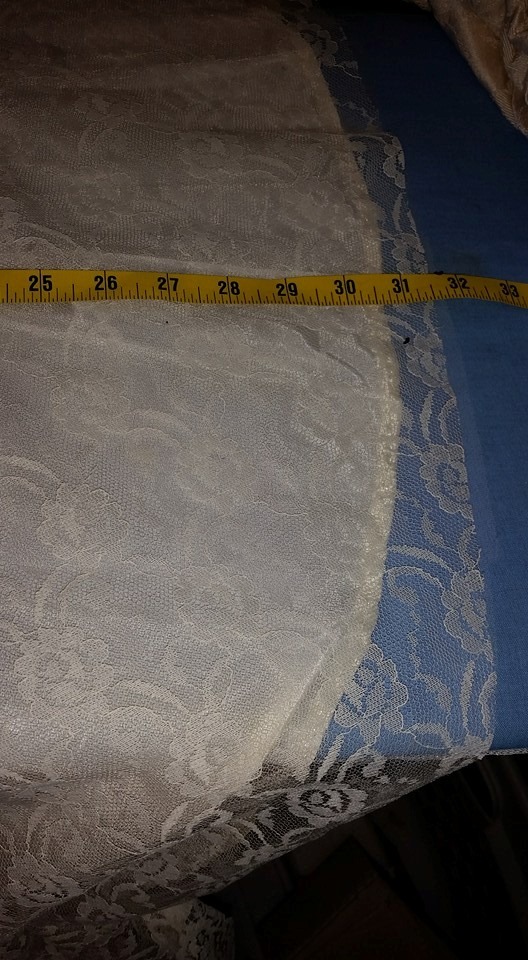
(For a costume–I didn’t pre-mark the cutting line. If I were shortening something important, I would mark the cutting line with pins and check that with the dress in a vertical position, for even placement, length etc). In these pictures, the lining is a little shorter than the lace, because it has already been hemmed.
This dress had the quirk of the ruffle panels on the side. The ruffles were sewn at a slight angle. I made the decision to remove the ruffles across one panel, even though that made the bottom of the dress slightly uneven. This unevenness is really unnoticeable in the finished dress, and leave a nice set of lace ruffles for another project.
Once I had the bottom cut off, I hemmed the underskirt with a narrow hem. 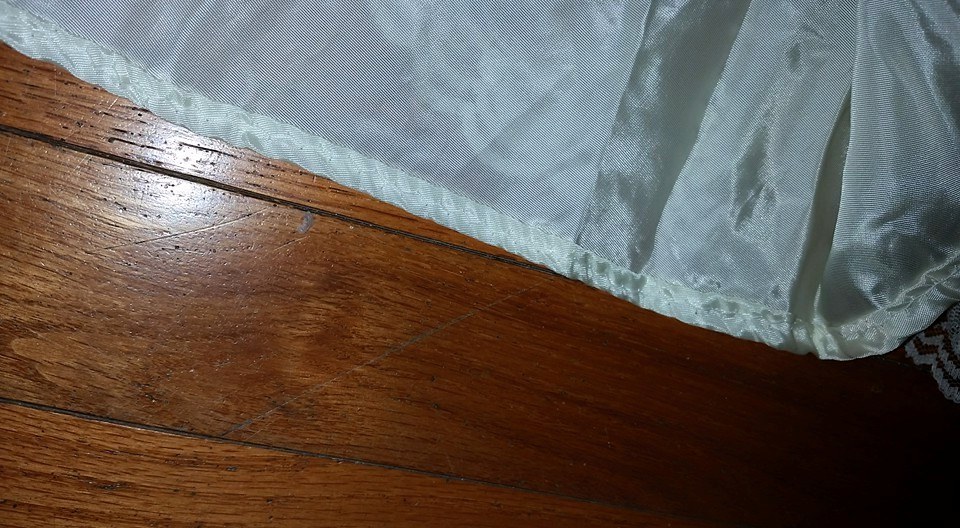
The petticoat was now too long. I did not want to cut the netting off, as I wanted the dress to poof as much as possible, so I sewing some tucks in between the layers until it was the desired length. 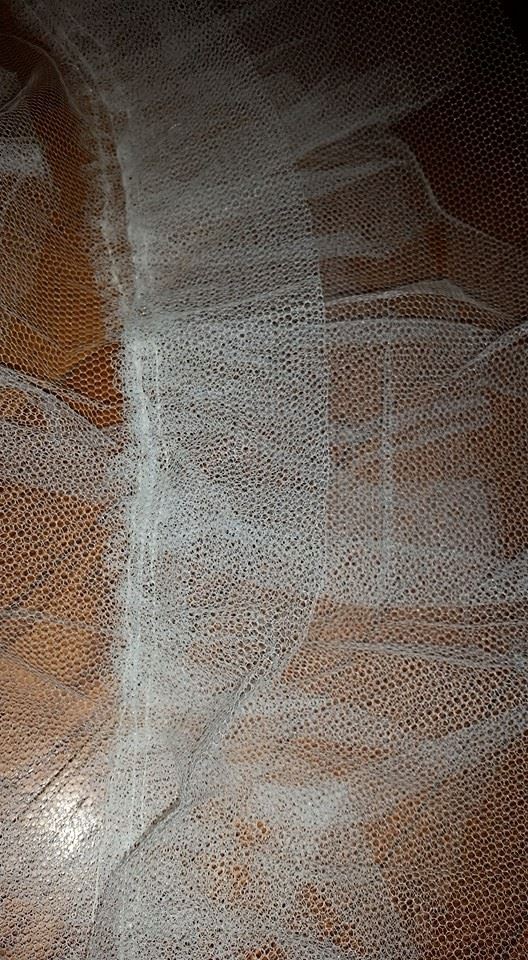
I then put the dress on a dress form and evened up the skirt as needed.
The next task was to shorten the sleeves. I cut off one sleeve, and then used that to measure the second. I squished the lace up under the arms and tacked it there to give a little ruching to the sleeve. There were a few small areas on the bodice where the lace was torn, so I reinforced them, using pieces of the removed sleeves (zig-zagged to the bodice).
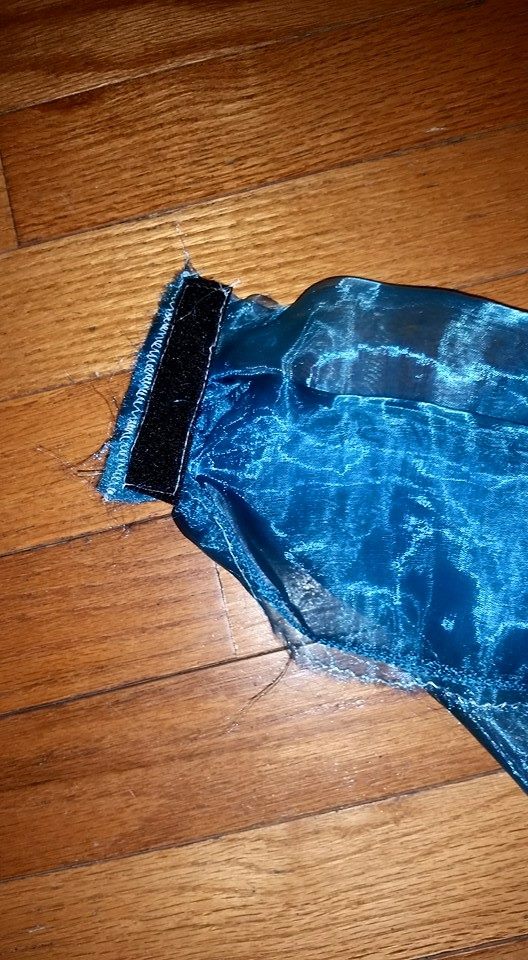
I then thought the dress needed some color, so I made a sash out of part of an organza table cover that had been donated to the school. I used hook & loop tape to close it in the back.
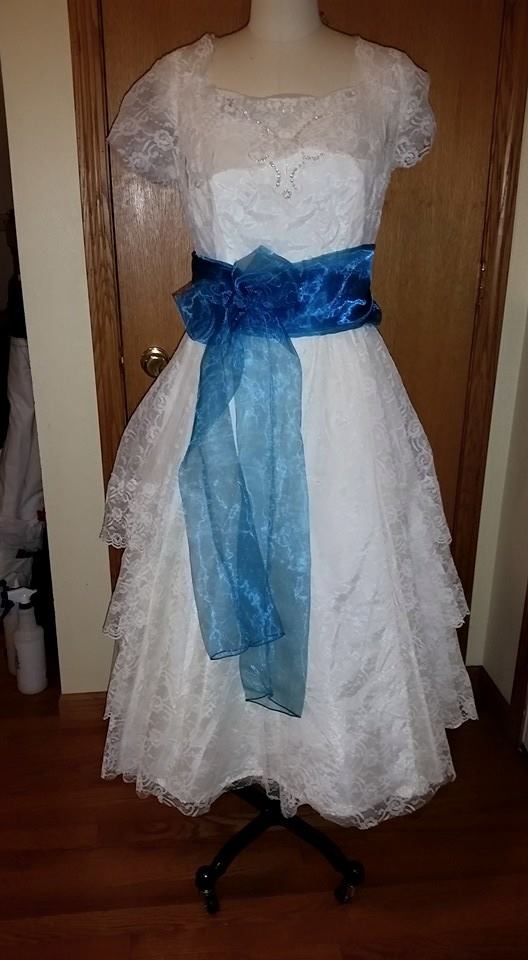
This is the finished dress:
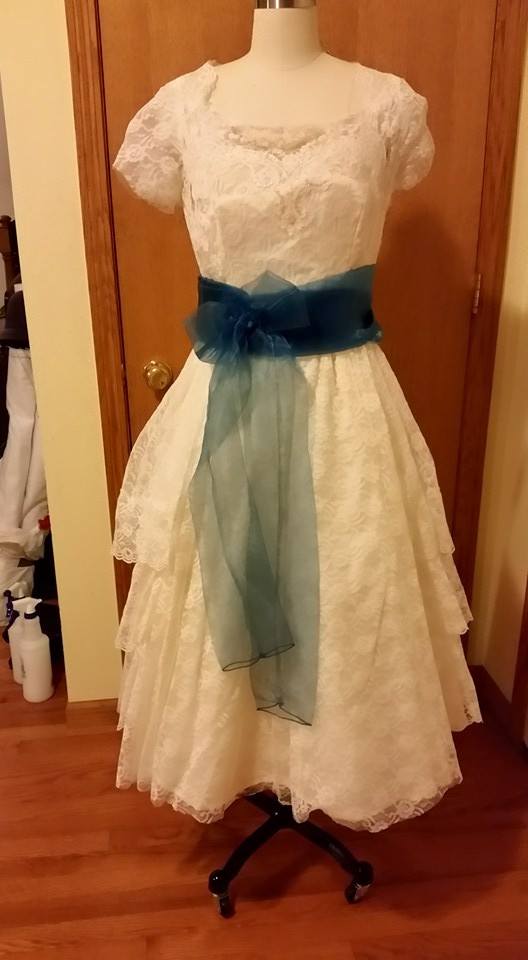
Never underestimate the power of proper undergarments . . .adding a petticoat enhances the 1950’s look:

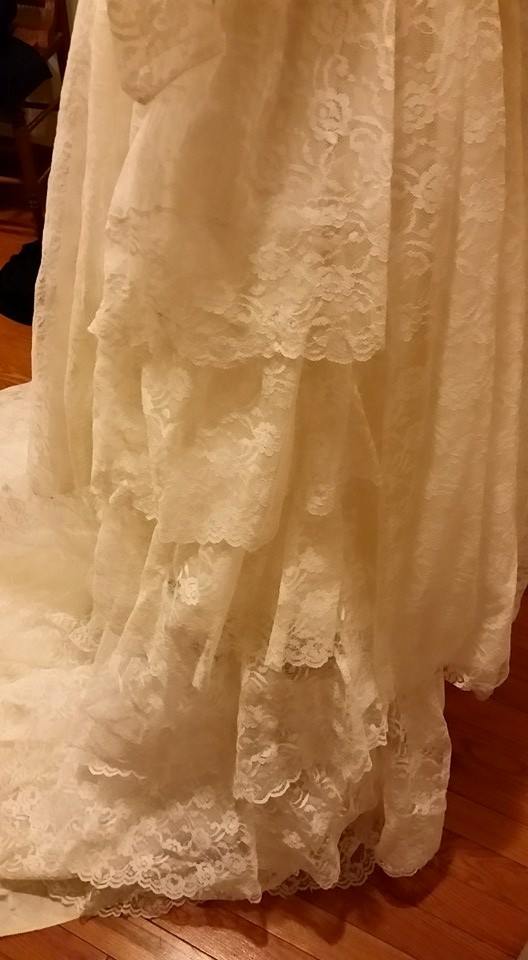
Here is my pile of leftover lace & lining:

And a (not so great) view of the dress on stage:
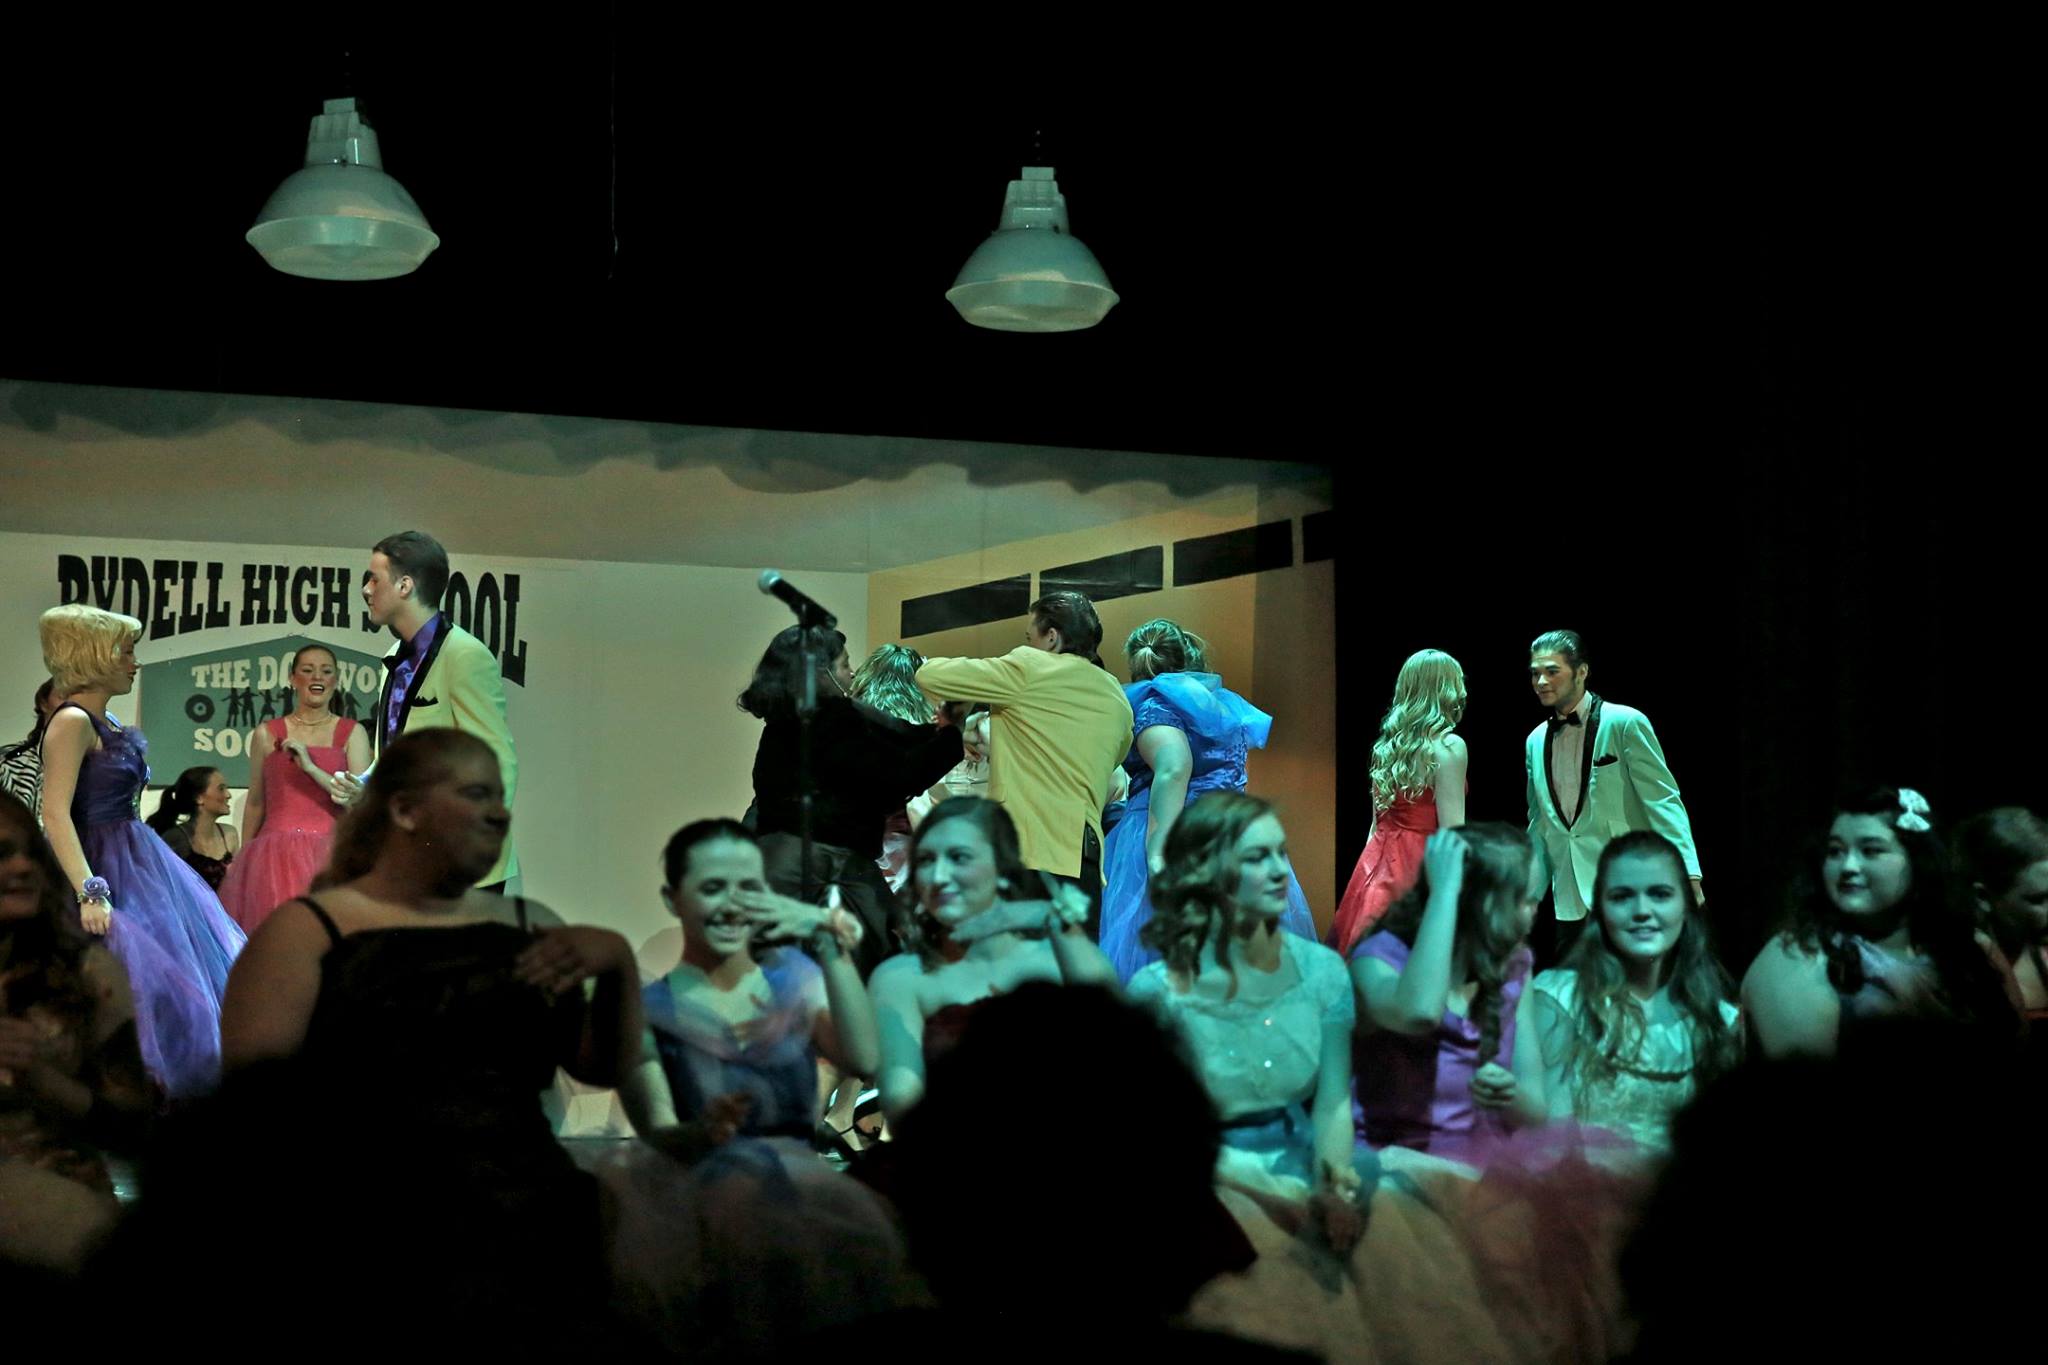
This was a really fun upcycle–partly because the cast member who was wearing it was pretty skeptical about wearing a “wedding dress” to the dance . . . but once the upcycle was done, no one could guess the origins!
Cost: Dress $20, sash: donated, hook & eye closure: not much–just a little piece off a 50 yard roll 🙂
Addendum:
Recently when researching vintage wedding dresses . . . look what I found on an Etsy site:
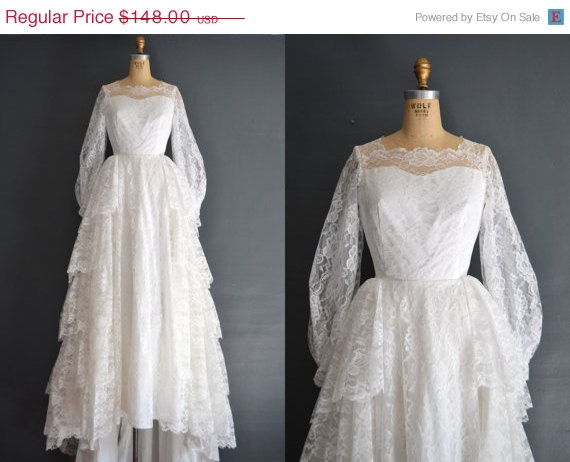

How fun is this? It looks to be in better shape than the one I started with . . but at 40% off it is almost $90!


