“The Addams Family” is a really popular musical for schools and community theater right now. What’s not to like? Iconic quirky characters, catchy music, and a chorus of historically costumed “Ancestors” (aka Dancing Zombies).
This post is a mental exercise in how I go about starting the process of costuming a show, and then describes one adaptation I did to an existing Flapper dress.
I was actually unfamiliar with “The Addams Family” prior to this fall when a local community theater group decided to present it as their production. It has some intriguing costume possibilities, including thigh-high boots, a transforming floor-length Gothic-to-Sexy-leg-baring-Tango dress, and an Ancestral Zombie Chorus. While I wasn’t actually involved in costuming this production, it was a fun show to think about and formulate ideas on how to upcycle to create the needed costumes.
As always, I started by watching video, searching images, and reading costuming blogs. After doing a little research . . . the pre-Broadway trial run of the show costumed the Ancestors in ordinary costumes. By the time the show hit Broadway . . the Ancestors were dressed in a combination of neutrals: predominantly white and gray, with pale makeup . . aka, your typical “Zombie” look. The characters are described in the script as “Bride”, “Conquistador” etc. Some of them have historical “family” significance, ie, the Conquistador is meant to represent Gomez’ ancestors, however, for the most part, they appear to represent random moments in history.
The challenge with costuming them is that typically the costumes are done in tones of white. Not so hard for the Bride, but, a little more challenging for some of the other characters. You just don’t find a white Pilgrim or WW I Soldier outfit on the rack: and even adaptable items like jackets, pants and dresses require more searching than some.
When looking online, various productions use not only the characters as designated by the script, but also add in other “identifiable” characters, no doubt dictated by budget, available costumes and number of cast members.
The first impression I had is that the characters wear white . . but . .upon examination of many of the images of the Broadway costumes, in actuality, the costumes appear to have a significant amount of gray or pale neutral tones in them. The lighting in the scenes also is fairly dark, which can change the actual tone color of the costumes. Of most significance, I think, is trying to avoid an overuse of “bright white” tones that one might find in men’s dress shirts, polyester nurses uniforms and sheets. Off-white, eggshell, creams, and pale gray become the new “white”.
Depending upon the resources of the production, a decision might need to be made whether the color gradient moves from white to gray tones (black), or from off-white to beige tones (browns). I think you could mix all the colors, as long as there was a mix throughout. You wouldn’t want to have all white/grays and one khaki trench coat. I’d also want to think about how dark a gray or brown I would be willing to use. You might also decide to go with a “bright white”, and utilize the lighting to mute the color. I personally don’t care for the productions where bright white is used for the costumes and the set lighting is fairly harsh–but that is just me. The judicious addition of darker tones can add depth and texture to the costumes. Care may need to be taken to tone the makeup between individual skin tones, costume tones and lighting.
I have not actually been involved in costuming this show, so these were all thoughts I had for the preliminary preparation phase . . I haven’t actually worked them through other than a mental exercise.
In addition to the color palette, questions I would want to have answered before starting to costume would include:
- What is the style? Nice? Tattered/Stained? Humor? Dark?
- How vigorous will the dancing be?
- Should the costumes be as described in the script, or, can others be substituted?
- And then there is the ever important: What is the budget?
- And: Who else is working on costumes?
The advantage to keeping the costumes “nice” is that you can borrow, and/or re-use them for other productions. For example, I loaned the Flapper dress (featured below) for the production, but I would not have been willing to have it stained and/or tattered. With a little creativity and gauzy fabrics like tulle, cheesecloth, old linens etc, it would be possible to pin on some temporary “tatters” or stains . . but it is something to think about at the beginning.
Part of the mental exercise of this was thinking of historical eras and/or characters that could be easily identifiable. This can either be achieved through the shape of the costume or accessories. The amount of dancing/movement required will affect length, shape and also potentially headgear.
Ideas that I had with the IDENTIFYING item capitalized:
Carmen Miranda: FRUIT HAT, white shirt/skirt with ruffles
Southern Belle: HOOP SKIRT (could be raised–ballet length
Renaissance: CORSET, with loose top & ballet length skirt/tucked up overskirt, flower wreath in hair
Pirate: HAT or HOOK, possibly eyepatch
Shipwreck Sailor: loose top, loose pants with tattered bottoms, sash at waist, barefoot
Ballerina: TUTU
Roman: TOGA, olive leaf headband, sandals with criss-cross ties on legs
Medieval: HENNIN (pointed Princess-type hat), or rolled circlet type hat,
Tudor: FRENCH HOOD
Baseball player: HAT
Pirate Wench: OFF THE SHOULDER SHIRT, corset, full, tucked up skirt
Colonial Woman: Think Martha Washington–fitted dress, NECK KERCHIEF, PEPLUM overskit
Colonial Man: TRI-CORNER hat, BREECHES, long buttoned vest
French Maid: APRON, little maid hat,
Clown: varies
Sports Player: appropriate prop Tennis, Golf, Football
Old Lady/Hag
Sailor: HAT or sailor COLLAR
Movie Star: Fancy long dress/fur/ cigarette in holder, stole
Knight: TUNIC & Cape (with something appliqued on the front, ie Templar Knight emblem)
Grecian: similar to Roman, but shorter
Burgerboy/Milkman: Paper HAT
50’s: CIRCLE skirt & PETTICOAT
You can take this for the named characters to simplify them, for example:
Bride: VEIL, lacy dress, bouquet
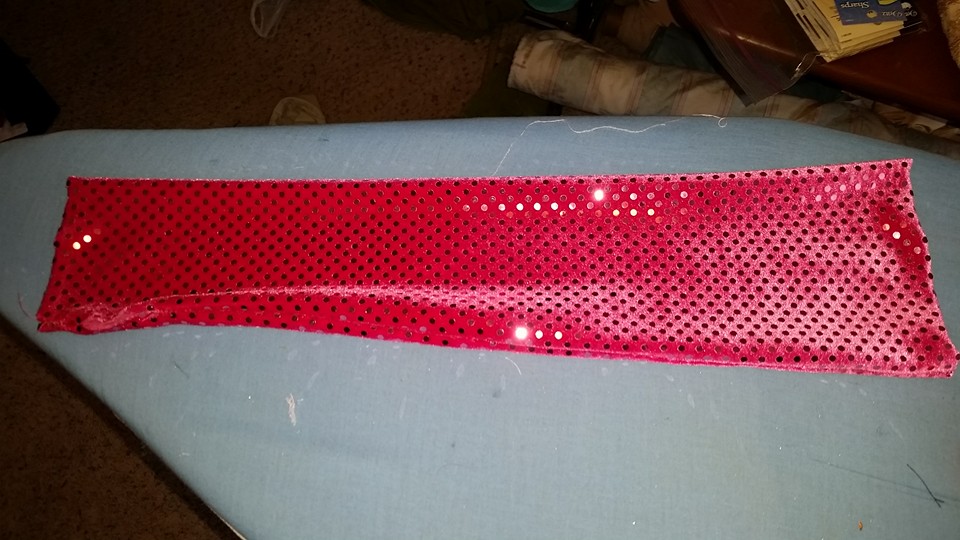
Flapper: FRINGE sheath dress
Conquistador: Vest & PUFFED BREECHES
Caveman: FUR TUNIC (one shoulder)
Convict: BALL & CHAIN on leg, convict HAT (google it . . it pops up)
Pilgrim: HAT, and/or square COLLAR, tunic with belt & square BELT BUCKLE
In my mind, once you have chosen the identifying part of the costume, if you put the emphasis on that, and make sure it is identifiable . . . the rest will fall into place, and can be more or less elaborate/accurate as your time and budget allows.
FLAPPER ZOMBIE:
I had a white fully fringed Flapper-style dress in my collection of costumes. I altered it by putting a slit in the back up the back seam (to allow for dancing), and shortening the straps (to fit the cast member).
I then wanted to play around with the idea of a mesh top so that not as much body makeup would be required.
I happened to have a very pale purple (pale almost to the point of being gray) old lyrical dance outfit. The mesh panels extended from just under the bust line to around mid-calf, so they were fairly long. The pieces varied in width.
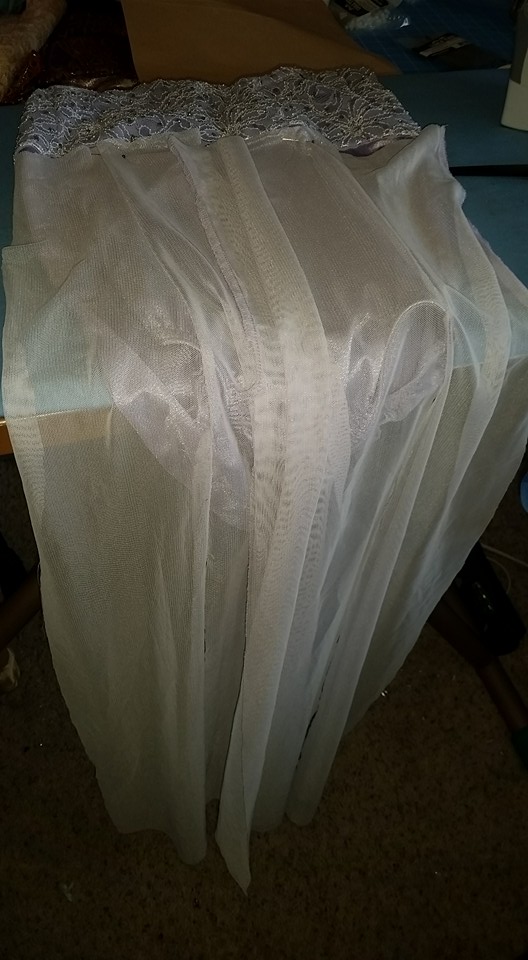
I cut the mesh off of the dress, and separated the widest pieces. If it is a two-way stretch, you will want to keep the stretch going across. If it is a four-way stretch, just try to be consistent with the direction you use the fabric in case the “grainline” shows, and to keep the stretch consistent.
This is the closest thing I really have ever done to “draping”. I put pieces of the mesh on the front and back of my dress form, and sort of made a “top”. I used pins to hold it to the dress form. I made sure that it was wide enough to meet under the arms. The mesh is so soft, stretchy and flexible, that the fit is pretty forgiving.
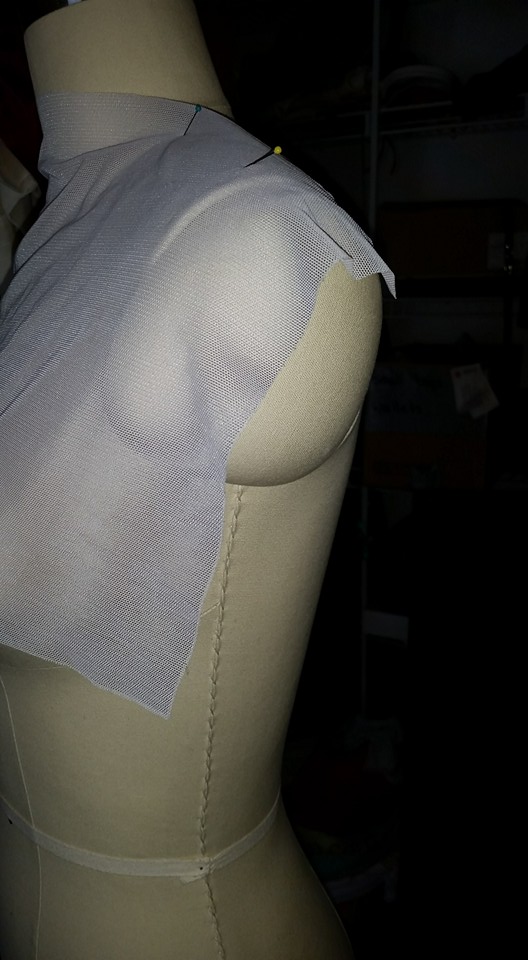
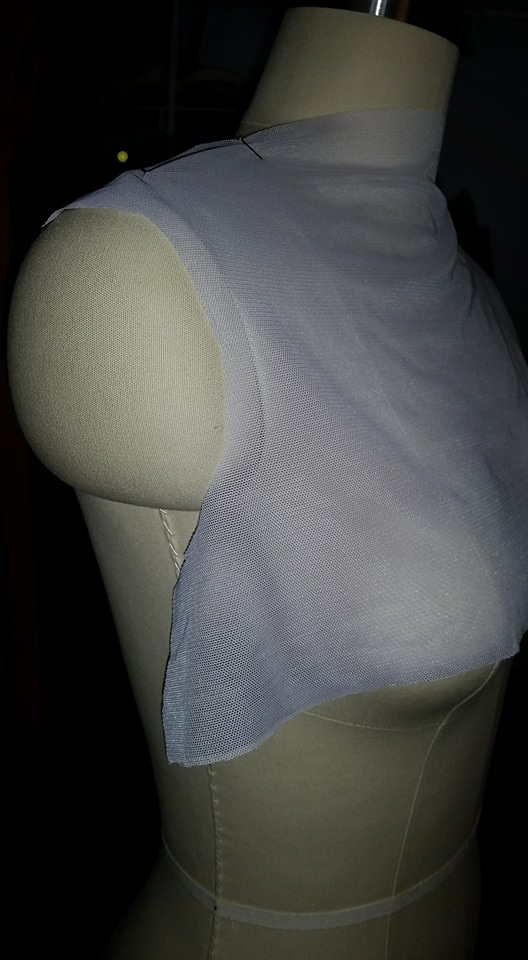
I sewed the shoulders and under the arms, and then put the original costume on top.
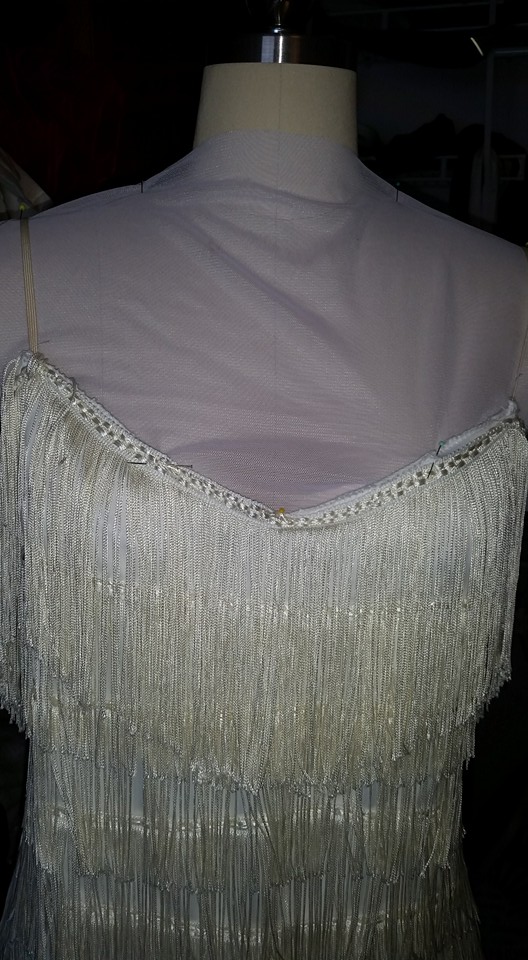
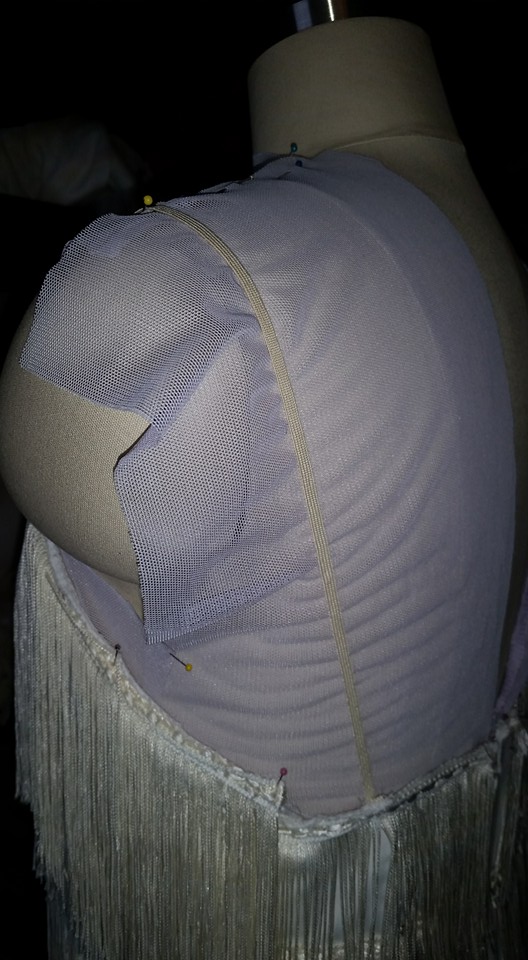
I pinned it where it would attach to the original dress and, using a large basting stitch, sewed it to the dress. I chose to baste it in 1) because I didn’t know if the pale purple would work for this show (it didn’t) and 2) I knew I would want it to come out eventually. Then I trimmed away the excess fabric that is hanging over the shoulder area to make the armscye. I tried to make sure I left enough for a seam allowance,
I needed a pattern for a narrow, tight-fitting sleeve. I decided that I wanted the mesh to extend down over the hand, with a hole for the thumb, to help keep the sleeve in place.
I had this pair of dance costume arm pieces. This gave me the shape of a fitted sleeve that extended down over the hand. One thing to note, the seam on THIS “glove” is on the inside of the arm. The seam on the shirt, is on the bottom of the arm. If I put the seam on the bottom of the arm where it typically is, then I would probably need to cut a small hole in the fabric for the thumb. This mesh is soft enough, that it might possibly work to use the underarm seam, and just have it twist around a bit to reach the thumb. Just something to keep in mind.
For the shoulder, I found this long-sleeved t-shirt:
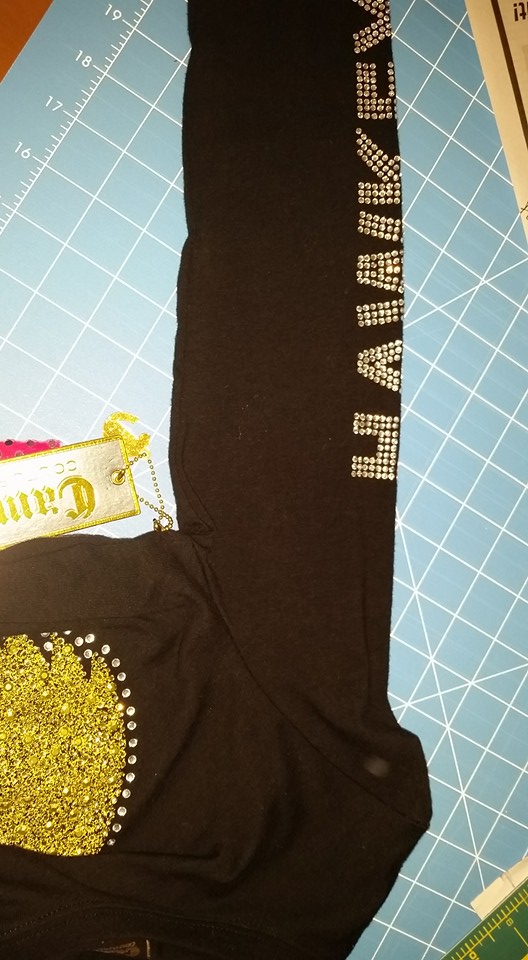
I wanted to create a pattern based of these two commercially sewn items. The best way to make a pattern is to deconstruct the garment so that you can lay the fabric pieces out flat and trace around them. However, that means you have to pick all the stitching out, and then sew it back up. That isn’t fun. So, I just did the best I could using the garment as is.
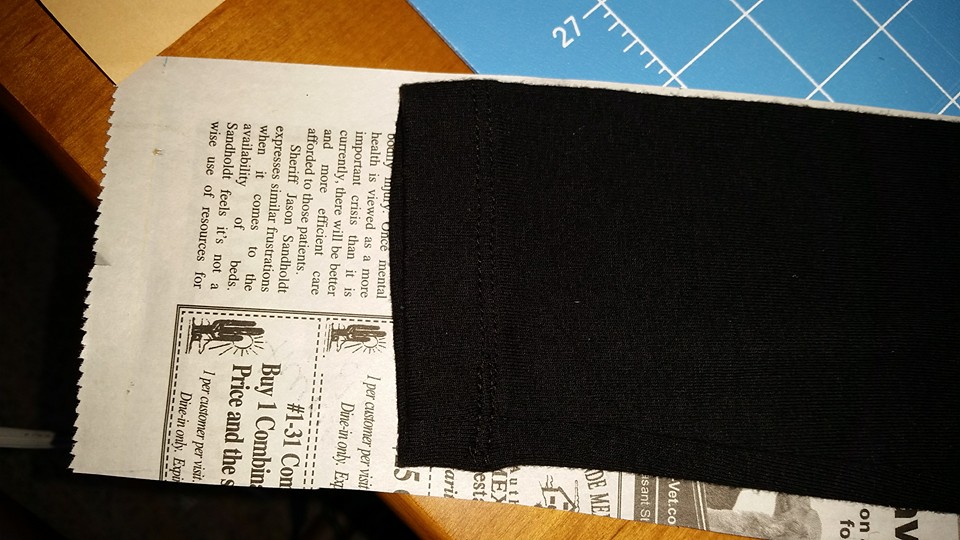
To start, I very carefully made sure that the garment was folded in half, and smoothed it out as flat and even as I possibly could. Then I traced it on to newspaper.
Carefully flattened. Edge of newspaper is not visible at the top, but it is even with the fold in the sleeve, as that is where the fold in the fabric will be.
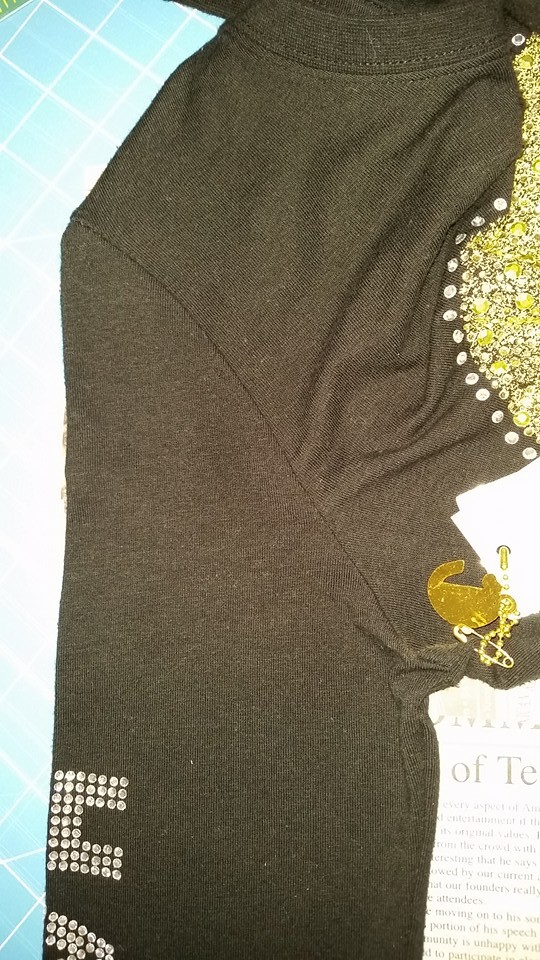
I wanted the costume sleeve to be longer, so I cut my pattern longer than the sleeve on the t-shirt.
My pattern:
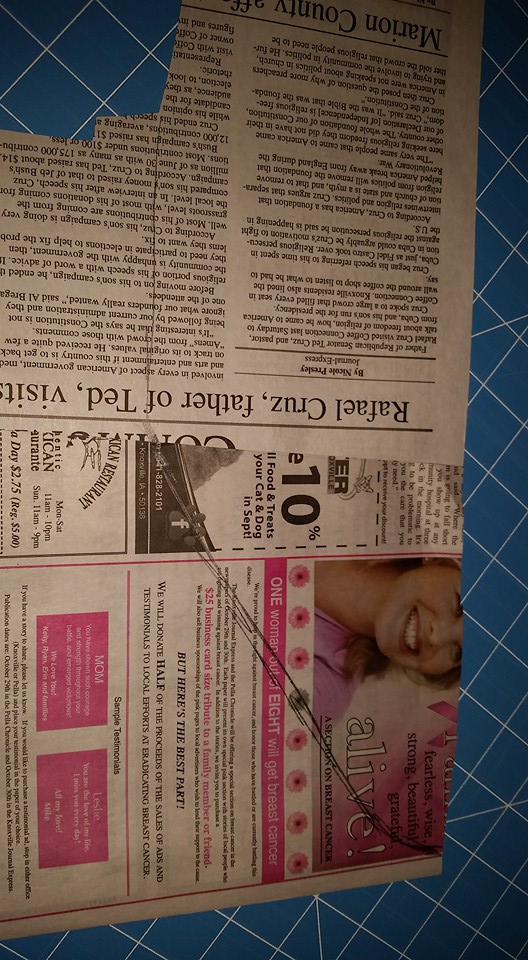
Shoulder area on the pattern.
I cut two of these out of mesh, and sewed the underarm seam up. I sewed them into the armhole. They matched up fairly well, and I just made some little tucks to make them fit. There is an additional seam in the sleeve that came from the panels in the original garment. The seams are sewed with a stretch stitch (zig-zag would also work) so that they will stretch along with the fabric. The seams are also trimmed quite narrow to minimize how much they show.
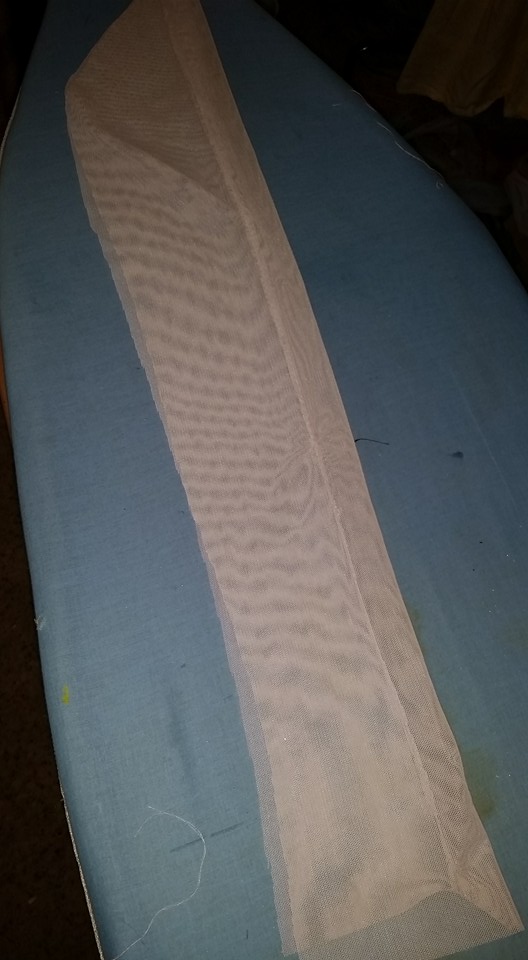
In the back, I did some overlapping, and sewed a small piece of velcro at the shoulder/neckline to help keep it closed. I did not finish this as, after a fitting, I knew I would need to take this mesh off as it was the wrong color for the show. I also didn’t finish the bottom of the sleeves. To finish them I would have cut them to the appropriate length, and finished sewing up the seam, leaving a hole for the thumb to stick through somewhere (see comments above).
I made a simple 20’s looking headpiece using some stretch sequins, a piece of mesh that I twisted into a flower/circle shape, some fake pearls and some old feathers that came from a dance headpiece. It is all hot glued together.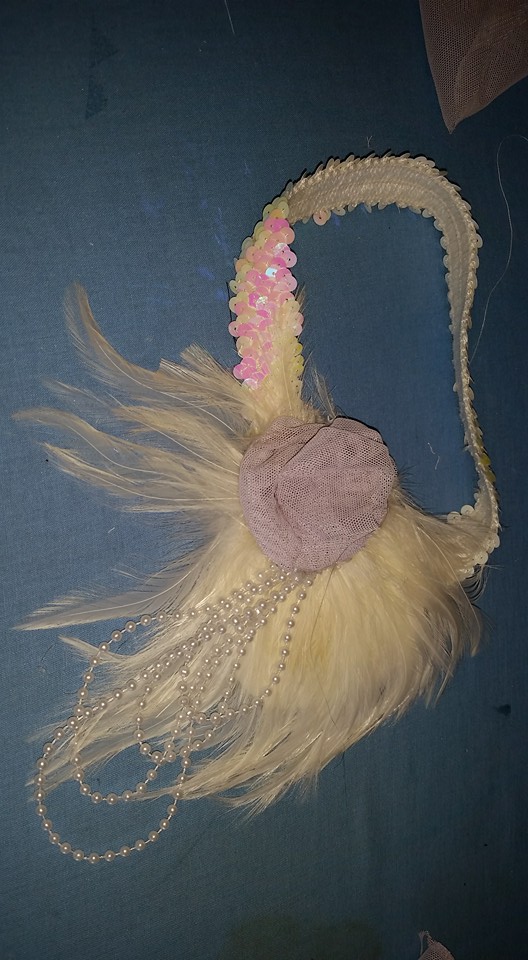 Outfit with mesh:
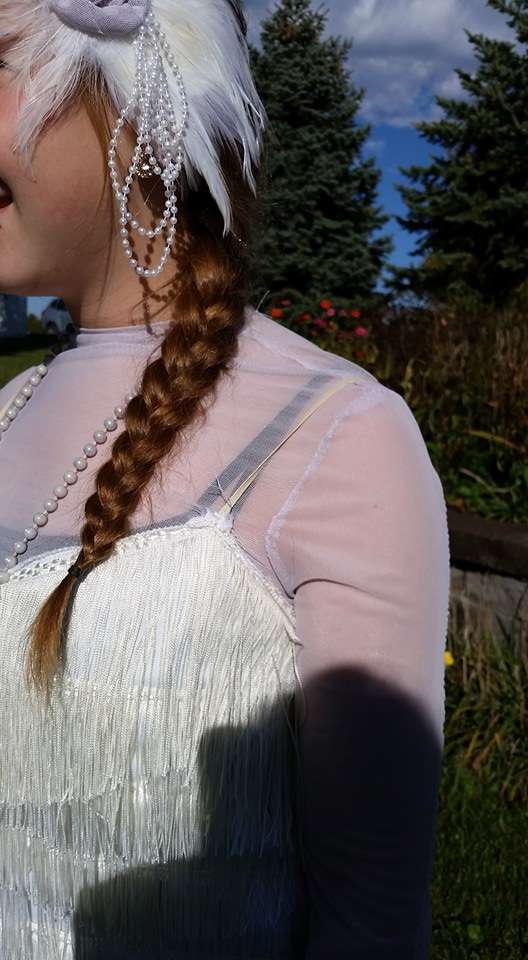
Ignore the black tank top 🙂
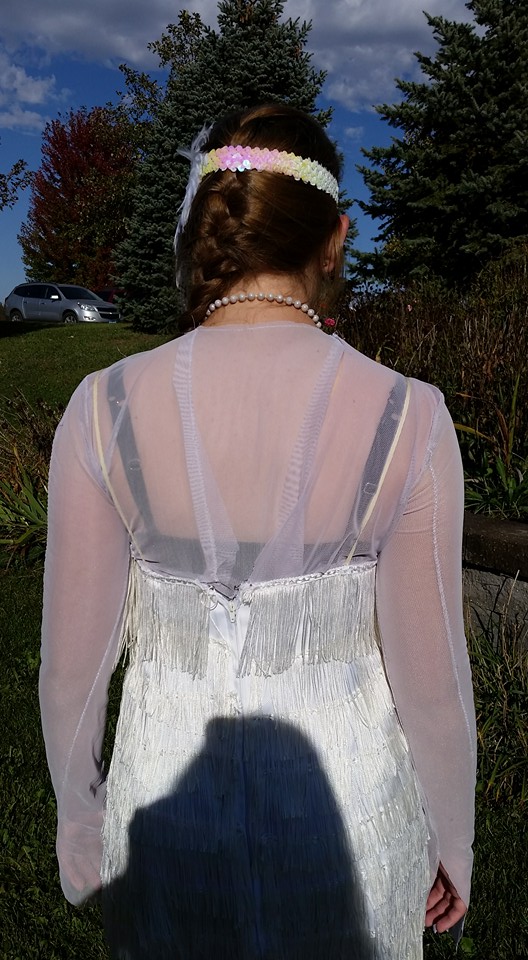
Back closes with a velcro dot at the shoulder line. To finish, it would have had a better closure a the back, probably supported by the dress. Hook & eyes, and or snaps might also have worked. The mesh would probably need a little something to help support it if it were to get tension/stress, like from a snap. Ignore the black tank top.
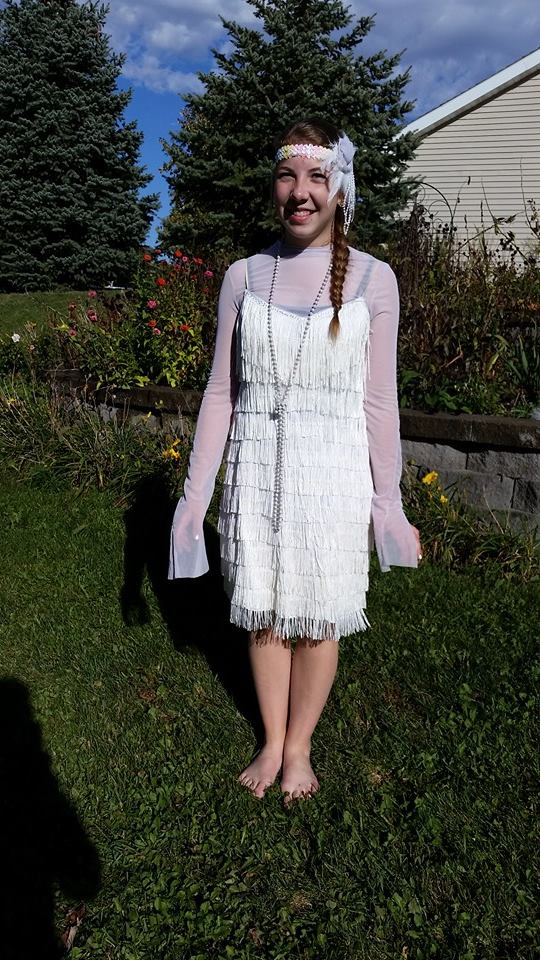
The sleeves are not finished. See description in post The sleeves could also be sewed a bit narrower for a more fitted, skin-tight look, if this adaptation were actually going to be used.
I think that using mesh as a substitute of skin-makeup is a viable option. I actually like the way the pale purple looks. I think you would be able to tone it with makeup in whites and grays, especially around the eyes, to make it look good. If you had enough mesh, you could also consider making leggings. However, white pantyhose/tights would also work. If you wanted stains, tights are a good place to add them, as they are more disposable than the costume itself.
I accessorized the dress with a pale gray string of pearls, which tone with the mesh, and give a bit more dimension as they contrast just enough with the dress to make them noticeable. I also chose to make the “flower” on the headpiece out of the mesh to pull the two pieces together.
Similar mesh can be purchased by the yard. Look for “Power Mesh” or “Stretch Mesh”. It comes in various colors, and can also be found with glitter, ribbon, holographic glitter dots and other embellishments.
I hope you found some ideas within this post. Thanks for reading & following. You can also find my posts on Facebook on “Costumecrazed”.


Pingback: A Rapunzel Dress: Upcycle | costumecrazed
Pingback: Mouse Queen Upcycle: Burlesque/Steampunk Style (ala Fastrada) | costumecrazed