A jabot is a ruffle or frill that is worn at the neckline and is typically made of lace. They can either be ruffles on either side of the shirt opening, or a separate piece. They are a quick way to add a period feel to an outfit.
Our high school does some costume rentals and we had a group request a few more jabots that we had in stock so I decided to whip a few up. One of the shows on our list of possibilities for the musical next year is a period show . . . so this might be a head start on costuming!
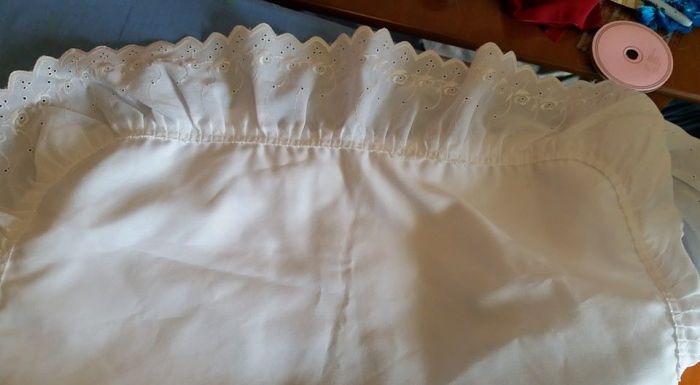
Pillow Sham Jabot:
I love pre-ruffled lace and eyelet. Why not take advantage of having most of the work already done? I had recently purchased this pillow sham for 50 cents, so it seemed like the perfect item to upcycle.
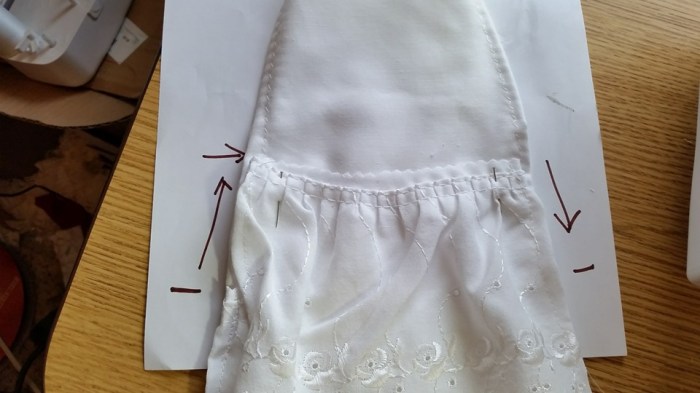
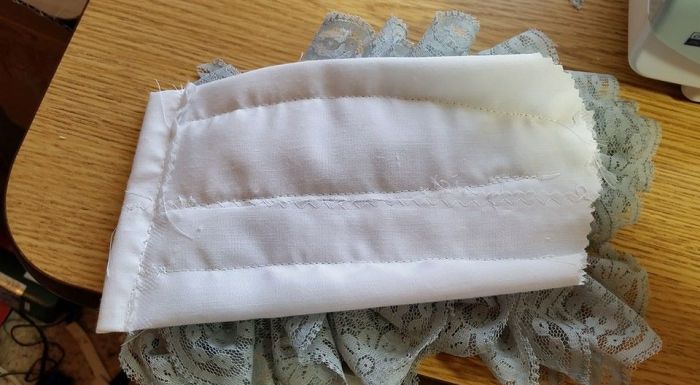
I started by cutting out a roughly rectangular shape. I took care to cut the eyelet carefully and keep the fullness intact. I finished the raw edges with some zig-zag stitches.
A pinking shears was used to cut the eyelet trim from around the edge of the sham.
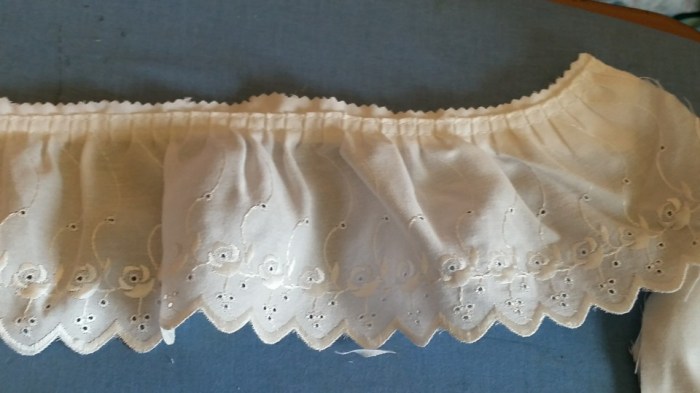
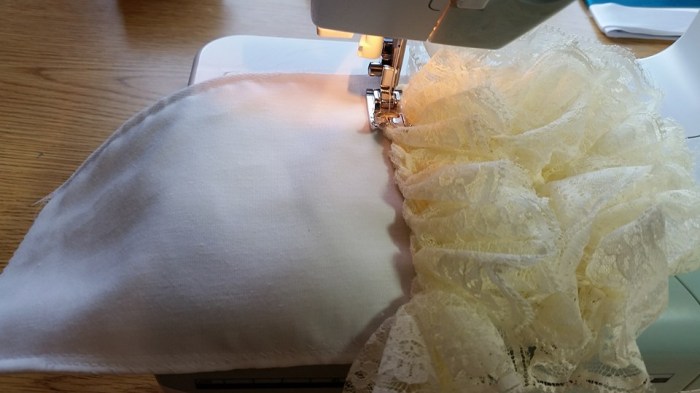
Strips were layered across the base fabric and sewn in place.
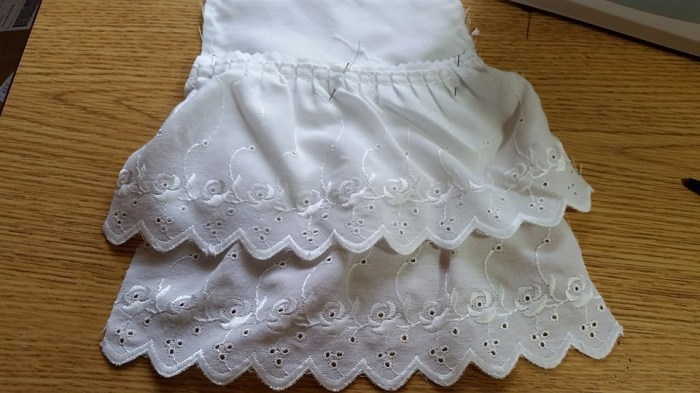
Done:

The top edge was folded over to make a casing. I used twill tape and 1/2 strips of velcro to make an adjustable closure.


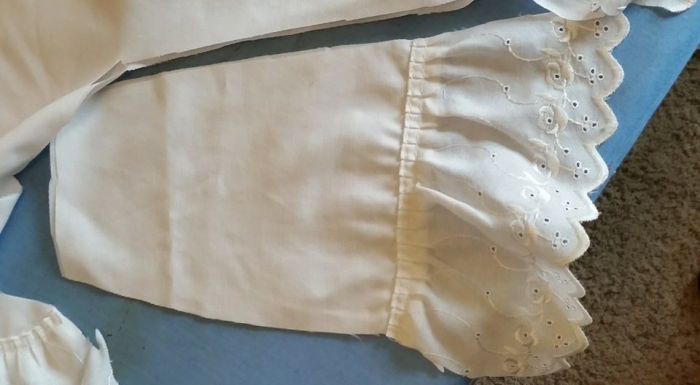
I was reasonably happy with this first one, but there were a few things I wasn’t satisfied with. I had an awful lot of threads that wanted to fray along the edges. I also found the layers of eyelet to be rather fly away. I ended up going back and hemming the sides of the eyelet and then tacking them down part way, just to make the whole thing neater.
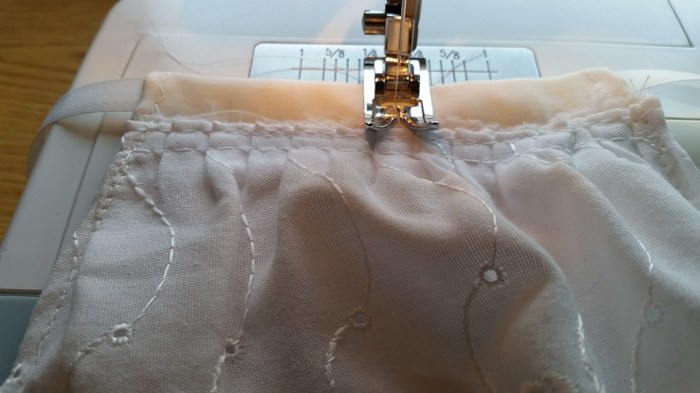
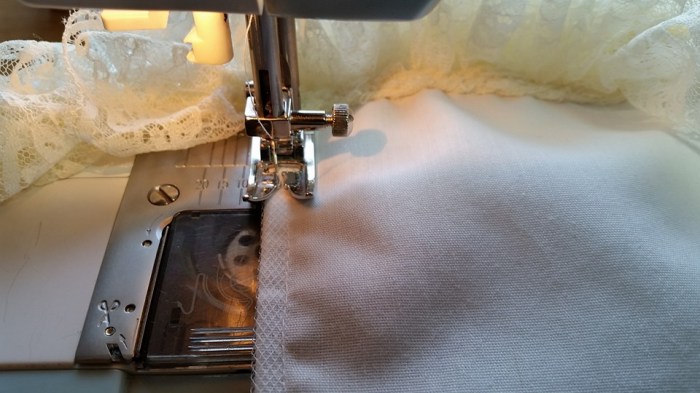
One refinement that I made for the second one included folding the edges of the base piece over to make a narrow hem. The other thing I did was to sew the eyelet on a bit more to begin with. I turned the edges under and hemmed them, and then I sewed the strips on as shown below. The sides are sewn down about 1/2 way on each side, with an “up-across-down” stitching line.
I also made sure to add a row of stitching to hold the neck band in place.
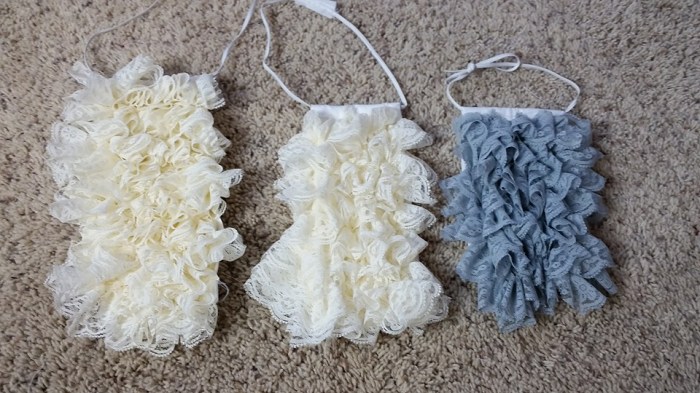
I was able to get three jabots out of one standard size pillow sham.
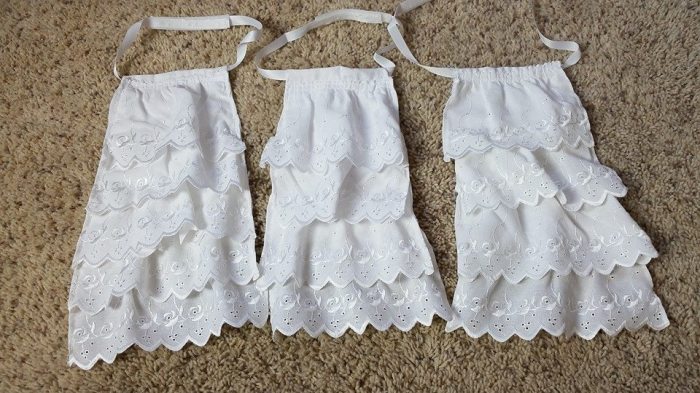
That makes them less than 25 cents each! These are modestly gathered. If you wanted something fuller, it would be a simple matter to use longer strips of the edging and gather them as they are sewn on to the base fabric. By the time I did the last one, this was a 15-20 minute job 🙂
Lace Scarf Jabot:
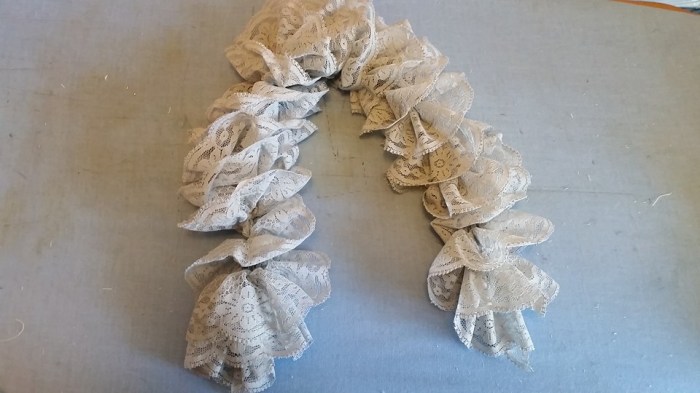
The eyelet was nice, but I wanted to make some with lace. I thought I would try using a lace crochet scarf. (This is a picture of a piece I had left from decorating a hat).
Version 1, the first attempt:
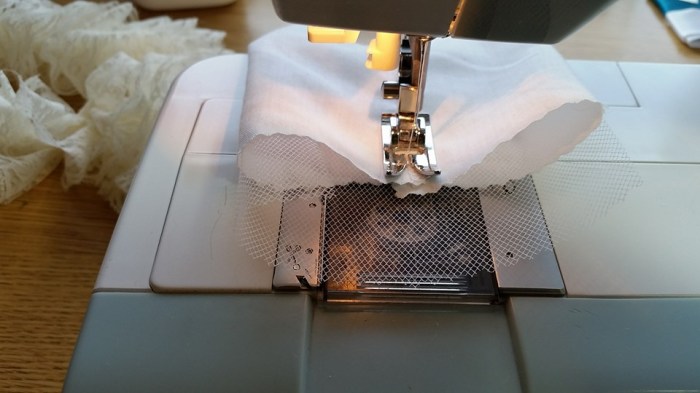
To make the base, I used a piece of the pillow sham. To give it a bit more support, I backed the jabot-support fabric with a piece of 6″ petticoat net, hemming the sides.


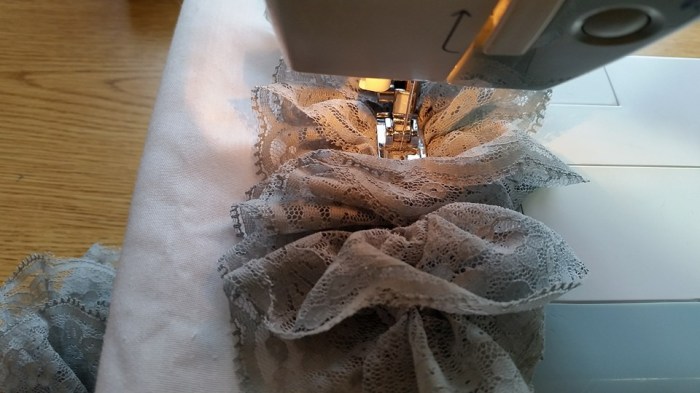
For this version, I sewed the lace scarf on by untwisting the scarf. This takes a bit of patience, but once you get started, it goes fairly easily. The top is still twisted, but the lace all falls to one side.
I did it with a continuous strip of lace. I sewed across the lace, and then up the fabric, flipping the lace around to go back the other direction.
When I was done, it looked like this:

I folded the top over to make a casing, and finished it with an adjustable neck strap as I had the eyelet jabots. I wasn’t terribly pleased with this one. I thought the lace looked messy, and the edges looked quite different as the lace twisted differently on either side.
On a whim, I tried making another one to use up the little piece of lace I had left, just sewing the lace straight down the center. WOW! Was that super easy and looked great!
So, Version 2, the 2nd attempt:
I started by taking a strip of white fabric and folding it around the piece of petticoat net. I ran one row of zig-zag stitching up the center. Then I trimmed off the excess petticoat net.
I had divided the bit of leftover scarf for the first one I made into three strips and that looked good, so I did the same for this one. The don’t have to be exact, just in the ball park range.

Sew the lace to the backing piece in parallel lines,making sure to catch the ends, so the crocheting doesn’t come undone.
It looks like this on the back:
Fold over the top to make a casing and add a neck strap . . and it is DONE! For these I used narrow elastic, either with attached velcro, or tied in a simple knot.
Super easy and super cute!
Keep your eyes open for an old lace scarf . . . and buy several if you can. Once you start making these, you’ll just want to keep going!


I have never seen one of those lace scarves! The project looks great. I usually just cut several long rectangles and round off the bottom. Each rectangle is a little more narrow. Then I just gather down the center and it all ruffles up. I love your tiers of eyelet one also.
LikeLike
The stacked rectangle idea is great!
LikeLike