After I had made the A No-Pattern Poet/Pirate Shirt and the alternate version in Fairytale “Folk” Outfit with No-Pattern Peasant Shirt (v.2), I wondered about just remodeling a purchased white blouse to create a quicker Poet/Pirate/Peasant style shirt.
I began this project with a purchased white blouse (big shocker, I know):
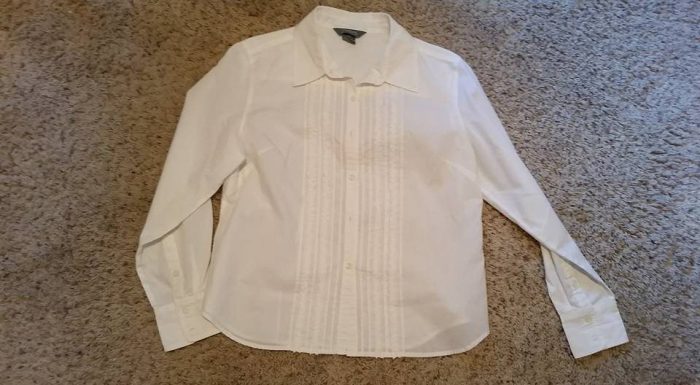
I liked this shirt because it has all the nice front detailing. That is something that it would be time-consuming to reproduce, and it adds a bit of flair to the shirt.
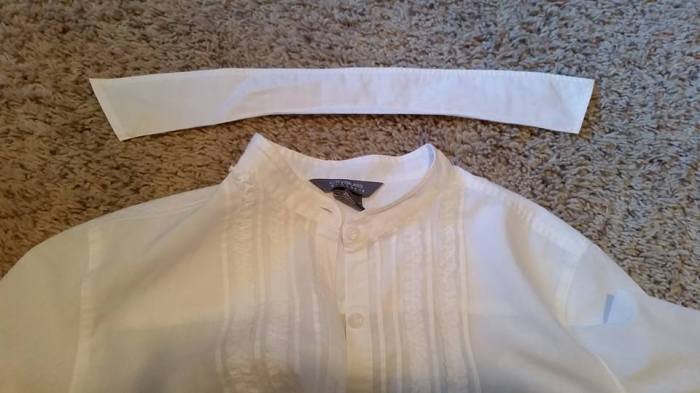
Step one was to cut off the collar, leaving behind a banded neckline. I did this simply cutting quite close to the seam in the collar. If you cut as absolutely close to the seam as you can (without cutting through it) that will help decrease fraying and stray threads. A bit of Fray-check around the neckline can also fix this, as well as a binding row of zig-zag if the fraying seems to be a real problem. Depending upon the style of shirt, I have also finished the edges with a bit of lace, eyelet, gimp or braid.
I wanted this shirt to have fuller sleeves. I started by cutting out the side seam and removing the sleeve. (This shirt had a very narrow serged side seam so it was easier to cut it out than to remove the stitching, and not much width was lost by cutting it out).

I had this idea that I might be able to re-use the cuff and placket in the new sleeve, so I cut them out of the sleeve. To be honest, any manipulation I thought of seemed to be way more time-intensive that I wanted, so I cut the placket off and just planned to re-used the cuff. I left extra fabric on the top of the cuff to use as the seam allowance.


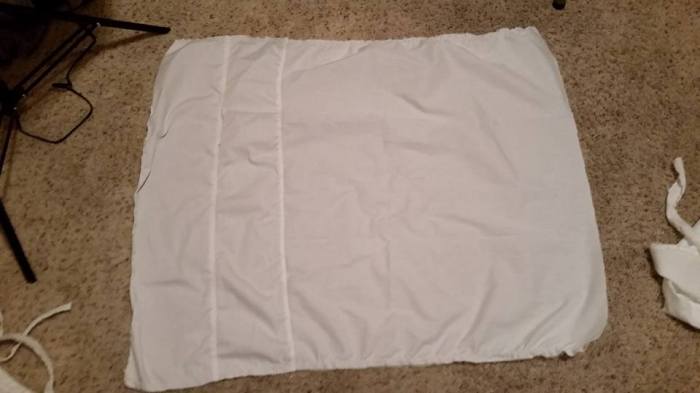
The original sleeve itself I just set aside for scraps. I cut out two rectangular replacement sleeves. I was using scraps from one of the previous shirts I had made, so I spliced a few strips together along the vertical seam. These will be hidden in the underarm area.
I gathered the new sleeve along the top and sewed it on to the original shirt, much in the same way that the no-pattern shirts are made.
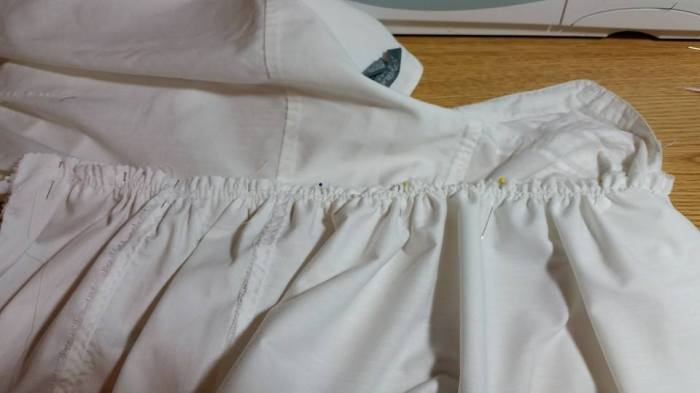
I wanted to use the discarded cuffs to finish the bottom of the sleeve–why make new ones when I had some perfectly good ones already availabe? I ran gathering threads along the bottom edge of the sleeve and pinned it to the discarded cuff, using the previously “saved” seam allowance.
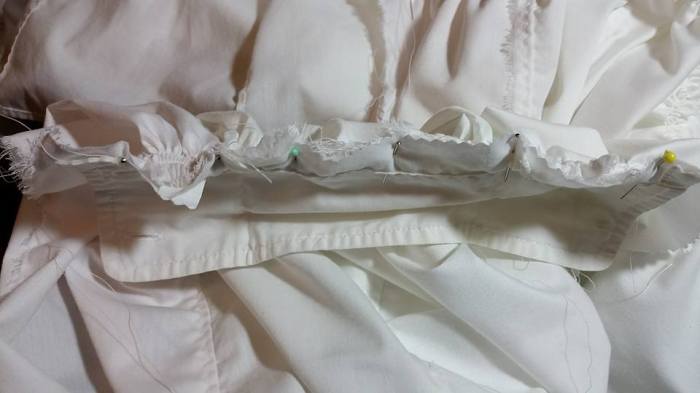
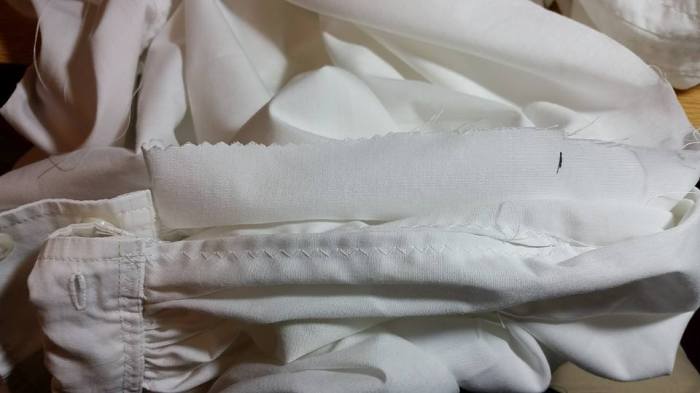
I needed to make a new placket. On either edge, I turned the seam allowance under for 4-5″ above the cuff and made a narrow hem (the zig-zag stitches visible in the picture below). The second sleeve was done in the same manner (the unfinished pinked fabric above the placket) by placing it against the first one, and marking the height of the placket (black line) so that they would match.
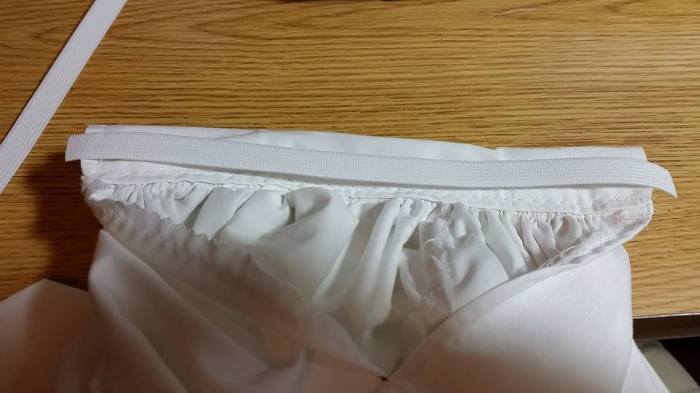
After I had sewed the first cuff on, I realized that I had sewed it to the wrong side of the sleeve. My original plan had been to use the cuff as a regular cuff. However, I was lazy and didn’t feel like taking all the stitching out and re-doing the placket. Laziness is the mother of invention, so I cut off the buttons and just folded the cuff up to enclose the raw edges and form a casing.

At this point, the sleeves were pretty much done, so the underarm/sleeve seams were sewn from the bottom of the shirt to the top of the placket opening. A piece of elastic was threaded through the cuff-casing and sewn together. This way the cuff does not need to be buttoned and just pulls on and off.
The finished shirt:


This was a good “concept” project. There are things I would do differently. I think I made the sleeves too full and too long for the size of the base shirt. Anyone who could use the sleeve length, probably would require a longer shirt length. I might be inclined to put more of the sleeve gathers at the top of the shoulder. I think the sleeve would look better that way. Threading the elastic through the folded cuff worked reasonably well, and was very quick. It also was a good way to hide all of the raw edges at the bottom of the sleeve.
I intended to make a few more of these before I made a post just to play around with different styles of base shirts, but, the whole Band Uniform Fundraising deal got in the way of my summer fun.
Cost: Shirt $0.50, white fabric: scraps, plus some elastic.
Time: I did this awhile ago and honestly can’t remember how long it took . . . I don’t think it was very long, probably not more than an hour or so.


