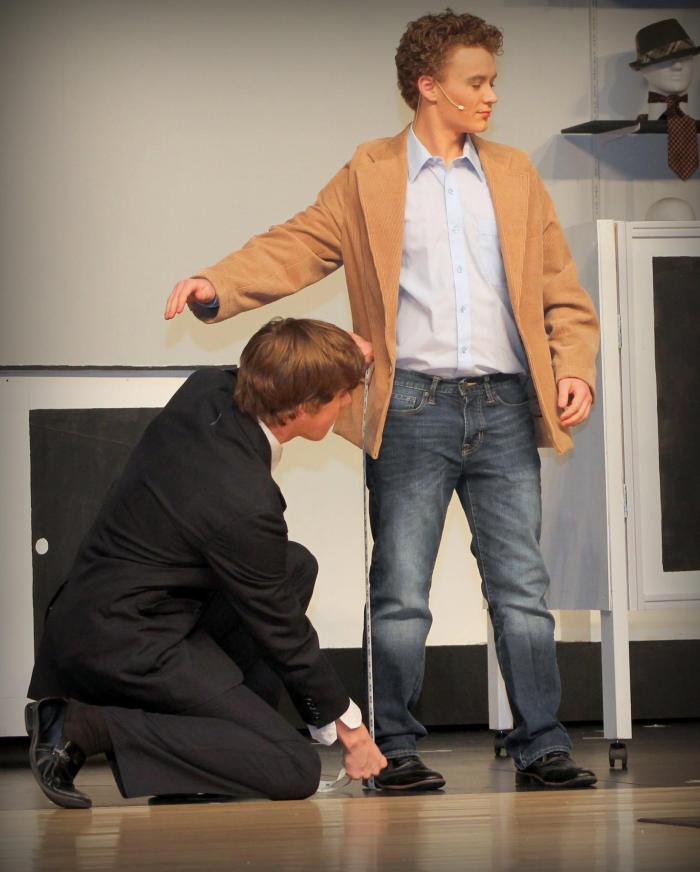
Emmett Forrest, in “Legally Blonde” is a very loveable, self-made, POOR, Harvard student, known for the shabby clothes, much to the disdain of his boss Professor Callahan. It is important for Emmett to show marked change in his appearance throughout the show.
My Emmett was a slight young man, which is a bit of a problem in the world of thrift shops. He wore about a size 38 jacket. Thrift store suits tend to run in the 42-48 size range. It just makes sense. Not too many young men wear suits these days. Having run into this problem a bit the year before when costuming “Grease”, I knew to keep my eye open for smaller suits as soon as I got the word we were doing “Legally Blonde”.
I was fortunate that Emmett had a jacket of his own that worked for the opening Harvard scene.


I was also pleased that I was able to find a gray double-breasted suit that fit him fairly well.
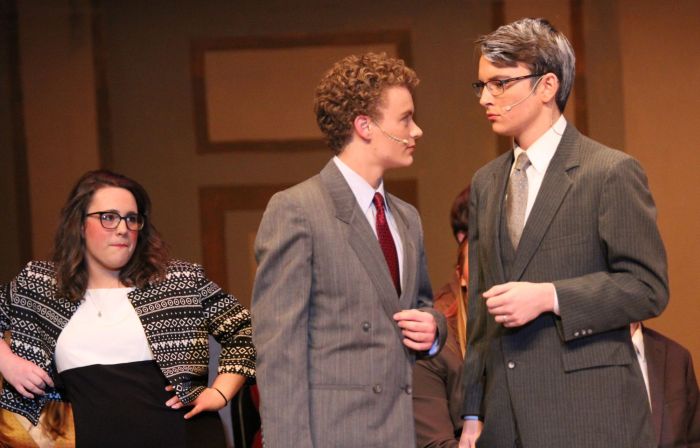
That left the ratty corduroy jacket. After the jail scene with Brooke Wyndham, Callahan refers to Emmett and Elle as “Ratty Corduroy and Legally Blonde”, so, it is one of those unavoidable costuming things.
I was fortunate to find a tan corduroy sport coat. It was around a size 44, so quite a bit to big for my cast member. It was a casual jacket, so lacked shoulder pads and extensive layers of interfacing, which suited my purpose perfectly. The biggest problem was that he was just swimming in it. I did not take a picture of the initial fittings, but, suffice it to say, he looked a little silly.
The first thing I did was to take a large amount of fabric out of the center back seam. Often you can taper the alteration up to the collar to avoid messing with the collar, but in this case, the neckline really needed to be made smaller as well. You can see how much fabric I took out. I transferred the pin marks to the inside using a sharpie marker. Not fine dressmaking technique but good enough for a costume!
I don’t like to trim out extra fabric until I have a fitting, but, in order to make the collar smaller I needed to trim out some. I cut the extra fabric out at an angle, just leaving a small seam allowance at the top where the jacket meets the collar.

Making the collar smaller requires a little fudging. The inside alteration is done on one side. If you follow that up into the collar however, you have moved to the outside of the collar, as it is turned down. So, you have to flip it over and sew on the other side.

Eventually, I flattened this seam to help the collar lay better. The seam allowances were stitched together and then the seam was stitched open. I did this toward the end, once I was happy with the fit.


Even though I took a ton of fabric out of the back of the jacket, it was still too large through the shoulders and the arm. I figured I would raise the sleeve and make the shoulder a bit narrower by sewing around the inside of the armscye.


Because I am really smart, I did this and then trimmed out the excess fabric BEFORE I tried it on the cast member. I was on a roll. Unfortunately, I was WRONG in my thinking process. While I did manage to raise the sleeve a bit, by sewing around the armscye as I had, I also succeeded in making the sleeve hole BIGGER instead of smaller. It made perfect sense once I had done it. Lesson learned.
I struggled for a while trying how to salvage the jacket and make it work. It’s not like I had made the jacket too small. To the contrary, it still had a ton of extra fabric. It was just a matter of figuring out HOW to get rid of it. I tried raising the armscye back up by taking in the sides and under arm, but nothing really looked good, and I still was plagued by the “too big” look through the shoulders.
Eventually I hit upon the idea of taking it out of the TOP of the jacket. This worked amazingly well, and I have since done this on other costume tops that I need to make smaller. By taking fabric out of the top of the shoulder, it lifted the shoulders up, narrowed the back, and raised and narrowed the sleeve. That weird seam running down the sleeve? You don’t even see it from a distance.
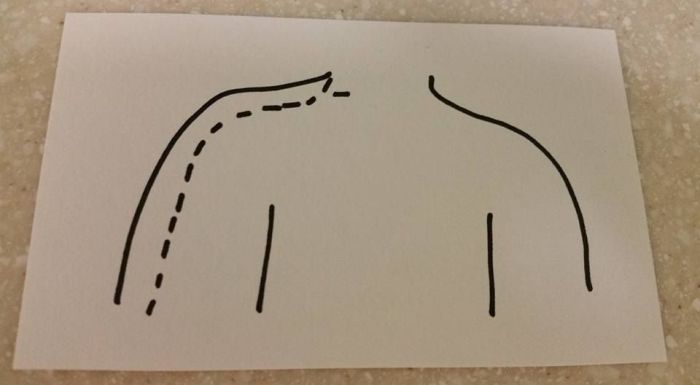
That one simple seam took care of most of sizing issues that remained. After that, the rest of the alterations went quickly.
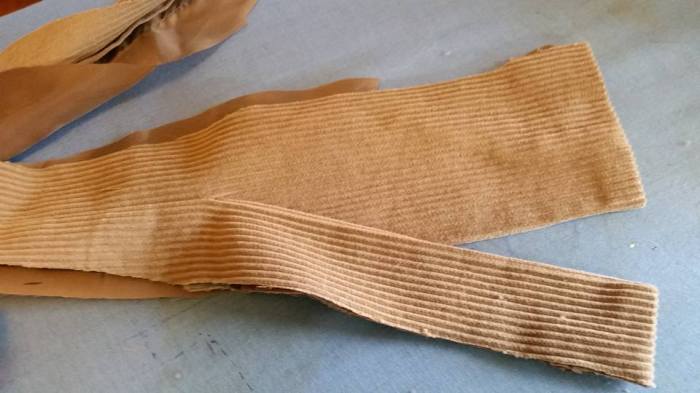
I shortened the sleeves:

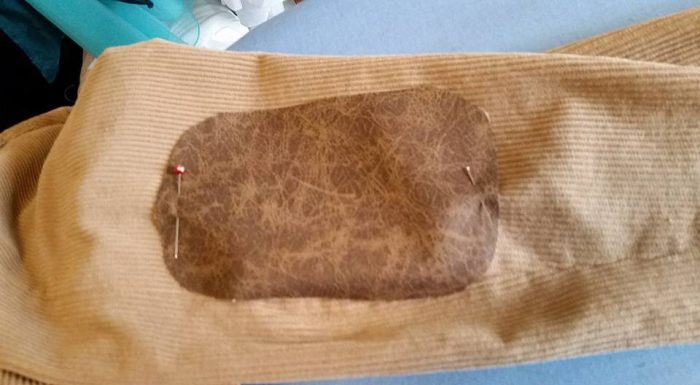
Added some “leather” patches to the elbows:
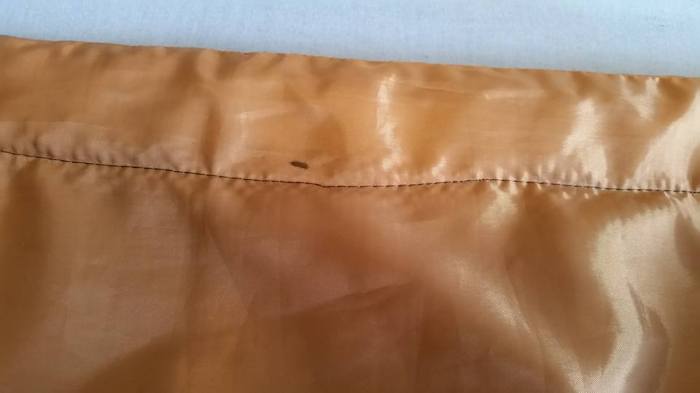
And made the jacket shorter, using a whipped hem done by hand. I don’t do much hand sewing on costumes, but I think a machine hem would have really looked out-of-place in this case.


One major design change that happened as a side-effect was the removal of the back vent from the center back.
I opted not to replace the vent because my character only wore this jacket for a short period of time. And, since it is a stage costume, most of the time he was facing the audience. It would not have been terribly difficult to create some sort of vent opening in the back. I probably would have used part of the back flap.


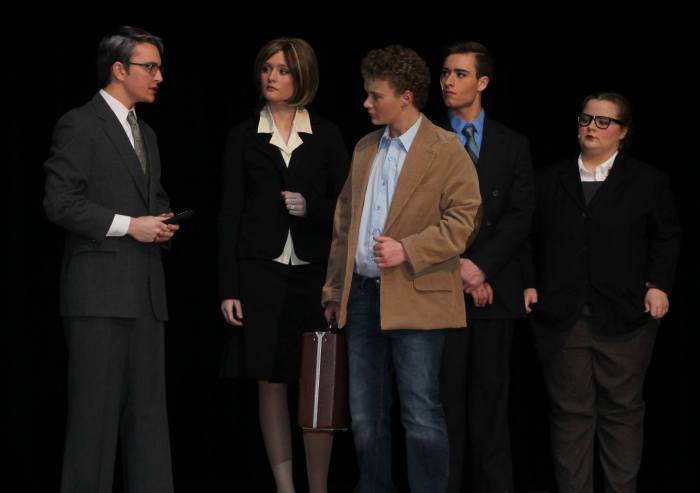
The jacket is far from perfect. It is supposed to be junky, but I would have liked it to fit a bit better, especially through the underarm and sleeve. I also regretted not taking the time to try to make a curved front edge. However, for the purpose, it gave the general look and was plenty ratty and ill-fitting.
I was really pleased with the color because it contrasted to nicely with dark colors worn by the interns.


