Costuming Belle is not a particularly creative project. Every small child who comes to see the production expects to see Belle wearing her iconic blue jumper with a blue bow and white apron. And, again, she is expected to wear a yellow poofy ball gown. There are some things you just can’t fight.
THE BLUE DRESS
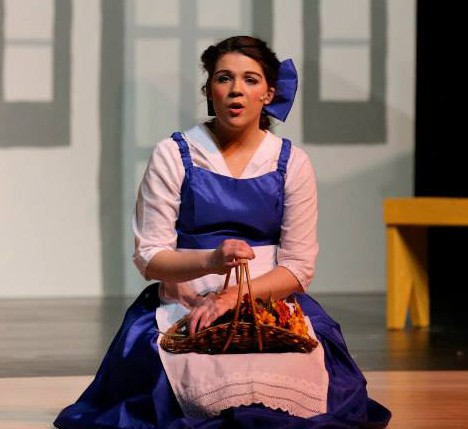
Our Belle started out with the blue dress. I was fortunate enough to find a blue bridesmaid dress at a thrift store that only needed minimal altering to become “the” dress.

Blue bridesmaid dress, $10.38 at Goodwill.
It had a draped shoulder that was removed. This provided the fabric for the bow (the dress also had a bow, but it was a bit small).


The rest of the dress is as it was. The white blouse came from a thrift store, the apron was made from a piece of donated fabric, and we added a white petticoat trimmed with eyelet along the bottom.
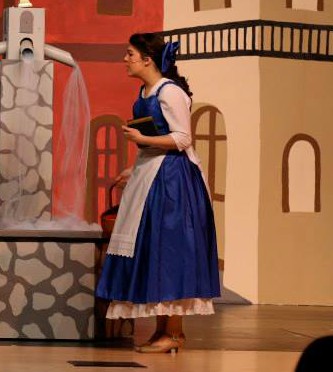

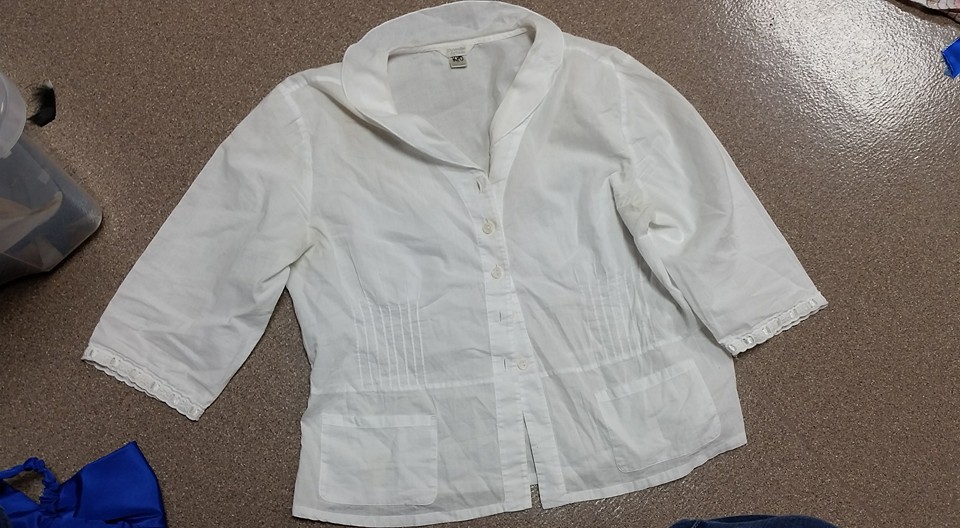
Thrift store blouse with ideal design features: open neckline & 3/4 length sleeves.
This outfit consisted of the jumper, blouse, two petticoats (one with eyelet and one poofy) and the apron. If I were constructing this from scratch, I would make this as a one piece outfit as the fast costume changes in the second act would be MUCH easier.
I could also take these components and sew them together to make one outfit. The petticoat with eyelet could be sewn in at the waist. The apron could be sewn on, and the blouse could be opened in the back, and sewn in to the jumper.
THE PINK DRESS
The second outfit Belle wears is the pink dress in the library. Be forewarned . . this is a super fast costume change. There are many productions that opt to skip this.
We rented a long blue cape for Belle to wear.
The pink dress consisted of a bodice, an underskirt, an overskirt, a waistband and a hair bow. We preset and bodice and the overskirt under her blue jumper, and under the cape, for the beginning of the library scene. Had I recognized how fast this costume change needed to be, we would have designed the costumes a bit differently.
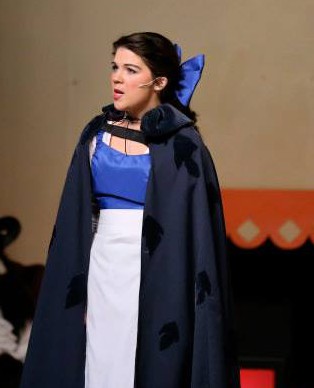
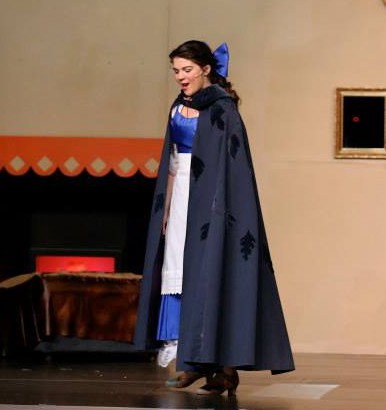
If you know, you can tell that it looks different, but on stage, while other things are happening, most people don’t pick up on that. When she exited (for us, climbing the staircase, and then coming down back stage, and needing to climb back up . . which all took time), we had the rest of the pink stuff pre-set. We unzipped the blue jumper and she stepped out of it and into the pink underskirt which someone pulled up. We quickly put on the pink waistband/bow, and switched her hair bow and she was ready to return to stage. The sash attaches in the back with hook & loop tape.
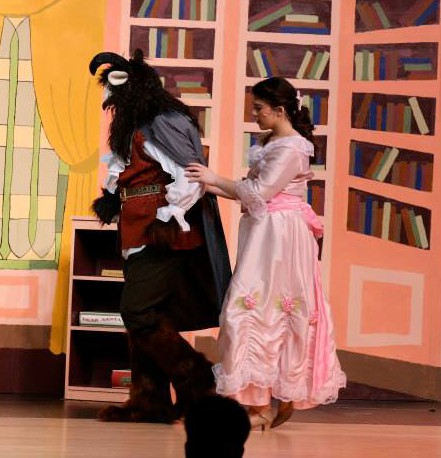
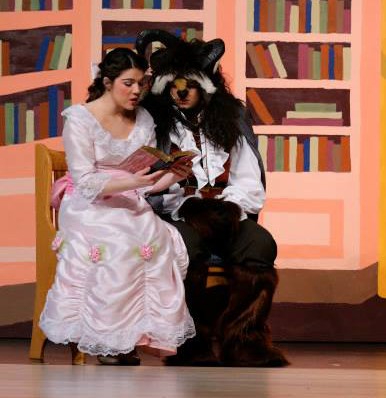
The dress itself is made out of a very pale pink fabric. This color actually washes out quite a bit under that stage lights. I added the brighter pink waistband, roses, and underskirt to try to make the dress look pink and not white. The ruching on the skirt was added when we realized she would need to wear the skirt under her blue dress.
The ruching was done in a very simplistic manner using elastic. I marked around the dress where I wanted the sections to be. I then cut equal lengths of elastic and marking how high I wanted them to go. I sewed one end of the elastic to the hem and then stretched the elastic to the top mark, and zig zagged the stretched elastic in place. I chose to shorten the overskirt in this manner because it reflects the design elements used in the skirt of the yellow ball gown.
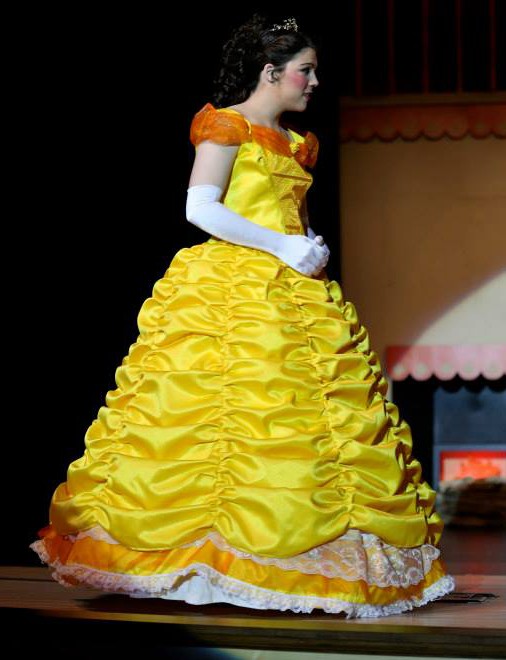
THE YELLOW DRESS
Creating the iconic yellow ball gown is not for the faint of heart or the inexperience sewer. It will also not happen without significant cost as a full ball gown like that will take a TON of fabric . . so, this is one garment I would definitely price out before deciding upon a course of action. We were very fortunate that we had a roll of heavy satin fabric just sitting in our marching band uniform closet left over from some long-ago project. We claimed it!
There is a temptation to find an appropriate yellow Prom dress . . and they are out there. If you find such a dress, and it has a corset back . . . take into consideration that again, getting in and out of the ball gown is a quick change process, especially if you want to go back to the blue gown for the “Kill the Beast” scene. If you watch videos of productions, you will see that many productions chose to keep Belle in the yellow gown for this scene, no doubt because whatever dress they have is not compatible with a quick change. You may well be able to adapt a Prom dress quite satisfactorily.
If you do decide to create the gown, there are some good tutorials out there, as well as some patterns. I would recommend doing some research and finding a technique that suits your fabric, your budget and also your sewing skill. I found this tutorial to be particularly helpful in thinking through the process of making the paneled skirt. I, however, did not actually construct this gown.
We started out by obtaining the hoop that would be worn underneath. We chose a fairly large 5 boned hoop.
This dress is a two piece dress. The top is separate. The bottom is two layers: the ruched overskirt and an underskirt with lace at the bottom. The hoop is separate. She did not have pantalettes on, but, I will never put someone on stage in a hoop without them again 🙂 The change in hair was done with a curled hairpiece attached to a banana comb. This quickly clipped into her hair, and her regular “Belle hair” remains intact underneath (for us, this was the cast members’ own hair, not a wig).
The bodice closes with a separating zipper in the back. Belle would run off stage and take off the blue outfit. She would step into the yellow skirt, which was preset on top of the hoop. You would pull up the hoop and tie it, and then close the hook & loop closure on the skirt. She would slip on the bodice, and while it was being zipped, she would put in the hairpiece and tiara. She grabbed her gloves and was off. One word of advice: make sure the tie on the hoop is secured and NOT just a loose drawstring. In the heat of the moment it is way too easy to accidentally pull the drawstring out–lesson learned.
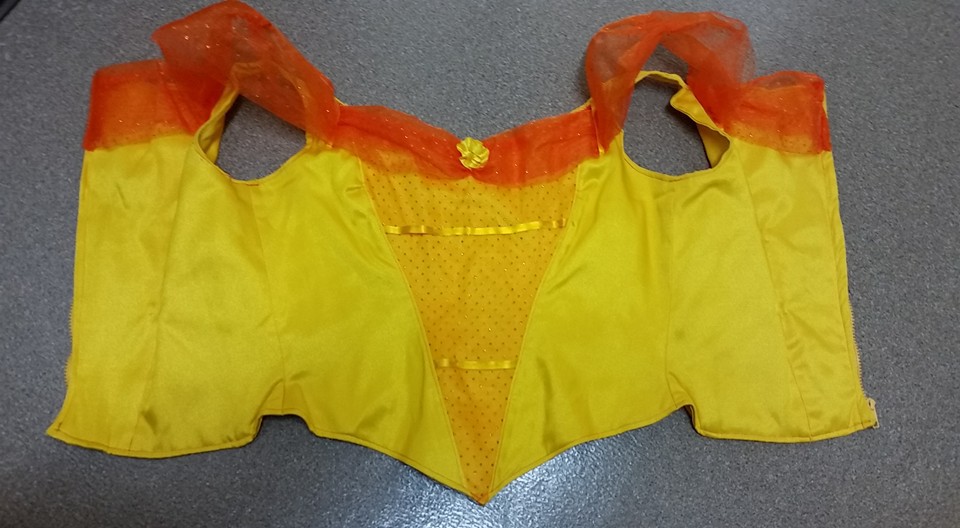
The two piece dress makes this costume much more flexible for different body sizes. The bodice is not overly fitted, which makes it easier to get on and off. The off-the-shoulder effect is made with the tulle embellishment. The orange color provides some contrast and depth from the yellow of the rest of the dress, and also reflects the orange color that was used to paint the castle trim. The other advantage to a two piece costume is cleaning. I have washed the top (gentle cycle, cold, in a HE washer, hang dry), but have not had to wash the skirt.
The bodice:

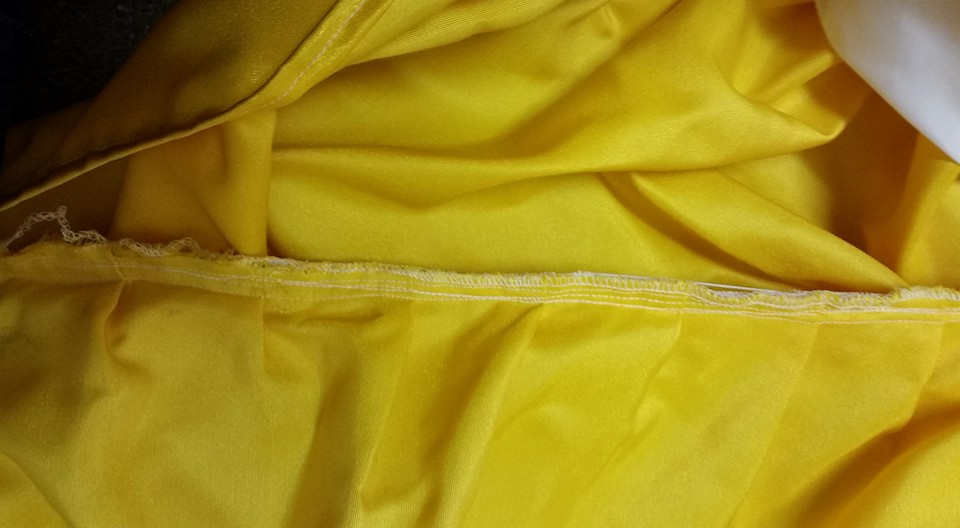
The separating zipper in the back.
The skirt:
The skirt was made with panels that use a combination of tucks and twill tape for the gathers & ruching.

The panels were initially sewn together with some tucks to begin to add fullness. Then, the tapes were hung, and the fabric was pinned to make the gathers as desired, and then those gathers were sewn in place on the tape.
The underskirt is made of a lightweight lining fabric with lace border at the bottom.

The underskirt and the overskirt were then sewn into a waistband that closes with hook & loop tape (again, making it adjustable.)
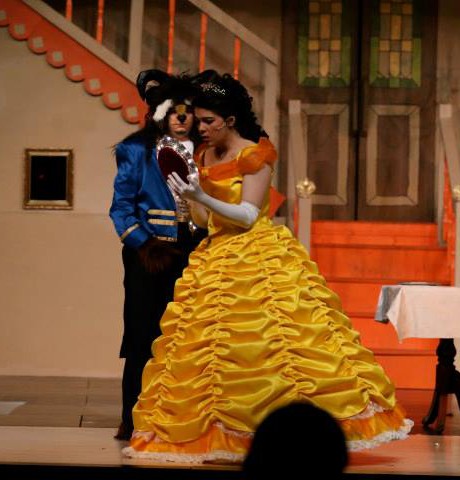
The finished dress on stage:


I was extremely fortunate to work with a crew of talented volunteers on this production. Each of these dresses was created by a different volunteer.
I have grand plans to try and make a Belle dress out of an old wedding dress . . and I even have bought the fabric dye . . someday 🙂


