There’s nothing like a good cape. It swirls. It flows. It billows around with movement. It can be playful . . mysterious . . . evil . . . elegant. . . heroic. It can be a statement of wealth or an indication of poverty. Above all, though, it takes you to a different time and place.
A cape can be a hard upcycle, especially if you want a full-length cape. Thrifts stores can be a great source of curtains, linens, and other large pieces of fabric with which to make one, but, otherwise, there isn’t much that is long enough. Probably the closest thing would be an empire waist dress with a very full skirt, and ideally a train. If you happen to be short, that would also help.
I wanted to make a cape to go with the last blue dress I made. I was keeping my eye open for something in a dark blue, as I need a cape for Belle to wear. We had used a rental, but, I would like to have a nice, blue cape in my costume stock. Blue proved to be elusive this trip, however, I did find a great RED dress (Little Red Riding Hood instead? Ok!).

")
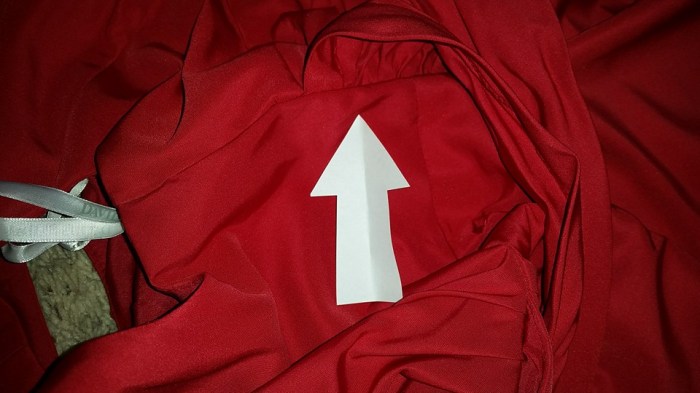
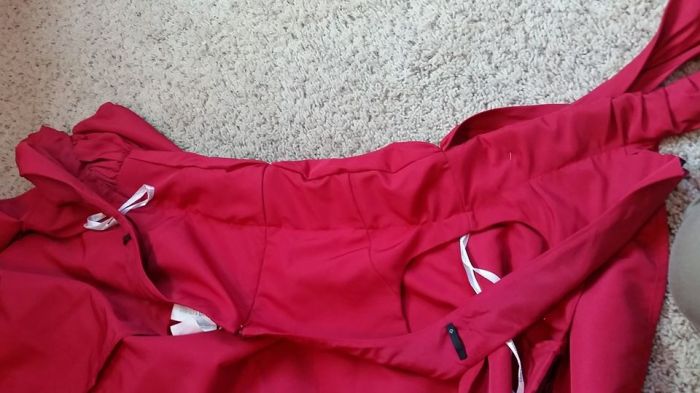
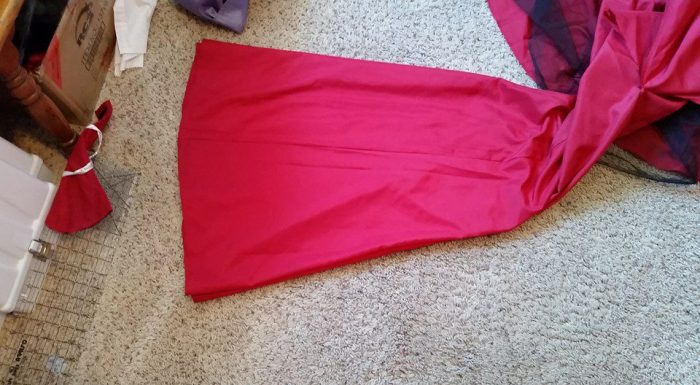
I found a size 16 dress with a small train. It was made of a wonderfully crisp fabric with a dull sheen. It had a wrap-look bodice and waist details. It had a zipper back, a full lining and a 2nd underskirt with an attached petticoat. I’ve tried to separate the underskirts so you can see them. Prior to starting the sewing part of the project, the dress was washed in a HE frontloader machine on “gentle” and line dried.

This was a pretty nice dress, so even though I was pretty sure it would make a good cape, I still messed around with it to get a “vision” of what I wanted to do. (Nice in terms of “I hate to use a dress with straps to make a cape”. Dresses with straps are much more useful for upcycling, so I try not to “waste” them).

It seemed if I folded the bodice under, the waist detailing would create an interesting collar/neckline.
The first task was to take the lining and petticoat out.

Then, the plan was to cut the dress up the center front. I carefully lay the dress out, lining up the seams.

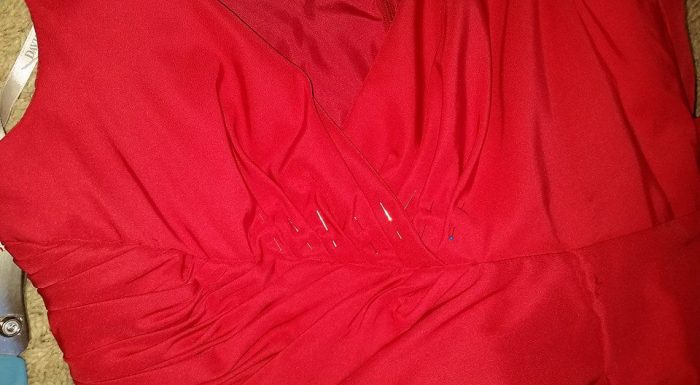
At this point, I paid a bit more attention to the front of the bodice, since that would be folded over to make the neckline. What I realized was that the front had quite a bit of overlap, and, the front of the waistband had a “wrapped” look section that was actually a separate piece of fabric, and was attached with hand sewing to hold the pleats in place. So, the “cut straight up the center” plan was going to need a little modification.
I snipped the tacking threads, and cut it loose from the opposite side of the bodice.


This picture shows how the wrap was actually positioned above the waist seam.
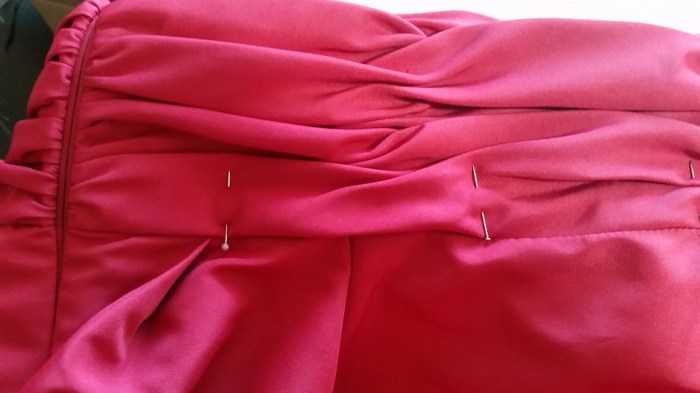
In order to keep the pleating in the bodice pieces in place, I pinned it well before I began the deconstruction.
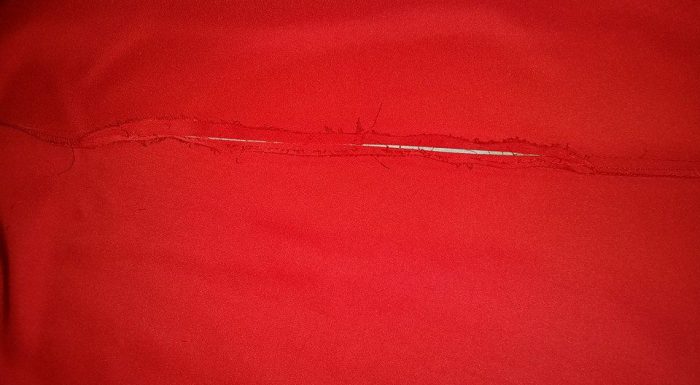
Originally I had thought I would make two parallel lines of stay-stitching up the center (and cut between them), but, there were so many layers of fabric at center front I was fairly certain I would not be able to sew through them all. Instead, I took the stitching out and detached the front bodice pieces from the skirt.


Progress was looking good at this point, although I had been a little aggressive in taking out the hand-stitching, and so would eventually have to replace it.

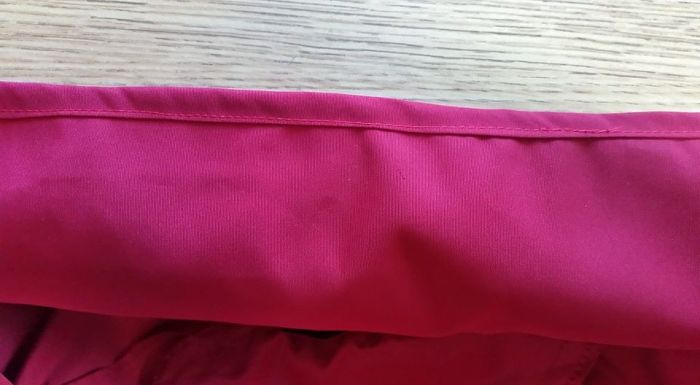
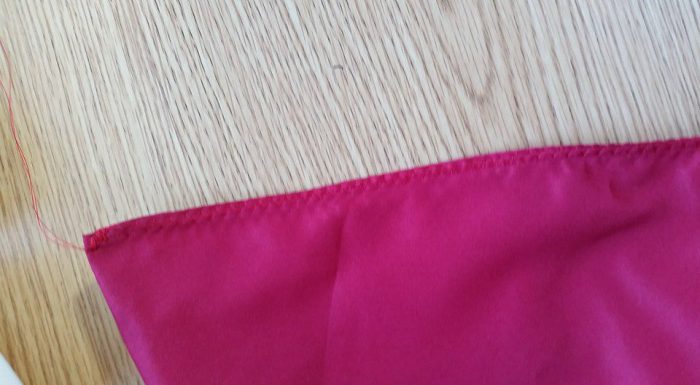
A narrow hem was sufficient to finish the front of the cape.
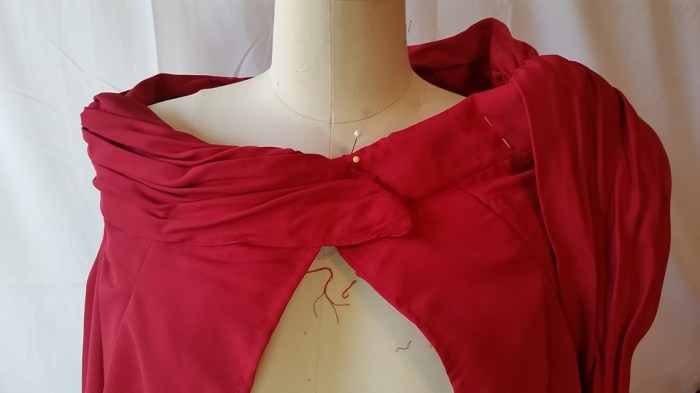
I folded the bodice to the inside of the cape and pinned it in place.
The front bodice “flap” folded over on itself to make the overlapping part in the front where the cape would close. I just manipulated and folded the fabric until I was happy with how it looked.

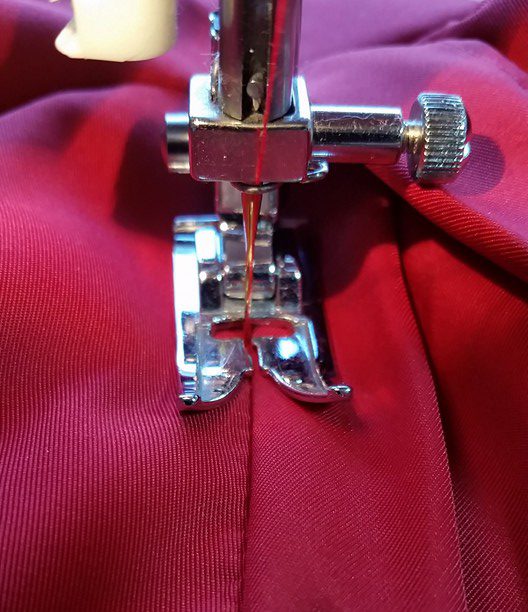
I used a “stitch in the ditch” line of sewing to hide the sewing around the neckline.
The front was shaping up nicely. (I realized later I had forgotten to put the “arms” back on my dress form . . hence the slightly odd shape).
Since I was happy with how the neck was looking, I trimmed the bodice out of the inside of the cape. I used a pinking shears to cut just under the stitching line.
To go along with the Fairytale theme . . . if you wanted to use this for Little Red Riding Hood, or someone else in the woods, you might want a hood. At this point I thought that a mock hood might do. I had the option of using lining fabric, or trying to fashion something out of the bodice. Using the bodice, I came up with something like this:


The zipper pull could be covered with a little tassel, or could be glued upright so it is a bit more hidden. This actually had a nice stiffness.
I thought this cape should have arm holes. I put it on, and using the side seams, guessed about where the holes should be. I marked the top and bottom with pins and then transferred this to the opposite side so they would match. It was then just a simple matter of opening the seam and stitching in the slit. A little bar tack at the top and bottom help to prevent tearing. (Now that it is done, the next time I would make the sleeve slits a little larger).
The last thing to do was to tack the loosened “waistband” back on. The cape needed some sort of closure on the front and I decided to try a large snap. My sister had mentioned that some rental costumes she was using made use of “really large” snaps. Velcro will work, however, however, if the actor pulls it open when their mic is on, that characteristic velcro “rrriiippp” can be heard, which sort of ruins the “period” mystique. I didn’t have any snaps that size, so I ordered some, and in the next couple of days, my decision to make a mock-hood, well, mocked me, and I had second thoughts.

In order to have enough fabric to make a “real” hood, I needed to utilize the lining, which actually matched the fashion fabric really well.
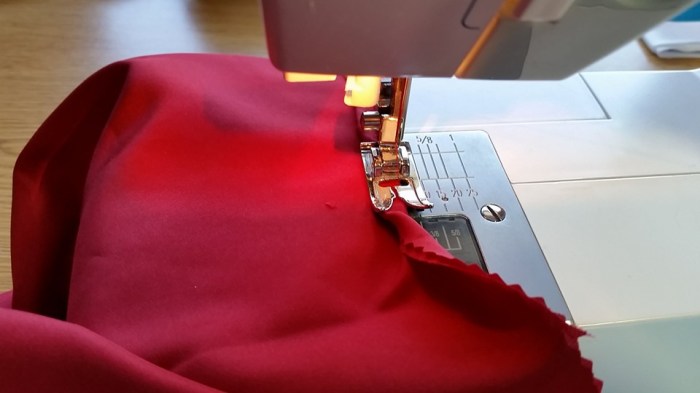
After draping the lining over the cape and estimating the amount of fabric I needed, I carefully smoothed the lining out, matching up the seams and the bottom, and cut a piece off. The lining fabric was really light weight, and so I decided that a double layer of fabric would give a nicer “look” than a single layer. I ran a row of zig-zag stiches along the hem to sew the skirt “shut”.
I wasn’t exactly sure what I wanted the shape of the hood to be, so I played around a bit, and ended up liking the look of a wide, loose hood.


I decided it would be nice to make the hood detachable, as that would make the cape a bit more flexible. If you wanted to wear the cape to the opera (would you wear a red cape to a formal occasion??), you might prefer it with the hood off. I also think this could be a cape for Prince Charming to wear.
I evened up the raw edges, and hemmed it with a narrow rolled hem.
I liked the way the draping looked on the back, and thought gathering the fabric along the sides might help give that look. I used two parallel rows of size 4 stitches to gather the sides of the hood.


I pinned it to the shoulders, and added some tucks on the back to shape it to the back of the cape. The cape was a little wide at the shoulders, so I added a few bar tacks in the center back and at the shoulders to help pull it up a bit.

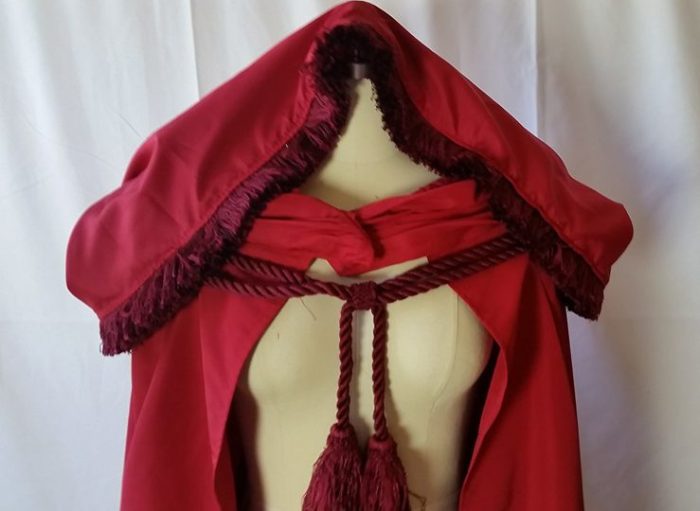
As an alternative to safety pins, I thought I would try making loops at the shoulder for the hood to be attached. I also added a row of fringe to the edge to provide some definition so that the hood would show up when viewed from a distance. While digging for the fringe, a matching tassel showed up, and that seemed to be a fun thing to add as a mock closure on the front. I used strips of waste fabric cut from the bodice. These were sewn on much as the belt loops on pants are: rights sides together for the bottom, then, flip the strip up over the stitching to form the loop, and top stitch the upper edge.


Velcro was used to fashion attachments around and through the loops. The tassel was sewn to one side of the hood, and then hangs across the front, and velcros to the opposite side.


So . . .here is the finished product.
Cape without hood:


Cape with hood:


Modeled:


Cost: Red dress $15, fringe & tassel were part of a large collection from a Thrift store, so probably between $0.50-$1. Snap: $1.50.
Evaluation: I like the cape. I like the way the neckline has interest and shape. I am not wild about the hood. I ran into a problem in that the dress fabric was really stiff and hard to sew through. Multiple layers was straining my machine, even with a new, sharp needle. I liked the preliminary gathered hood more than the finished product. I do like the trim around the edge to give it some definition, but, that may weight it down to much. If the person is required to take the cape off, it would have to be reworked, because, as it is, the tassel fastens at the side, and when it comes off, that side of the hood falls down (a pin would fix this, but then the tassel would dangle awkwardly).
I was pleased with the large snap. It holds the weight of the cape easily.
So, some good things and some not-so-good things. The cape itself is quite nice though.
One thing to note: this cape is able to be quite long because it does not come together in the middle at the top. If you wanted the cape to be functionally close-able all the way to the top, you would have to cut the narrow part (ie the waist) off at a height where there was enough width in the fabric.


Did you find a good source for big snaps? Our local store charges $10 for 2 extra large snaps, or $6 for 4 fairly large ones. That seemed extremely expensive to us.
LikeLike
These came from Amazon, they were “add on” items, and in the $1.50-$2/snap range. I noticed Walmart had some lightly smaller that were less expensive, but, who knows the quality–might be like dollar store pins that aren’t sharp and bend under the slightest pressure. I will be looking for a bulk source.
LikeLike