I have been having a really fun time making ballgowns (it would be MORE fun if I weren’t quite so pressured for time lol). The intellectual and creative challenge of being given a dress and “told” to create something is rather addictive. I have likened it to non-sewers as similar to the Food Challenge shows . . . take this basket of weird stuff and make something out of it.
The dress I started with today was a purple, strapless, side zip, semi-mermaid style dress with a ruched bottom.


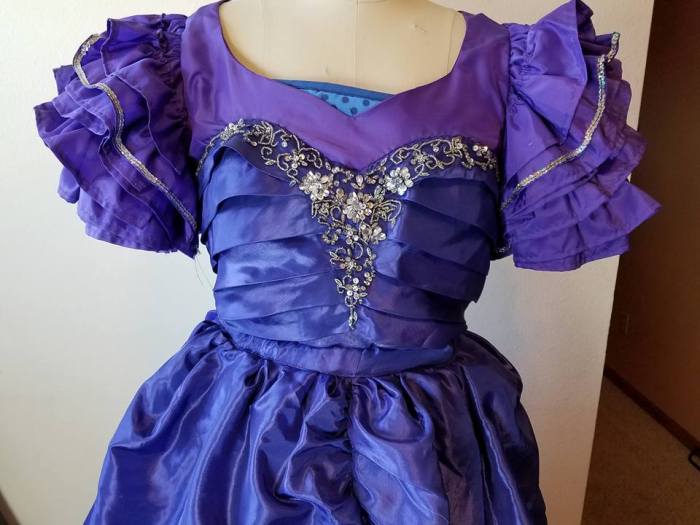
The top had gems and pleated detailing, with a bit of a sweetheart neckline.

One nice thing about this dress is that it had a waist seam.
I loved this color of purple. Purples are not easy to match, and have not been an “in” color, so what purple dresses I have come in a wide range of shades. I did have an old acetate dress in a compatible purple I thought I could use for the back of the dress (but in the end I didn’t need to).
I had this awesome dress that wasn’t exactly the same color, but, it toned well enough to be used.


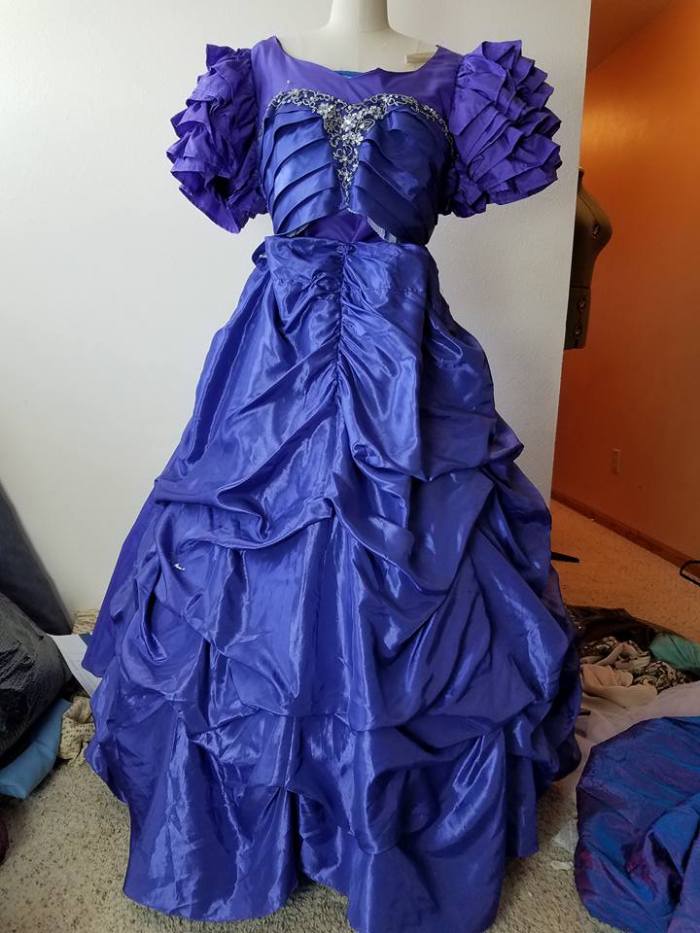
(The blue polka dot fabric seen sticking out is an old bumper pad I use to give my dress form a little more padding). This dress is a hoot. It is a taffeta fabric with huge multi-layer ruffle sleeves. It is ready for the Copacabana, or a Carmen Miranda routine. It has been hanging in the costume room at school. I have been itching to do something with those awesome sleeves, and this project seemed just the thing.
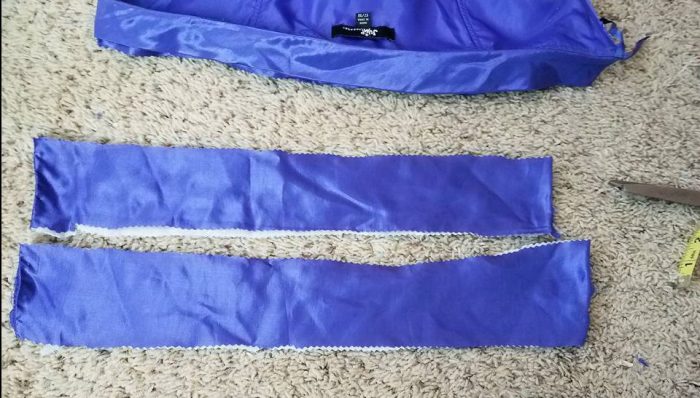
I started by deconstructing Dress #1. I wanted to detach the skirt and use it for the front of the new dress. The skirt was fully lined (to support the ruching) and also had an inner lining with petticoat net. I removed the zipper and opened it along the side seam, and cut out the inner lining, and then detached it from the bodice.
I pinned the cut off top to the bodice of Dress #2 and pinned it in place. So far so good. I decided to end the “bodice applique” at the side seams, and so cut off the back of bodice #1.
The skirt was much too long for the cast member I was making the dress for, even with a hoop. I held it up in the center front and folded it under to help figure out how long to make it.

I had a plan. It was a really great plan. An awesome plan. And it didn’t work. But I will tell you what I did.
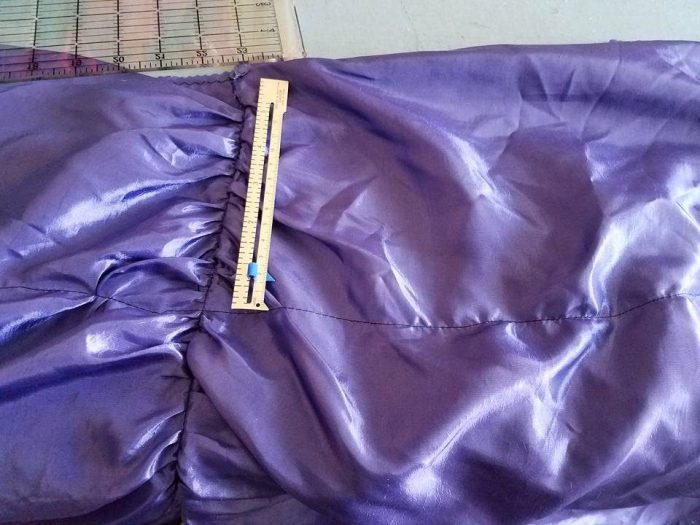
I measured the amount I had folded under, it was about 7″. The top of this dress was a little hard to measure as the fashion fabric was gathered and loose. I did my best to smooth it out and pin the lining to the fashion fabric, and I ran a line of pins where I though the fold should be and ran a line of stitching.
I was getting ready to take apart the third dress, when I took a good look at the inner lining. It was actually pretty nice fabric, and matched the skirt quite well. Why use another dress if you don’t have to? So, I stitched the lining to my new skirt from the hem up (refolding in the pleats in the fashion fabric that had been taken out when I took the skirt apart). Then, I noted the difference in the length of the fashion fabric and the lining, and marked my folding edge for attaching it to a waistband.
I cut the waistband out of the discarded back of the bodice.
Then, just because I’d been burned on length on a different dress, I thought I’d put it on the dressform and see how my measurements were.
Oh. They were bad. They were really bad. I have no clue how I messed up so terribly badly. It was too long. It was too short. It was a hot mess.
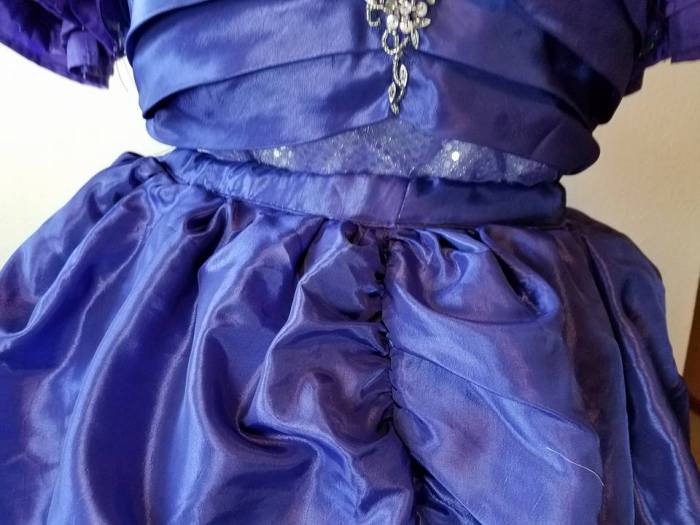
So, instead, I pinned the skirt around the dress form adjusting the length as I pinned it. Then, I went back and carefully removed and then replace the pins so I could recreate the fold line on the waistband. I opted not to cut the extra fabric off, as some day, someone could remake it with a longer skirt if they wanted (actually, that was my thought, but in the end, the back is as long as it could be).
You can see the stitching line several inches down from the waist where I thought I was marking the length. I was off a lot. I am really lucky I didn’t cut it off without checking. Taking the time to do one last check also saved me a lot of time tearing things apart if I had stitched first and checked later.
This picture of the back shows the stitching line where some of the petticoat net is attached. This is fine for a stage costume, but, it might not be acceptable for a different purpose. You can also see where my sharpie marks are where I thought I was marking the stitching line. I was more than a little off.

Length issue solved, as I said, I folded the skirt over along the pinned line and stitched it to the waistband. I closed the waistband with velcro, and also added some elastic just for flexibility in fit.
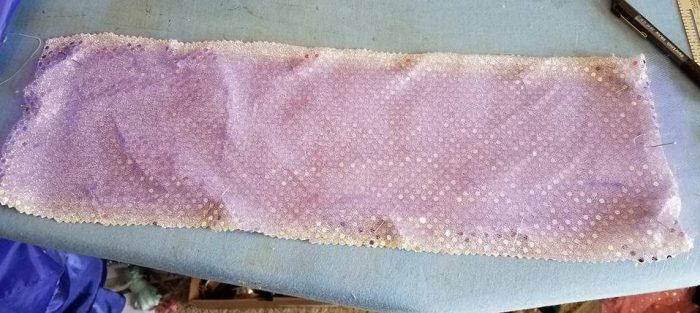
In the picture of the front of the dress you can see there is a little gap between the bodice pleats and the waist. I didn’t like the second purple color showing through, so I added some silver to reflect the beading on the bodice.
I cut a strip of silver confetti dot fabric and layered it with four layers of 6″ purple tulle. I hope the silver will shine through a little bit. Four layers might have been a bit too much. but it didn’t seem as dark when I was making it. I stay stitched all these layers together.
I also trimmed the lining of the bodice and stitched it down, hiding it in the lowest pleat.

Waist detailing.
I added a few silver sequins on one of the sleeve ruffles. I would have like to have done more . . . but I wasn’t sure at what point I would be able to quit, and time was running out.
Originally I had thought to leave the bodice dress long, because who knows when you might need a crazy purple cocktail dress. However, because the skirt was so narrow, the hoop had to go over the top, and the waistband kept slipping and showing a strip of white. I didn’t care for that, so I opted to just cut the bottom of the dress off so the hoop could go under it.
At this point my dress was done.


Cost: Both dresses were donated, so just a few silver sequins, a scrap of confetti dot fabric and a couple of yards of 6″ tulle.
Time: about 4 hours.
One really funny thing about this dress . . .when I showed the picture to my daughter she was quite impressed with the sleeves. I had to laugh, and told her she “knew” those sleeves. Eventually I had to show her the original picture and she was quite shocked . .she DID know those sleeves, and she didn’t even recognize them on their new dress.


