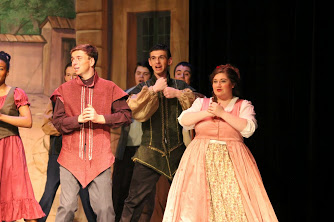
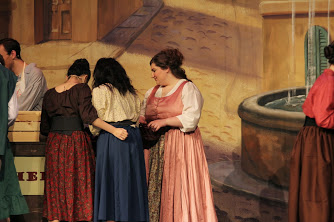
In the production of “Cinderella” that I saw, one of the Villagers had an outfit on that intrigued me as it was a little different that the “typical” corset look. I liked it because I thought it had a lot of potential for versatility, and a mix-and-match approach with other skirts and peasant style shirts.
I have also been playing around with some ideas for making a simple corset lacing, and this seemed like a perfect opportunity for trying out a couple of different ideas.
The Overdress:
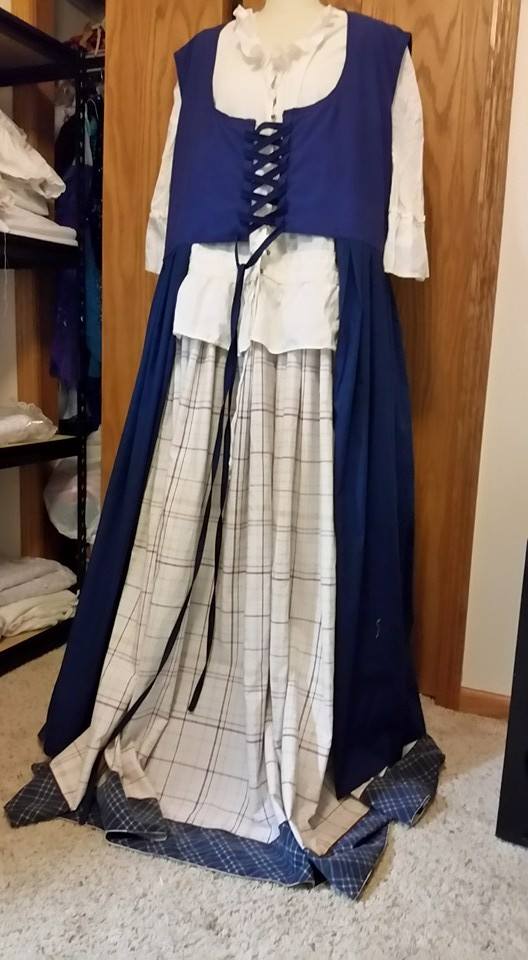
The overdress was a sleeveless, button front top that ended at an Empire length (just below the bust). There was a gap of 4-6″ at center front, and then a long skirt was attached. This skirt was 4-6″ shorter than the underskirt. There were long white sleeves visible. The overdress was a plain fabric, and the underskirt was a print. It was just a very nice look.
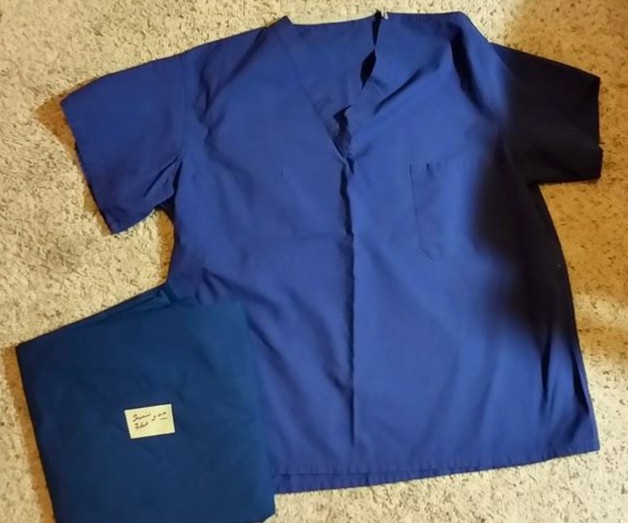
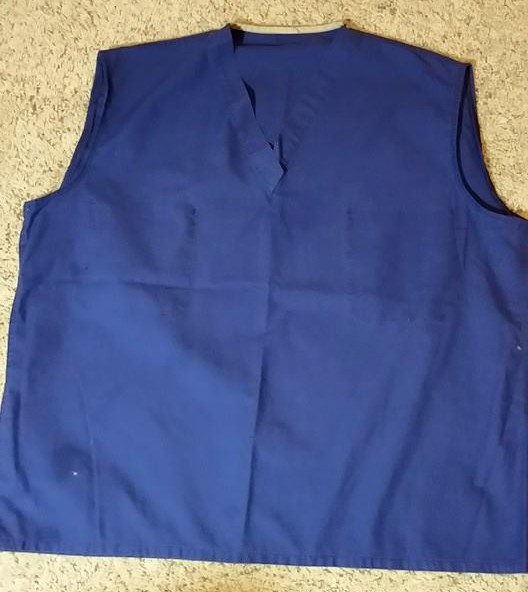
I knew I’d need a sheet for the skirt, and as luck would have it, there was a navy blue twin flat sheet at the resale shop. I matched that with a navy scrub top. Since this was a “concept costume” with no particular planned use, I didn’t care about the size of the starting garment–I was just looking for stuff that went together. The first things to go were the pockets.
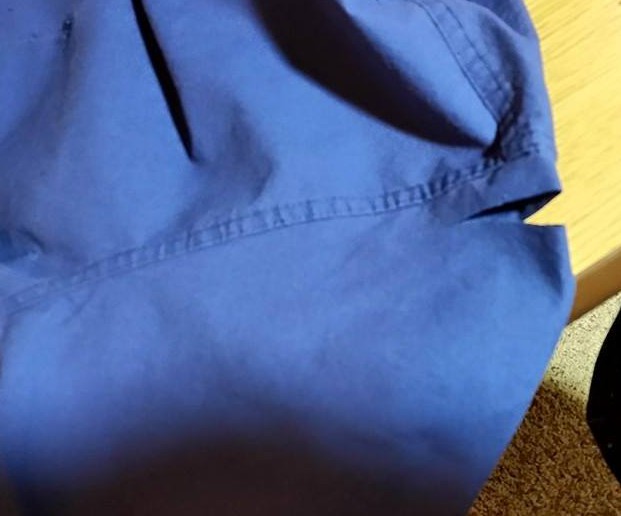
This top had set-in sleeves, with a flat felt seam. I simply cut the sleeve off leaving about 3/4″, zig-zagged along the edge, and then folded that to the inside, and topstitched it down.

I folded the top in 1/2, matching the seams, and cut the top in half down the center front. 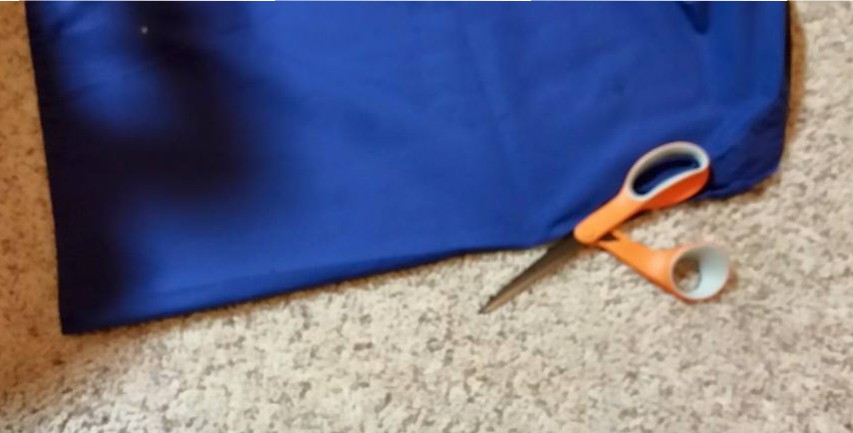
Since the curve of the neck is on the bias, it will stretch, so the first thing I did was run a line of stay-stitching around the neck at 5/8″.
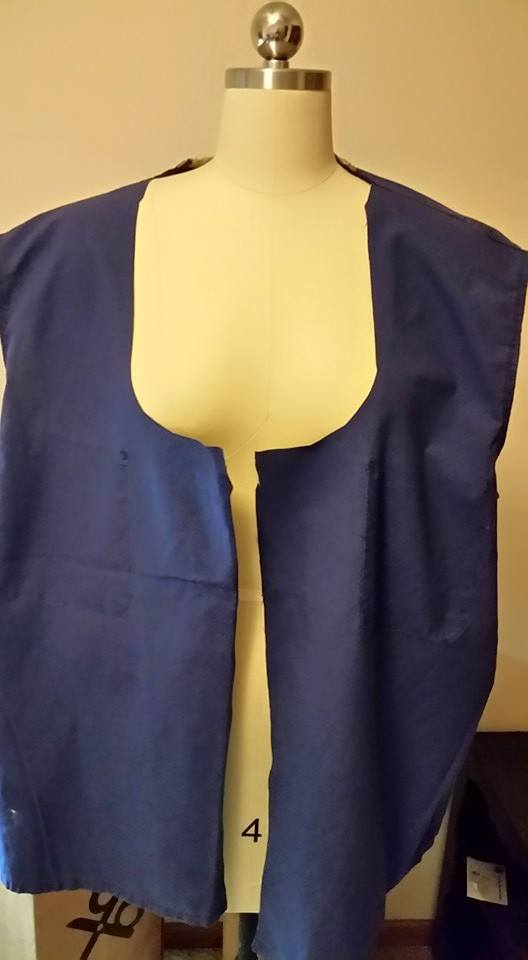
At this point, I wasn’t exactly sure what I wanted to do. One option was to finish the front edge with bias tape. I also thought about lining the top with a different fabric. What I ended up doing was using the discarded sleeves to make a facing. I opened the sleeves, and lay them flat, and then lay the bodice top on it and pinning it well. This reached from the front edge to the center back. I sewed on the stay-stitching line, and then cut the excess fabric off. I repeated this on the other side. I then clipped the curves, pressed the facing to the back, and topstitched it down.
This was a really easy way to make a facing.
To finish the front, I folded the bottom of the scrub top up, and sewed the front edge closed, clipped the corners, and turned it. I chose to fold the bottom up to the level of the bottom of the armscye.

I thought I needed to have a lined front, because the fabric was fairly lightweight, the skirt was heavy, the lacing would have potential to rip, and it would be the easiest way to finish the bottom edge. This worked OK, but, this part needs some re-working.
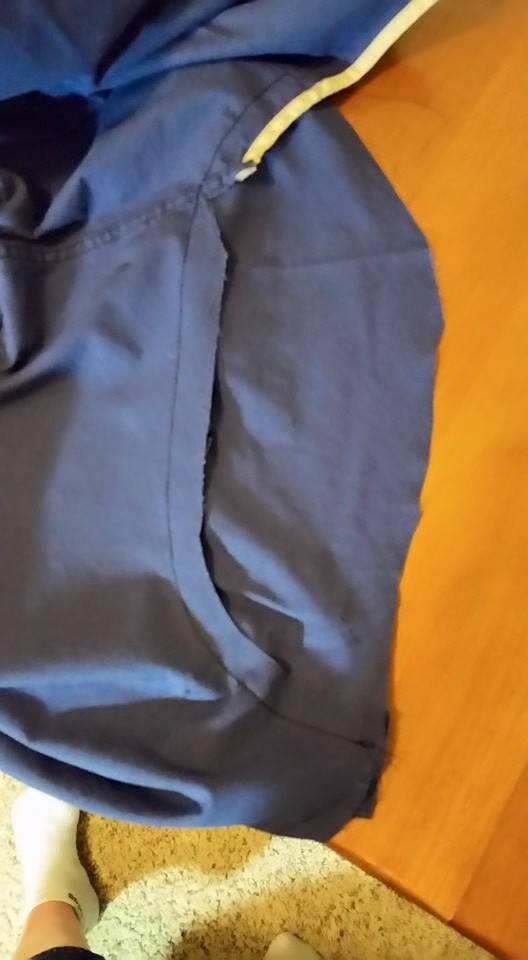
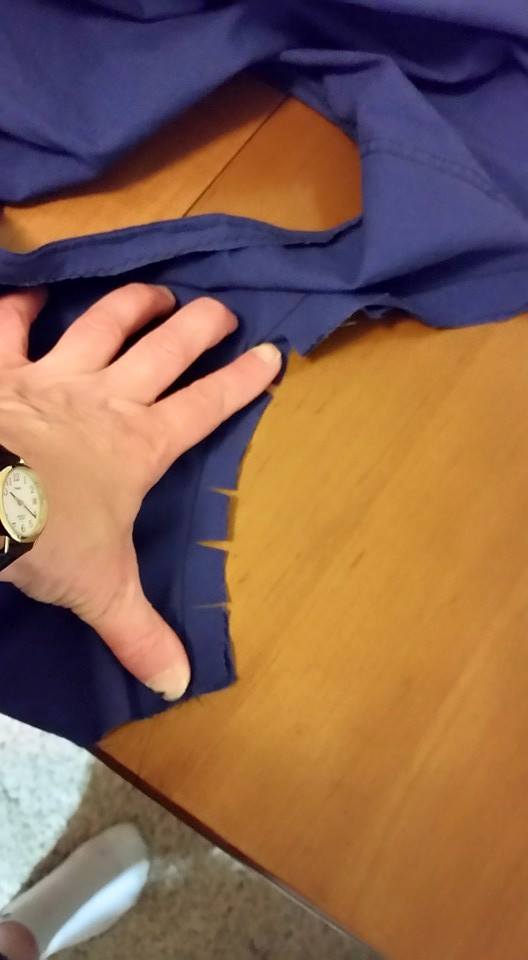
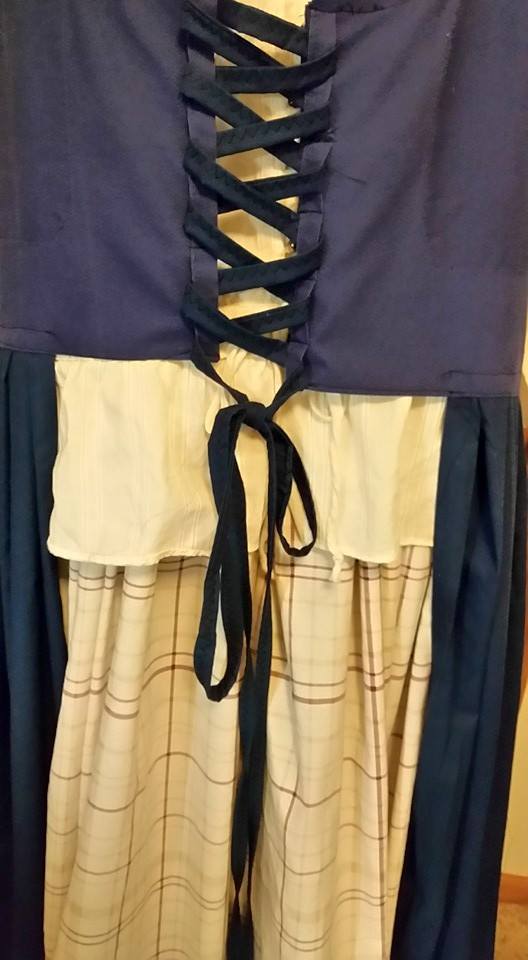
I wanted the front to lace up. I haven’t invested in a grommet setter, and I have done some “corset-type” tops using loops of either fabric or ribbon, and while these work, it can be time-consuming to sew on the loops to get them relatively even, and well secured. I had this idea . . .what if I took a strip of the hem (a double layer, already sewn together) and sewed it to the front edge of the fabric, and then sewed across it in several places to make sections to thread a string through? Originally, my intention was to reinforce the front with a strip of boning, but I forgot. I made a long tie with some fabric left from the skirt (I’m getting there . . . ) and this is what it looks like.


The skirt was simply a matter of dividing the sheet in half. I like to tear along the grain when I have the chance. Since the top of the sheet has that nice wide hem, I wanted that in the front, so I divided that piece in 1/2 again. I then sewed the pieces together with the large section in the middle, and the short ones on either end. Interestingly, at this point, my pieces did not line up. So, having plenty of length, I compensated by tearing a strip off the top . . and it was still uneven. apparently, this sheet was hemmed REALLY off-grain. I lined up the hem bottom, and folded it in 1/2, and cut off the top to make it relatively even.
I then marked on the front of the bodice where I wanted the skirt pieces to end, matched up center back, and proceeded to pleat the skirt on to the bodice. I then sewed it on. I opted to leave the bottom of the scrub top folded up . . . I had this vague idea of using it to finish that seam . . . but that didn’t really happen. Instead, I tacked the folded up portion to the bottom part of the armscye, so that the front remained semi-lined, and then cut the back part off at the side seam, and trimmed it off above where the skirt was sewed on.

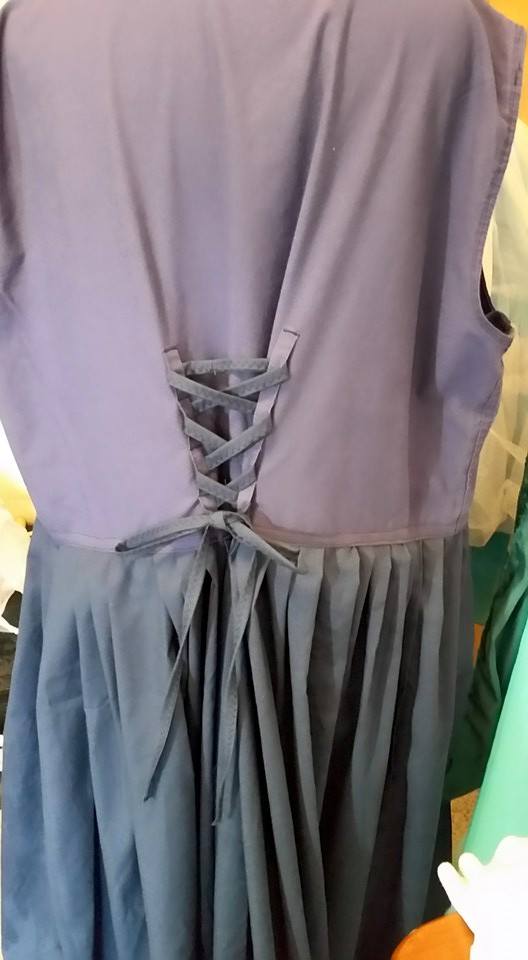
I later decided to add similar strips of fabric to the back (about 3″ off of center on either side), so that the back could be gathered for fit.
I left as much length as I could on the skirt. It is always easier to make something shorter, either by a hem or by a tuck, than try to make it longer. As this skirt has a straight hem, it is relatively easy to do.
Cost: scrub top $0.50, twin sheet $2. Time: about 2-2.5 hours.
Evaluation:
While I know that this method saved money, I am not sure that it saved time. I spent a fair amount of time messing with the sleeves, facing and front . . . and I was not at all happy with the semi-lining I ended up with. It may be just as time efficient to cut out a top and lining, and start fresh. However, you would need fabric.
The lacing method does appear to work. If the divisions aren’t exactly even, it doesn’t show. The advantages are that it is basically free, and it was extremely quick.
I made the lacing out of strips of the skirt fabric, but you could also use corset cording, bias tape or ribbon.
If you needed a quick change, you could add a zipper to the back or some velcro.
The Underdress:
I struggled for several days trying to decide how to do the underdress.
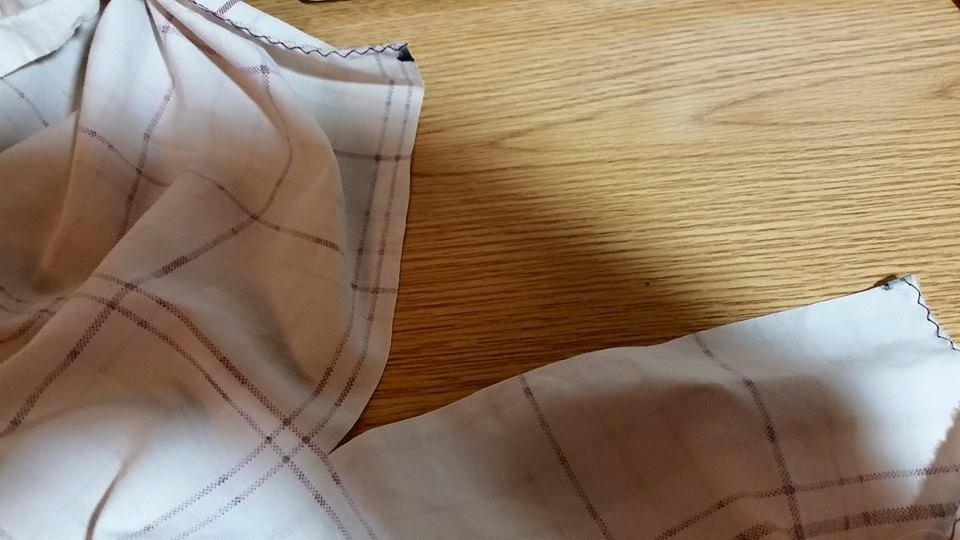
I knew that I had a double bed sheet and pillow case in a plaid with a border:

I liked the way this looked with the blue, even if the border is probably not too historically accurate (but this is a COSTUME, so liberties are acceptable!). Some possibilities I considered were making sleeves out of the pillow case and sewing them to the overdress, using part of the double bed sheet to make a top, or using a plain white shirt as the base . . . all of which would have worked. In the end I decided I wanted to make a separate dress. I am always thinking “What else could this costume be used for?”. I thought, if you took off the overdress, and added a big apron, this could be Aunt Eller in “Oklahoma”, or Mrs. Paroo in “Music Man”, or any of a variety of other characters or chorus members.
I went to the thrift store and found this blouse:

I liked the ruffle detail at the neck, and the little metal button and fabric loops were fun as well:

The sleeves were a good style:
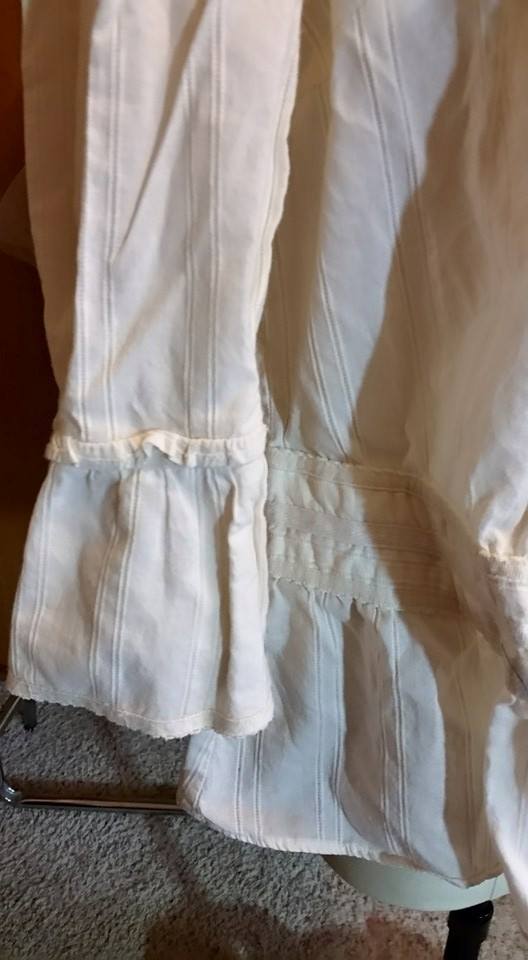
And the ruffle at the waist, plus the band was an interesting detail as well. The drawstring is a mock feature.
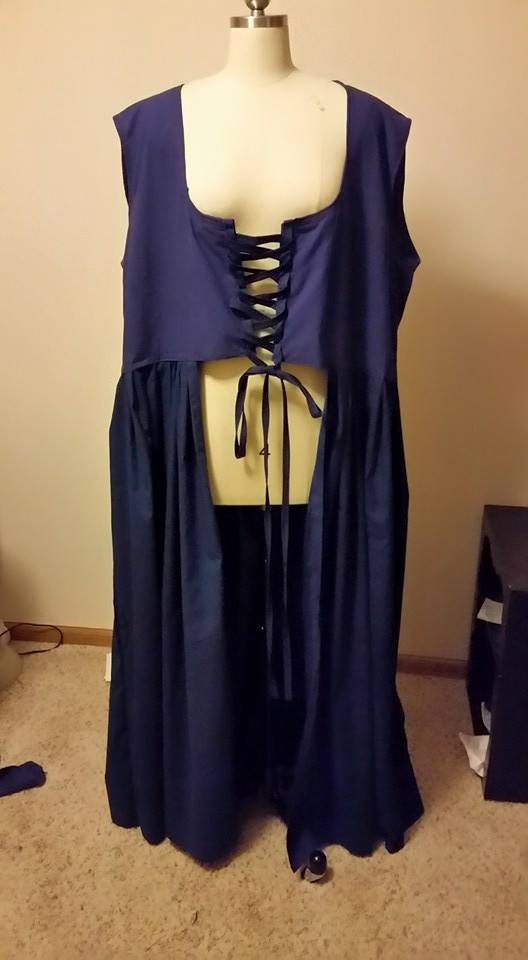
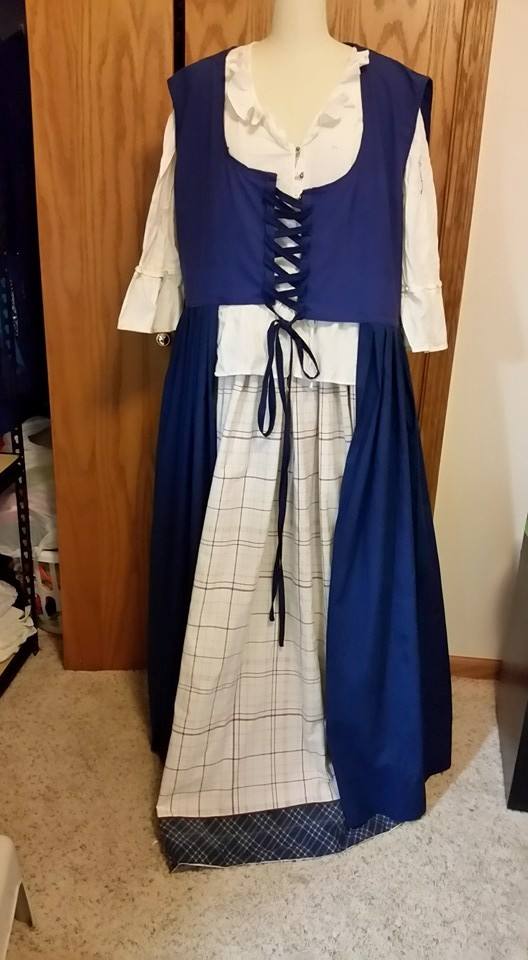
This is how it looks under the Overdress:
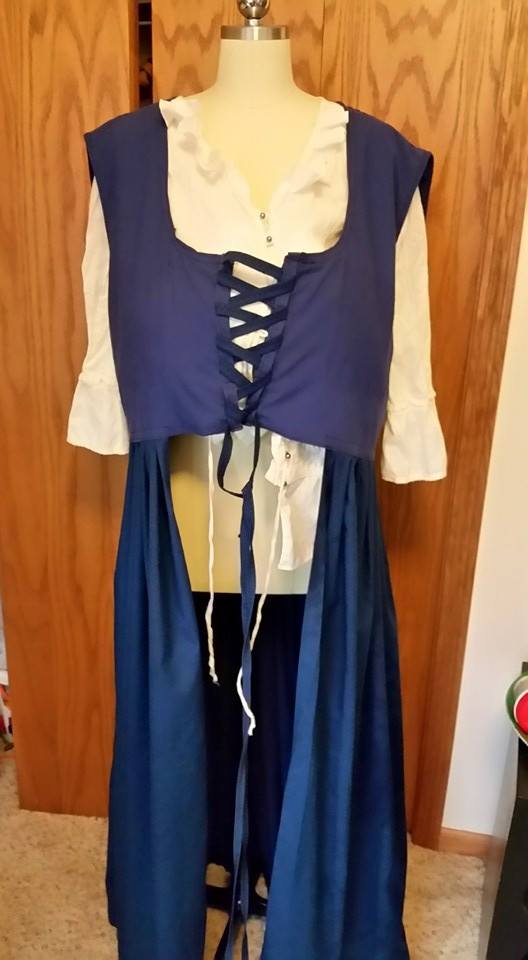
Again, this is my size 4 dressmaker form, and the blouse was an 18/20, so the fit isn’t great, but it gives an idea.
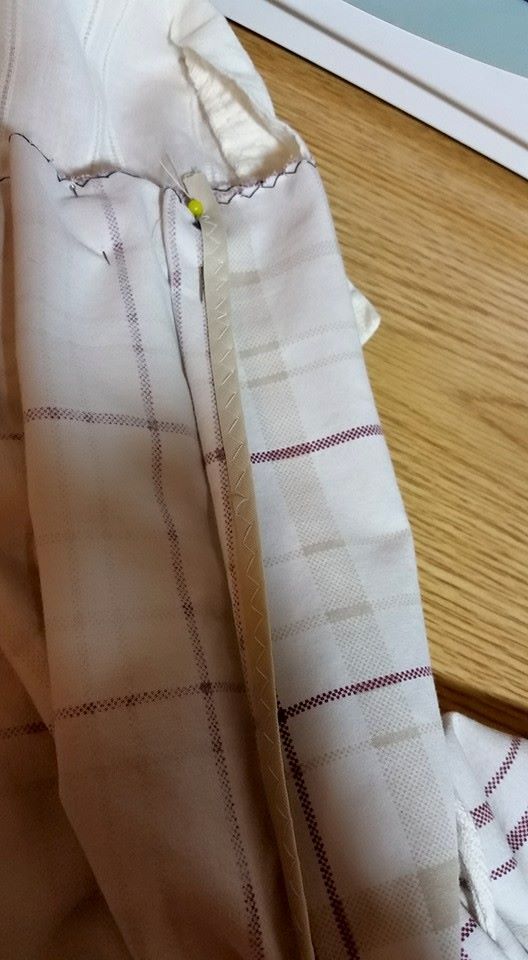
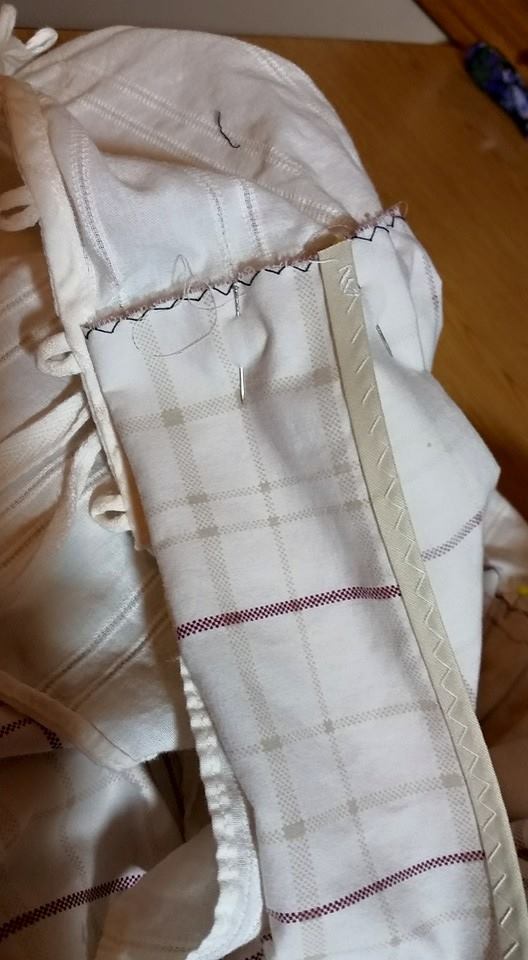
The sheet had a plaid border on one end that was printed on the fabric. It was folded in 1/2 for the large top hem. I wanted the border to go all around the skirt, so I took out the hem, pressed the border, and then cut along the fold line (I maybe could have ripped it . . but after my last off-grain sheet I was a little nervous about that).

I then actually appliqued this border on to the bottom of the sheet. I did something similar on the end it was attached to, folding it up to make a double layer, and zig-zagging it along the cut edge. I’m not sure how much that will ravel once it is washed, but, hopefully it won’t be too bad. I then cut the sheet in half, sewed up the sides, and pleated it on to the shirt.
The shirt opens in the front, and so I couldn’t just pleat the front shut, as there would be not way to put the shirt on. I played around (mentally) with some ways to deal with this . . but most ended up being a lot of work. Keep it Simple was my motto for the day.
In the end, I cut a slit in the center front and bound that with some single fold bias tape. I then folded those edges back into the fullness of the skirt, and I hope that the opening won’t show. Center front is not the ideal place, but I think it will work. If it wants to open, a snap or a little piece of hook & loop tape would help it stay shut.
Once that was done, I tried it on:
It is OK, but I wasn’t wild about the section sticking out between the bottom of the overdress and the ruffle. So, I folded the shirt up, and pinned a tuck in it, and sewed it all the way around, raising it up.
I liked that much better. Both of the skirts are fairly long, but again, a quick pleat around the bottoms, and they could be hemmed in just a few minutes for the height of whatever cast member was wearing the outfit. Pulling up the waist also shorted the skirt a bit. The stitching could come out of the waist if you wanted to lower if for something. I did cut two of the buttons off, but I will sew those to the inside to keep them with the costume.

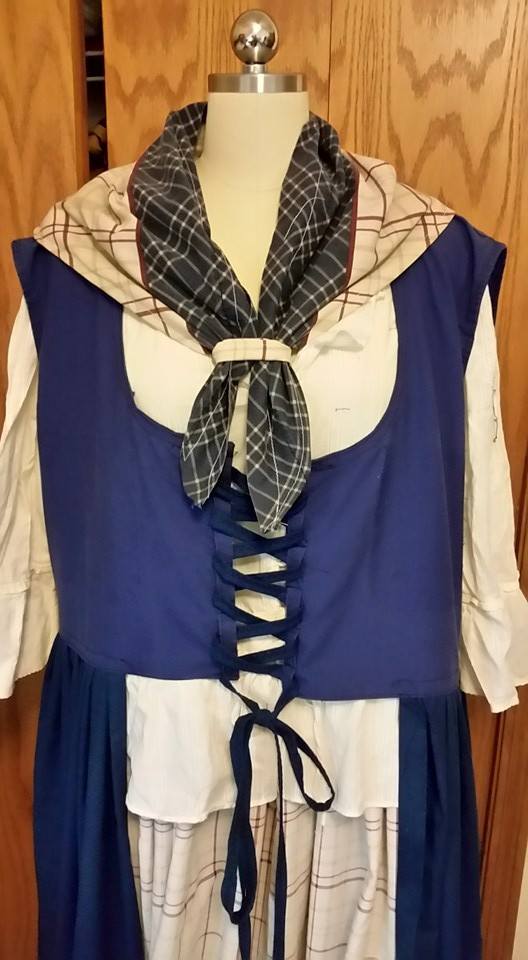
I wasn’t sure what to do with the pillow case, so I made a neck scarf. I made a little fabric loop out of some leftover fabric, and sewed it to one side so it wouldn’t get lost. I’m not sure I like it, but, the pillow case wasn’t really useful for anything else. It gives it a little more of a Colonial look, if you needed that for something.
Cost: $3.25 for the double bed sheet and pillow case, $3.59 for the blouse.
Time: About 3 hours. Much of that time came from dealing with the border.
Total cost: Less than $10; Time: 5-6 hours.
Overall, I am pleased with how this idea worked out. I want to try something similar using something heavier and more fitted on the top . . maybe a jacket, vest or even a dress top, instead of the loose, lightweight scrub top. I do like the monochromatic color scheme, so that might be harder to achieve. Curtains might also work for the skirt part of the overdress. This ensemble would look much better with a petticoat underneath to give the underdress more body.


I really like the strip of fabric to run the lacing through. Grommets tend to pull out, especially when there are quick costume changes.
LikeLike
Why not just make the weskit/overskirt, and wear it over blouses and skirts already in the costume department?
LikeLike
That would work, too. I just felt like making the whole outfit.
LikeLike