It is Homecoming Week at our local high school . . . . and that means Dress Up Days! Tuesday was “Character Day”, and my daughter wanted to be “Merida”.
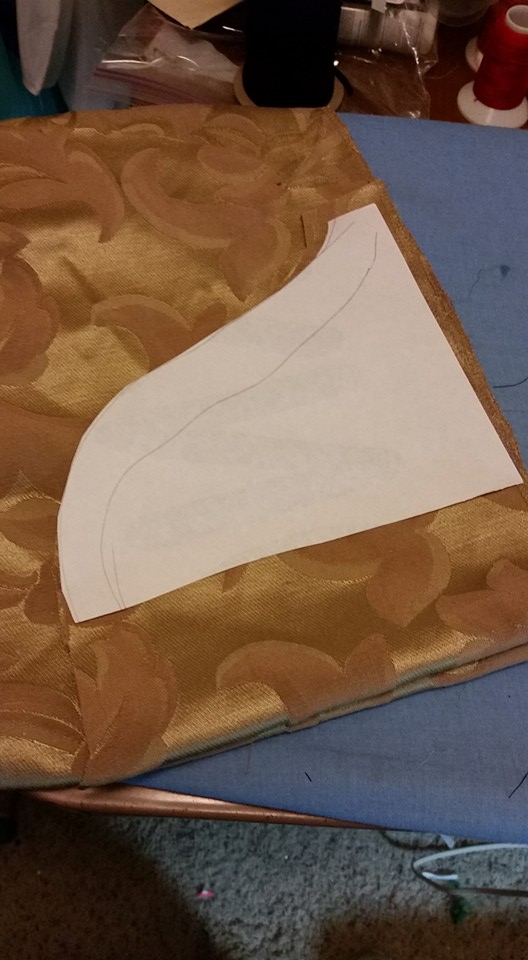
The first step to any costume is to look online and so some basic research looking at images of the original character and costumes other people have created. In the movie, Merida wears two different outfits: the simple green dress, and a blue dress with a square neckline and gold trim. There also is the “Disney-fied” dress the new “Princess Merida” wears at the theme parks which is sort of a jazzed up combo of the two. (I do not own any of these images . . links to sites posted below image).


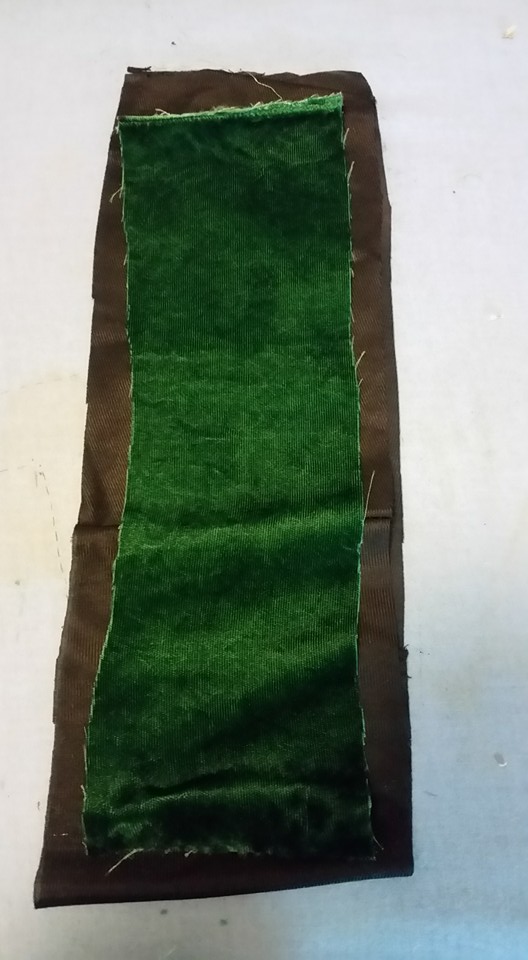
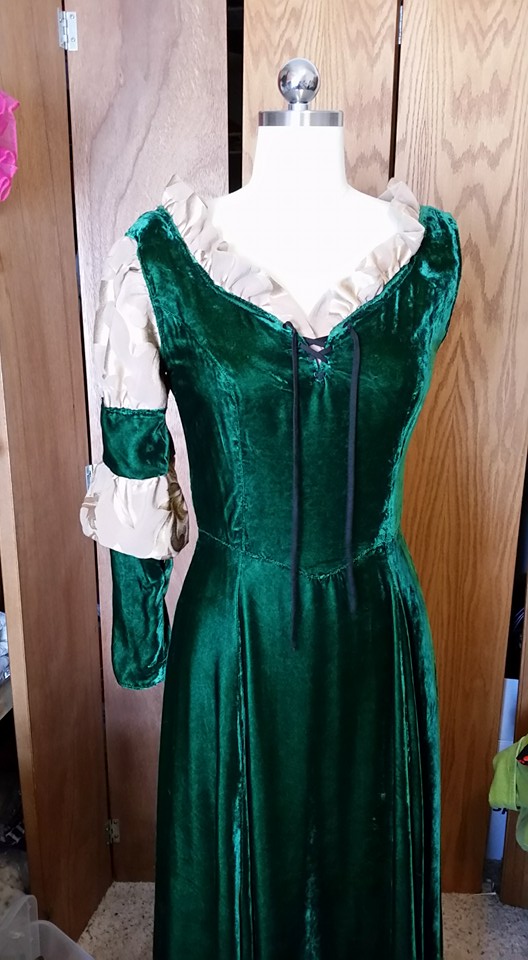
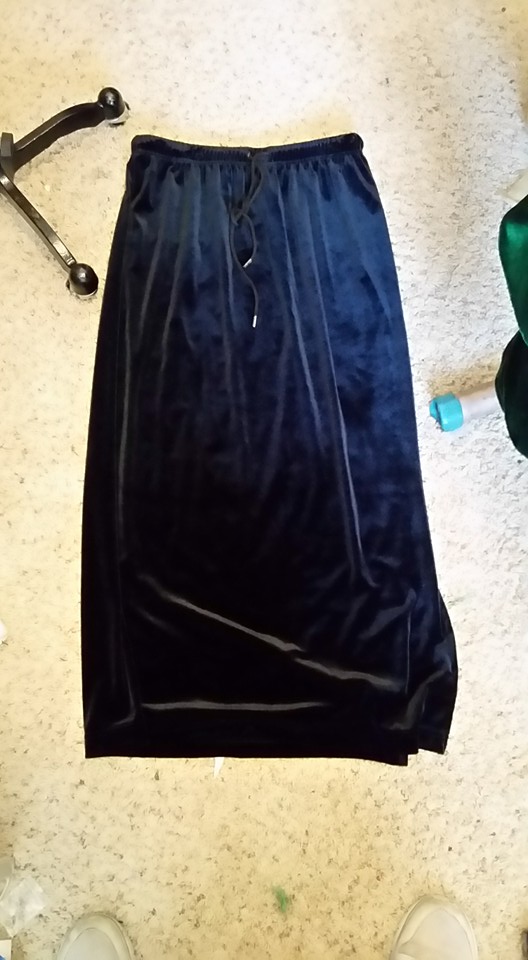
We opted to go for the simple green dress. The first step was to find a green dress!

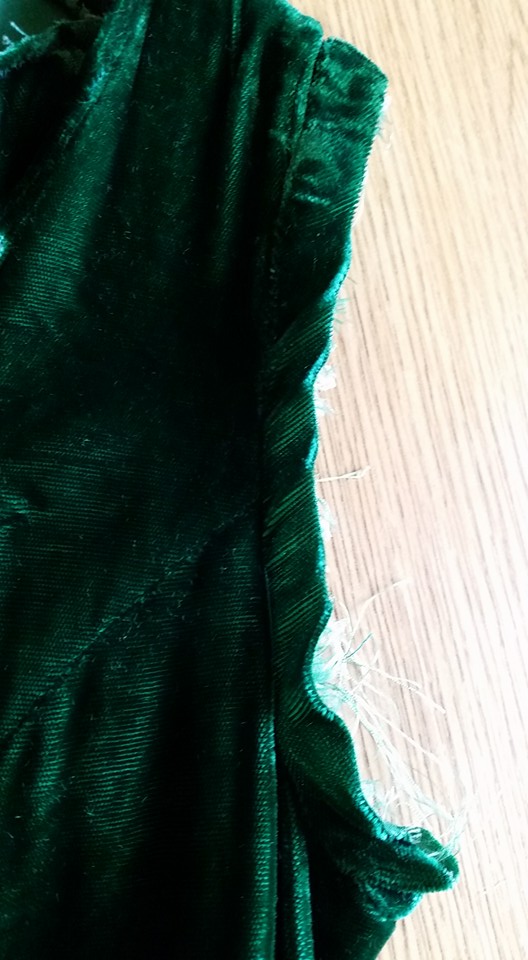
This is a green velvet dress purchased from a Salvation Army. It appears handmade. If I had to guess . . I imagine it was a Christmas bridesmaid dress. It has a simple scooped neckline, long straight sleeves, a full gored skirt, and a zipper in the back. Perfect! My daughter tried it on and it fit. Even MORE perfect!
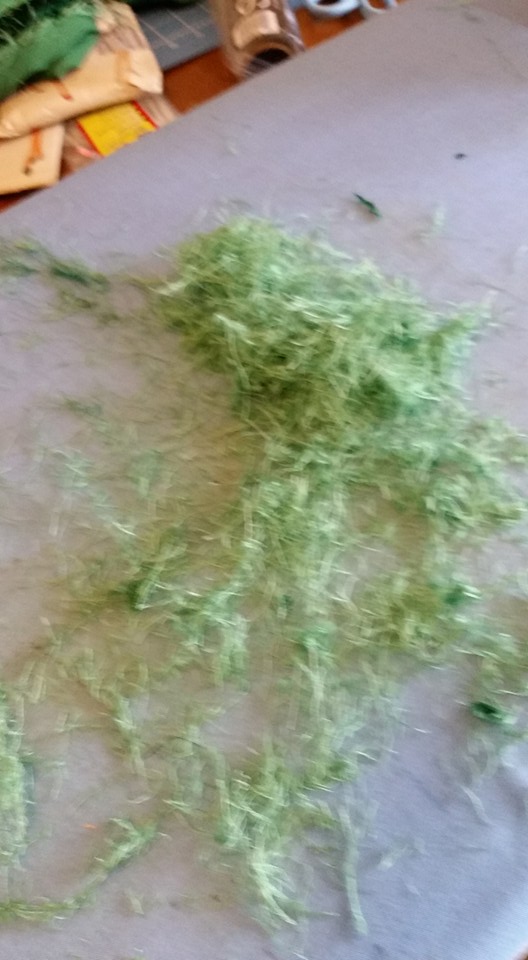
Then, as with all things I buy . . .I washed it on cold, gentle in my HE frontload washer. I hung it until it was almost dry and popped it in the dryer on fluff for a few minutes to perk up the velvet pile. It came though the wash a little limper, but fine . . it also came through the wash a little lighter as there were TONS of strings and velvet “fluff” in both washer and dryer. What a mess! (It also came through the wash a little SMALLER, but we didn’t realize that until later on . . . )
Even better . . . all the seams inside the dress had been unfinished . . so . . . they had raveled and shredded.
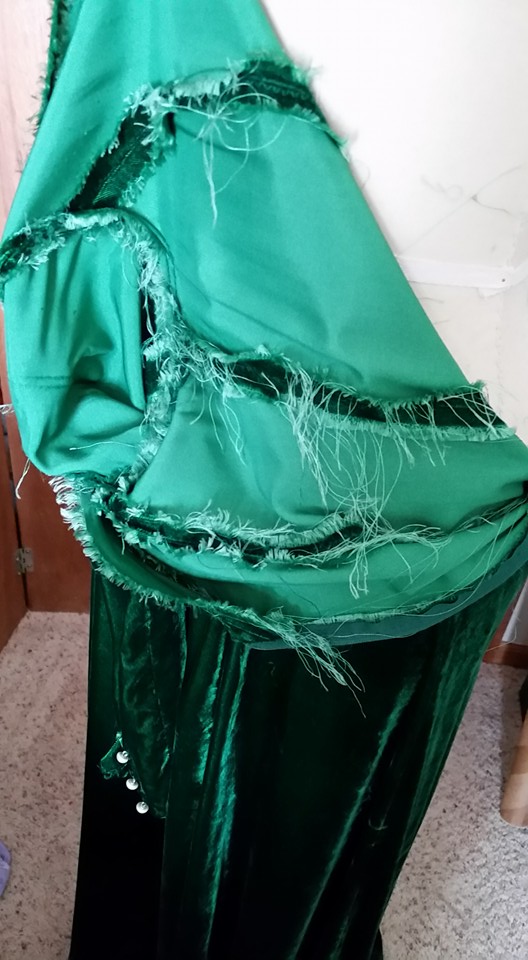
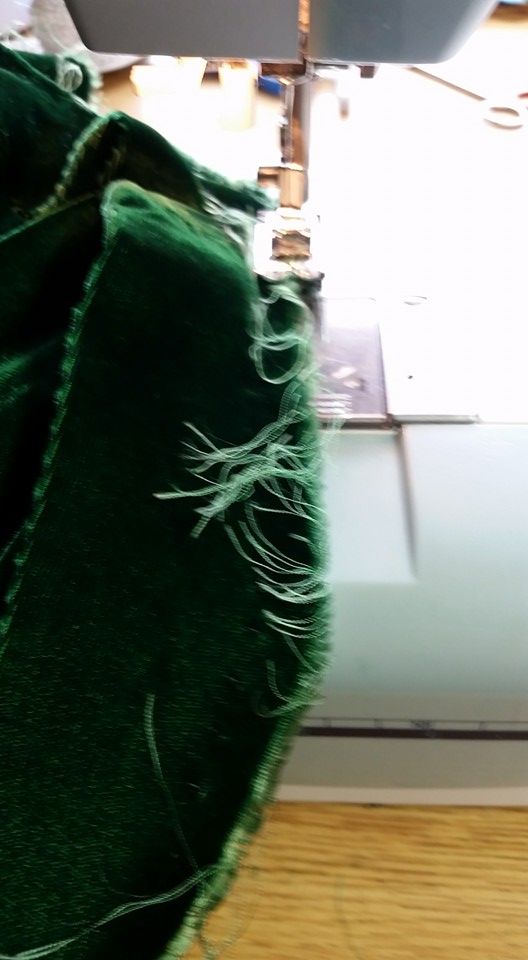
Lesson learned. If I ever have a velvet dress without finished seams, I will take the time to finish them BEFORE washing. What a mess! The first several hours of this project were spent zigzagging and trimming all of the inside seams. And, there were a lot. I had trimmings ALL OVER. (And speaking of trimming . . wordpress won’t let me crop any pictures today, grrrrr . . so, apologies for this post).

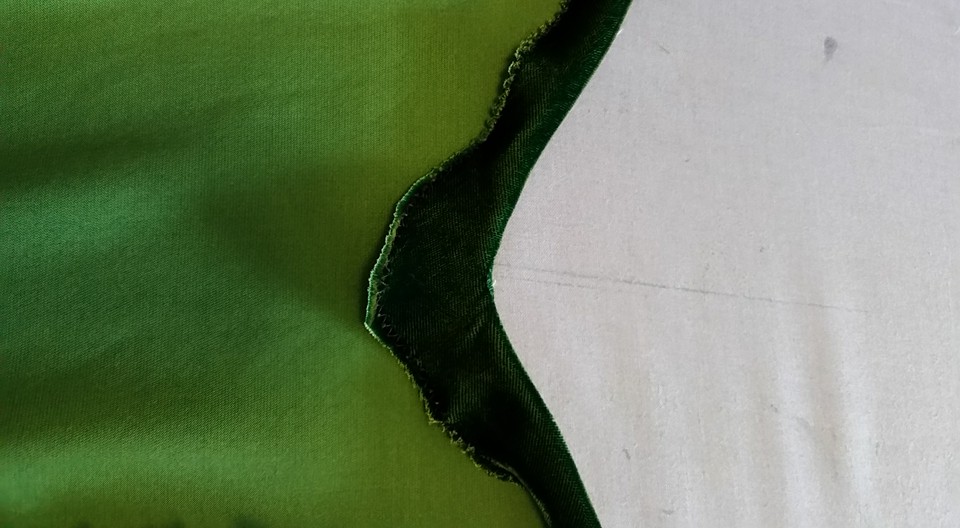
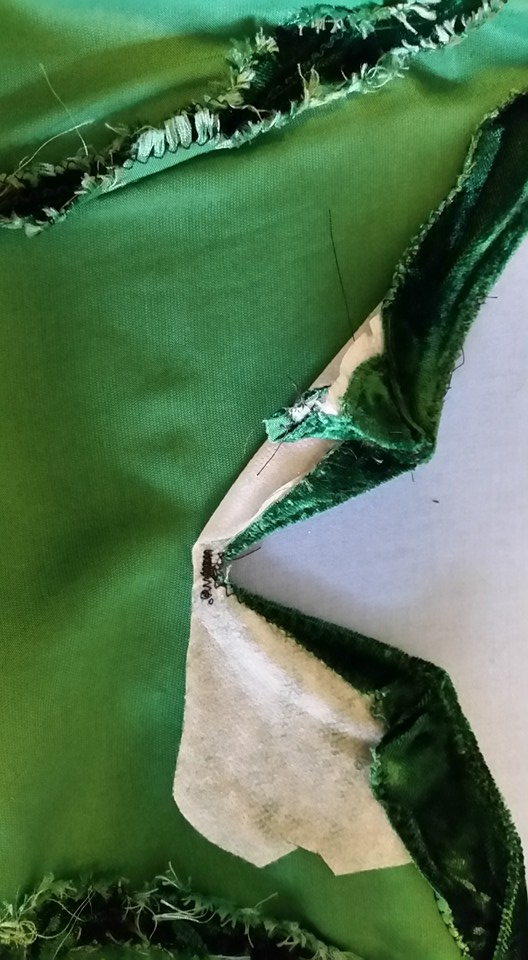
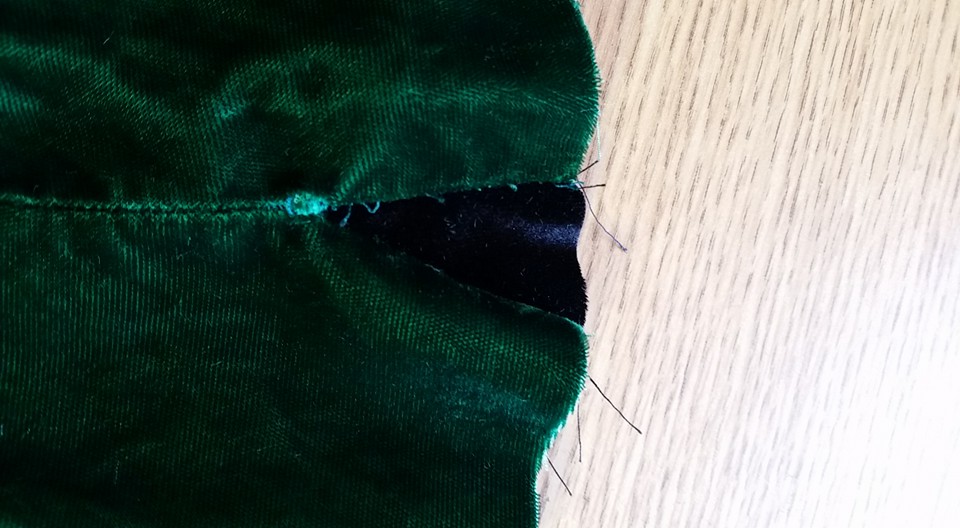
I also had to do a few little repairs where the fabric had obviously been trimmed very close to the seam allowance, and it frayed during the washing.
That light spot is the fraying spot.
Once those basic repairs were taken care of, THEN I could begin the upcycle process!
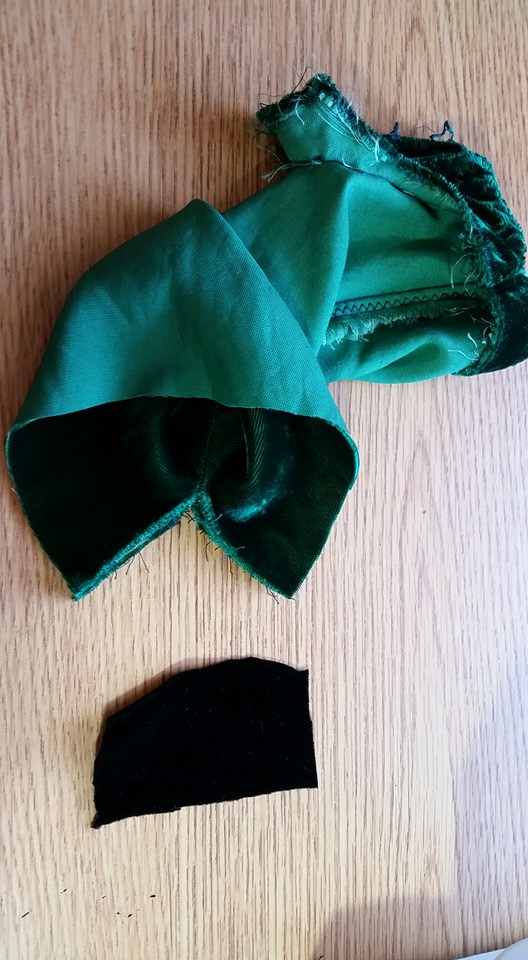
Probably the most iconic part of the Merida-look is the sleeves.
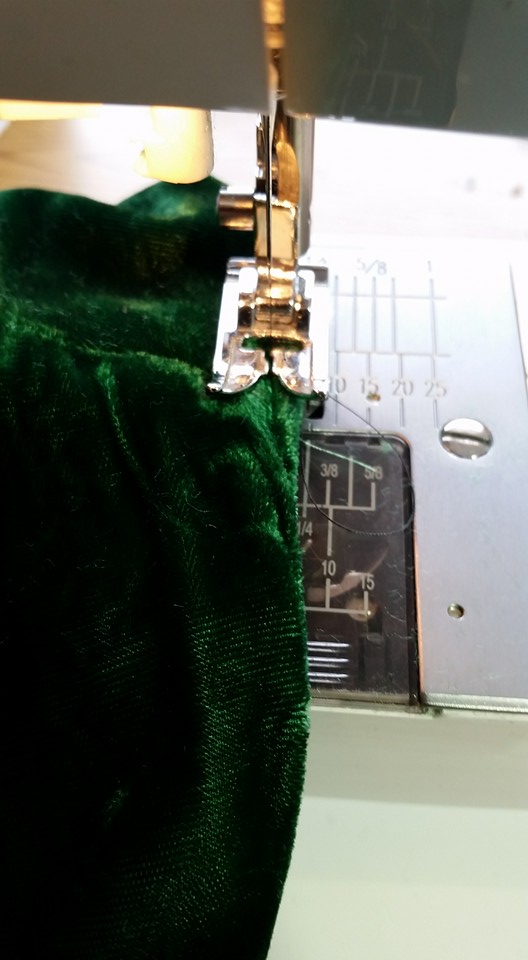
The first thing that I did was to cut the sleeves off, leaving enough fabric that I could turn into the armscye to make a mock facing. And yes, I DID zigzag those raw edges before I turned them under.
Sleeve cut off, leaving about 5/8″ to turn under to make a facing.
Top-stitching down the sleeve “facing”.
Top of sleeves done:

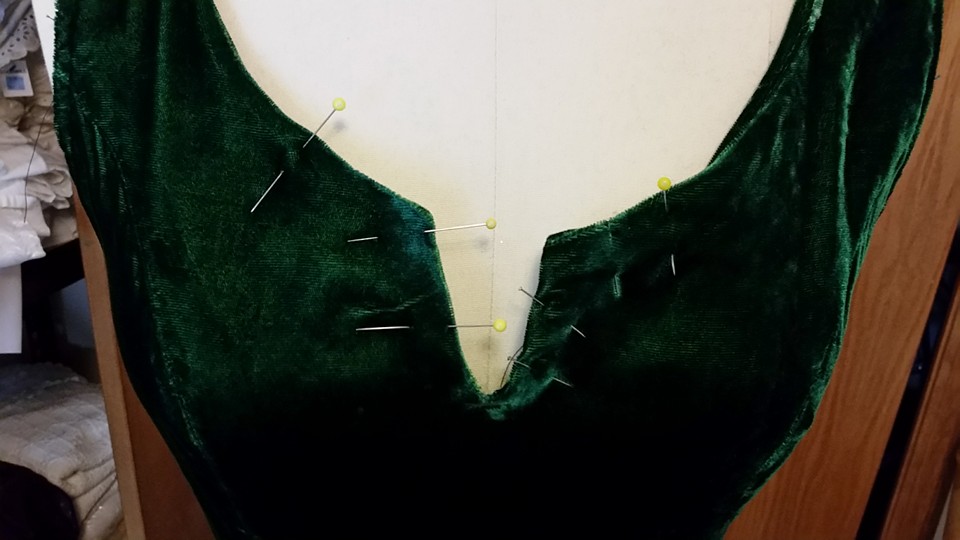
The next step was to alter the neck. It could be left this way, and just put some lacing either in the open neckline, or on top of the velvet, or even skip the lacing all-together. However, I opted to make a slit.
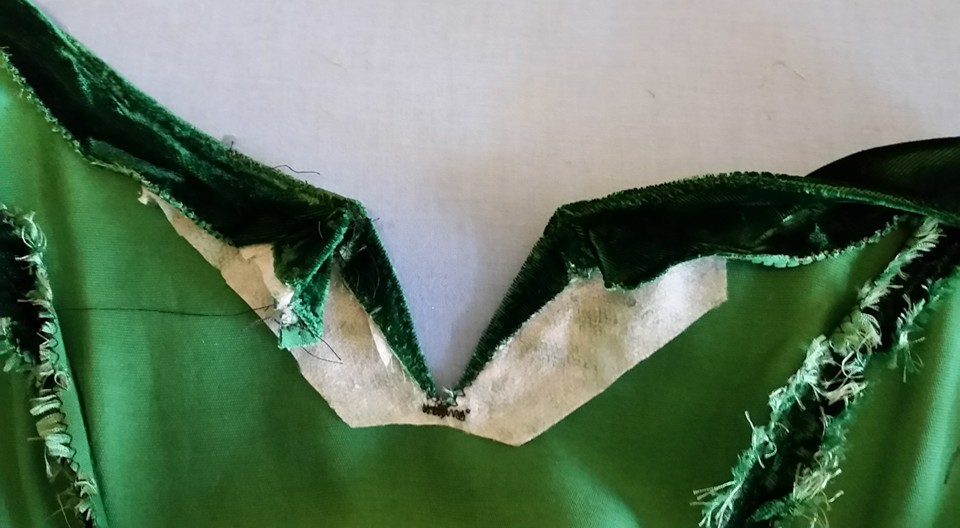
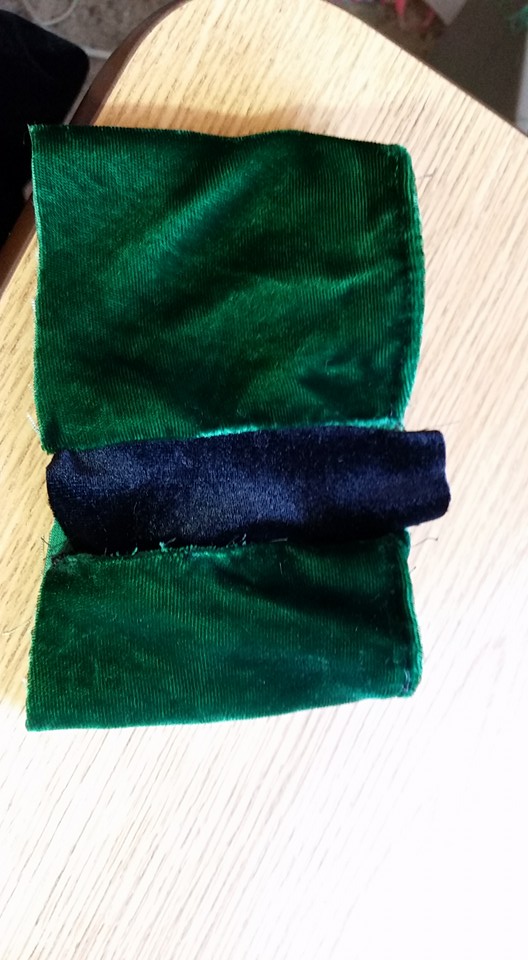
This is the inside front of the original dress:

I put a small scrap of iron-on interfacing where I wanted to cut the slit:

I then folded the bodice in half, marked the center front line with pins, and zig-zagged between the pins. I put a small reinforcing bar tack at the base. I then cut between the lines of stitching. Unfortunately, this slit isn’t as midline as I would have liked. It is fine, but, I should have double-checked one more time.
I turned the dress right-side out, put it on the dressform, and folded the front neckline the way I liked it and pinned it in place. After that, I topstitched along the edge to hold it in place. You will note, I sewed this whole dress with black thread. It disappears in the green velvet. I don’t get too picky on thread color for costumes.
Inside view. After taking the picture I trimmed out the excess interfacing, so that part where it is folded up into the topstitching is gone. The “iron-on” didn’t stick too well . . probably a combo of old interfacing, and not wanting to crush the velvet with a hot iron.
Trimmed:
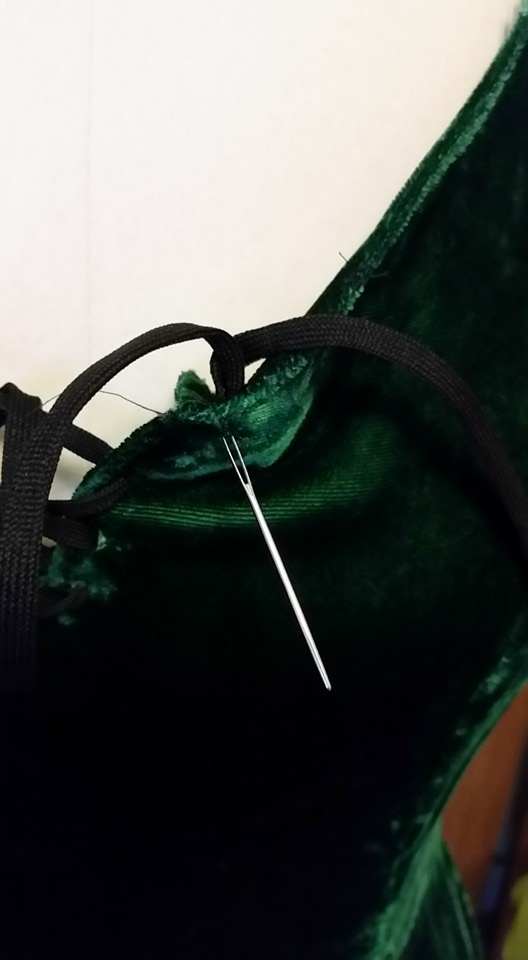
For lacing I used some corset cord. I found a big darning needle that I could thread the corset cord through. Then, I worked it through the fabric and just laced it up. This is a technique I’ve seen used on a historical clothing blog (https://hathawaysofhaworth.wordpress.com/). That blogger reinforces the edge of the garments with a split zipper or boning, and doesn’t bother with eyelets or grommets, just pokes the lacing through the fabric. She says it works well, and the fabric doesn’t rip, so, I thought . . why not try it? If the fabric DOES show signs of wanting to tear, I plan to reinforce it with some Fray Check fabric glue.
At this point I needed to decide whether to make a separate shirt/shift to go under the dress, or to make this a one-piece dress. I REALLY wanted to make it a separate shirt. I happen to have another larger sized green dress part-way upcycled to a Merida dress (I had started before I found this awesome velvet dress), and I had thoughts that if I made one shift, it could work for both dresses. However, due to the tight fit of the sleeves, at this point I decided I needed to make this a one-piece dress.
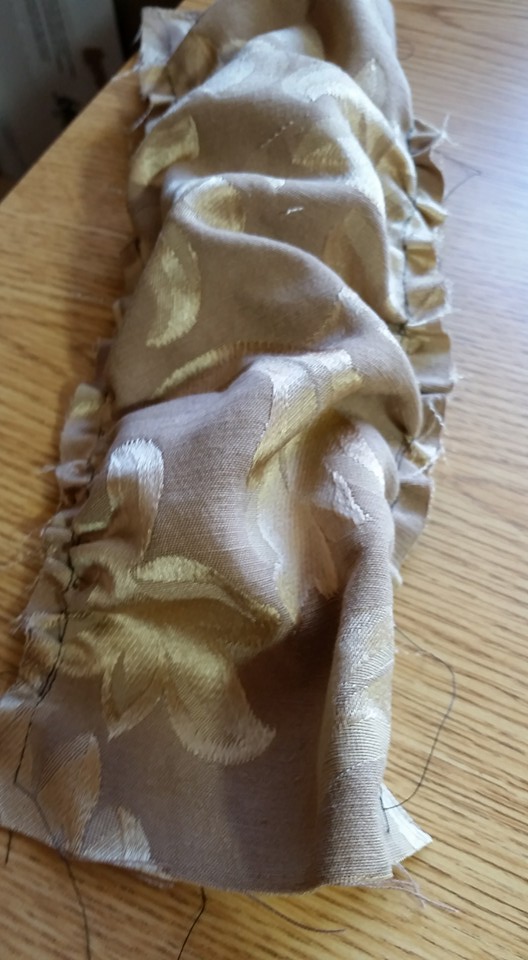
The fabric I planned to use is a thrift store bedskirt. I like it because it has visual interest and texture, plus a fair amount of stiffness.

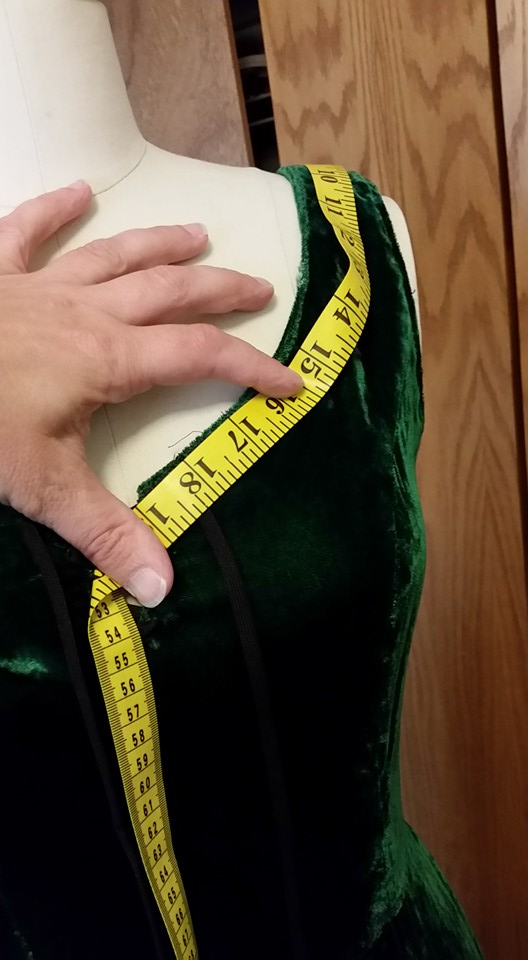
Once I decided to make this a one-piece costume the shirt pieces are merely “mock” representations. I started with the neckline. I wanted to put a ruffle in the neck. First I measured the neckline edge from back to front:
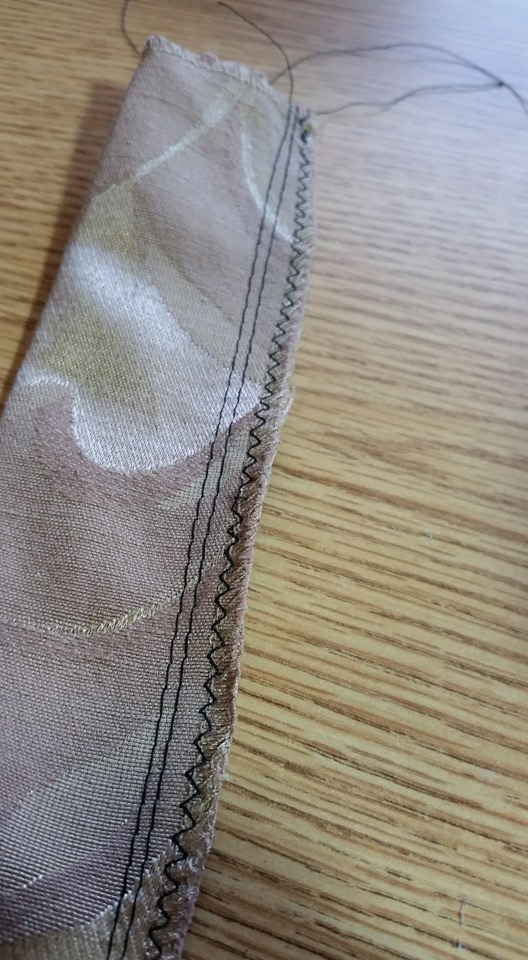
And then I cut two strips of fabric twice as wide as my desired ruffle, plus two seam allowances (one for each side of the neckline). The general rule of thumb is that a ruffle should be at least 1.5 x’s as large as the smaller edge, a nice ruffle is 2 x’s, anything more is REALLY nice. I cut my fabric just under 1.5 x’s because I didn’t want a really full ruffle. I folded the fabric in half, and zig-zagged the two rough edges together:

Next I ran two gathering threads along the stitching line. I was REALLY happy I chose to do two gathering threads as this fabric was a bit stiff, and in both cases, one of the threads broke.
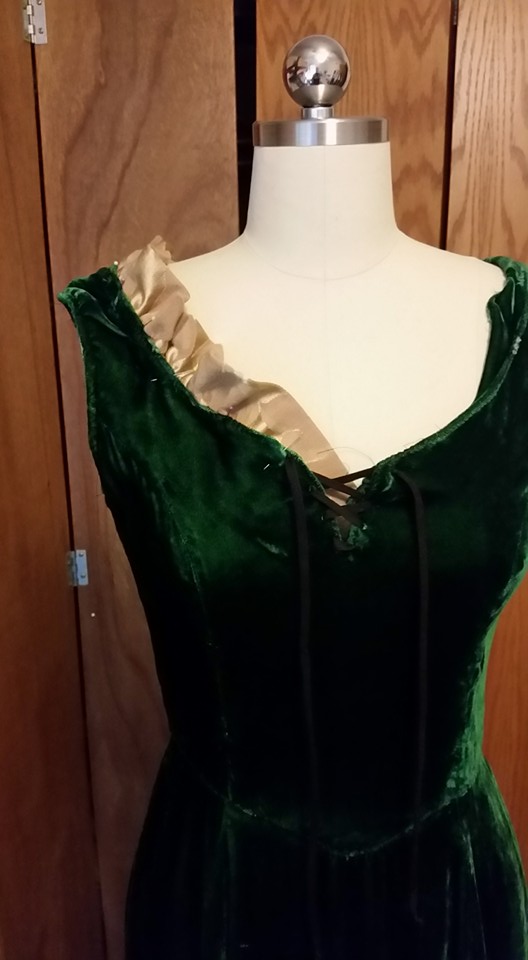
I then gathered the fabric up, adjusted it to the neckline, and sewed it in place with topstitching. I later added a second row of topstitching about 1/2″ away, making sure to catch the seam allowance of the ruffle, to help keep the ruffle from “flipping” out and showing the raw edges.
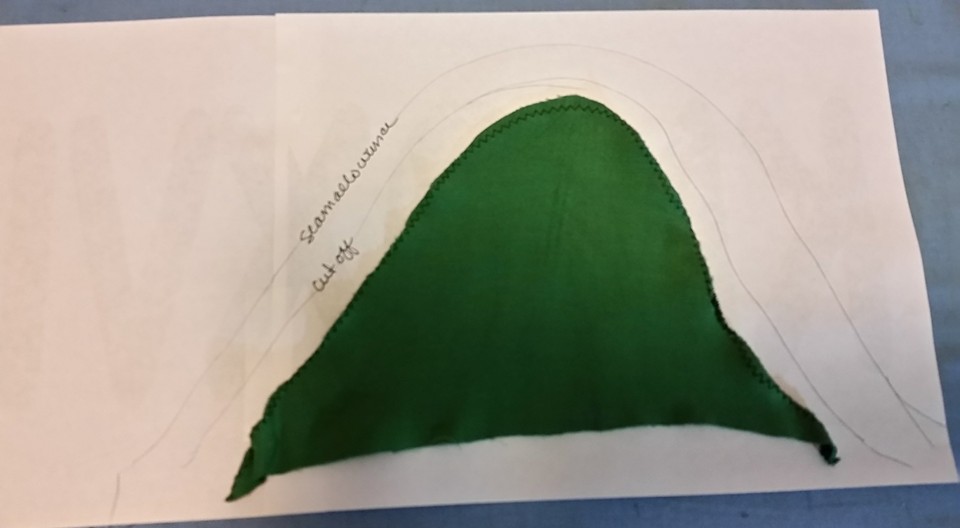
The next step was the sleeve cap. I didn’t think I needed the top of the original green sleeve, so I cut that off at the level of the underarm and used this to make a pattern for the sleeve cap. (Note I later changed my thoughts and sewed this piece back on). I traced around the cut off sleeve, adding on the 5/8″ I cut off and a seam allowance.
Knowing I wanted the sleeve cap to be a bit puffy, I slit the pattern in the middle and spread it apart to add in extra fabric. The sleeve pattern I made wasn’t symmetrical, so I combined the two sides to make the finished pattern. I extended sleeve down at the bottom to make a small underarm seam. I cut two sleeves on the fold. I cut one (you can see it on the top) and then lay the first on top of the fabric to cut out the second.
I finished all the raw edges, sewed the small underarm seam, ran gathering threads along the top, and then pinned it into the armscye. You can see that insetting a sleeve into a finished garment is a little different than setting a sleeve into an unfinished armscye. The fabric is inserted right-side to wrong-side. This seems really backwards at first, but, after doing it a couple of times, it makes sense.
Now, on to the lower sleeves. I am going to confess right off that this ended up being a rather convoluted process. Since sleeves come in pairs, when I am doing an upcycle, I do both symmetrical parts at the same time. As it gets toward the end, I finish one first to make sure it works . .and then go back and do the second (which always goes MUCH faster). The sleeve process was complicated by one main problem: the velvet shrunk when I washed it, and I never had my daughter try the dress on AFTER washing. I also underestimated the degree to which the additional seams in the sleeves (for the puffs) would make the sleeve tighter. The stitching may take out some of the natural stretch of the fabric, but the seam allowances also take up space. So . . . there are things I would definitely do differently, and I will address them at the end of this section.
The first thing I did was have my daughter try on the cut-off sleeve to determine where her elbow was to decide where to split the sleeve. You can see where I marked it with two pins, above and below the elbow. At that point, looking back, you can see how far under her armpit the top of the sleeve actually is. But, I didn’t recognize that at the time . . so . . .I didn’t compensate for that in the fit of the sleeve.
The first thing I did was finish the top edge with bias tape. I sewed it on right sides together, and then flipped it over, and stitched along the folded edge. I wanted to reinforce this top edge as the velvet was very soft and there would be tension on this area. I also wanted to conserve fabric, so I could make a very narrow seam.

Then I cut the sleeve along the lines I had made with the pins earlier. I used the first one as a pattern for cutting the second sleeve.
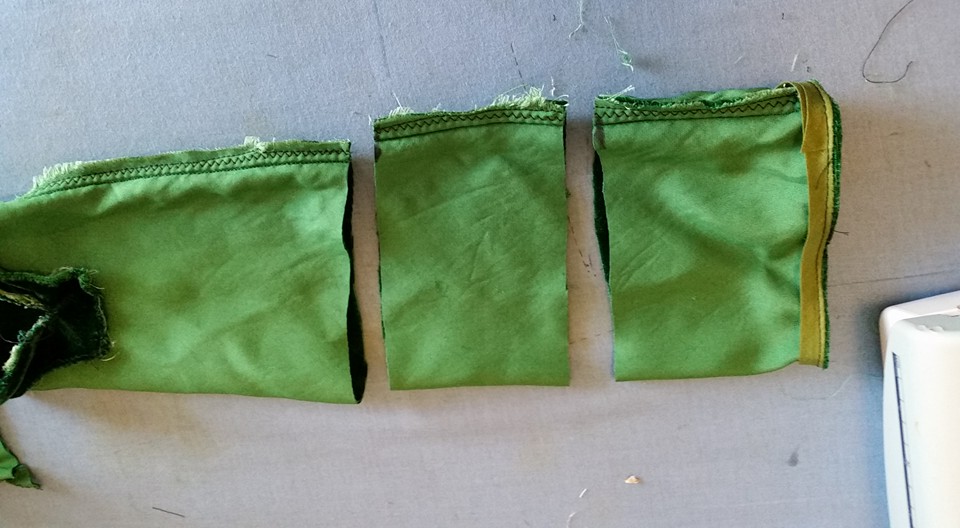
Here I made a mistake: I used the center section of the velvet to make two pieces thinking I would use them to attach the top green sleeve to the bottom green sleeve. I simply divided the center pieces in half, and sewed tubes. Unfortunately, as the dress progressed, I needed more strips, and short of cutting fabric out of the skirt, I didn’t have enough. Had I waited, I would have been able to stretch the amount of velvet I had–backing the strips with another fabric or ribbon. But, what is done is done.
However, before I cut the center section out, I used it as a pattern to cut out a piece of scrap fabric to make a backing for the center “poof” of gold that would take it’s place. I added seam allowances around the piece as I cut.
For the top of the “poof”, I cut a piece of the gold fabric somewhat wider and somewhat longer. I ran gathering threads along the top and bottom of the gold strip.

I gathered it, and pinned it to the scrap backing fabric (black) on the top and bottom edge.
Once sewed, the top is bigger than the bottom, and so it poofs out. The backing takes the tension of the sleeve, and the gold will poof.

I then sewed the edges of the gold fabric together to make a circle. This circle was then attached to the top and bottom of the sleeves where I had cut it apart. I ABSOLUTELY needed to use the free arm of my sewing machine to make this happen. I did not sew the black backing fabric together. This meant I didn’t have to measure really carefully to set the gold into the green, as I just adjusted the gathers so that it fit. There is a small gap in the black backing fabric, but, it doesn’t matter as no one sees it.
Finished inset!
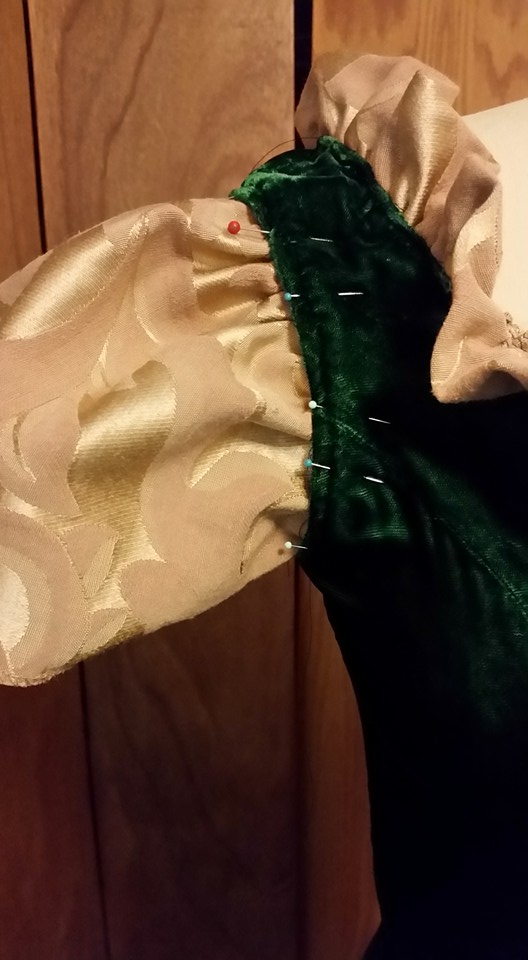
I then attached the top of this segment of the sleeve to the bottom of the gold sleeve cap on the dress. This was a right-side to wrong-side sewing task, again, using the free arm of the machine.

It looked like this:
This is when I decided I had made a mistake when I cut the top of the sleeve off. I just didn’t like how much gold showed at the top. So . . I sewed the cut off section to some gold fabric, trimmed the seam and clipped the curve, flipped it rightside out and lightly pressed it.

Then I used a close zig-zag to finish the edge (almost like an applique stitch).
I sewed this back on to the top edge of the top green sleeve section so that it flapped up over the top gold sleeve.
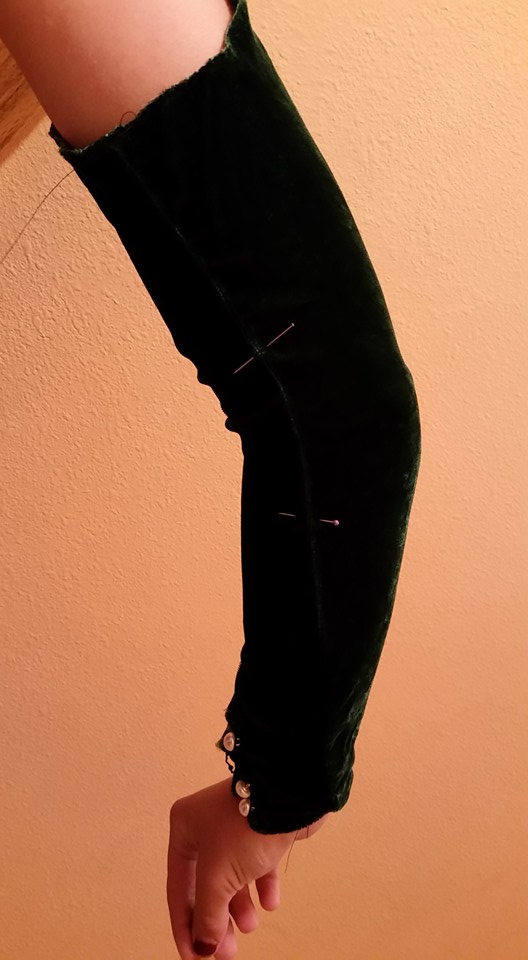
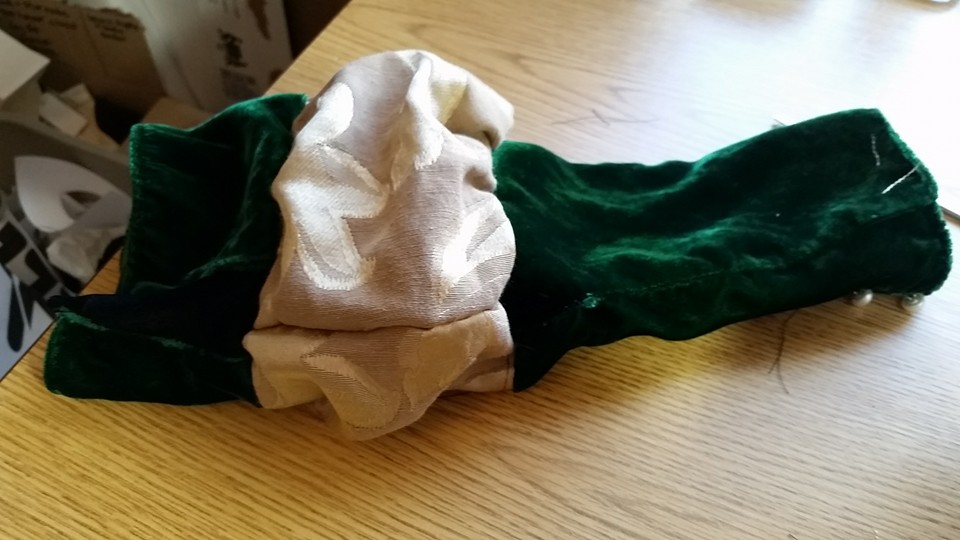
This is skipping ahead a bit, but I want to show the finished sleeve.
Here is the finished sleeve . . you can see where the top flap was reattached, and then I used green ribbon for the strips between the dress segments (since I had wasted my velvet). I had my daughter put the dress on when I pinned the ribbons on. That way we could easily adjust the length and placement. I heat sealed the ends of the ribbon with a wood-burning tool. I thought I would need to hand sew them on, but I was able to machine stitch them all on.

After I had one sleeve finished up to the point of adding the ribbon, I had my daughter try it on. And THIS is when I really realized how much the dress had shrunk. Not only could she barely get the dress zipped, the sleeves were so tight she could hardly get them up, and then, once she did, she couldn’t move. They are also on the short side.
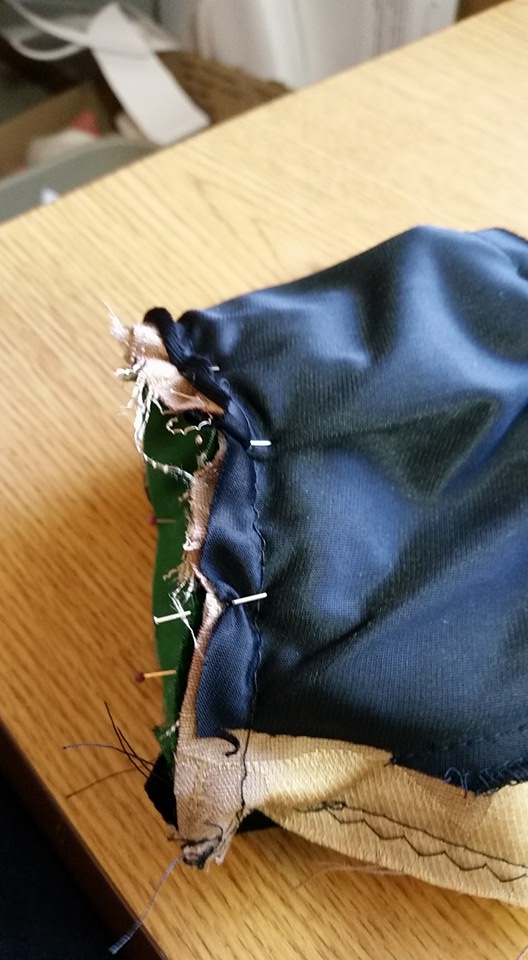
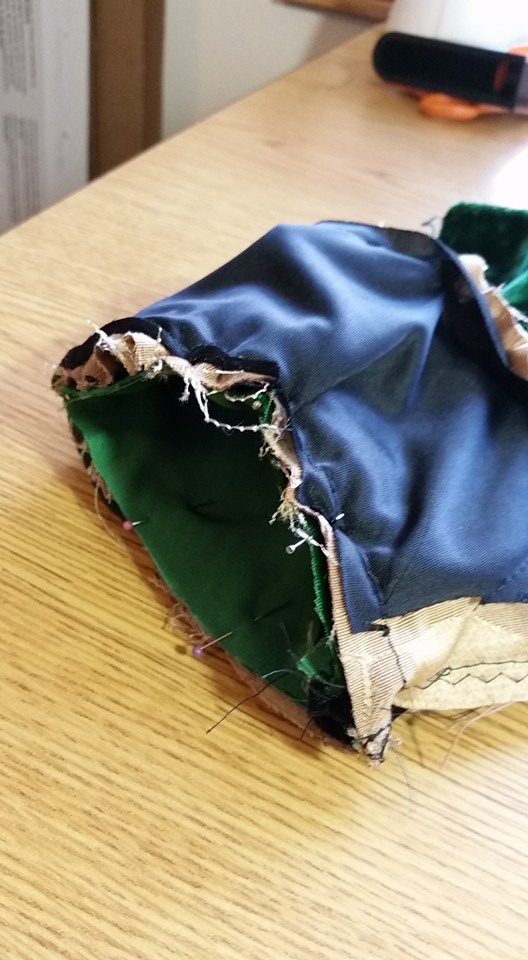
Now I had a little problem. I had sections of the dress that needed extra fabric AND sections of sleeve. I looked at my stash of dresses, fabric & clothes, and didn’t like how any of the greens matched, so I opted to just go with black. I found a stretch velour skirt, and used that for my supplemental fabric.
I REALLY wish I could crop tonight! Like my shoes?
I carefully opened up the seams on the sleeve I had created, and inset pieces of black velour. And then I sewed the finished sleeve back up. I’m not showing pictures because it isn’t pretty, and not anything I hope you have to do!
The second sleeve was much easier. I added a wedge at the top of the lower sleeve:

And a strip to the center of the middle sleeve:
In the end, I also had to add a larger wedge to the lower sleeve. I cut off the buttons and opened the lower sleeve completely up and sewed in additional fabric. When the dress is being worn, it is really not noticed.
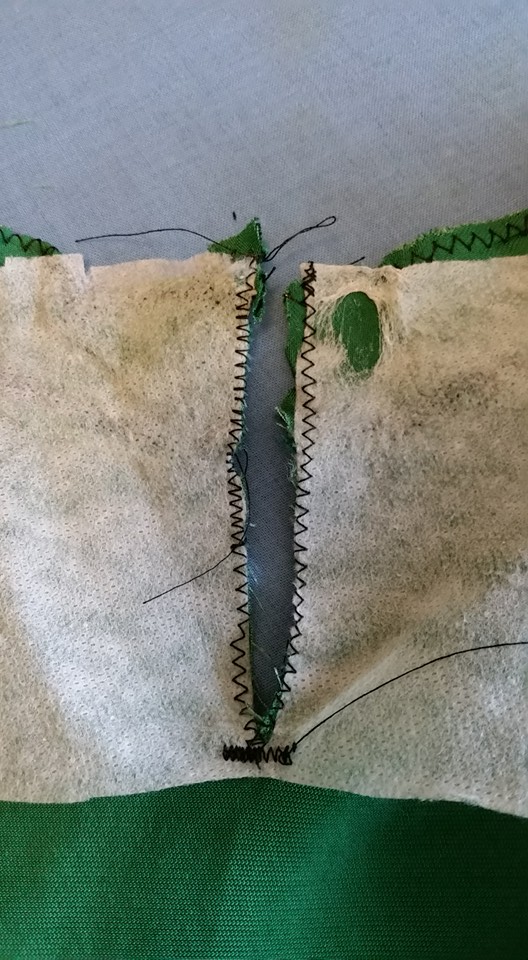
You may recall I also mentioned that we could barely get the dress zipped up. I had a couple of different options. I could take the zipper out, and add fabric there. However, when I was finishing the inside of the dress way back at the beginning, I had run reinforcing zig-zag stitches down both sides of the zipper to help stabilize the softened velvet and keep it from further raveling. I could add a wedge of fabric to the bodice under the arms. But, I already had the armscye finished/reinforced AND the sleeves sewn in. I looked at all of the inside seams in the bodice (some that I had sewed together back in that finishing process . . .), and decided my best bet was to try and add some fabric to the back side seams. The dress just needed some ease, not tons of fabric.

I opened that seam up from about where it started to curve at the top to slightly below the waist seam. Then I put a piece of black velour behind it, pinned it in place, and sewed around the edges
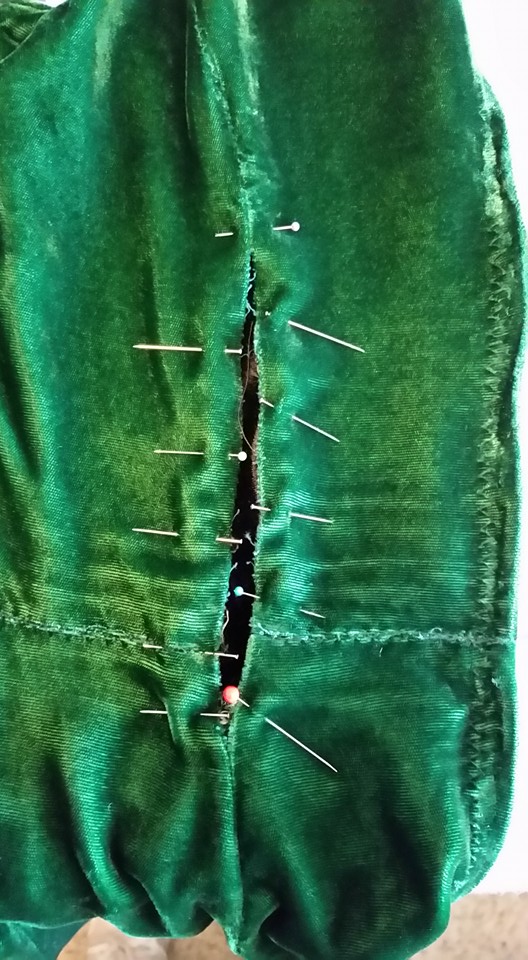

It seems glaringly obvious on the dressform, but when it is on your body and moving, and hair is in the way, and it is in the back, it really isn’t very noticeable.
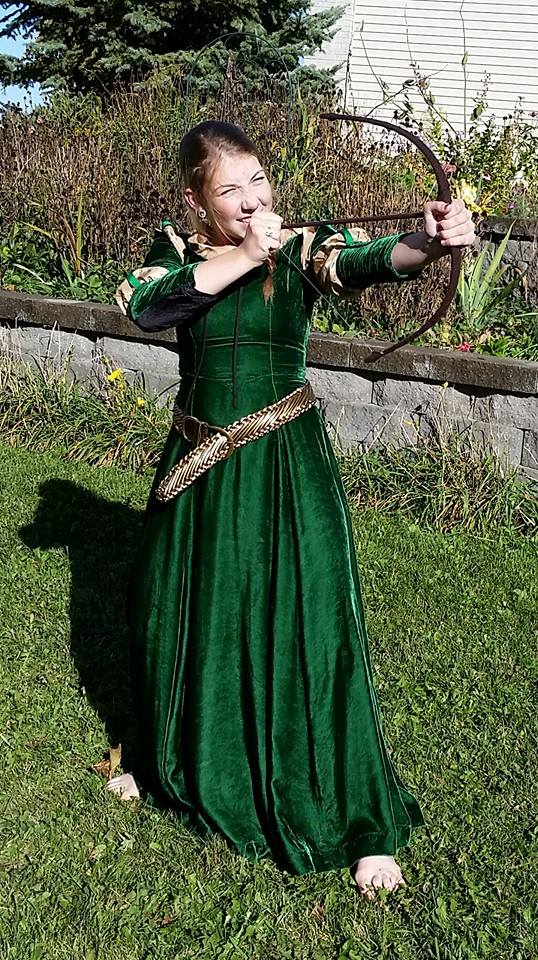
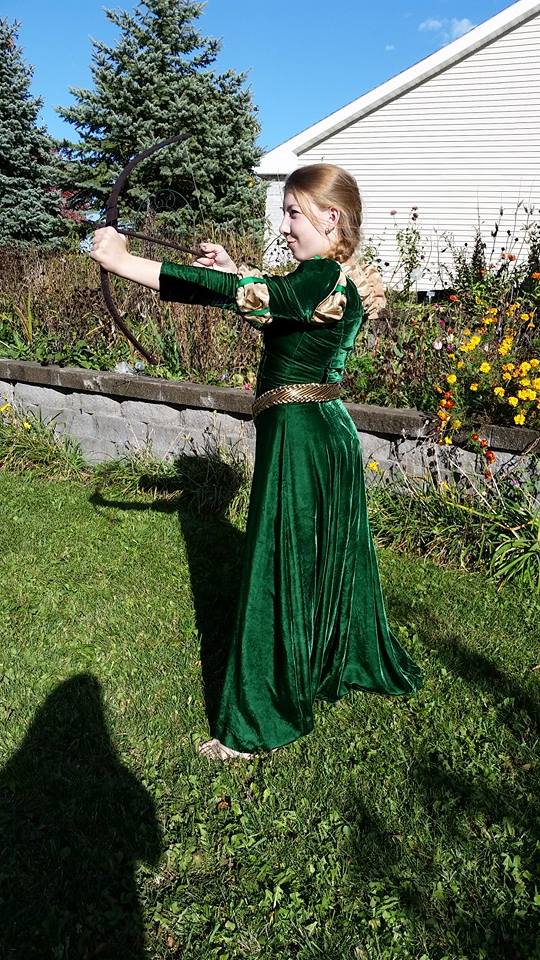
To finish the costume, we added a wide gold belt from a thrift store. She wears it loose, with the buckle partially done. She carries a small bow and arrow we found at a local costume shop (yes, yes, I could have made one, but I ran out of time, lol).
You can see the black fabric added to the bottom sleeve in this picture. You hardly notice it unless you are looking for it.
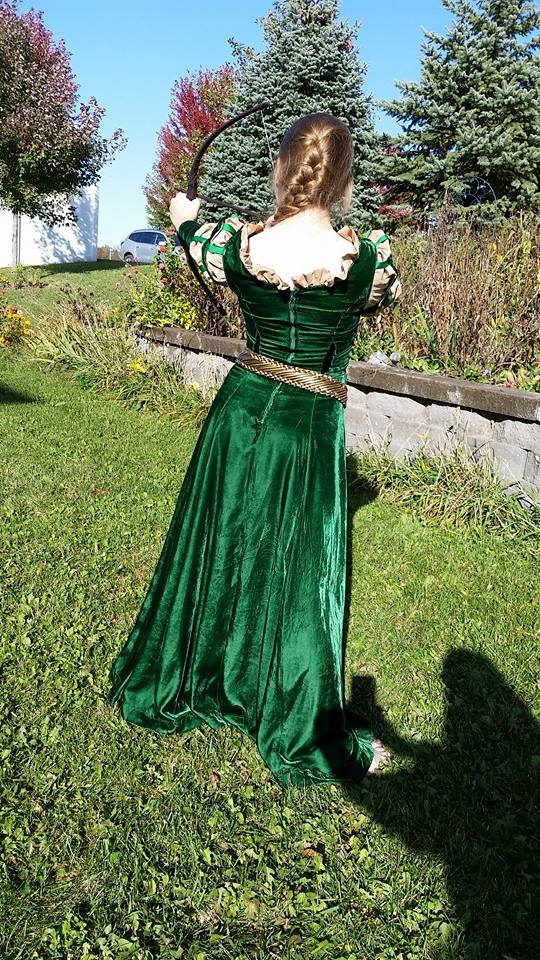
Again . . while wearing, you do not “see” the black wedges in the back.

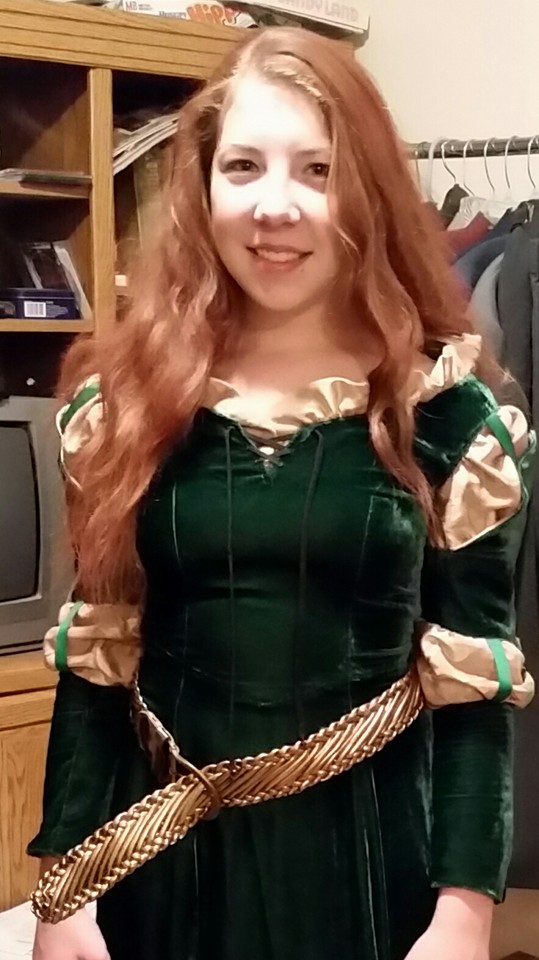
The actual Character day at school she colored her hair red with spray hair dye.

Cost: dress $5.99, bedskirt: $ 1.88, black skirt: $0.50.
Time: about 10 hours
To reiterate . . things I would change: Finish the seams BEFORE washing, try on AFTER washing. If I had done those two things, I could have decreased the amount of time spent on this project by at least 3-4 hours. I was extremely fortunate to find the perfect base dress that required minimal alteration AND had long sleeves. The major mistakes I made were cutting the top of the green sleeves off (altho I am not exactly sure how I would have attached the gold sleeve cap if I hadn’t .. .) and wasting the middle green sleeve sections, which led to the use of ribbon for the bands between the green sections of the sleeves.


Ah, the Merida sleeve… I did a similar one on a Grey Lady costume and it took a bunch of sketching, basting, and re-fitting to get it to look right! Congrats on making it work!
LikeLike