“Starbucks” Coffee Cup Costumes are quite the trend right now, and wouldn’t you know, our Dance Coach (DC) decided they should be a part of the Nutcracker production. Dancing Candy . . Dancing Coffee . . . all part of the fun.
Google “Starbucks Coffee Costume” and you can see images of many variations on the theme. Basically you have a light brown dress/tunic/shirt and some form of white froth (ruffles, feathers, round felt discs) somewhere towards the bust/shoulder/neck, with a green label, and perhaps a little hat. Often there will be a green straw somewhere.
We needed three of these costumes. We were also trying to do these costumes on the cheap, so I was trying to avoid purchasing fabric. The DC wanted little white ruffle fascinator hats with green straws
Originally I wanted to make them out of some kind of knit. However, I was unable to find a piece large enough in the stash of any of the people I had to ask, and the DC didn’t like having three shades of tan (I sort of thought it could maybe represent three flavors, probably more along the iced frappe style of drink, but, that wasn’t her vision, lol). I did eventually find a sheet that I thought would have enough fabric to make the dresses.
I found a vintage-y form fitting dress (my vision) and made a prototype:

There were a number of problems with this dress. First, the length came from the measurements given to me by the DC. It was much longer than I had visualized. This dress was going to be impossible to dance in, even if I put slits in the sides. Second, I had thought I would be able to get three of the dresses out of the sheet that I had, but, with the desired length it wasn’t going to happen. I do like the top of this dress though, and may well use this neckline and darted bodice for some other projects. This particular dress will probably be re-worked into a peasant dress of sorts of “Cinderella”, but, it was kind of a loss for this project.
I decided I would need to go with something looser. I found this pattern:


Using the chest measurements I had, I cut out the front and the back of the blouse pattern, omitting the sleeves. For the fabric, I went with a light tan plush upholstery fabric, of which I happened to have a partial roll. This was heavier than I would have chosen, but, I had run out of cheap options.
Since this is just a costume, I didn’t bother with facings. I first finished the edges with a row of zig-zag stitches, and then I turned the seam allowances under. I did the arms seams:
(Sorry about the pictures . . the focus on the camera on my phone is going, so I am going to have to figure something else out. It seems so wasteful to buy a new phone for the camera . . but . . . )
I did basically the same thing on the front and back neck seams, only, this was turned under a bit farther to make a casing. The original pattern had you use bias tape to make the casing, but I didn’t have a good color, so this worked. The curve required a little bit of convincing, but, it was shallow enough that I could coax it into a little stretch on the bias.


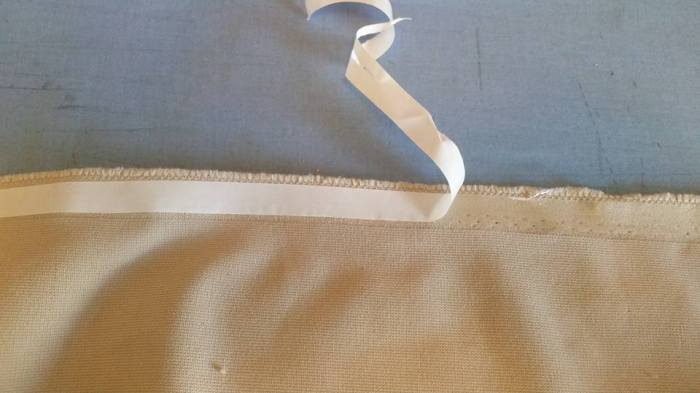
I had the idea to use heat-n-bond strips to do the hemming and the side seam slits to eliminate the need for stitching lines in the texture of the fabric. In retrospect, this wasn’t the best idea. The fabric is heavy enough that I had trouble getting the bonding material hot enough to hold, so I ended up messing with it a whole lot more than if I had just hemmed it, and the stitching wouldn’t have shown that much. With a lighter fabric it probably would have worked better. The sides were slit open to an arbitrary height. I did have my daughter test it out to be sure it was a reasonable height for movement.
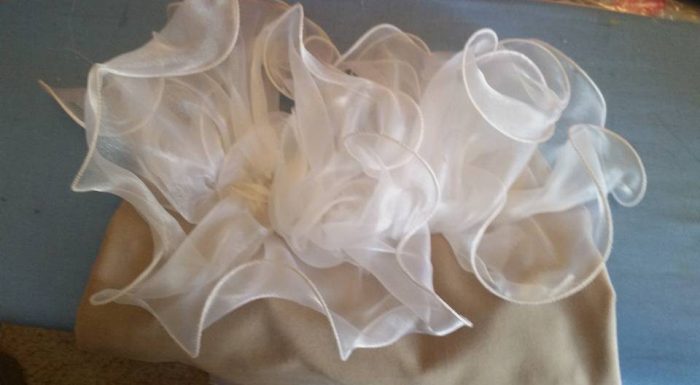
The white trim: The white trim came from the bias cut ruffles from a miniature bride outfit that I am guessing was from the 1980’s. I had purchased it from a thrift store in the early 2000’s for my kids to wear for dress-up. It made the rounds as a Halloween costume and for dress-up play. It had a small train, which I had bustled up for ease of wearing. I wish I had remembered to take a picture when it was whole! By the time I thought of it, I had cut all of the ruffles off!
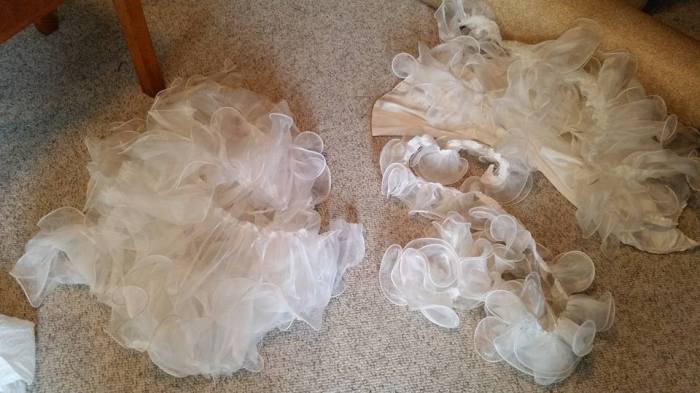
The ruffles on the lower right are the nicest ones. They came from the sleeves. They are all the same width, have a heavier “wire” along the edge (it really is like heavy fishing line), and were doubled. The other ruffles are the ones that came from the skirt & train. They are in various lengths, and the width also varies. They are less gathered. Most of those are on the lower left. The very top row of ruffles were quite nice and had a row of lace trim with some sequins. That is in the upper right. I will save that length, plus the underskirt, for a different project. I also saved the zipper, and then cut all of the sequin & lace embellishments out with a pinking shears to save for another project. There wasn’t much left when I was done!
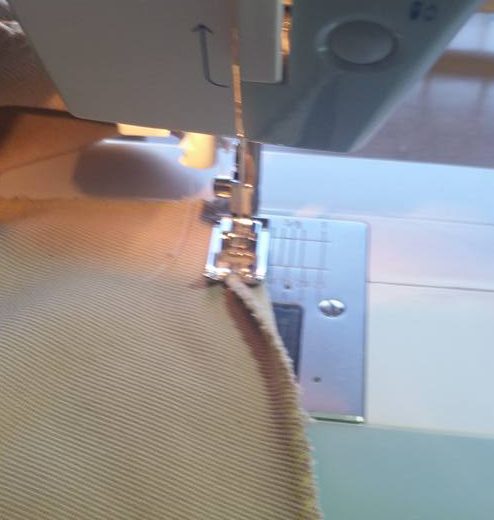
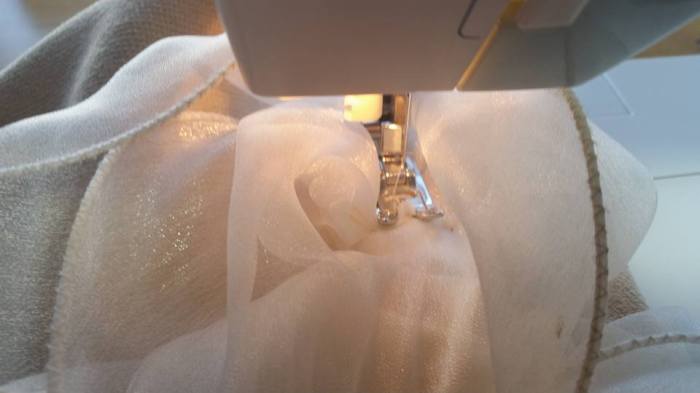
I lay the ruffles on the top and loosely pinned them in place, twisting and scrunching as I went. I then used the sewing machine to sew them on, starting and stopping as needed.
The last thing I did was run some elastic through the casings.

And, they were done:


Well, they still need a logo, but another Mom is taking care of that part.
The hat:
The hat was supposed to have some fluff and a straw. A coffee froth fascinator of sorts.
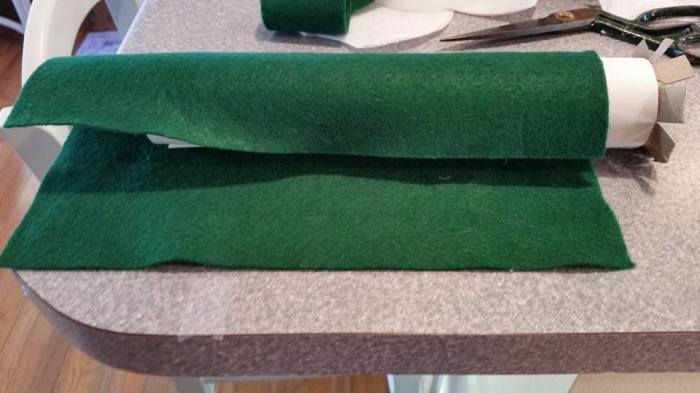
I started by cutting a circle of felt for the hat base. Try #1 was using the plastic lid from a container, but that ended up WAY too heavy, so just the felt was version #2. Then I used a toilet paper tube for the base of the straw. I cut slits in the tube so it would stand up.


I wanted more height, so I cut a piece of thin cheap posterboard the width of the tube and the height of a piece of felt, and glued it to the tube.


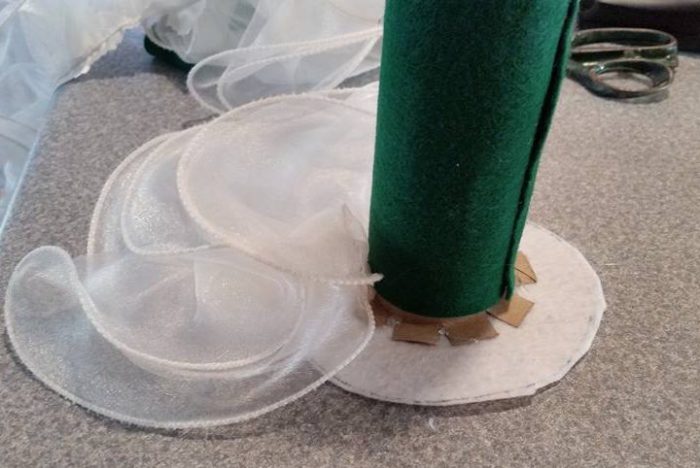
The felt was glued around the tube and tucked into the top with a bit of glue.


This is a little heavy. I could have made the straws a little smaller, or used colored paper for the green.
The straw was hot glued to the felt base. I used the nicer ruffles from the sleeves to glue around the felt to make the hat.
Last, a second layer of felt was glued to the bottom and a barette was secured with felt and hot glue.

And the hats are done:


All that is left is to add the green logo to the front. We are doing this out of green glitter heat transfer vinyl, and a “Sugar Plum Fairy” takeoff of the green “Starbucks” label. We will adhere the logo to some scrap white fabric and then applique it in place. These may be a bit wide, but, they could be easily taken in under the arms, the the neck is easily adjusted by pulling the elastic.
Time: about 4 hours for all three.
Cost: free, since I had all of the stuff.
Addendum:
The finished costume!

Enter a caption


