This week I really tried to crank the costumes out . . . I am beginning to feel the pressure! So many details and so little time! I AM having some fun dresses donated, and it is a challenge to try and use as many of them as possible . . all while I am trying to ignore all the things that aren’t happening right now.
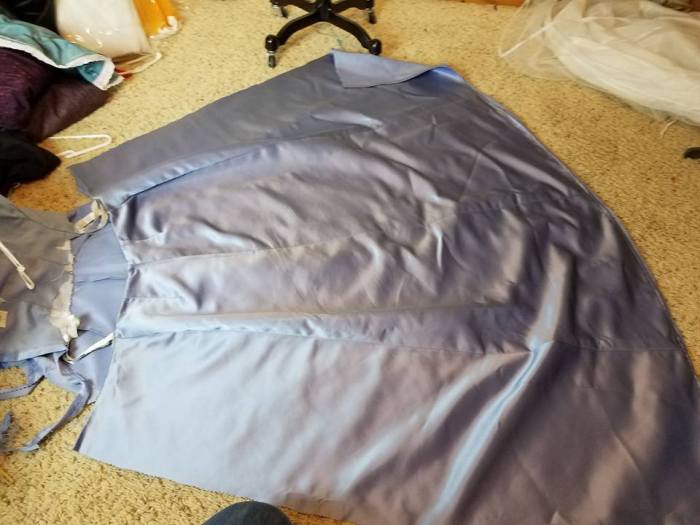
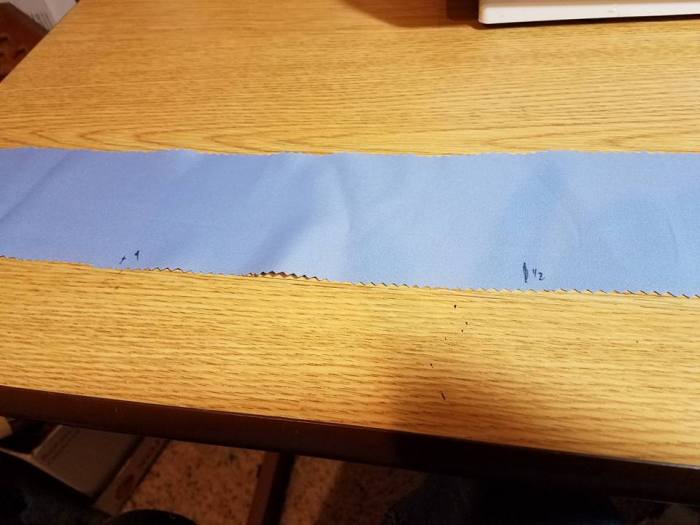
This week I had an absolutely gorgeous Bill Levkoff bridesmaid outfit dropped off. The satin was SO heavy, and the lining was nicer than any I’ve ever seen. You’ll be able to see how heavy and shiny the satin is in later pictures. This is Dress #1:


This was a three-piece outfit: skirt, zip back top, and stole. The skirt was fully lined. The bodice is edged with bead trim around the top, bottom and for the straps.
I matched (color-wise, definitely not by fabric quality!) with Dress #2:


This dress was interesting in that it had diagonal seams on the sides, and the angled back bodice seam. The center front was one continuous piece of fabric.


I mixed this with Dress #3:


This was a halter top dress with self-fabric ruffle roses for trim. The outer fabric is a chiffon sort of fabric with an almost iridescent pink/purple sheen. The skirt is lined with two layers of a light lavender fabric. I thought I would use this for the front panel, and I was hoping that the difference in fabric would create enough visual interest to give the appearance of an underskirt with a split overskirt.
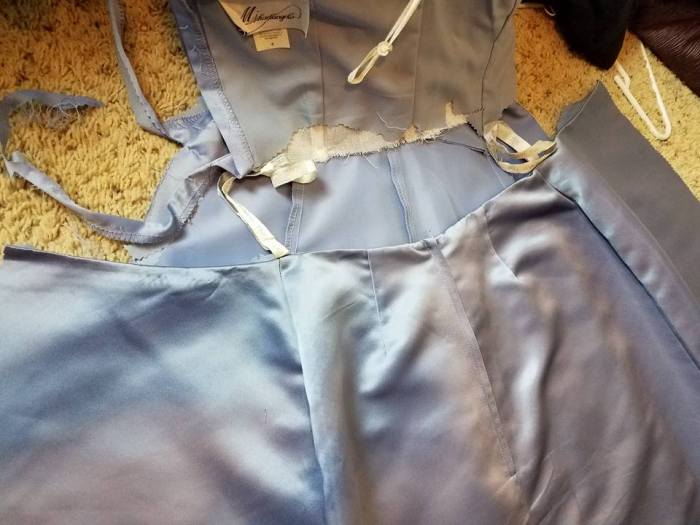
I began by taking apart the skirt of Dress #1. This skirt did not have a waistband. It is really fun to take things apart and see the details of the construction. To give the top of the skirt support, there was a very thin fold of lining fabric which was then topstitched making a firm and distinctive edge. This did make it a little bulky to sew later on.


I cut the lining out leaving about 5/8″ below the waist edge to make a seam allowance for attaching the waistband later on. I left the zipper intact to serve as the opening of my new skirt. The lining I set aside.
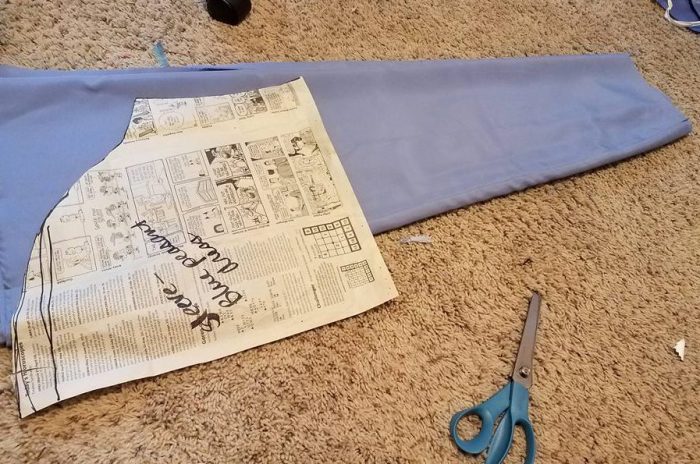
Dress #2 would be the sides of the dress. I took out the lining & petticoat and removed the zipper. I cut out the back seam. I spread the dress out on the floor, carefully folded in half, and used the skirt of dress #1 as a pattern. Interestingly the bottom curve of the hem was almost identical even though I think Dress #2 looks much fuller than Dress #1.
Next I cut along the center front fold.
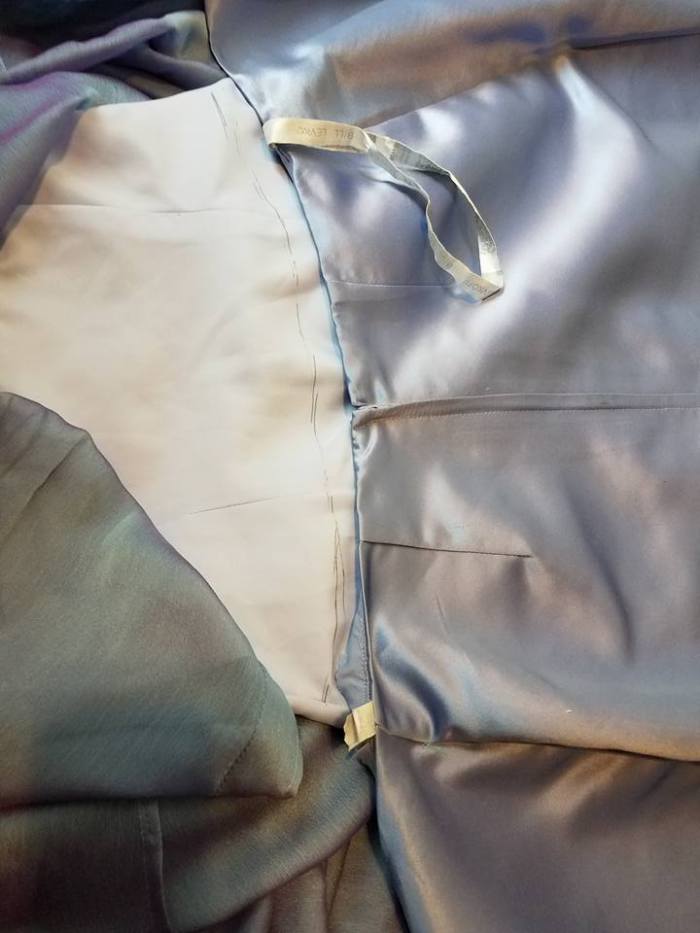
Dress #3 was a little more complex. I wanted to keep the lining with this skirt. I removed the back seam and zipper. Using Dress #1 and a ruler, I marked the cutting line on the lining. (The fashion fabric is flipped up).
I folded the fashion fabric back down and pinned it in place. I made two lines of parallel stitching to hold the fabric in place, and then cut between them. I didn’t know if I would want to use the bodice, so it seemed prudent to try to keep the fabric nice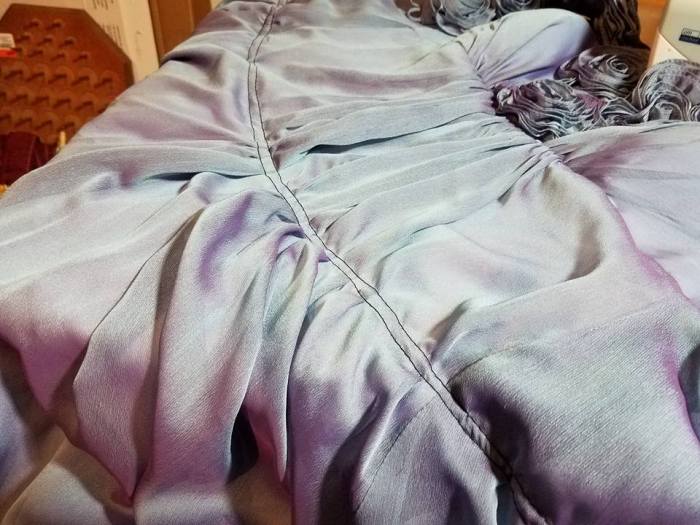
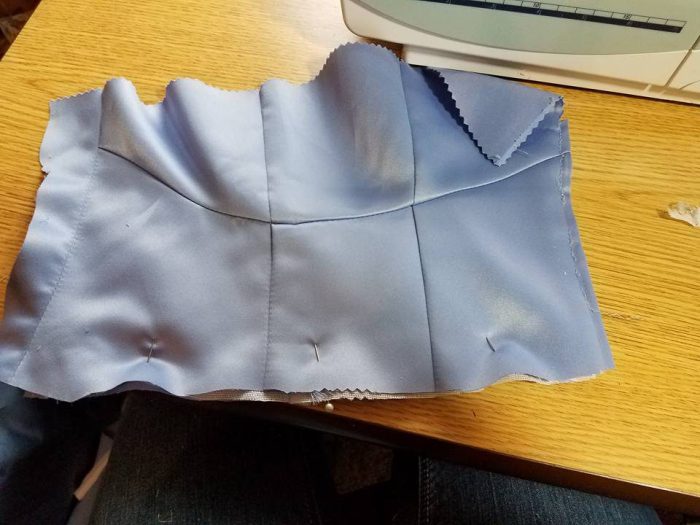
That done I basted the three layers of skirt together (starting at the hem), and then sewed the three dresses together to make the skirt. I did something a little different and completely overlapped the side skirt to the center front. I was disappointed in the contrast between that layer and the chiffon layer, so I found a piece of purple confetti sequin glitter stuff and sewed that to the underskirt (I didn’t take a picture of this). It is a rather subtle bling, but I am hoping it will show up under the stage lights.
For the skirt, I cut a waistband, and marked my quarters and proceeded from there (previous posts describe this process in more detail).
I was not totally happy with the back of the skirt. The back piece was a slimmer skirt than I have used before and had darts at the waist. These didn’t pleat in particularly well. The other pleats just didn’t flow naturally, and while it is OK (and a good press would probably help it), the lay of the skirt is not my proudest moment.
To help the overskirt fall smoothly at the center front, I pressed (carefully with a press cloth, so as not to melt the chiffon) the satin, and then topstitched the edges. I messed around trying to decide what to do with the flowers. I trialed the front of the skirt (which actually looked pretty cool, but left the top very plain), the shoulders, the waist, and then the bust area. I trimmed and tucked and eventually removed the bust pads, boning and most of the lining, and sewed it on as seen below.

I wanted to add some sleeves to the top, and I wanted the beaded trim to show. I used the top edge of the bodice from Dress #2 (never waste a finished edge). I divided it in half, because, no matter what, the sides have to be equal. I marked my shape with pins front and back. (I later found I had extended it a little far into the underarm area, so I trimmed it narrower.)


I decided to try to stitch the beading on using the largest zig-zag that I could. Initially I went over the top of the edge:

This wasn’t terribly successful as the bulk of the seam area (3-4 layers plus boning) AND the beading was too thick to go under the presser foot. I stitched one side on (and only broke one needle), and didn’t like it so I tried again.

My first attempt was a fail, and I was rather crushed since I didn’t want to sew it on by hand, and then, I realized I was out of bobbin thread. Problem solved. It sewed on really easily, however, any wider, and it wouldn’t have worked.
I cut the sleeves out of the lining from Dress #1. I wanted to take advantage of the nice hem on the bottom, but, that didn’t quite work as I needed to use the fabric the other way around. Ok, so, I’ll eat my words, and sometimes you have to waste a nice finished edge . . .
I happened to see the discarded pieces of the bodice from Dress #2, and they had this really cool curved shape. I wondered about cuffs?
I folded the piece along the curve, and sewed and squished and made this really sloppy cuff, and while it is OK, the cool curve is totally gone.


Inserting the sleeves was a bit of a challenge. The top part of the sleeve went in traditional right-sides-together, but the bottom of the sleeve was inset right-side-to-wrong side, PLUS, I had to watch out for those rows of beading. They are in, but they aren’t pretty.

Sometimes I think about trying to open a “High School Quality Costume” shop on Etsy, just to have an outlet for the stuff I make (anticipating my life after daughter graduates), and to support my thrift store habit. But, then, when I look at this sewing, I’m not so sure how that would work and if anyone would actually really want it, lol.
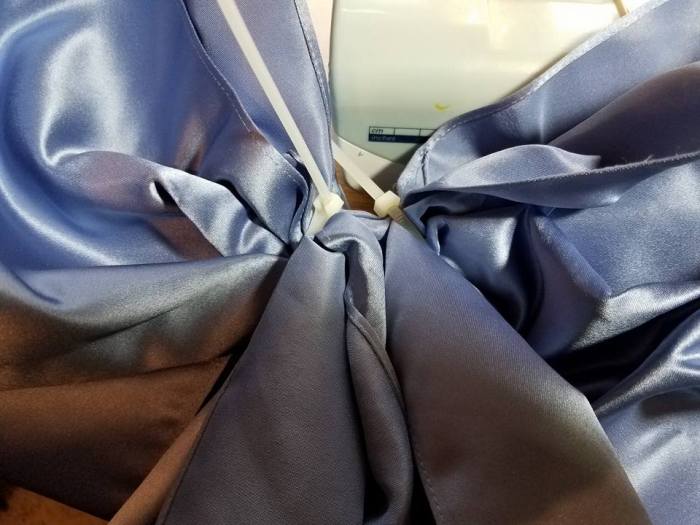
I still have that lovely stole left so I decided to make a big bow. I sort of looped the two sides on each other and secured them with zip ties.
I stuffed the poofs with some scraps of petticoat net, and stitched the tops shut a few inches. The bottoms seemed folded in on themselves enough to hold the net in place. I tacked one side on by machine, and added a little piece of velcro on the other side.
Finished dress:


Cost: Dress #1 donated, Dress #2 $2, Dress #3 $6
Time: About 6 hours.


