Toward the end, as I was running short of time, sleeve puffs became one of my favored “quick fix” additions to Prom dresses. Some of the dresses also were really just fine as-is, and didn’t need major overhauls. As community members saw some “sneak peak” posts on social media and heard about what we we doing, we recieved offers of some very nice, easily upgraded, dresses toward the end. I actually finally told my Director to politely decline dresses for THIS show, although we would be happy to accept donations for costume stock.
This donated dress is one such dress:

This dress had narrow beaded spaghetti straps. The bodice was fitted with a slight drop waist. The overskirt was the same color as the tulle underskirt, and both were trimmed with beads and sequins. I thought this dress already had a historical look to do. If I had been inclined to do “more” to this dress, I might have added hip poofs in either a similar or contrasting color. A row of lace or contrasting trim could have been added along the edge of the overskirt. I opted to just leave the base dress as is. Sometimes “less” is OK, too.
I did want to add sleeves.The girls, my daughter included, who had seen the sleeve puff upgrade really liked them and they are quick and easy to do. I wanted to introduce a little bit of contrast color into the dress, so I opted to pick up the silver in the trim. I had some silver brocade-looking fabric from a thrift store and then found a discarded lining and petticoat net left over from another dress.

To begin I needed an upper arm measurement. My daughters ar measures 12″ in circumference. The sleeve puff will have three layers: inner base layer, petticoat net and fashion fabric. The inner layer is the smallest. It just needs enough ease to fit around the arm. The fashion fabric will be cut taller and wider and gathered to the inner layer. The lining of petticoat net helps to support the puff.
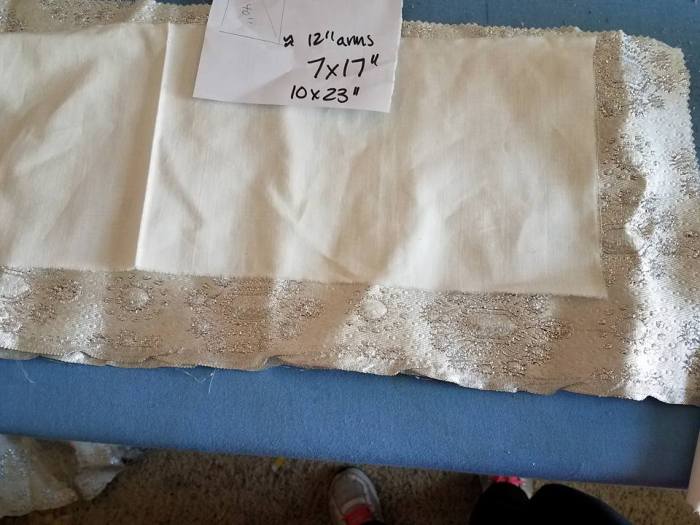
Just for reference these are the sizes I used. You can adjust your own to make the puff larger or smaller. It doesn’t show well in the pictures–but once the fashion fabric is cut, cut a corresponding piece of petticoat net.
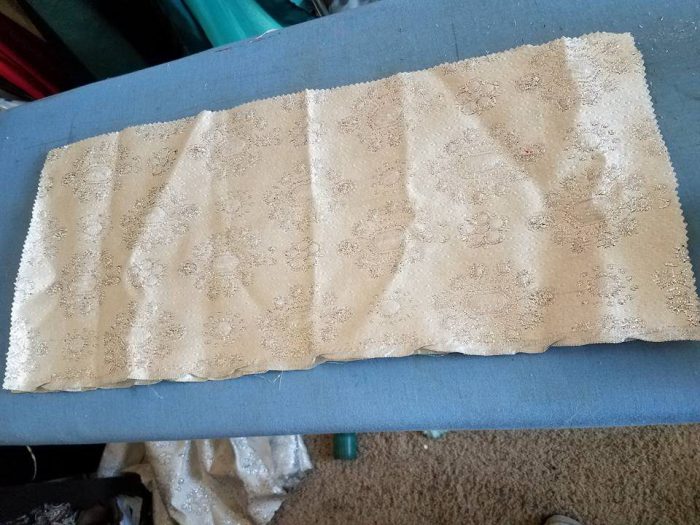
Baste the net to the wrong side of the fashion fabric.

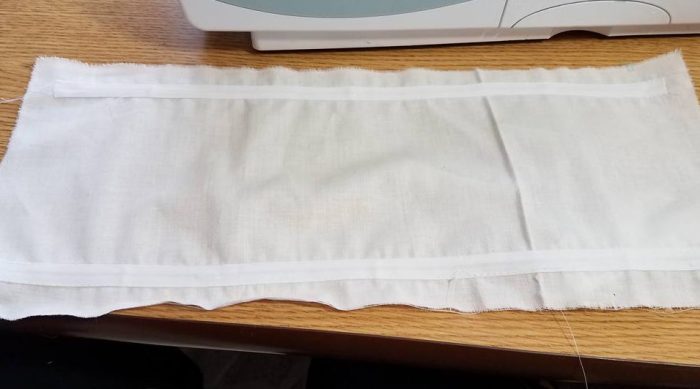
Prepare the lining by sewing channels of bias tape. You could also cut the backing bigger, and then fold the long edges over to form a self-fabric casing. I stop the channels about 5/8″ (a seam allowance) away from the edges. That way I can sew the lining together, and then run the elastic through, and either tie, pin or sew it together, which makes it easier to adjust. As you are making your puff-sandwich, you want the channels to end up on the outside of the puff (next to the arm).
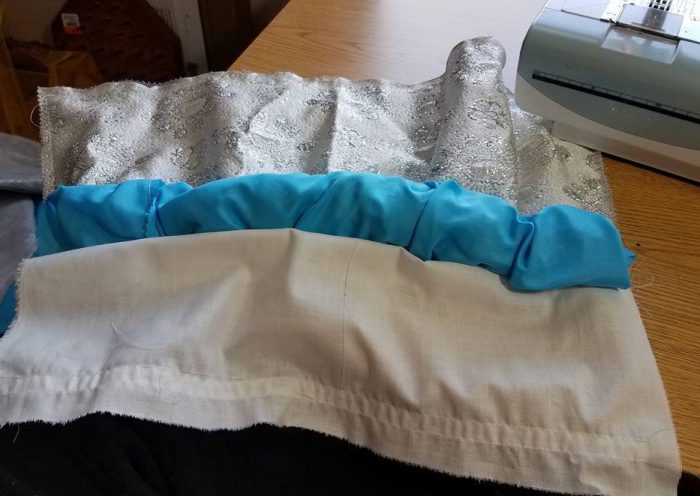
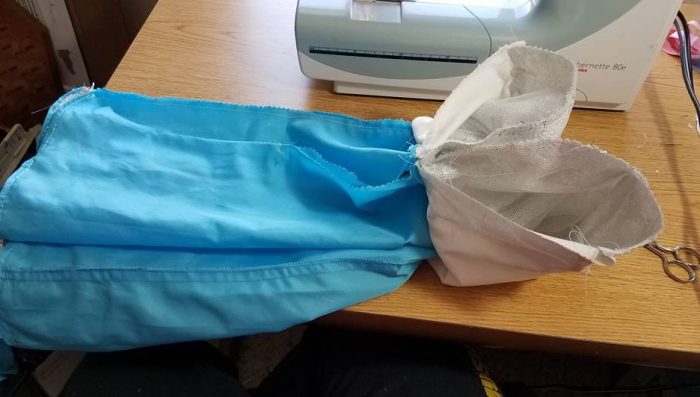
I did not take any pictures of the lower part of the sleeve, which makes me think (it has been a few weeks since I did this project) that I just used the lower section of the dress lining, making use of the hem, and just divided it in two. I probably ran a gathering thread along the top edge of the blue sleeve. I also ran a gathering thread along the long edges of the silver fashion fabric/net sandwich.
First I stitched the lower side of the puff. I layered the lining, the blue lower sleeve, and the fashion fabric together, gathering the layers as needed. Then, I rolled the blue sleeve fabric up so that it would not get caught when I stitched the top edge together.
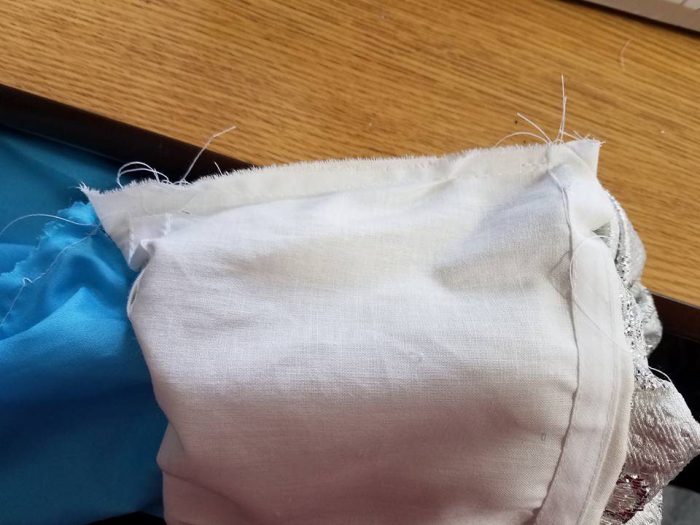
Here it is after the top was stitched and the lower sleeve unbundled. I pinned the spot where the fabrics all came together, as I wanted this part to line up for sure. I sewed from the bottom of the sleeve to the pin, making little gathers near the top if I needed to. Then I sewed the fashion fabric right-sides together.
Next I stitched the sleeve lining shut. You do not have to do this, but, the petticoat net itches, and this makes the sleeve more comfortable. Once this is done, you can pull the elastic through and either tie, pin or sew it together. Since the elastic is on the “outside” of the puff, it makes it easy to adjust.
And they are done:


I did edge the bottom of the sleeves with string sequins.
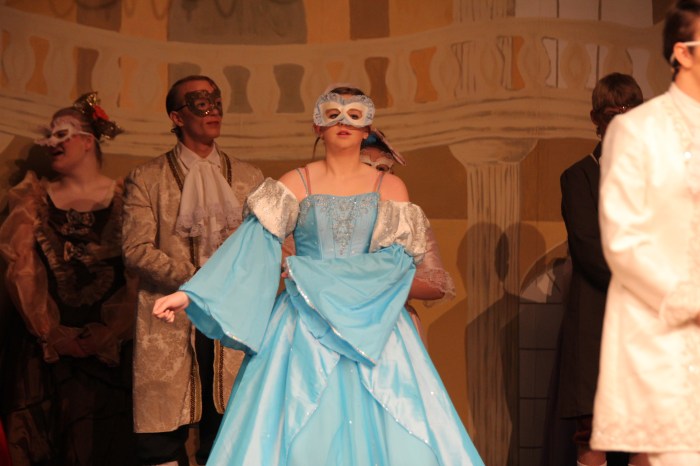
In the show:
Cost: These cost about $2 for the silver brocade fabric (and I still have a bunch left). The blue fabric and net were left from a different dress, and the elastic came from a large roll.
Time: I think about an hour. By this time I had done several of these, so I could whip them out pretty quickly.
I do like this look, and think it gives a nice off-the-shoulder look without damaging or changing the original dress.


