This is a tale of two dresses . . and one curtain.
Here is the beginning of the tale:

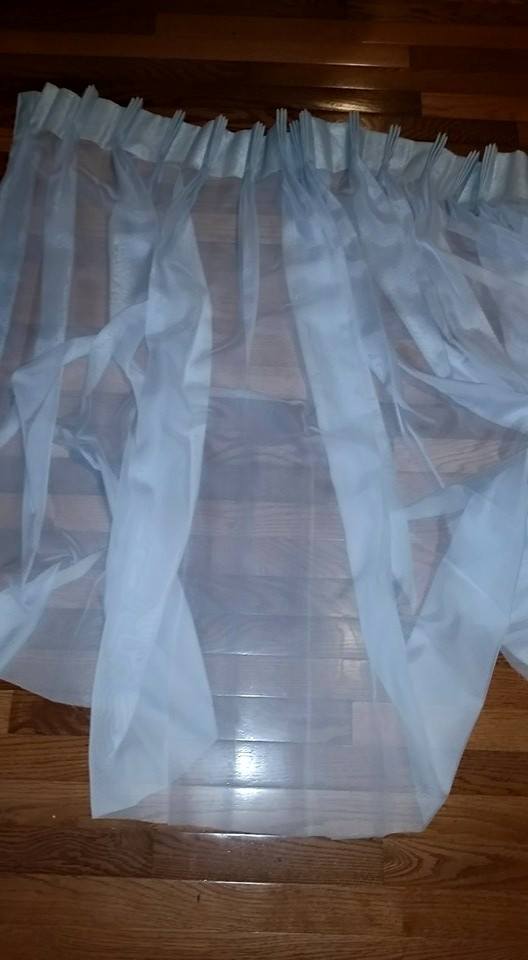
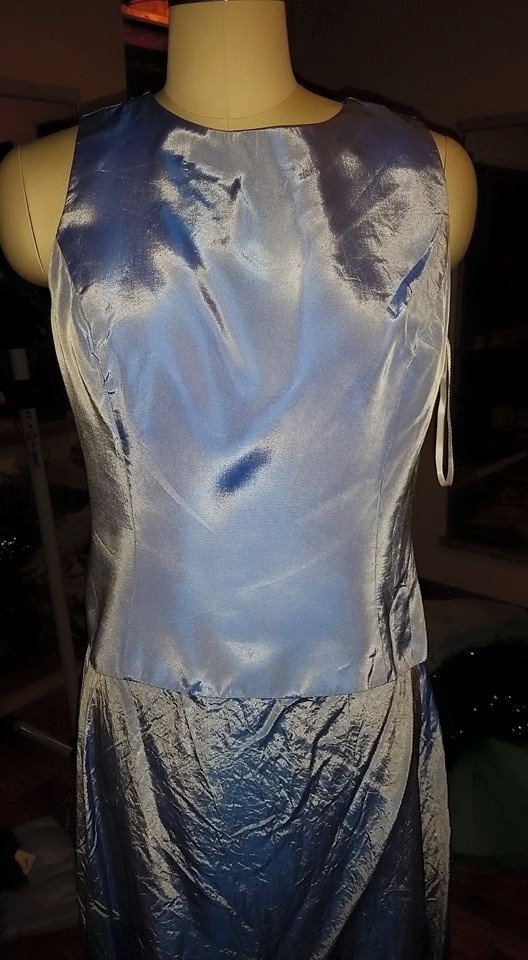
The first dress is a two piece blue long ensemble with a button back. The second dress is a one piece blue satin strapless dress with front pleating. The third item is a very long, somewhat faded, blue sheer curtain.
Tale of the First Dress: 1950’s
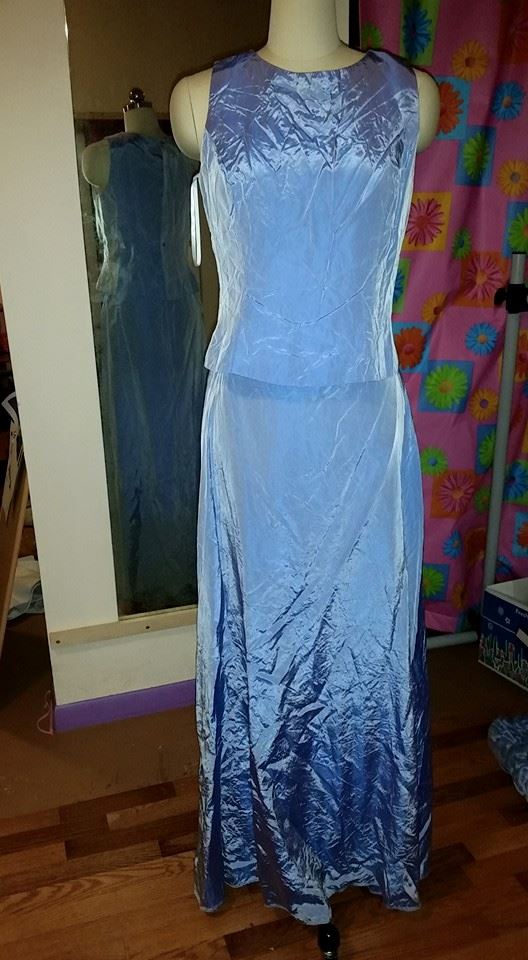
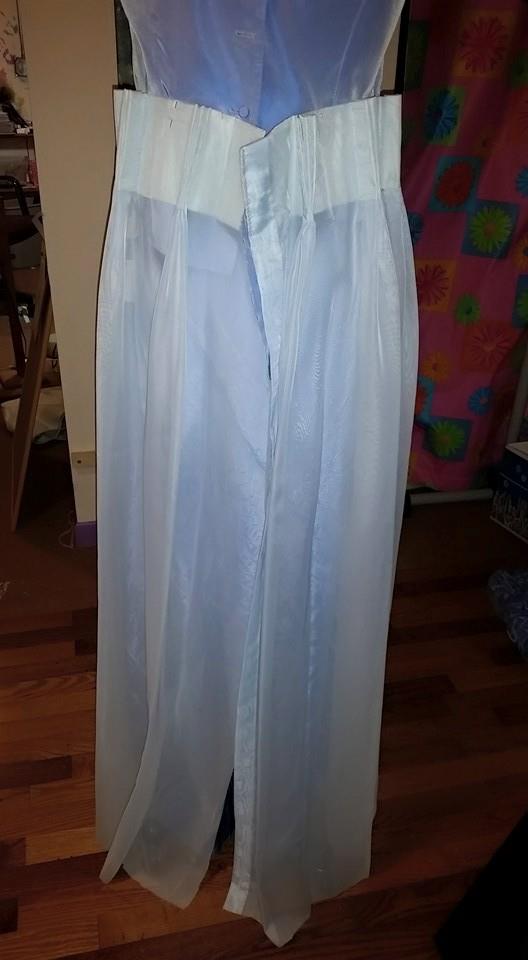
The dress was a strapless, slightly flared ice blue satin “bridesmaid” dress, with front pleating which extended down to the waist. It actually had a “real” waistline, so there was no need to create one. However, it also didn’t have much fullness in the skirt, so that would need to be added to give it that characteristic 1950’s look. (The pictures shown of this dress, and the curtain are “after” pictures).
The dress was hemmed with a narrow hem to the desired length.
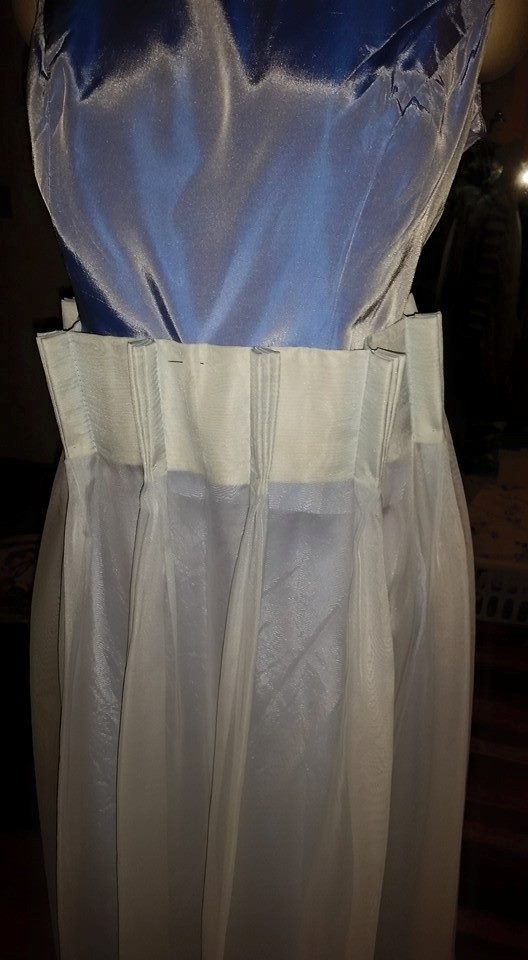
A waistband was cut out of the fabric that came from the bottom of the skirt.
The bottom of the curtain was cut off, and an overskirt was constructed, using the hem that was already present at the bottom of the curtain (take advantage of any of the design details that are available to save time & work).

Additional leftover fabric was used to make the straps and a bow for the waistband.
During the performance, a petticoat was added between the skirt and the overskirt to give it additional poof.
Unfortunately, my pictures of this aren’t great . . . but you get the idea! It made a great 1950’s dress!
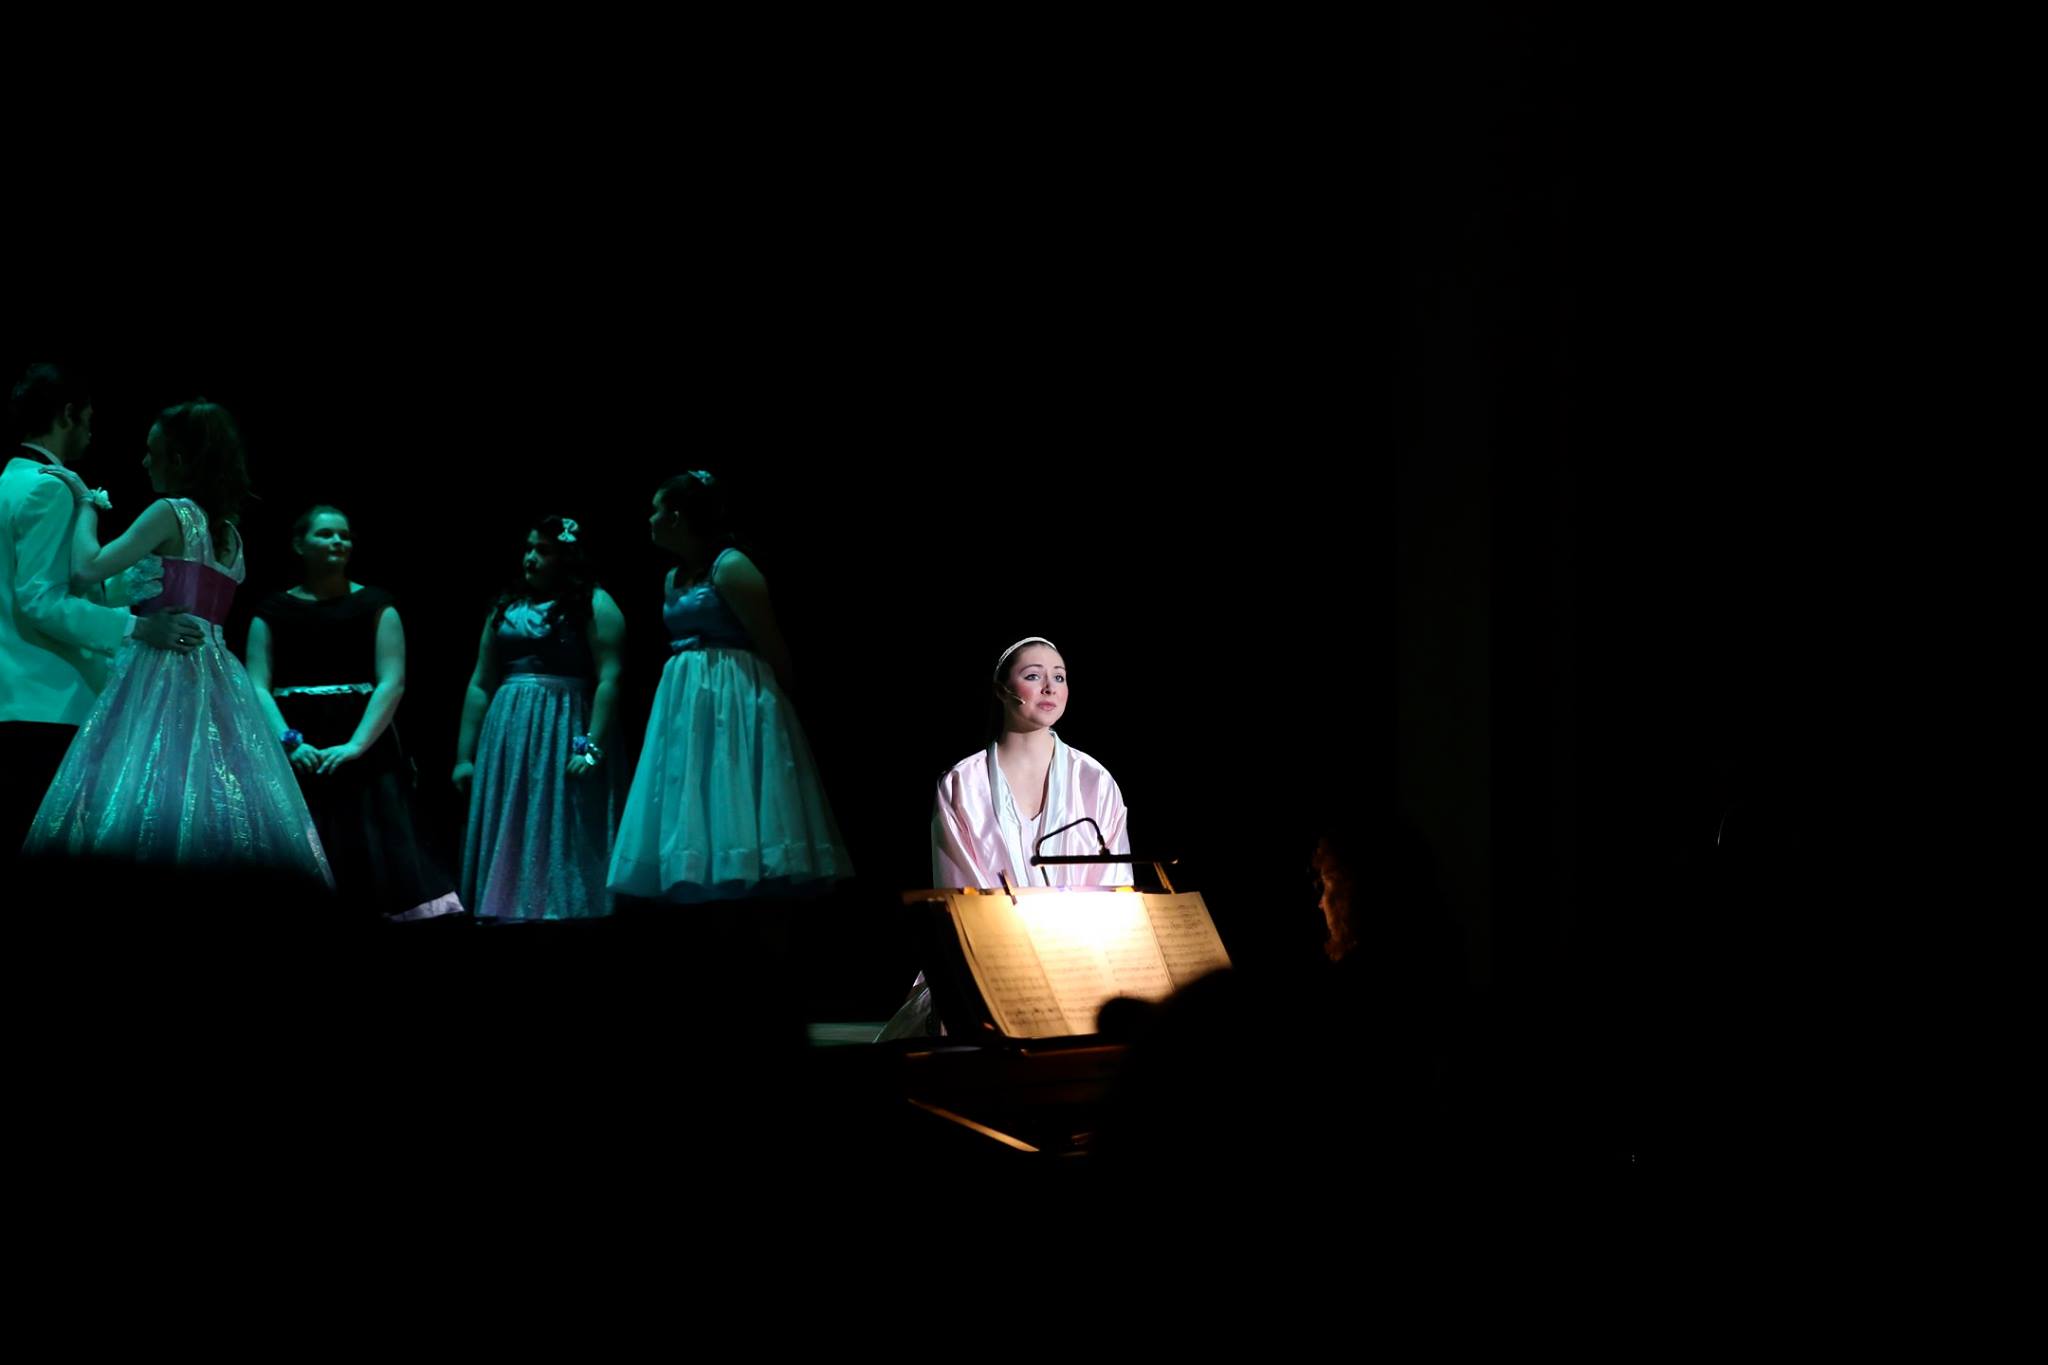
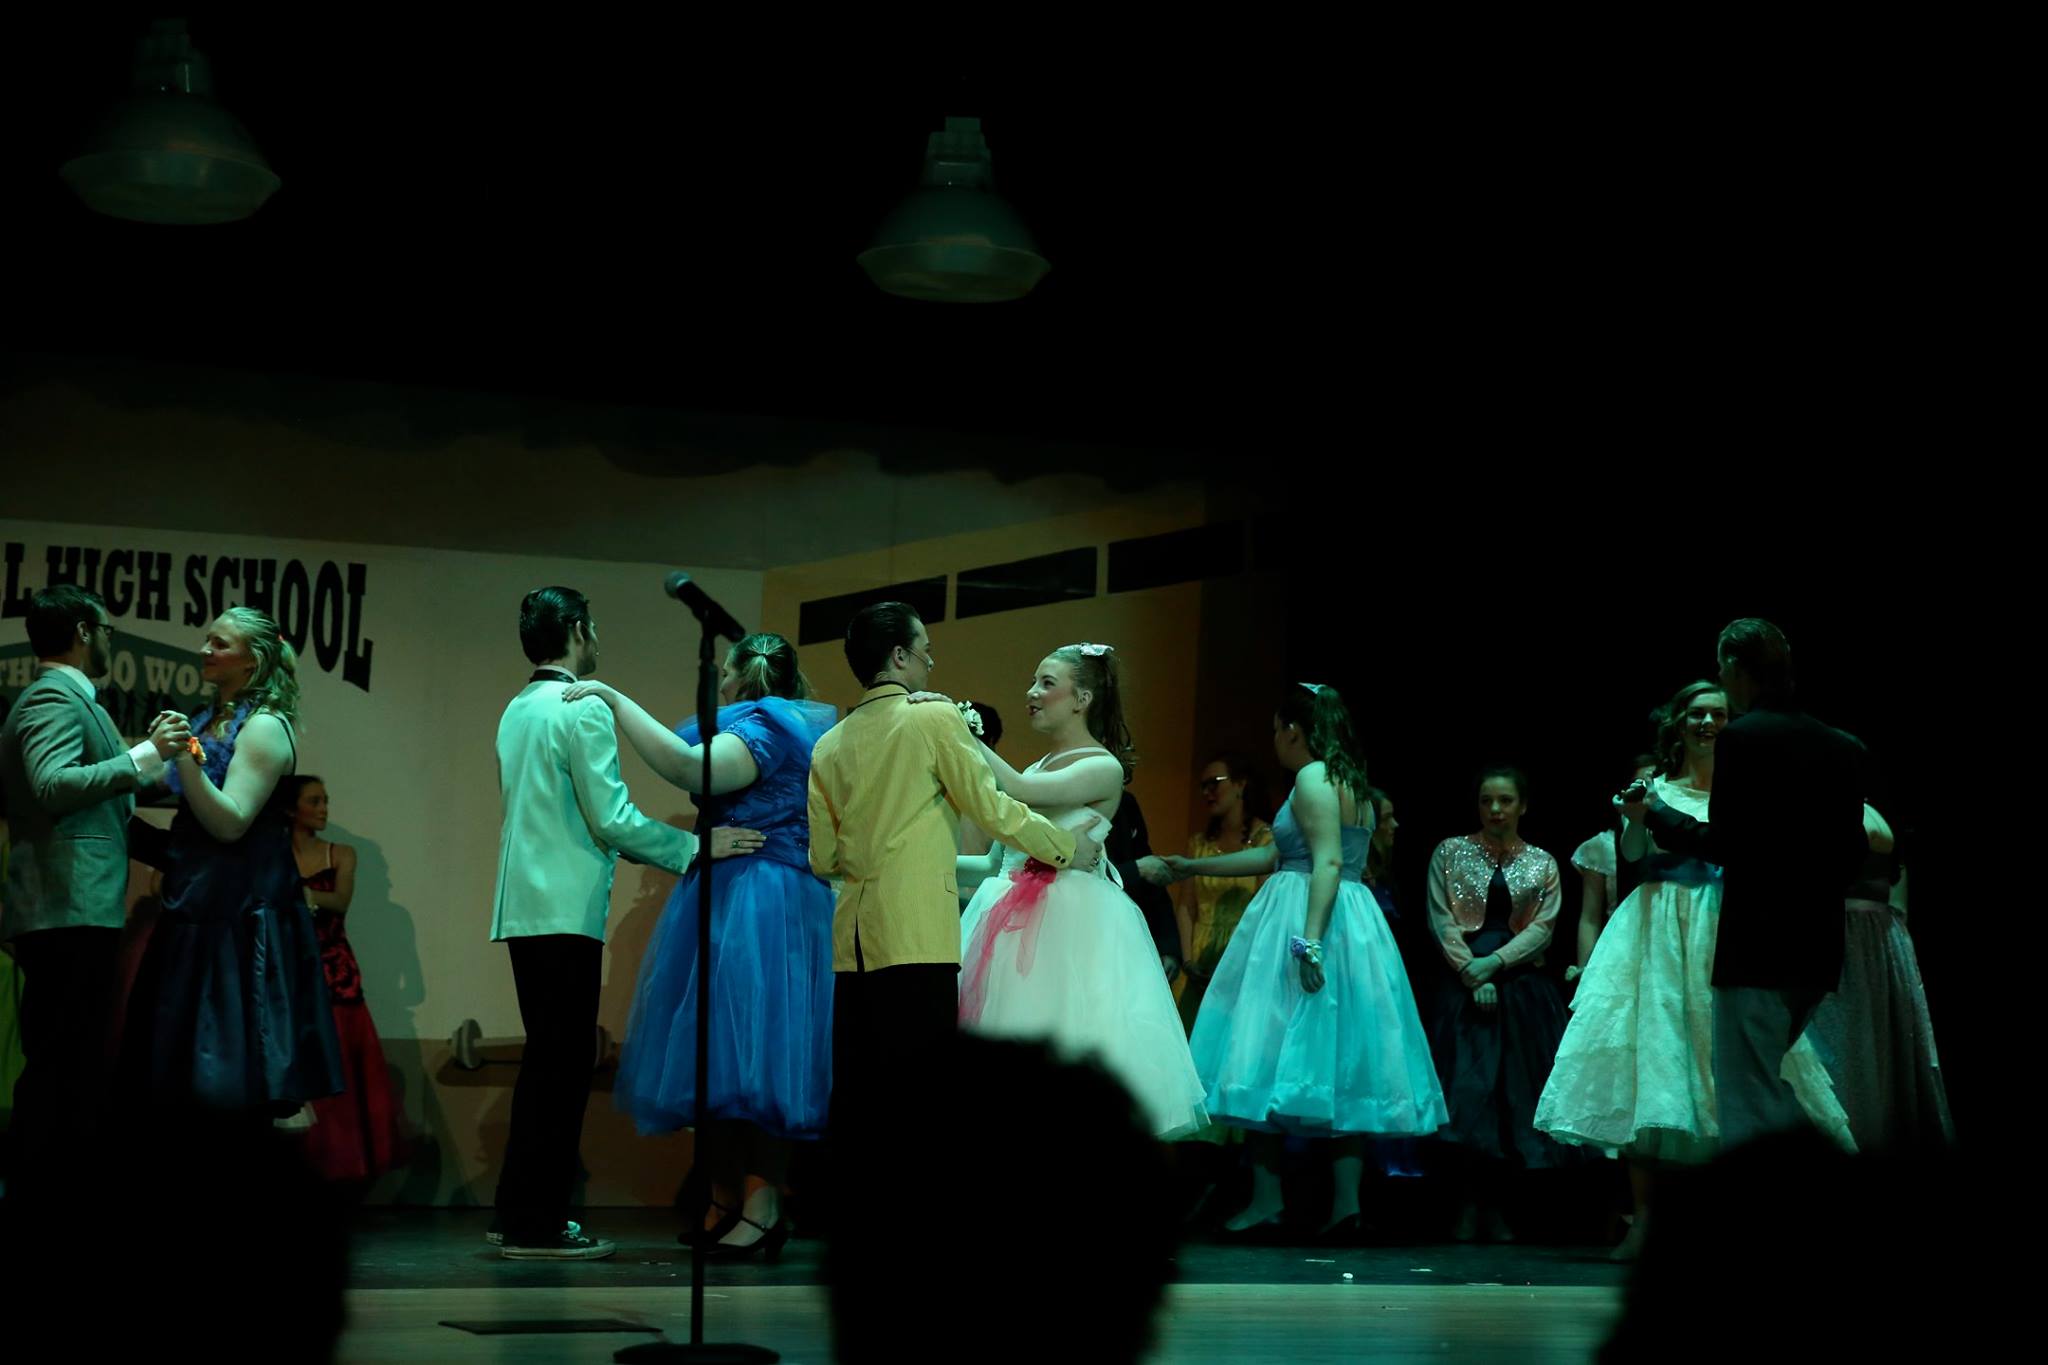
This dress was upcycled by one of our volunteers.
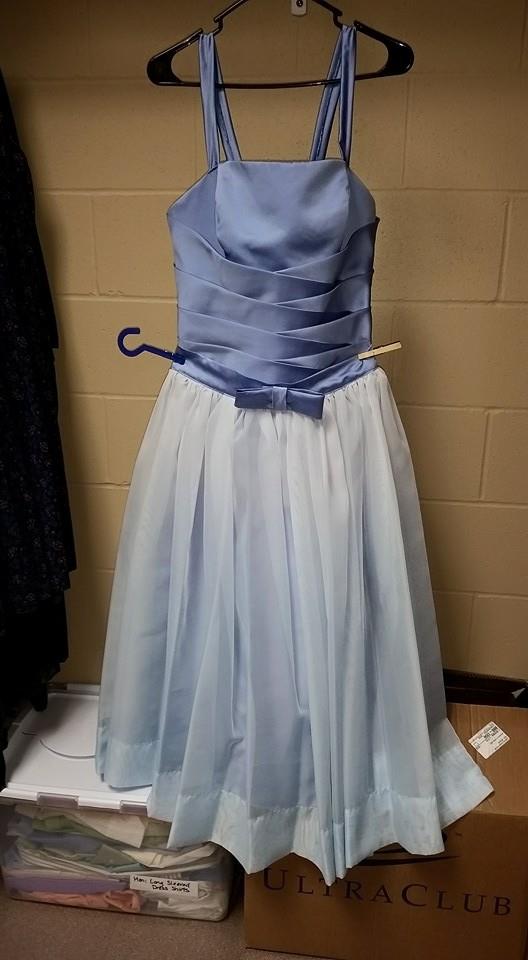
Tale of the Second Dress: 1980’s
So I was cleaning up my sewing area . . . and the leftover half of the curtain had been returned to me. Since I have had 1980’s & Gunne Sax-style dresses on the brain since I did my “concept dress”, and this piece of fabric was a better weight, it sort of sat there on the floor taunting me.
The main thing that inspired me today and got this whole thing started: As I was rolling up the curtain I was handling the top with that nice stiff header tape and I thought “This could be the WAISTBAND” . . . That was enough to get me distracted from cleaning and the next thing I knew, I was sitting at the sewing machine for “just a few minutes”.
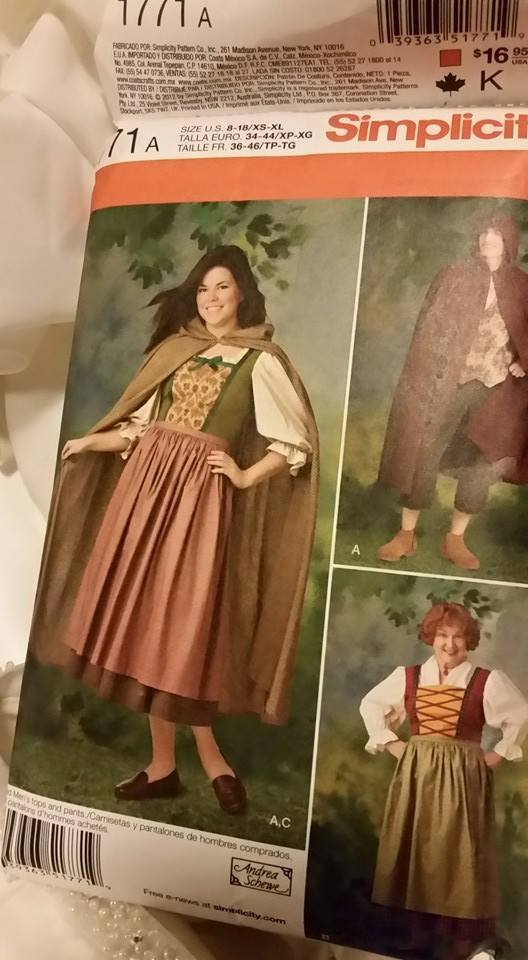
I looked through my “stash” for something compatible and found this two piece outfit (ironically, it is a Jessica McClintock Millennium 2000 dress, LOL). It was hanging in its post-washing glory 🙂 I wanted to make sure it would iron out OK, so I ironed the top before I started my project.
One of the first things that I do with any garment I bring home is wash it. Most come out great. Some, as this dress, have a few issues. “Why ruin a nice dress?” you might ask. Well . . better I know what happens BEFORE I invest the time and effort to making a costume than AFTER. Most fabrics are just fine. Some, like this, lose whatever finishing they had on them. The older the garment, the less likely it will be to “like” the washer. However, I know that I will not dry clean any costume that I make, so, regardless, into the wash it goes. I have a HE front loader, and I wash on gentle, cold, and hang dry. Unless I specifically say to the contrary, you can safely assume that every garment I picture in this blog has been washed that way.
I didn’t iron the skirt, because I planned to cover it up. Out of sight . . .out of mind.
I wanted to give this dress a more 1980’s look. That means a fuller skirt, some lace & ribbon, something to embellish the front, and (I wanted) long sleeves.
So:


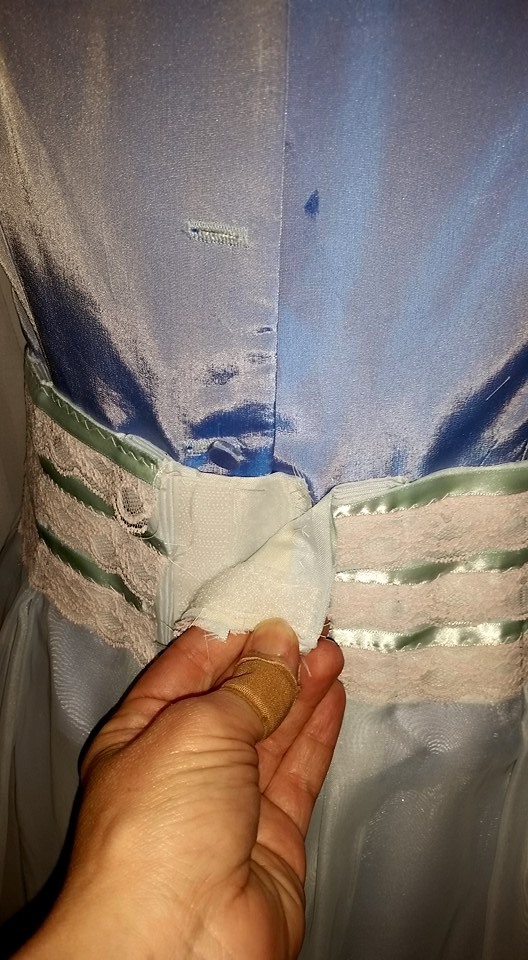
First I kind of draped it around to get a feel for it–it was the perfect length. What luck! I messed around trying to decide if I should add it to the skirt, or to the bodice. In the end, I decided the bodice was a better choice mostly to keep with the 1980’s dress look. I next pinned the curtain on the bodice . . . the first time I started in the back and worked my way around but, when I was done, the pleats were not centered. At that point I didn’t know what I was going to do for the waistband, so I repinned it to make the center symmetrical. I messed around with the back, and came up with a plan to overlap the tape and add some velcro to close it.
I then cut off the excess width of curtain. I ran a row of zig-zag stitches down the raw edge to help keep it from fraying.
I determined that the pleats would look better laying flat in either direction from the center. So, on both sides I sewed from the center out to the edge. I stopped at the button line, leaving the overskirt “flaps” (that would eventually close with hook & loop tape over the buttons. I only put one line of stitching in as I didn’t know what my end “plan” would be for decoration on the bodice. I considered that if I decided to cover the whole thing in the sheer curtain fabric, I would want to be able to tuck it into the waistband and then sew the whole thing down together.
*Note from the end: Another time, before sewing the curtain to the garment, I would sew all of the curtain pleats down flat along their vertical line.
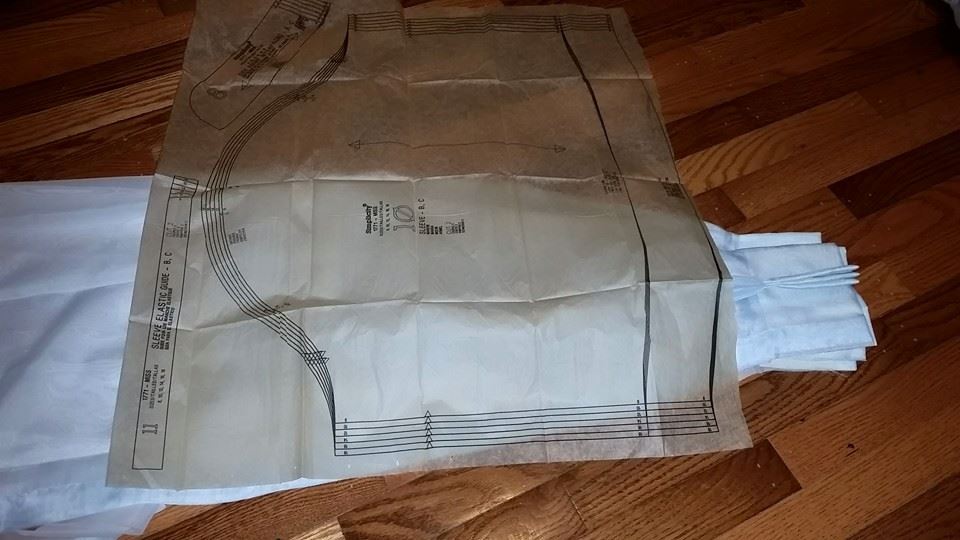
Next came the sleeves. I started looking at the piece of leftover curtain . . .and at the header tape . . .and I thought “CUFFS!”.
I rough-measured the amount of fabric I had left around my wrists and decided the plan would work. I tried just folding it in 1/2, but quickly determined this task would be easier if I cut the piece into two pieces at this point. Once I had two pieces, I carefully stacked them, and then folded them in 1/2 lengthwise.
I am not good a free-cutting sleeves, so I dug out a pattern with a sleeve for a “rough draft” and lay it on the fabric and cut it. I cut it a bit wider, and also longer than the pattern. I was mostly interested in the shape of the top curve.
The first thing I did was finish the edges–running zig-zag around all of the rough edges. This takes time, but saves so much frustration later on. Since this fabric likes to fray, I folded over the long sleeve edges into a 1/4″ as I stitched it.
Now comes the fun part. I dug around in my stash of ribbon and lace looking for something that 1) sort of went with the blue fabric and 2) I had yards of it. I found some pale aqua 3/8″ single faced satin ribbon, and some pink lace. I was OK that the color match wasn’t perfect. I didn’t want a dark color, and yet, I wanted there to be enough contrast that the decorations had a chance of showing up on stage.

I was trying to figure out which direction to lay the pleats, and I decided at that point to sew them down. This gave the cuff a much smoother finished look.
I lay the ribbon and lace together and sewed them with a medium size zig zag. It would have been better technique to sew the ribbon with two lines of straight stitching . . but . . . this isn’t heirloom sewing. I liked the way that this looked, and it was so much fun and so easy . . .that I made two more rows. So, all that work I went to sewing those pleats down? Well, it really wasn’t wasted, and I would do it again. After I put a similar trim on the waist . . I determined that it is easier to sew the trim on when the pleats are already compressed.
I then sewed hook & loop tape on the cuffs for closure, and sewed up the underarm seam.
I ran two rows of gathering threads around the top of the sleeve.
Putting the sleeve into an already-finished garment is a little tricky. You don’t want to do “right sides together” and take out a seam allowance, as the sleeve is already finished.
So, I put the sleeve in right side to the wrong side of the bodice, and pinned like crazy to keep the seam allowance down where it was supposed to be. Tips for setting in a sleeve–mark the center top of the sleeve with a small slit or a notch so you can pin it to the shoulder seam. Then, start at the underarm seam and match those up. I then pinned in the underarm ungathered part, and then gathered the sleeve cap, and pinned, pinned, pinned.

To sew the sleeve in, I did a row of topstitching about 1/8″ from the edge of the bodice. Since my skirt was fairly lightweight, I was able to squish it under my sewing machine as I went around the sleeve. If you had heavier fabric, you might well have to come at it from either direction. Be super careful to watch all that extra fabric to make sure it isn’t sneaking under the presser foot as you are sewing. Because you know, ripping is EVERYONE’S favorite 🙂 I didn’t finish it any further, and I think it will be OK. However, a quick row of hand basting to help hold the seam allowance down might not hurt . . or another row of stitching 1/4″ or so out from the first.

I was getting really excited at this point. The sleeves were so fun!
I wanted a little decoration for the front, but I didn’t want to spend a ton of time on it. I cut a triangle of the curtain and pinned it on well. The first thing I did was topstitch along the neck edge, turning it under as I went (it had enough of a bias cut to be happy to turn). I ran some zig-zag along that cut edge (should have done that first, but, better late than never). Then I got my ribbon & lace and sewed it around the shape. I cut the ends a bit long, and then turned them under the neckline and stitched them down.
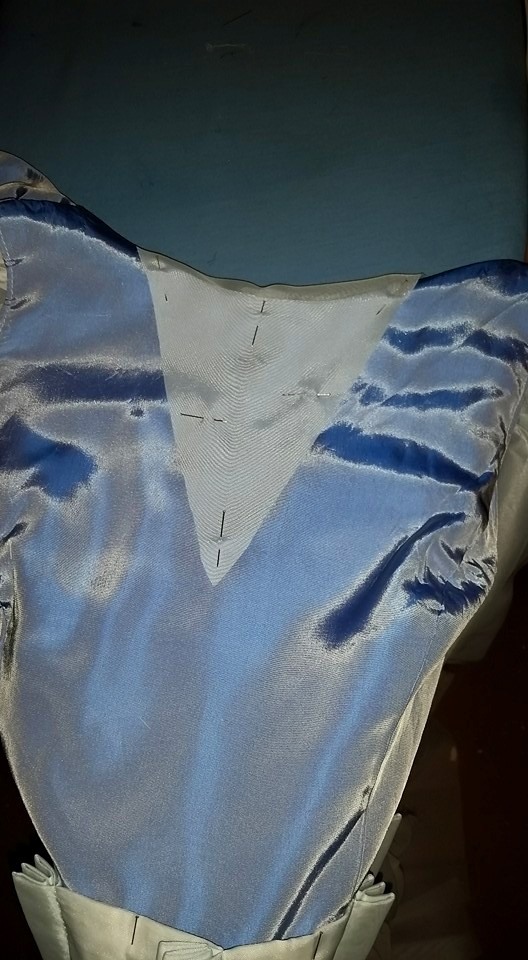
If the pins hadn’t done a good job holding the fabric down, the triangle could have been bonded on with some iron-on fusing medium (like Heat & Bond). Lots of pins worked just as well for me.
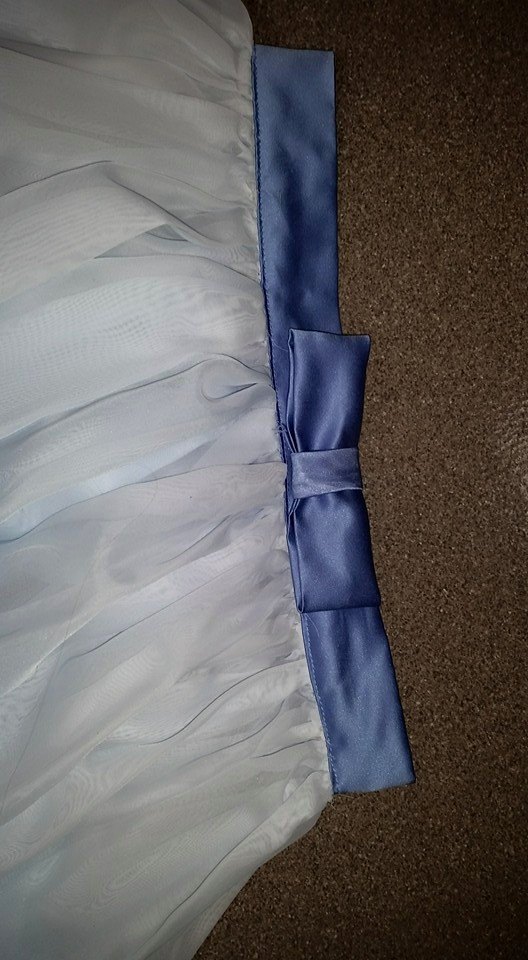
Then I finished the waistband. I added the same three rows of ribbon & lace. For some reason, my sewing machine was unhappy with the pleat layers, so I had to work with that a bit (sent one needle flying!). I am not really sure what the difference was between this and the cuffs. Hook & loop tape finished the back closure.

On to the skirt: I made a narrow hem. I pressed in the first turn, and then turned the second turn at the machine. Yes, it takes a bit of time to press in a hem, but it makes the sewing so much easier and so much faster that it is well worth the time.
Lastly, I added one more row of lace & ribbon around the bottom. I considered folding the skirt and pressing in a sewing line. Instead, I just carefully kept it straight and used the upright of the machine (on the right) as a “gauge”. I put the dress on the dress form to make sure the trim wasn’t TOO uneven before adding the next rows. But, as I looked at it, I decided not to add a 2nd & 3rd row as I didn’t want to weigh down that lightweight skirt fabric.
About 2.5 hours later:
Ta-Dah!

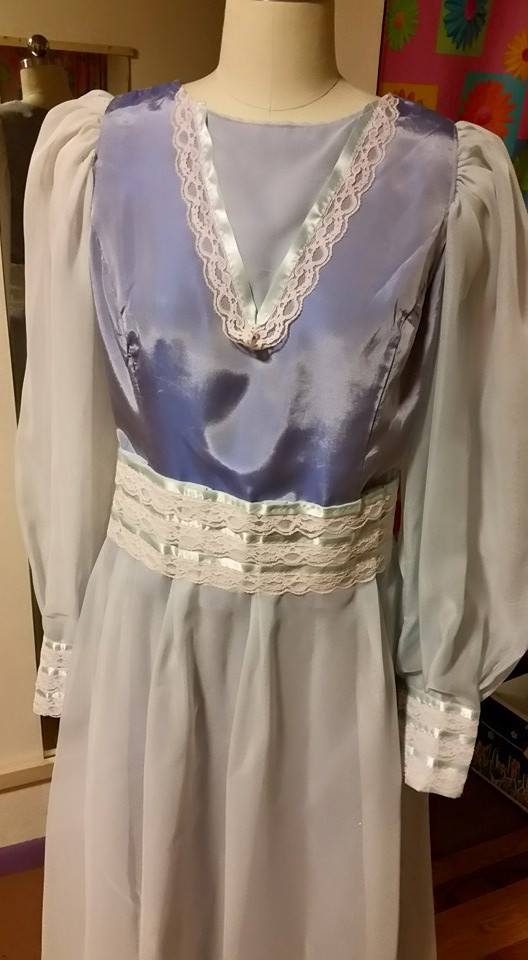

*Note on the fit–this dress is several sizes larger than the dress form.
And here is the End of the Tale:
Cost of this project: Curtain $2.50 (or $1.25/dress). One piece dress $6, Two piece dress $7. Lace, donated. Ribbon less than $1 (100 yards/$2.99)
Time: 4-5 hours between the two dresses.
And this is why I love upcycling!


Is this still a 2-piece dress, or did you attach the original skirt to the bodice?
LikeLike
It is still two pieces. The skirt is attached to the bodice, and hangs over the lower skirt.
LikeLike