The Prince is giving a Ball, and EVERYONE is invited . . . therefore, EVERYONE needs something to wear!
We were fortunate to be able to inexpensively rent the majority of the costumes for the guys at the ball. That still leaves about 40 girls to dress. My plan is to upcycle old Prom and Bridesmaid dresses. My hope is that while there is no way to completely disguise the origins of the dresses, I would like to alter them enough that they don’t scream “MODERN PROM”. My original daydream was to shape them with pannier style hoops and some layered petticoats, but, reality rear its ugly head with respect to time and money. So, more modest goals prevail.
Before beginning an upcycle, I try to consider what I want the final dress to sort of look like, and what components I think I want to add. This determines whether I look for multiple dresses of the same color, for supplemental fabric and/or a dress of a contrasting color. Much of the decision-making comes from the shape of the base dress. For this project, I started with a strapless dress with a very fitted dropped waist, a corset back and a ruched skirt. It did not have a modesty panel.


This dress was very interesting because it is PACKED with a huge underskirt, and yet the outer dress is backed by a fairly narrow underskirt (white). I feel like the underneath part is like a stuff sausage, lol. The dress and fabric are heavy, so I guess it takes a lot of petticoat net to push it out.


You can see the difference between the upper and lower frontal pictures after just a few minutes of fluffing. My sister has had good luck pressing these very compacted petticoats for fluff them . .this will definitely be on my “to do” list for a non-sewing volunteers! I think the bottom of the dress would definitly be fuller with some more fluffing.
Originally my thought was to raise this skirt and have it be an overskirt. I did want a dress that sat at the waist and not the hips. When I was looking for inspiration, I found this dress:


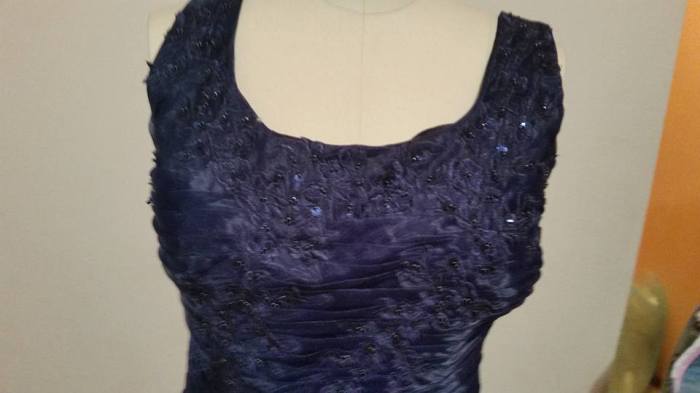
It is hard to see, but this dress has pleats of organza that are overlaid with embroidered floral motifs and beading. It has a side zipper and is a pretty small dress. I love anything that is not strapless :).
The bottom ruffle is sewn to the top of the dress so none of the seams are accessible. There were three layers of fabric: two of organza and then fashion fabric quality satin. This was a nice find as the fashion fabric is often MUCH nicer than the lining fabric.

I wanted to use the lower ruffle to make some hip poofs, so I cut the under-fabric off right below the stitching line, and then I cut the bottom of the dress off about 4″ up from the ruffle. I love my pinking shears for doing things like this.
I tested out the look and decided I was on the right track.

I wanted to use the shoulder straps and the back of the second dress. The original opening of that dress was a side zipper, which clearly wouldn’t work in this adaptation. I try to pull out zippers if I can, but, in this case it wasn’t possible. I ran a row of large zig-zag stitching over the zipper since I knew eventually I would be cutting it. This row of stitching will help the zipper from pulling apart and the “seam” opening up.
I considered cutting the lining out of the second dress to help decrease the weight and bulk, but then I looked at all of those raveling threads and decided it could stay!
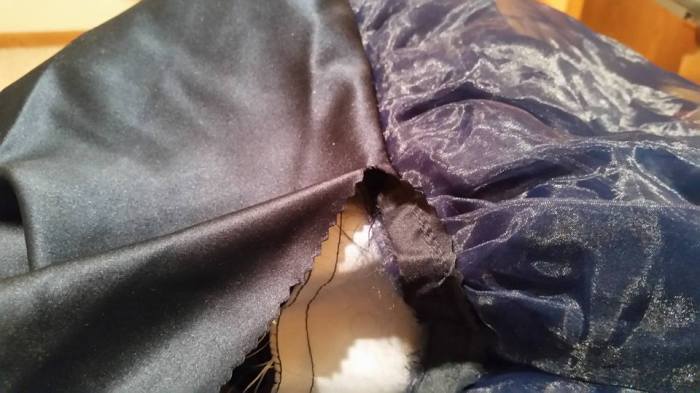
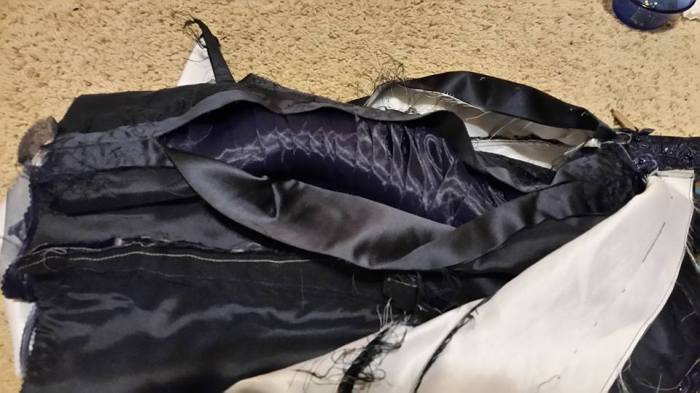
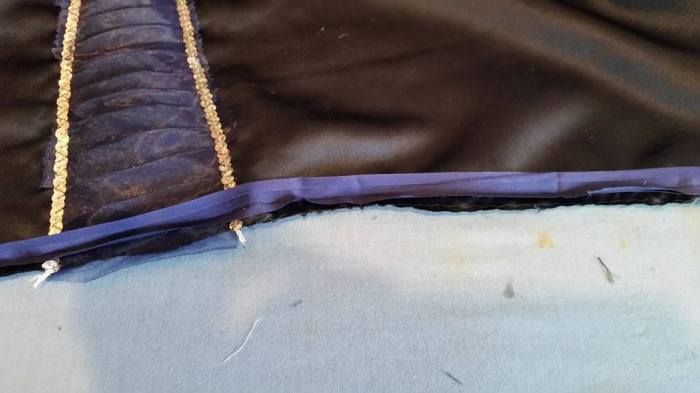
I wanted the dress to open in the center back. When I turned the dress inside out I was pleasantly surprised to find it had a center back seam with some generous seam allowances. This dress has four layer: lining (blue), interlining (white), fashion fabric and organza. This picture shows the first two layers opened up. Next step was to very carefully open the center back seam.
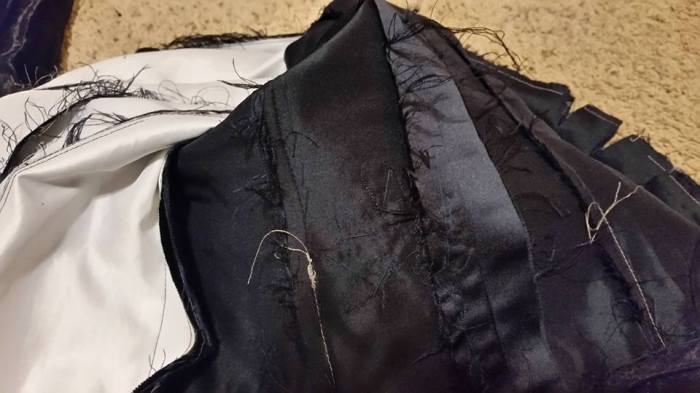
Here you can see it is open, exposing the pleats of organza. This seam also had really nice seam allowances, but I wasn’t able to use them as there was some embroidery which crossed the seam line. I was able to carefully pick out enough to get the seam cut apart. I was feeling like a mad scientist doing a dissection at this point, lol.
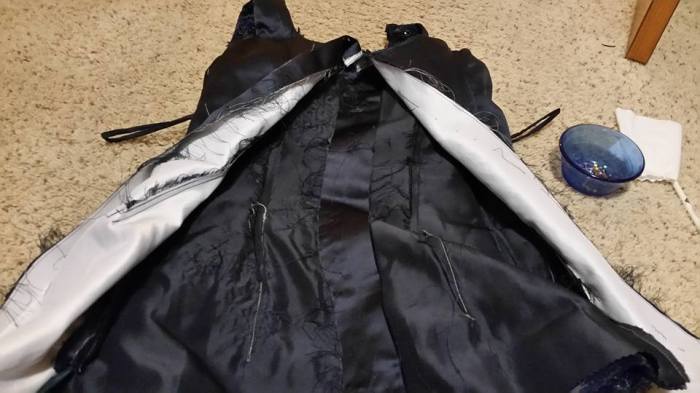
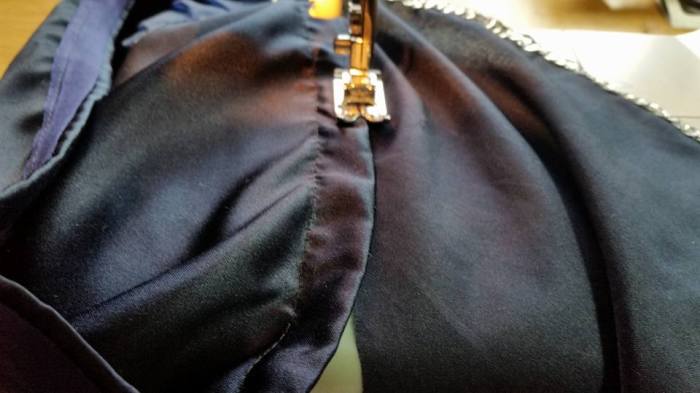
I ran a couple of rows of stitching along both sides of the seam to hold the organza in place and then I between them to separate the sides. The large seam allowances in the lining nicely folded over the fashion fabric to finishing the back. At this point, I haven’t done anything to close the dress. It could have a zipper, snaps or velcro. I also have extra fabric left, so I could make extenders to add some width if needed. Once I have assigned it to a cast member and had a fitting I’ll finish this part.


I put the base dress on the dressform and layered it with the outer dress. I marked where the two came together with a line of pins.
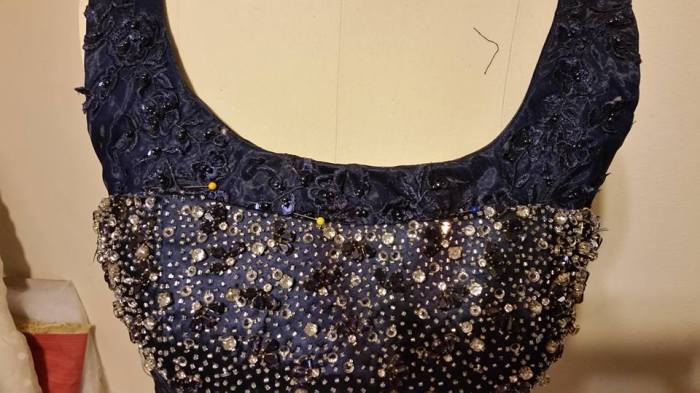
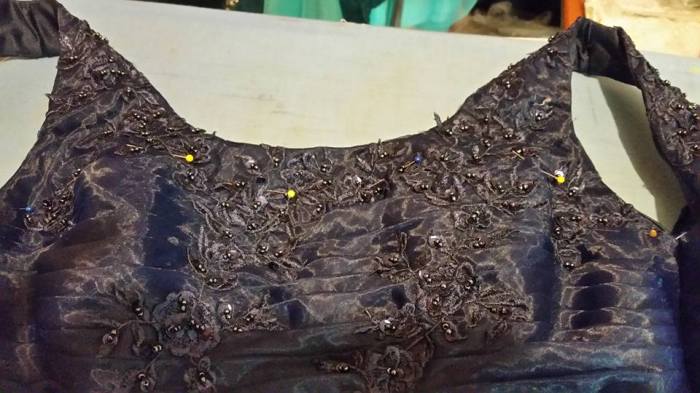
Then I cut the bottom of the bodice off ( sorry for the terrible picture . . but you get the idea).
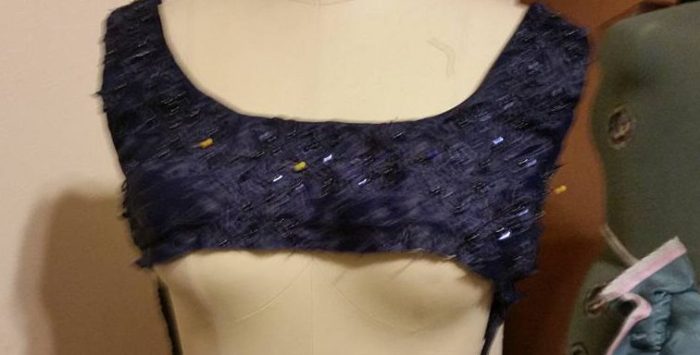
The sides taper down (the blue on the floor is the outer dress).

I pinned the whole mess together. Some places I could use a straight stitch, some places I used a large zig-zag, and across the front I hand-sewed. I don’t like to hand sew, but the gems were just a little too big and too plentiful to sew around, lol. The outer dress has a fairly heavy back edge between the zipper, fabric folds, corset loops and a row of boning along the seam.

Sleeves were the next item to create. I had that wonderful piece of fabric from the lower ruffle. I folded it along the center front (straight of grain) and messed with my sleeve sizes until I could fit two of them on. You can see how crooked the sleeves look on that fold. The curved shape of the ruffle was quite deceptive.


I used some scraps of silver confetti dot fabric and organza to add some sleeve embellishments. I put the silver under the organza to give a little glitter, but take away the “edge” of modern fabric. Unfortunately, I think the rows of pleats are a little dark, and the sparkle will be too subtle to be seen from a distance. Oh well. I edged the inserts with silver string sequins.


I used some bias tape to add a channel for elastic on the bottom of the sleeve.
When I flipped it to the inside I left a little edge as I had decided to add a lower sleeve.

I used the lining from the discarded front piece from the 2nd dress. I free hand cut the first shape, which was , ummm, wrong. So I recut it.


I edged the bottom with some string sequins using a large zig-zag, and then sewed it to the bottom of the upper sleeve. I didn’t measure this at all, just planned to make it work in some symmetrical way.
The sleeves were ready to inset. I ran some gathering threads along the top, and then stitched the sleeve together. The sleeve was inset into the armsyce right-side-to-wrong side. Every time I do this I have to think about it. It is so counter-intuitive to the right-sides-together-sew-it-from-the-inside that I double-check myself multiple times in the pinning process.

If the beads are not too huge, and you stitch slowly, it is possible to machine stitch beaded fabrics. Occasionally you will break a needle, but pretty much the needle will slide off, or you can pull the bead out of the way, if you go slow enough. It was pretty hard to stitch the underarms because of the multiple layers. It is “good enough” for what I was doing. I finished by clipping the curves of the sleeve fabric in the underarm area. The sleeves are a bit tight, but the people I had try it on said it was OK.
The sleeves just needed a bit of elastic. I pulled it through using one of my new toys.
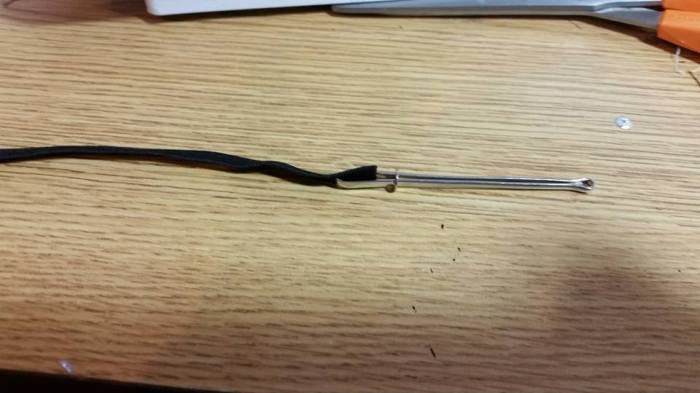
I have always pulled elastic through casings using safety pins because that is how my mother taught me (and probably her mother before her . . .) In recent years, with the downgrading in quality of safety pins this has been less successful as the pins bend and open up. I happened to see these bodkins when browsing through the home sew website. This little gadget locks down on the ribbon/elastic and is much easier to use than a safety-pin. This is one of those things that afterwards you are like “How did I every LIVE without this?”…. kind of like cookie scoops and offset spatulas.
The last step was to finish the poof. I messed around with it in various ways and ended up gathering up the two layers of organza separately. I stitched the gathered areas by machine. I considered various ways of holding the ruffle to the dress, including sewing it on, adding a zipper, and using elastic. In the end, I opted to close the waistband with velcro. I pleated the top band of the ruffle to fit the dress, and then cut a slit in band and down into the ruffle enough to be able to get it one and off. I cut the embroidered and beaded motifs off the discarded parts of the dress and appliqued them to the waistband. I neglected to take pictures of any of this.
And then . . my dress was done!


You can see the appliqued flowers in this picture.
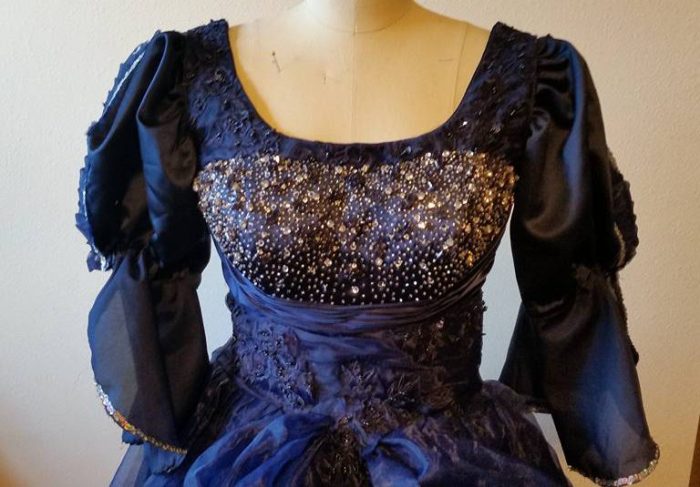
And modeled:


Overall, I am reasonably pleased with this dress. Writing this post, I now think I preferred the original poof shape where I squished up both layers together as they were a bit more defined from the dress. But, this is OK, and it would be easy to change if I decided it bothers me long-term. Right now, with tons more dresss to go . . . this is good enough! This dress isn’t quite as full as I would like, but, it will do.
Time: This took 5-6 hours. Each dress cost $10, and I used a little bit of silver scrap and some string sequins. It will not require a hoop.


Looks great! I will definitely be getting a bodkin to pull elastic! I have also been so frustrated with the poor quality of safety pins these days which makes pulling elastic nearly impossible!
LikeLike
Name brand pins are a little better than less expensive ones. I bought a couple packs at a dollar store one time . .not only were they so dull they wouldn’t go through fabric, they bent with the slightest tension. I love the bodkins.
LikeLike