This project started with a donated wedding dress:

There were many things I loved about this dress. The size was perfect for one of the cast members (always a plus!), the skirt was dynamic, the price was right (who doesn’t love free) and it was a different “look” than anything I had used up to this point. What I didn’t love was the color. There is nothing that screams “wedding dress” more than bright white.
I tried draping some colored soft mesh tulle over the top, but then all of the ruche detailing was lost. I thought about tucking flowers or bows in amongst the folds, or even sewing colored/patterned ruffles to the edges of the folds. Nothing really seemed right, and I just didn’t want anyone but Cinderella wearing white. That left trying to dye the fabric. The dress is 100% polyester, so that leaves out the common locally available dyes (designed for natural fabrics, aka Rit). I have ordered some I-Dye to try on some other dresses, but it is kind of expensive, especially when a person is considering dying multiple things. So, that leaves natural dyes. Of course, as soon as you look up natural dyes (tea, coffee, cabbage, beets, spices etc) most resources tell you they won’t work on polyester. However, than clashes with common knowledge that if you spill something on yourself, it certainly DOES stain.
So that made me re-think my parameters . . . . this is a costume. It will only be washed a few times in its life-span. Maybe a giant stain is good enough. All I really want is for the dress to not be bridal-white.
Before I began I washed the dress with detergent in a HE frontloader on a delicate cycle, and hung it to dry.
The Tea Bath
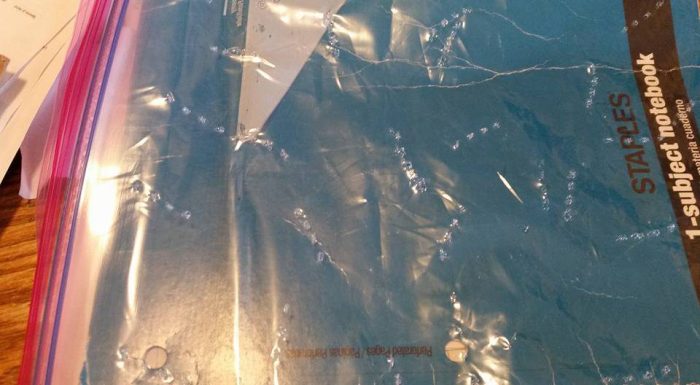
We all know tea stains . .cups, counters, teeth . . . so I thought this would be my first try to stain the dress. I had a box of generic tea bags–nicely without the little paper wrappers–and so I tossed about a dozen in a 4 cup pyrex and microwaved them to a good boil. In the meantime, I took a gallon sack and poked a bunch of holes in it with a fork. I thought I’d want to tea bags to stay in the bath, but, I wouldn’t want them to actually touch the dress.
While the tea was steeping, I cut the petticoat out of the dress. You can see how much smaller it is!

I filled a plastic bin part way up with hot tap water and added the steeped tea.
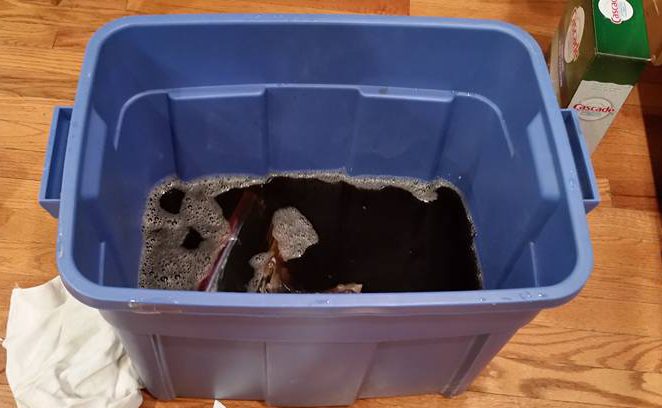
In went the dress:
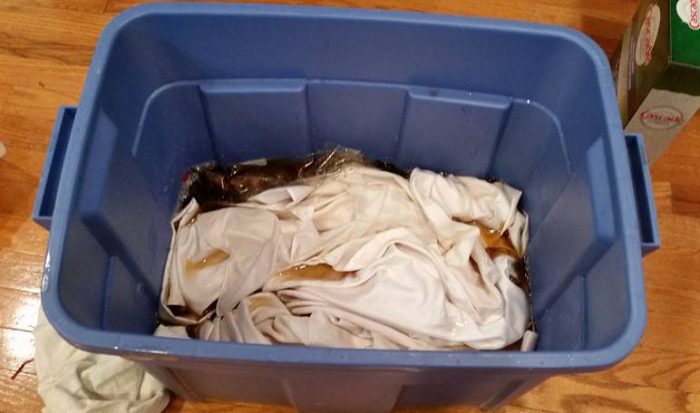
And of course, it wanted to float (although I had guessed pretty close to the amount of fluid needed).
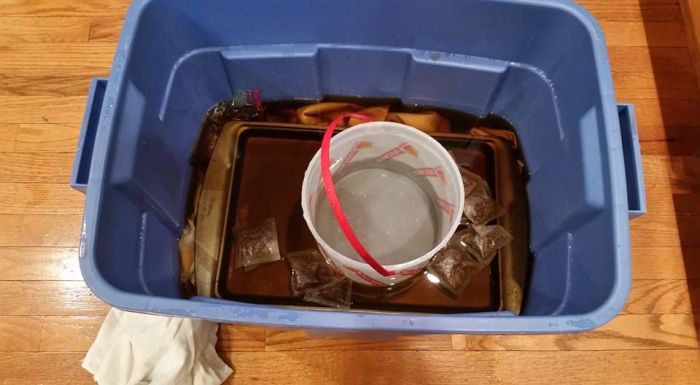
I weighed down the dress using a plastic bucket partially filled with water and a cookie sheet. I also ended up moving the bag of tea bags to the top of the cookie sheet, and threw in a few more bags just for good measure.
I was going to let it soak 24 hours, but, life got in the way, so it sat for about 48 hours. Then I drained the tea out in the sink, and tossed the dress in the wash for a cold, gentle cycle and I hung it to dry.
The next morning I was pleasantly surprised. The dress had dried to a pale cream (definitely not bridal white) and overall the color was fairly even. It had a little striping on the bodice, and a few random dark spots. If you were doing this for “good” you wouldn’t be happy, but for my costume, I was thrilled.


I needed a second dress to accomplish the upcycle. I could have used just about any color. I opted to go with a pastel pink because I the dresses I had done previously are fairly dark and bold.
The dress I picked is a pale pink flared dress with a sequin bodice. It has a sheer pale pink overlay. I am showing it over the top of the wedding dress just because I wanted to see how the bodices matched up, and then I was too lazy to take the original dress off the dress form.
")

I decided that I wanted to use the overlay alone. I stitched down the facing to the underlay and then carefully cut the dress away with a pinking shears.
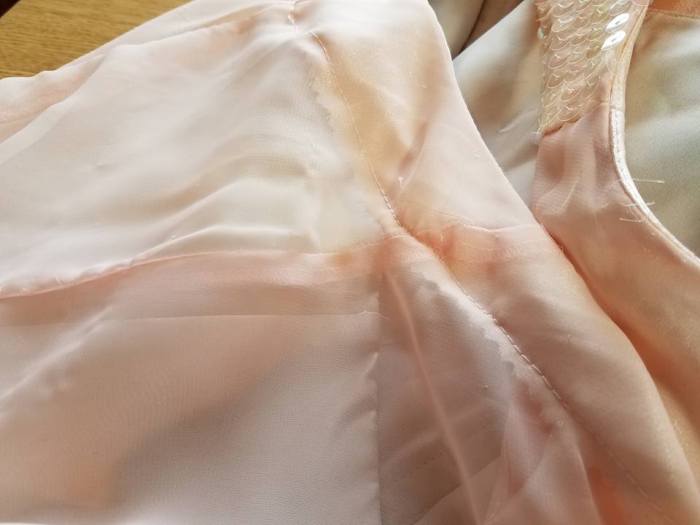 I matched the two bodices at the underarm seam and pinned them together. The pink dress it just a little bit smaller than the wedding dress, but I think it will be fine. It would be easy to make the wedding dress a little smaller and if the pink one is too small, some hook & eyes or velcro and an open zipper would do the trick. I pulled up the sheer overlay to show more of the skirt. I pinned it in place, and then tacked the drapes in place.


I stitched a row of clear string sequins along the edge of the overlay, but I’m not sure they will show enough to make it worth the effort.
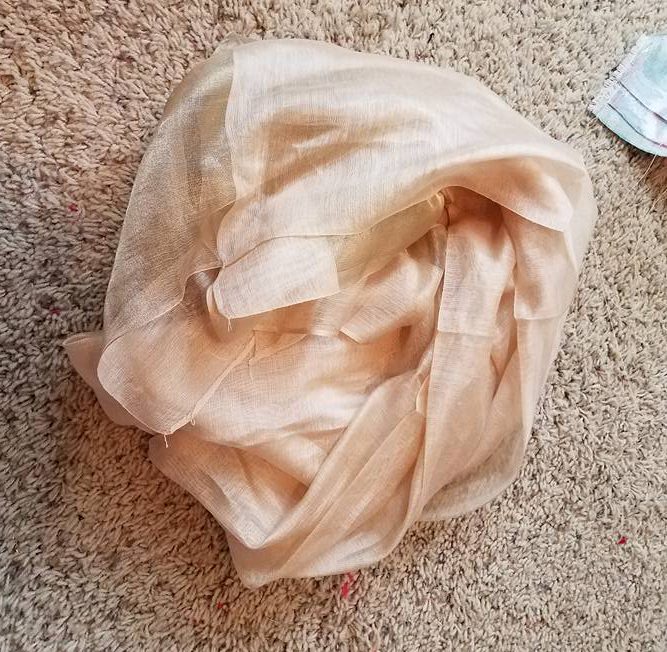
I planned to use the dress to make the sleeves. I began by laying the dress out flat with the hems even. If I was a good, I would have pressed it at this point. Do you like the mess I’m making? The piles are getting deeper the more costumes I am making.

I then folded it in half and played with my generic sleeve pattern. Even though it looks odd, I did keep the straight of grain on the fold. The sleeves already had a nice hem, so as with skirts, I stitched them together from the hem up.


The sleeves were inset and I found a scarf one of the cast members had brought for me, and I used it for a sash.
And I had a dress!


I feel like this dress looks better in person than it does in these pictures.
If I were doing it again, I might leave the back fabric, and cut it off at waist level, although there really isn’t anything objectionable with the facing look. Either you like the beige sash, or you would like it better with a “pop” color.
Cost: wedding dress: donated. scarf: donated. pink dress: $2.
Time after dying the dress: about 2-2.5 hours
The color difference isn’t dramatic, but it was more than enough for this project.


Addendum: I have subsequently tried to stain a second wedding dress with complete and total failure. My first try was red Koolaid–only the lining and a bit of the embroidery thread stained. My next attempt was tomato sauce. Nothing. My last try was coffee. I DID succeed in putting some dark spots on it where a few grounds came to rest, but, no other color. I have yet to try tea staining it . . .I will . . once I a done with the Cinderella costumes.


Pingback: “Is Marriage Still on the table?” (A Cinderella wedding): Wedding Wear #1 | costumecrazed