
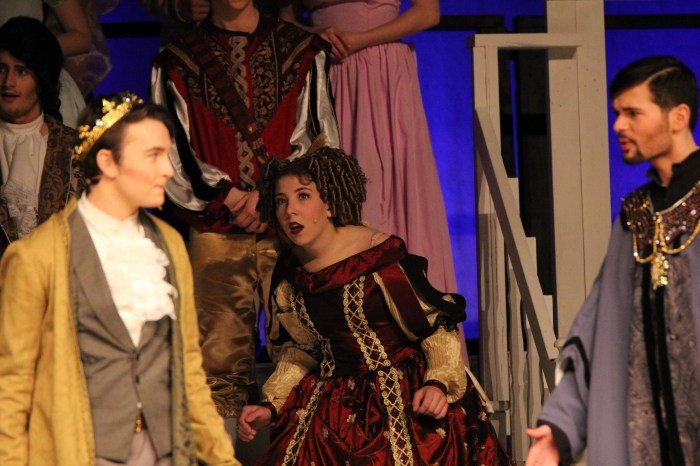
Charlotte’s Banquet dress was one of those costumes that sort of took on a life of its own. When I started I did not have a clear vision, and I certainly didn’t expect it to turn out like it did. I love the dress, but, it was probably a little too much compared to the other costumes in that scene. Partly that is because the costumes in that scene were made by several different people, and partly it was just . . .well . . because.
This dress began from the sash.

It was an off-white/pale yellow with embroidered purplish flowers and a few sequins & beads. It was connected at the top, and had several hooks for attaching it to the original dress. I would have loved to have seen the dress. I imagine it went with a wedding dress? Hard to imagine it would have gone to a bridesmaid dress, but I don’t know. It was just very fun. When Charlotte is entering the castle for the Banquet, she turns around and says to the Prince “This is still available”. This huge sash just seemed to make a “this” statement, and would look cool hanging down the steps.
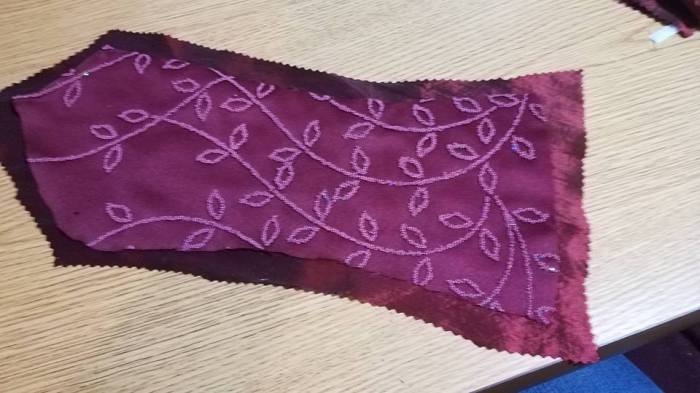
I had a comforter cover in a dark maroon with embroidered pale yellow flowers, which seemed like it would tone with the sash. One of my other daughters spent an evening of TV taking the zipper and other stitching out. To go with this, I had a pleated bedskirt in a coordinating pale yellow.
Originally we thought that Charlotte could wear the Banquet dress over the top of the dress she would wear to the Wedding, so we planned it utilizing the sleeves of her ivory dress. I found a “base dress” I thought would work for the bodice, and put them all together to try to get inspiration for the “look”.


The dress had a beaded bodice and a separate, but attached, skirt. The dress had narrow straps and a zip back. I cut the skirt off with a pinking shears, leaving a 2-3″ “base” to support the new skirt. The bedskirt was for a large enough bed that I had enough width to just cut it down the center. I stitched it into a circle, and pinned it to the base, and stitched it down.

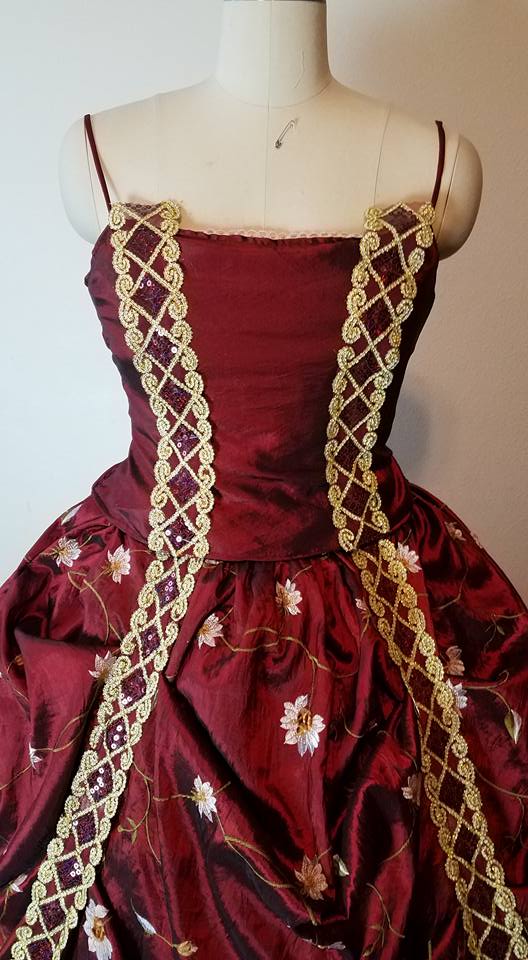
The next step in the “drafting” process was pinning the overskirt in place. I had this really fun gold & dark red sequin trim that I hadn’t had a chance to use, so I thought I could use it for this dress. My thought was to pull the overskirt up and pin it to the trim to make scalloping gathers.

It took me a couple tries to get the gathers adjusted and the trim strips in a good position. I added more trim around the bottom. Now you can see the underskirt. I didn’t quite have enough floral fabric to go all the way around, so the back has a section of solid color, also from the original comforter cover.

At this point I spent a lot of time trying to figure out how to use the sash. I really did not like the color of the bodice and the color of the skirt next to each other. I thought if I could use the sash around the waist that might help. I wasn’t excited about the white sleeves, so I tried using it up and over the shoulders. I couldn’t figure anything out that I liked. And, then I spent more time sitting in a chair and staring at the bodice as I didn’t like the floral beading, and I didn’t like the color.
In the end, I decided that the color had to go. It was OK, but both my daughter and I agreed we would never be happy with it. The fashion fabric had glued on beads and I knew it would be hard to sew over, so I carefully cut the three front pieces off, leaving the lining intact. I used these as a pattern. I used the plain section from the comforter cover for the fabric. I sewed the three pieces together, and then pinned them to the bodice. I secured it to the bodice using a combination of machine and hand sewing.
I also decided to ditch the white sleeves, and began to play with the trim. I think the bodice looks so much better already.

Trim in place over the seam lines. You can see the bottom of the bodice bunches just a little. It was going over two layers of gathered fabric (underskirt and overskirt), plus now had the additional fabric over the top. It really isn’t noticeable from a distance. I did not cover the back of the bodice. The back isn’t seen that often, and the color didn’t bother me THAT much.
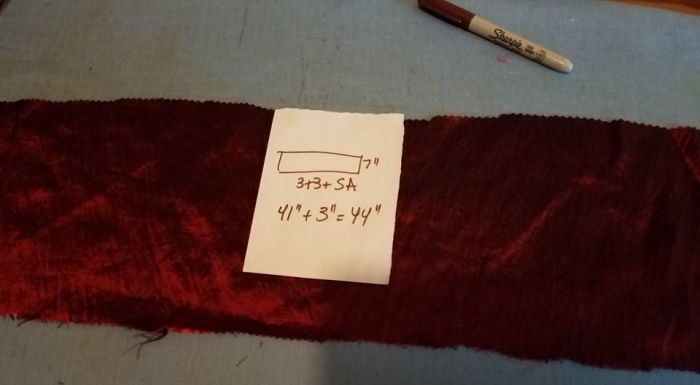
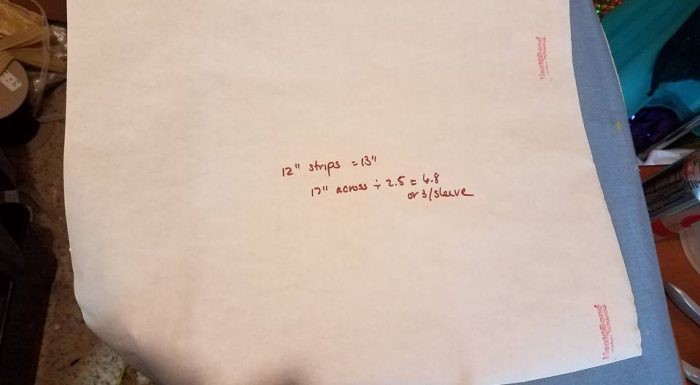
Now I needed to come up with a sleeve plan since I was discarding the ivory sleeve idea. I really liked the way the neckline looked in this yellow dress. I had used a ribbon as the base for the neckline, and so substituted a strip of fabric. Below shows the measurements I used.
I lined this with petticoat net to give it some body, and then ran a row of stitching to make a casing and create the top “edge”. I threaded elastic through this.
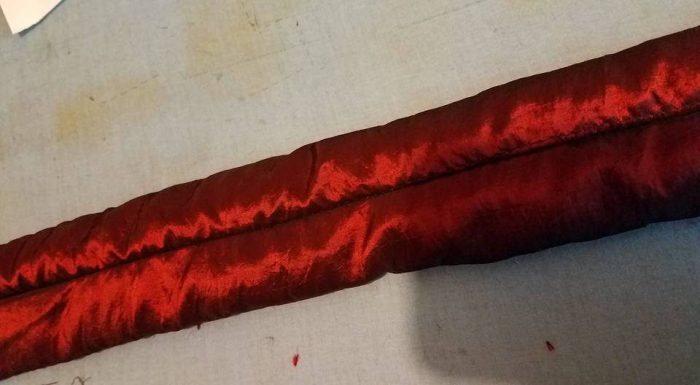
Then I positioned this on the bodice.


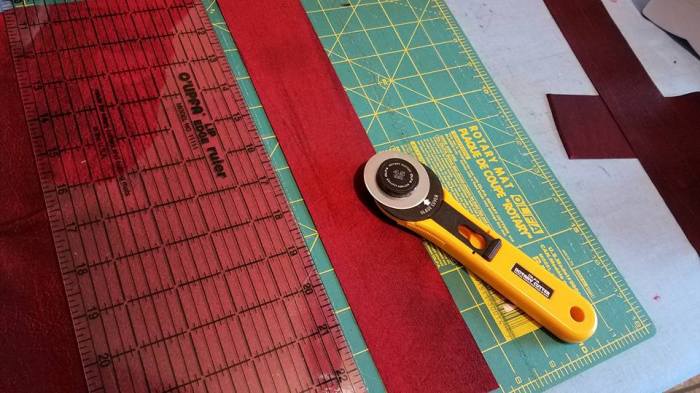
I decided to make the sleeves a reflection of the sleeves on Charlotte’s Ball Gown. I knew that this fabric would ravel, and so I thought maybe bonding two pieces together would help control that. I calculated how much fabric I would need, and cut a piece of heat n’ bond in the appropriate size.
Once the fabric was bonded, I cut the strips with a rotary cutter. The strips seemed a bit inclined to fray, so I ran a line of small zig-zag stitching along all of the edges. (This did help–even after the show when I ran the dress through the washing machine, the strips have stayed intact).
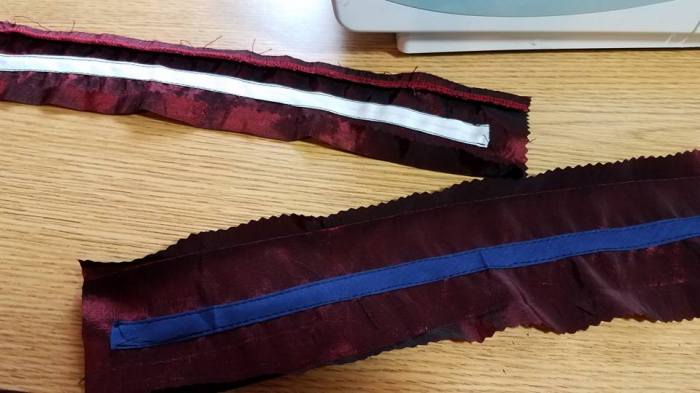
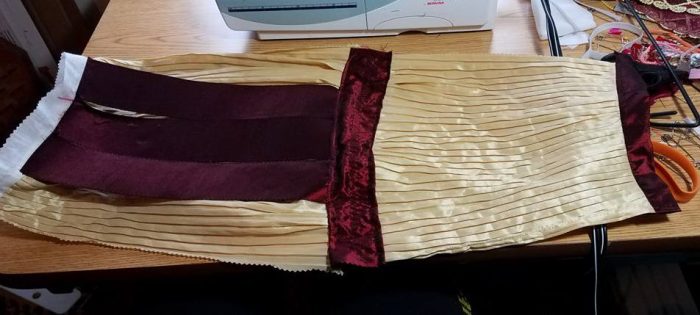
I cut two strips for the middle bands and two for the cuffs, and sewed bias tape to the back to run elastic through.
The bedskirt was fairly stiff, so I cut it to a shorter length for the lower sleeve.
I 
I assembled the sleeves flat. Here the upper and lower sections are attached to the middle band. The pleats are spread out and pinned. The upper section is fuller than the lower section.
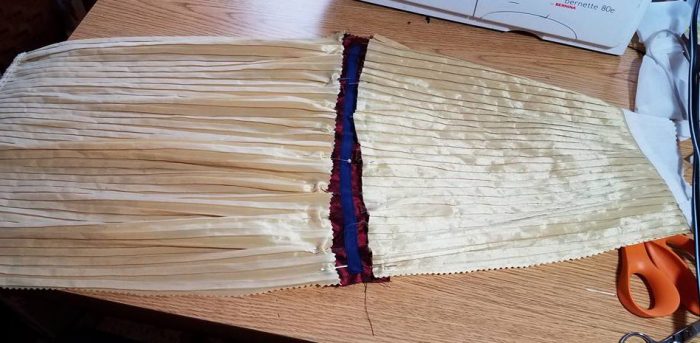
Each sleeve had three strips. These were topstitched to the upper sleeve.

All constructed and ready for the underarm seam. I did add a strip of the trim over the middle band after I took this picture.
sleeve is sewn together completely flat before sewing up the underarm seam.
The last step was to insert it into the bodice.
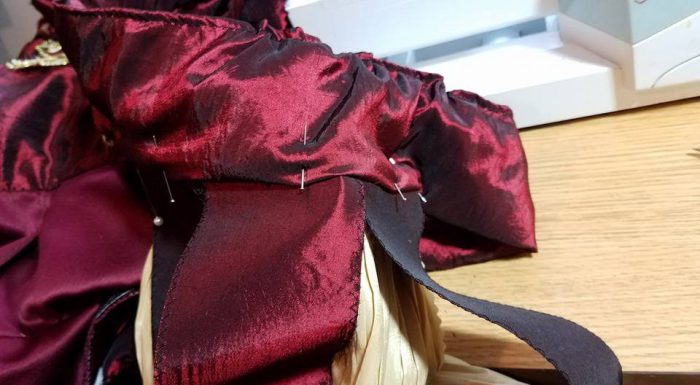
I added some decoration to the front made out of scraps of the pleated bedskirt, and FINALLY, add the bow on the back. I made loops out of each side and sewed them to the dress. They form a mock bow.


When Charlotte first comes onstage, she complains that her shoes hurt her feet “with the heat of a hundred suns”. I glued fabric flowers onto gold glitter snowflakes (I needed a base . . and they were sitting on my basement stairs .. .) and attached elastic loops to go around her shoes.
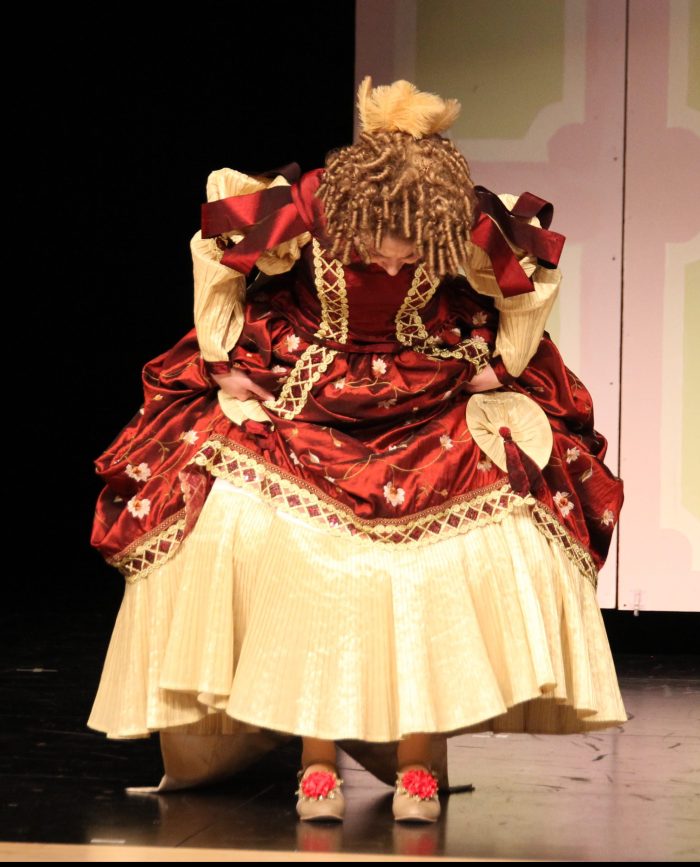
The dress did look good on stage, and the bow did all it was hoped to do. As with many components of the Charlotte-look, it was ridiculous.


Cost: Base dress $6, sash: $2.88, bedskirt $1.88, comforter cover $2.88, trim $3-4
I don’t have a good estimate of the time, but, it was much less than you might have thought, probably in the 5-6 hour range.


Pingback: Lace and ribbon to the rescue: A historically inspired upcycle | costumecrazed