Medieval? Renaissance? Elizabethan? Tudor?
This is where you start to see the difference between the “just wanna have fun” crowd, and the true historical re-enactment crowd. If you “google” search “Medieval costume” you get pictures of all of the above, wrapped up with some fantasy (wings, anyone?), Southern Belle & modern Prom . . . .which lead to a Ren Faire free-for-all taking great liberties with all kinds of historical clothing to make a wonderful melting pot of creative costuming.
So . . . the goal of this costume project is to make an upcycle that looks like you sort of lived a long time ago . . . . I like to call it “Fairy tale” time. Not because it relates to any given tale, but more because you can create your own “style” . . . and if you are doing a show, as long as you remain relatively consistent and true to yourself between multiple costumes . . you can make your own “era”.
This relates back to the philosophy of the 1950’s and popular media . . sometimes it isn’t as important to stay true to the actual time period, as to stay true to what people expect based on popular media and misconception.
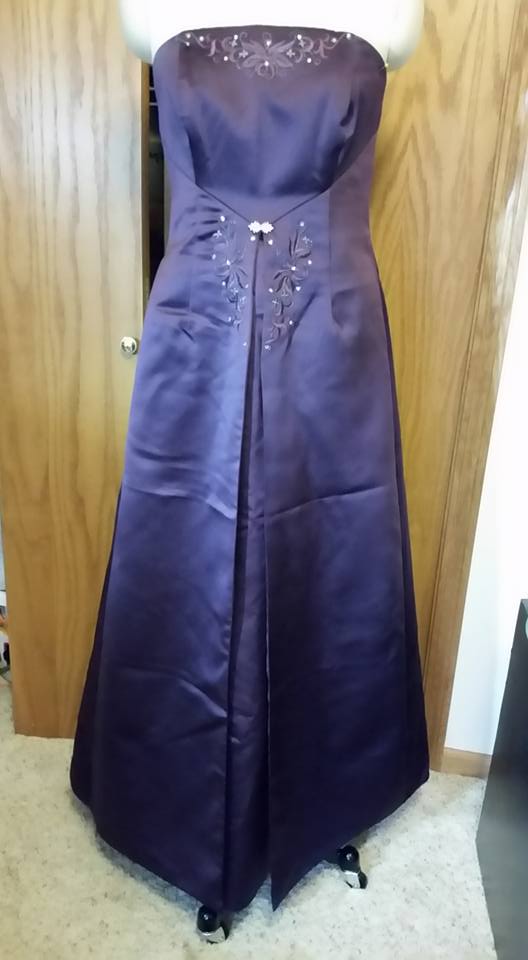
I am going to call this a Tudor/Elizabethan styled dress:
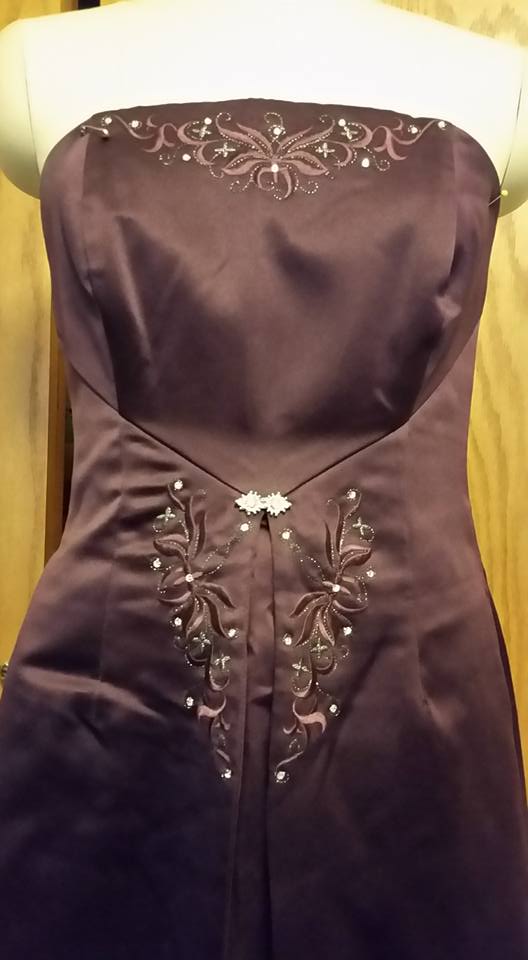
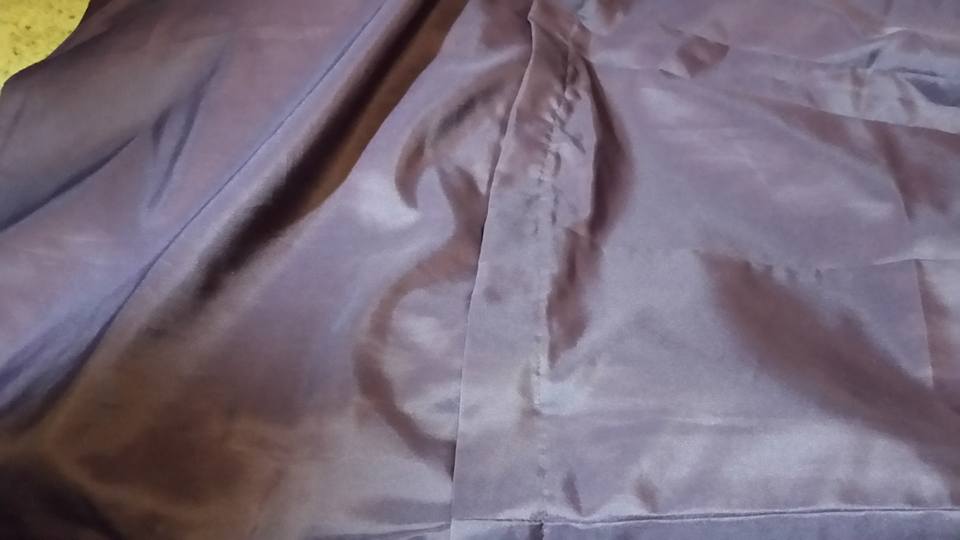
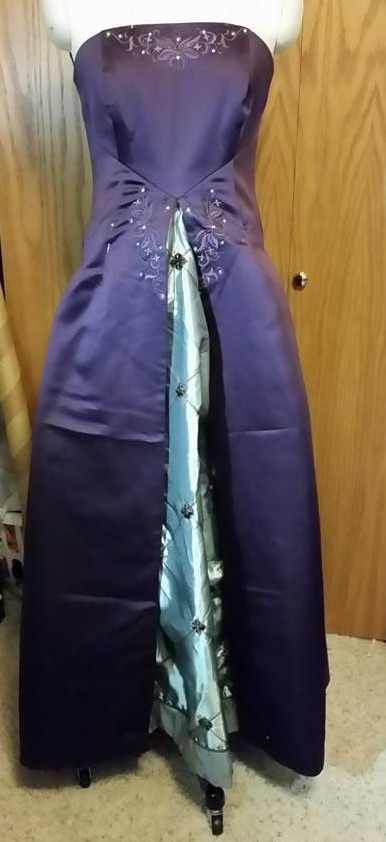
To begin with I started with an eggplant colored strapless bridesmaid-type dress. The dress had decorative embroidery and jewels at the bodice top, and at the waist. It also had a deep inverted pleat at the center front. The dress was fully lined with matching eggplant fabric. The center point actually sits slightly above the natural waist . . . a design feature that later on affected the upcycle.
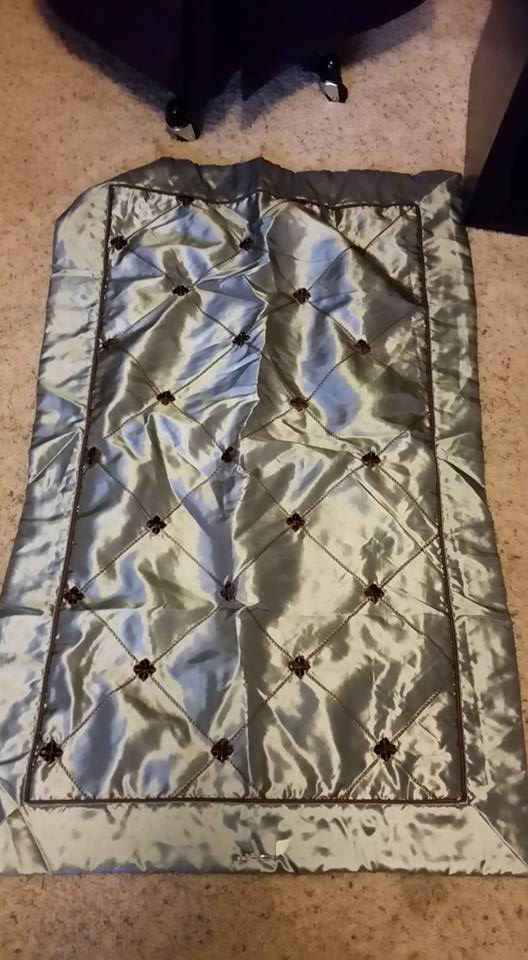
I wanted the dress to have a contrasting underskirt and this seemed like the perfect time to try out another idea I have been playing around with in my head. I LOVE pillow shams. Especially KING SIZE pillow shams, that are often padded/quilted and high decorated . . . and tend to be around $2 at the thrift store. I have been thinking that they are just big enough for the front of an underskirt (or maybe the front of a tunic for Page or Knight?).
My approach to an upcycle is that I have an idea of what I want for the endpoint, and an idea of how I might get there . . . and then I just start in. There isn’t a whole lot of formal planning . . just start doing and see what happens. One major concession to pre-planning that I do, however, is that during construction, any time something needs to by symmetrical, ie sleeves, I always start by dividing the fabric in half.
My initial plan was that I would take the backing off the pillow sham and use the fabric for the inside/lower portion of the sleeves. I would take the dress fabric out from the pleat to make the top of the dress & upper sleeves. Of course, the wonderful triangle-shaped piece from the pleat brings to mind long bell-shaped bottom sleeves . . .so I thought I had all kinds of possibilities. I also wanted the skirt to be fuller, so I planned to take the lining out and use it to add to the width of the skirt.
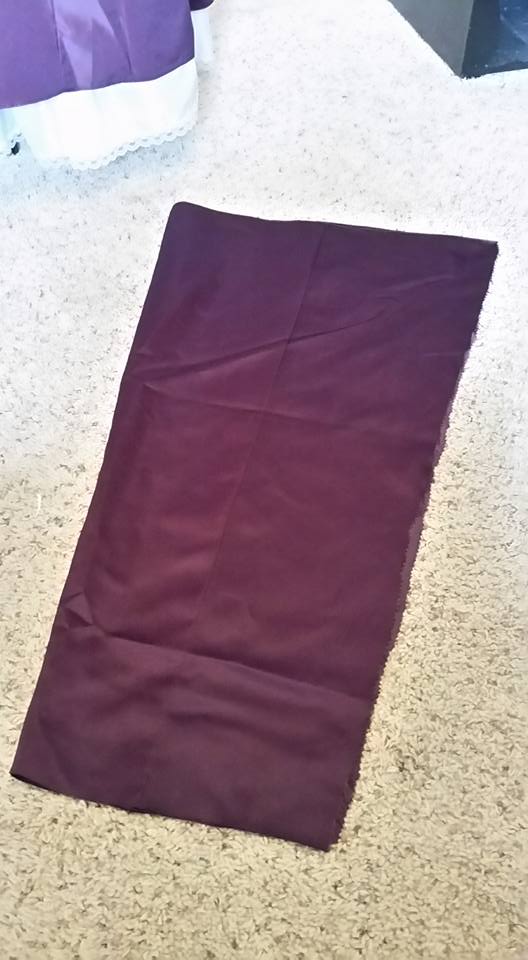
The pillow sham:
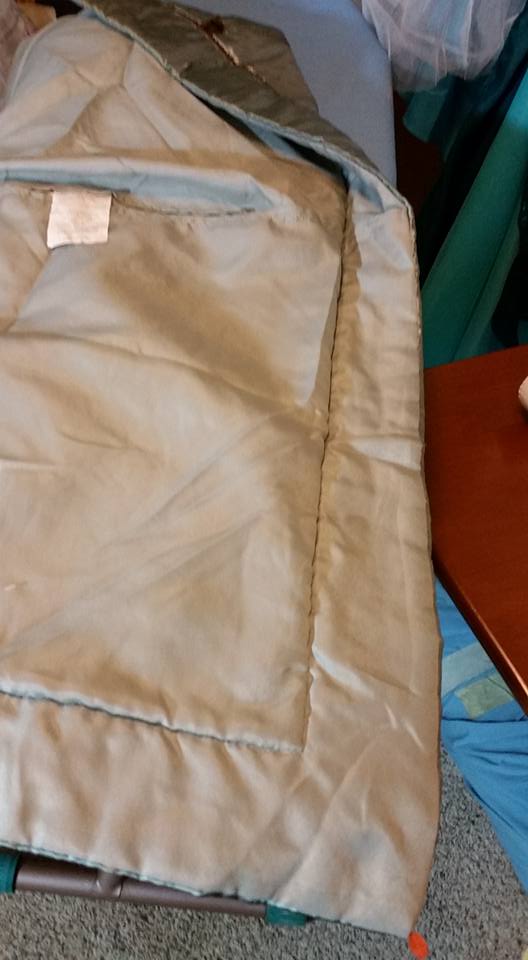
The first thing I did was to remove the back lining from the pillow sham. This actually provided a disappointingly small quantity of fabric. It also exposed the padded backing of the pillow sham, which later on proved to be a nuisance as it wanted to catch and shred. There certainly was not enough fabric to make sleeves, and I would not consider this to be a source of fabric (other than maybe for trim) in the future.
 This meant I was going to have to rethink my sleeves.
The Dress:
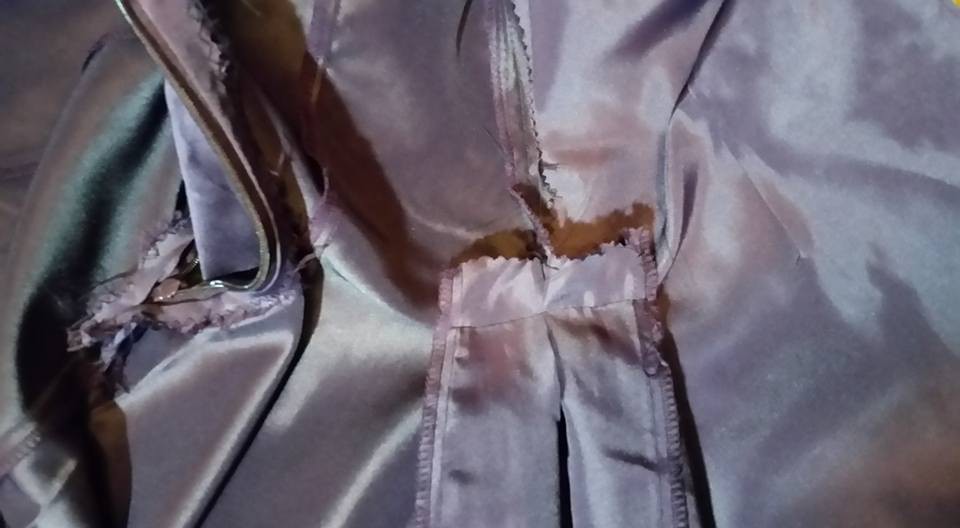
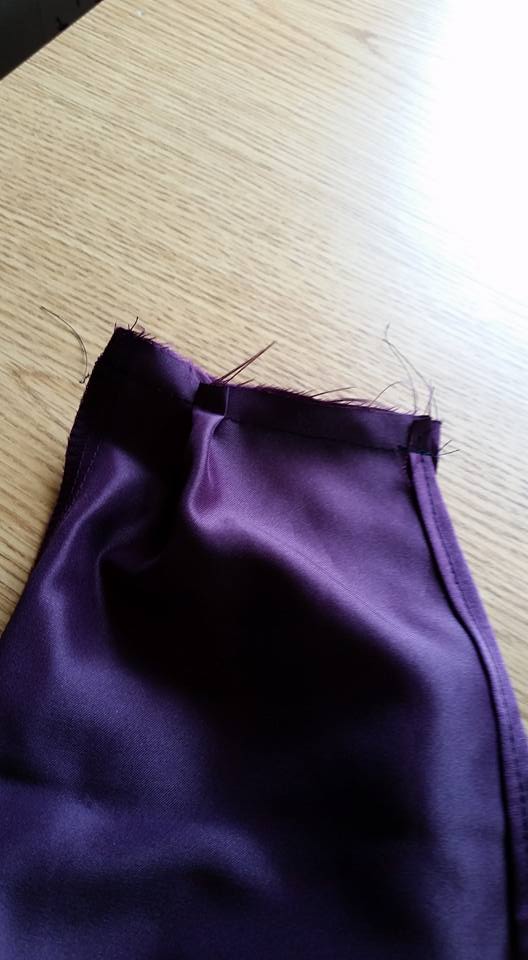
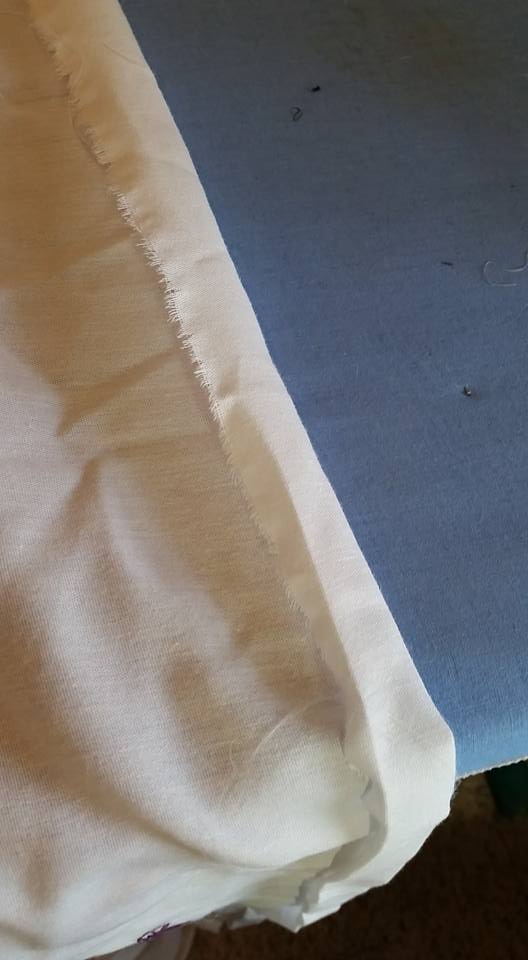
The first thing that I did was to cut the fabric out from behind the pleat. I carefully cut, making sure NOT to cut the outside dress. I used a pinking shears so that I would not need to worry about fraying along the rough edges.

Inside of the dress, at center front.
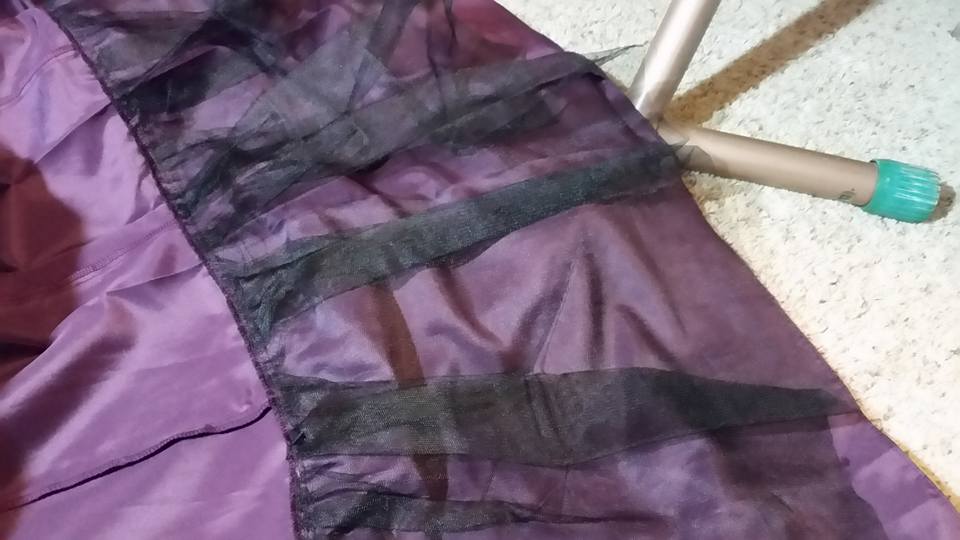
The next thing I did was to cut the lining out. The dress had evidently been shortened at one point, so the lining had a pleat in it. I decided this didn’t bother me.
The lining also had an attached layer of black petticoat net.
 I cut the lining off the bodice, and also from the seam where it was attached (at the front pleat).

Lining: note the petticoat net at the bottom, and the black line of the bodice interfacing, which extends beyond the actual dress bodice. These design features affected the length of the skirt lining.
The bodice was made of 3 layers: The outer fashion fabric, a stiff black interfacing, and an inner lightweight lining. It also had plastic boning in the seams.
I vacillated on how to add the extra fabric to the skirt. One method would have been to cut the entire skirt off, add the extra fabric in, and resew the skirt back on (as was done for some of the 1950’s remakes as described in previous posts). The disadvantage to this is that the skirt would lose about an inch of length. It was at this point that I also realized that the center front was above the natural waistline . . .which meant either the dress would need to have a raised waistline, which would then make the skirt even shorter (due to the length of the lining skirt), or I would need to do something different. I had been thinking about making some panniers & a bumroll . . . but the semi-fitted design of the dress didn’t lend to that, especially with this skirt length issue. I recalled the suggestion in one of the Barb Rogers books where she puts the lining fabric on the sides as it tends to be lighter weight and so is easier supported by petticoats. I thought that application might work here . . the lighter fabric would push out on the sides supported not only by a petticoat, but also shaped by the skirt lines of the original dress as that would tend to pull the back in and force any fullness out the side.
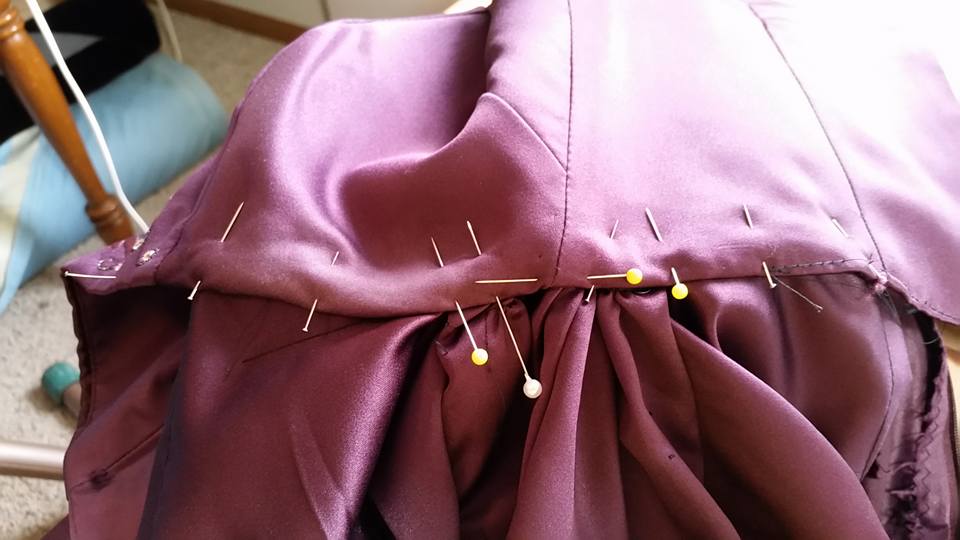
I decided to add the extra fabric into the side seams. I opened the side seams to a height just a bit less than the length of the lining fabric. I divided the lining fabric into two equal pieces. I sewed the lining fabric (right sides together) in to the side seam, getting as close as I could to the “top” (using the seam allowance above the opening). Then, I folded/pleated the lining fabric on the inside, and stitched across the top (perpendicular to the side seam) to hold it in place.

Note the stitching at the top to hold the fabric in place.
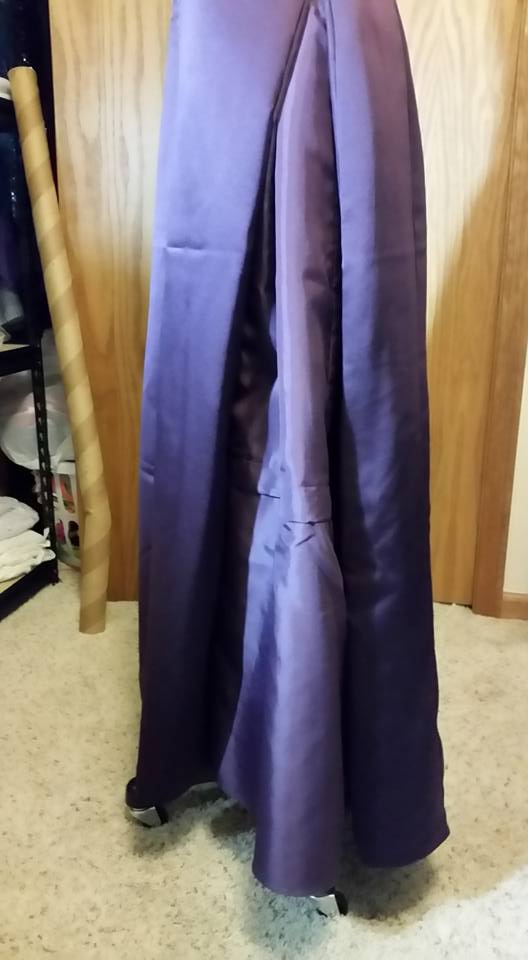
Extra lining fabric sewn into side skirt seams. No petticoat.
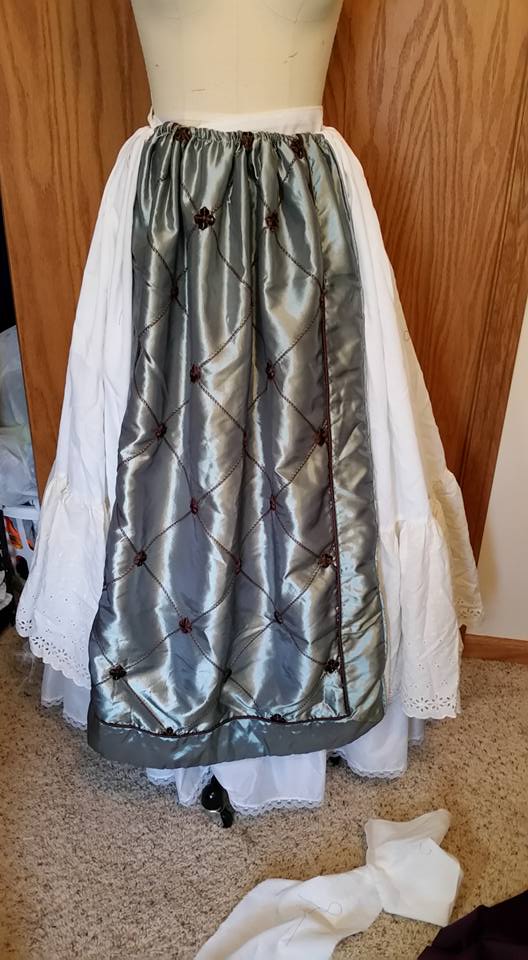
After I got this far I was less than impressed with how this looked. It did not have the “feel” I was going for at all. However, before I changed something I went to get a petticoat, which was a step in the right direction. I wasn’t totally happy with this, and considered taking the lining fabric out and dividing it further and adding some into the back of the dress, but decided to take a “wait and see” approach for the time being.
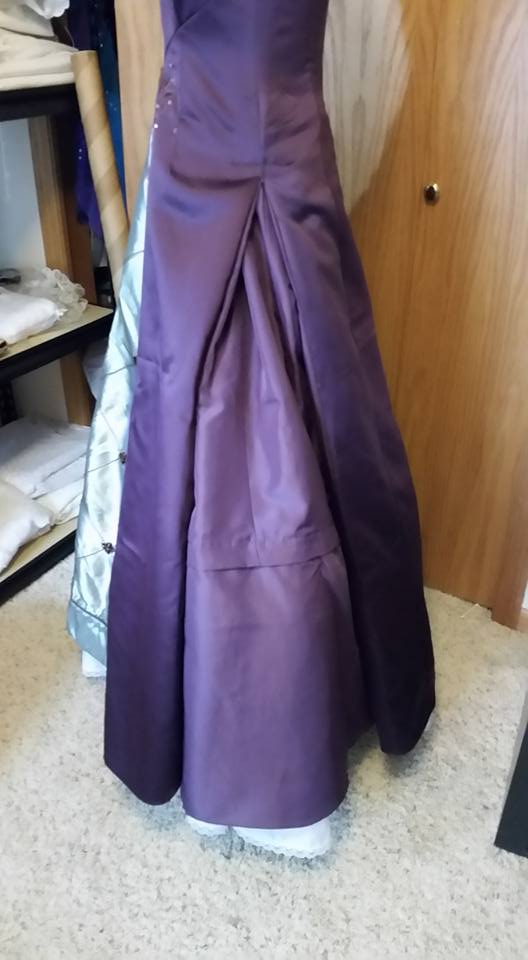
Petticoat added . . better!
At this point, lacking a sufficient amount of fabric from the back of the pillow sham to make sleeves, I was considering that my original underskirt/sleeve idea might not work. I did experiment a bit with the pillow sham, just to see if that was a workable idea. At this point I was considering whether it would be better to sew the underskirt into the dress to have a one piece outfit (and avoid the need for a separate underskirt), or if I wanted to make the dress a bit more versatile and go with the separate underskirt. At this point, I had pinned the pillow sham in just to explore the look, and potential ways of attaching it. I tabled this problem for the time being, as I didn’t have a sleeve solution.
The next step was to create a top for the dress. I wanted a square neckline, and then sleeves. The available fabric piece at this point was a wedge with a narrow hem at the bottom, that had a “v” shape in the top (as seen in the picture above showing the inside of the bodice & skirt). The “V” shape made me think that might work for the back neckline, so I cut a piece off the top.
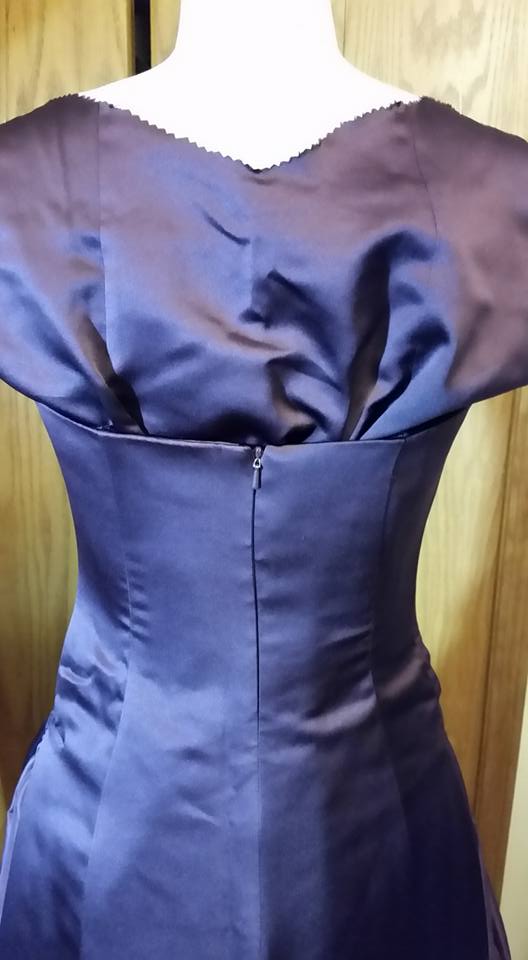
I then pinned it roughly in place, and adjusted it to make the back opening.
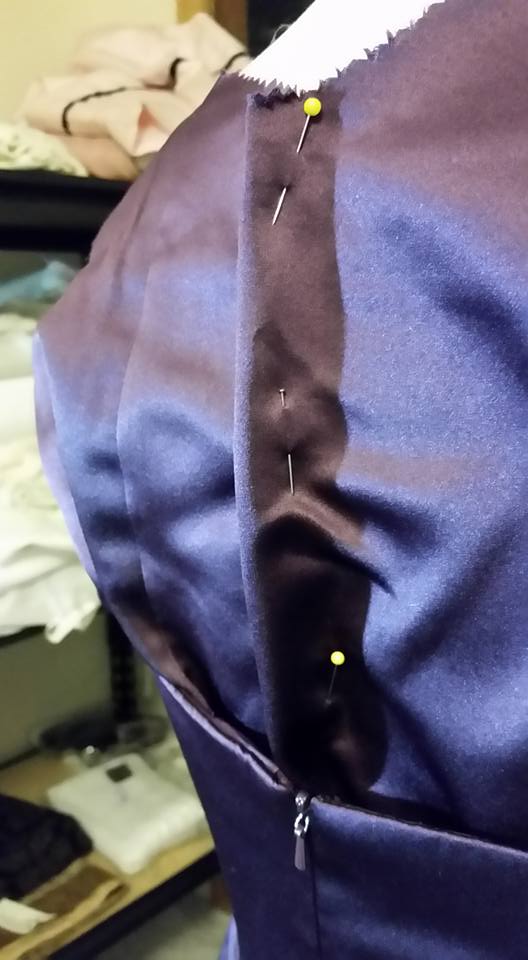
I slit the back along the fold, turned the edges under to finish them, and sewed the pieces to the back of the dress. So far so good.
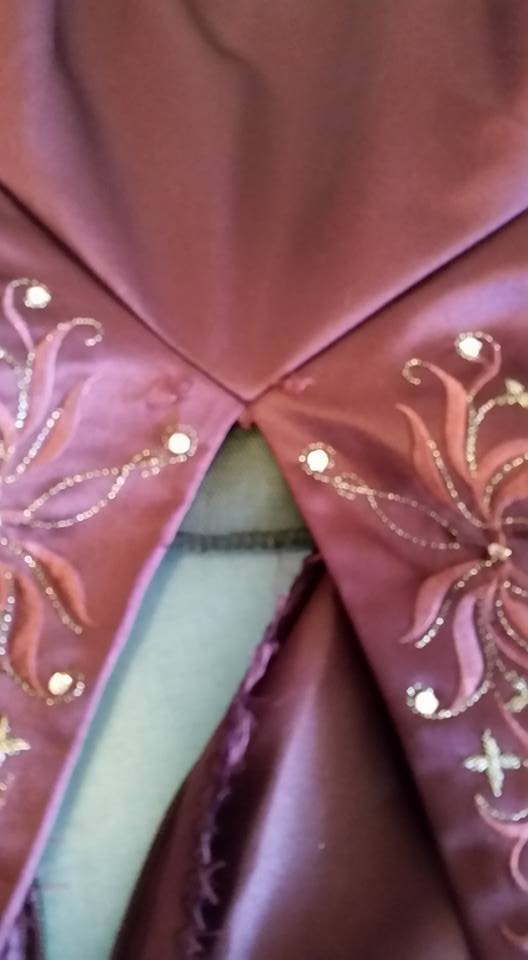
The front looked like this:

At this point . . . I was majorly stuck. I only had the bottom of the pleat left . . and I wanted that for sleeves. I didn’t have a good idea of how I wanted to attach the sleeves to the dress OR what I wanted the sleeves to look like (my idea of full bell-shaped sleeves REALLY only was going to work if I had about twice as much fabric as I had–I was figuring out that sleeves took more fabric than you’d think, and that there was also less fabric in that pleat than you might think.
I had, unfortunately, cut that piece off the top of the pleat fabric without a clear thought process of what I was going to do (oops!), so my options were even further limited.
As it happened, I was at a natural stopping point in my day. I had a couple of things to think about for the project: decide on sleeves, find something else for an underskirt/matching sleeves, and figure out the bodice issue. I did think perhaps I could find a dress or blouse in a similar shade of purple to make the top of the dress.
Fast forward a couple months . . . school got out, gardens grew, work got busy . . .you know.
During this time, I spent many trips to thrift stores looking for inspiration. I suppose part of the problem was that I didn’t have a clear vision of the sleeves at this point. I had a purple velour skirt that I found to supplement the fabric . . . but I really didn’t want to, as one of my (unspoken) goals was to remake the dress using only the fabric from the dress.
I did find a matching valance. It even had decorative fringe on one side, so my sleeve plan looked like it might work. I was disappointed that I couldn’t make it completely out of the one pillow sham . . but . .this was something I really couldn’t work around.

When I came back to the project, I decided to be bold and just ditch the whole failed back thing and see what else I could figure out.
To do this I use a very scientific method (HA!). Basically I held the fabric up to the dress model, and moved it around until I got inspired.
So . . . when I saw this I had an idea!

I had been helping my sister find some dresses for her production of “Footloose” and several of the 1980’s vintage party dresses had puffy sleeves that had a casing for elastic that served as a combination shoulder strap and attachment point for the top of the sleeve. Since this dress is supported by the boning & fit of the bodice, and I didn’t need true straps to support the weight of the dress, I thought this technique might work.
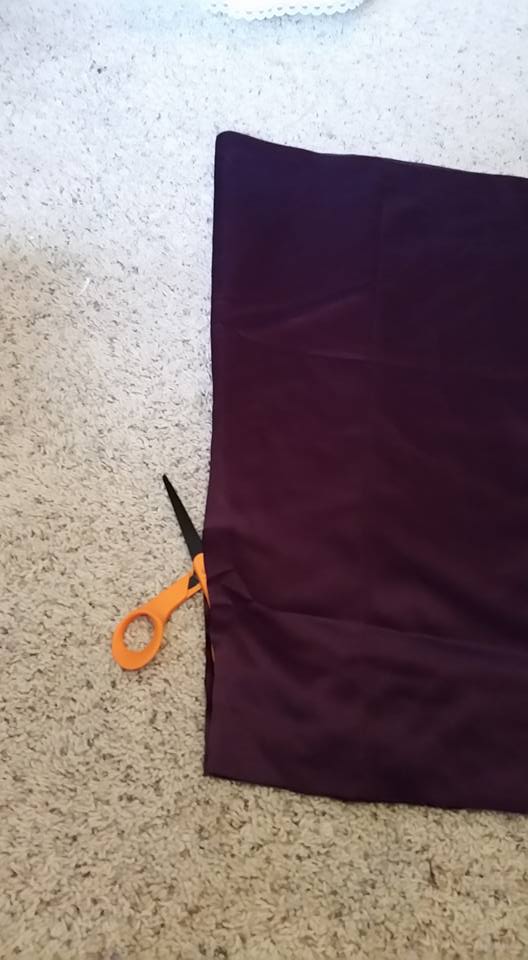
Since I knew no matter what each sleeve could only have half of the piece of fabric, I went ahead and divided it. First I folded it in half:
 Then I slipped my scissors in the fold and cut it into two symmetrical pieces.
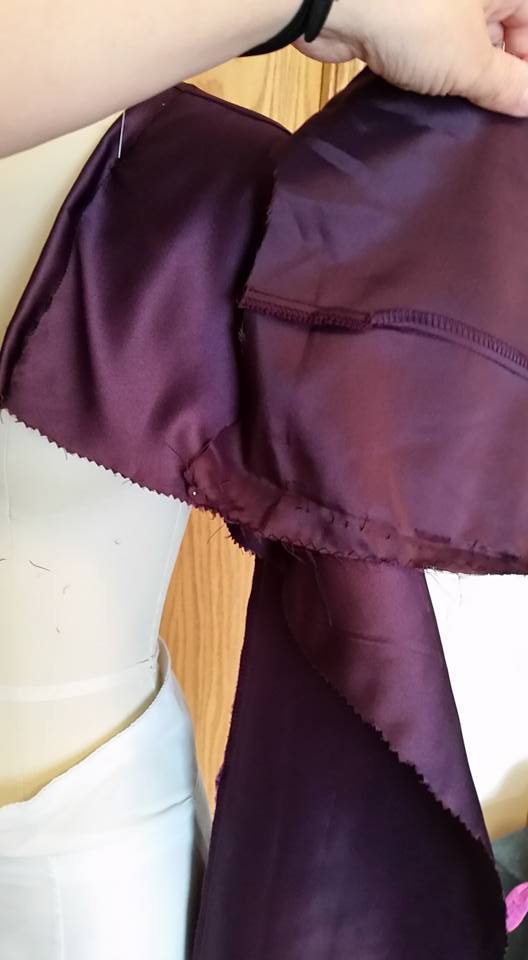
The pieces themselves appeared to be too narrow to make a complete sleeve, and at first I thought I might have to take the fabric off the top, but then I remembered my rejected back pieces. I took them apart, and figured I could make something work.
I sewed a narrow casing at the top of the strip of fabric to run elastic through.
 And, after experimenting a bit, I figured out where I wanted to attach the sleeve, and at what point it needed to have the “underarm” piece attached. This was no exact science . . I just guessed. Then I sewed the extra discarded bodice piece to both sides of the sleeve fabric. There was no great plan here . . I just used the piece of fabric as it was (other than hemming the bottom).
Guessing where to attach the extra piece to the sleeve.

Making a simple rolled hem for the bottom of the sleeve insert.
I did one sleeve at a time . . the trick is to remember exactly what you did so you can duplicate it. I didn’t want to do both at once, because if it didn’t work . . . . LOL
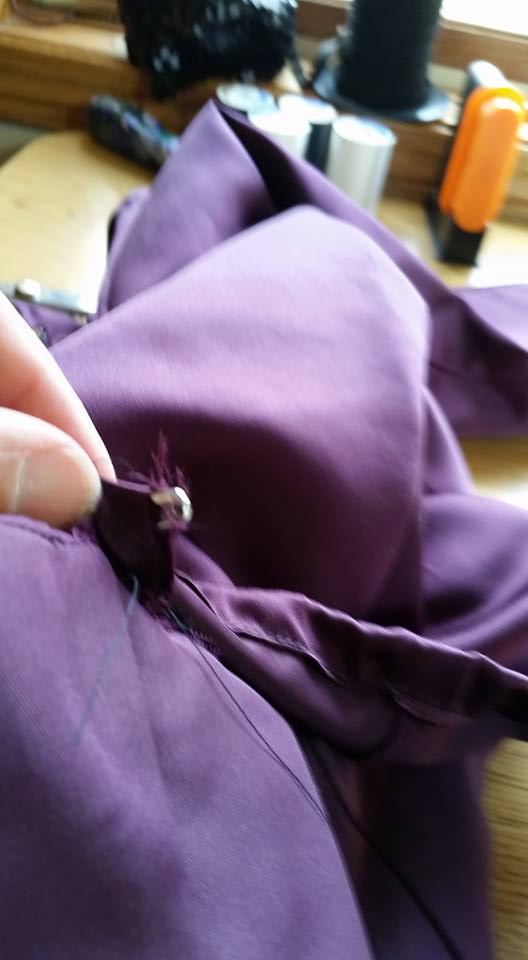
I decided that I didn’t like the sleeve bottom as a square, so I made the bottom into a point. I did this by folding the bottom edge sort of in half and sewing it together (I say “sort of” because there was a seam running down the piece of fabric that wasn’t exactly in the center. I thought it was better to have the sleeve be slightly lopsided . . like who will notice? and have the point along the seam where it would fold the best). I then turned it inside out, and there was a point! I like to use a pin to “pick” the point out.
Sewing the bottom together . . ignore the pleat, that was an oops! I took out. I just left the edges uneven . .it doesn’t show.

Using a pin to “pick out” the fabric to make a crisp angle.
After pressing, I sewed a line of stitching in the seam line to help hold it in place.
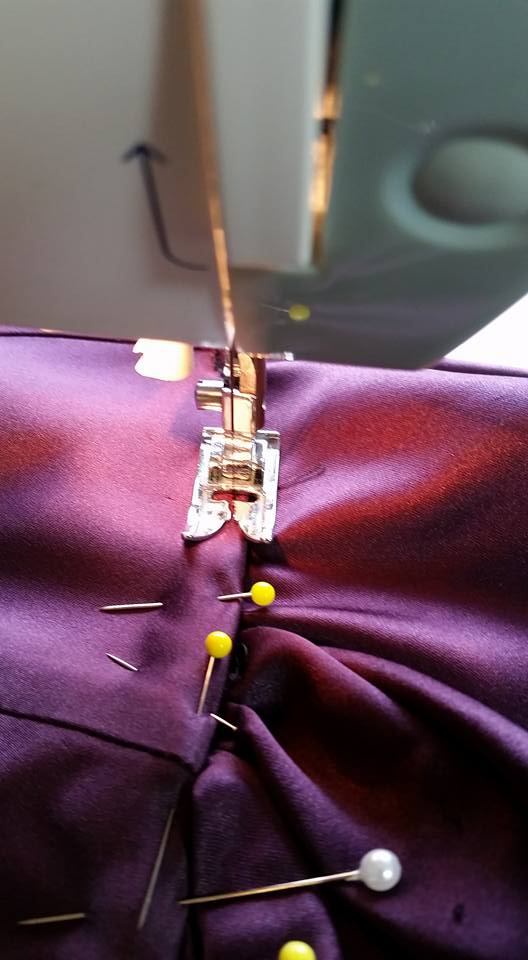
Next, I ran some elastic through the casing. To do this, I attached a pin to one end and threaded it through, being careful not to pull the end into the casing. I pinned the elastic to keep it in place.
In between the front and back bodice, I pinned and squished the fabric into the underarm area to make a “sleeve”. This is a little tricky since the bodice is completely finished. You have to topstitch the bodice on to the sleeve fabric. It seems really backwards when you are doing it.
Pinned!
Sewed!
And . . . this is what it looks like:

The sleeves are a little bunchy under the arms. I did not need that much fabric. But, for this purpose, it is fine.
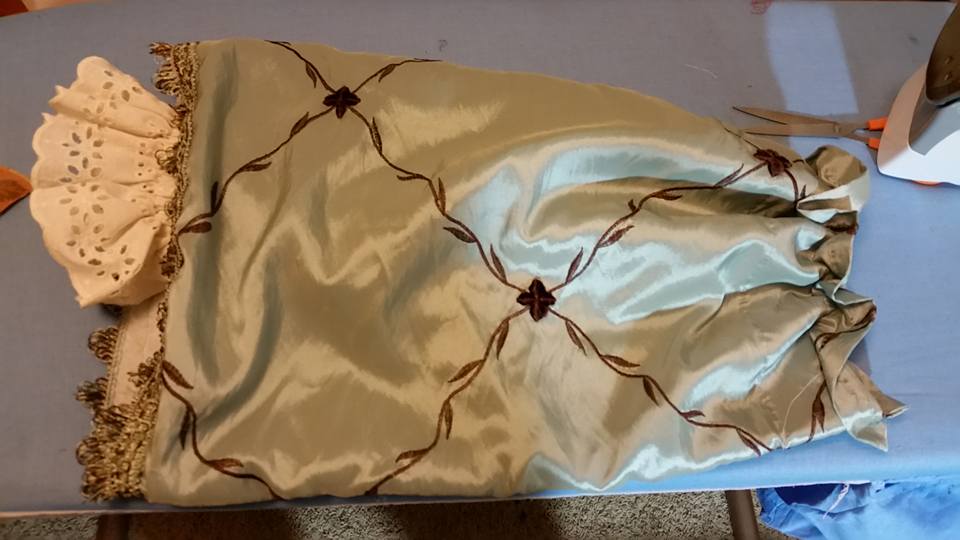
The Underskirt:
I decided to go ahead and make a separate underskirt. This actually was by far the easier option, and only took about 30 minutes.
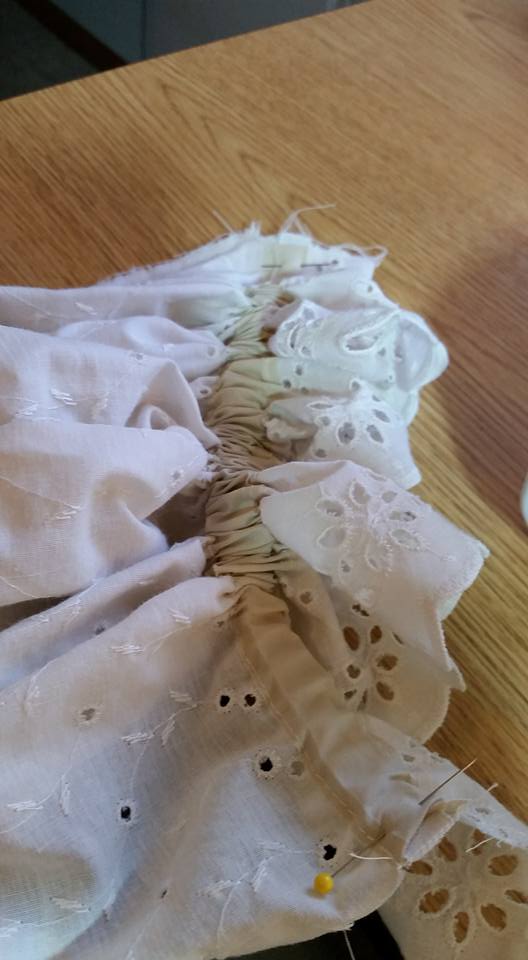
I picked out a queen size bedskirt with a deep eyelet ruffle.

The pillow sham was actually longer than the skirt, so I decided to cut the top off, and plan to fold it over to make part of the casing. This was partly for length, and partly due to the multiple layers, plus the piping.
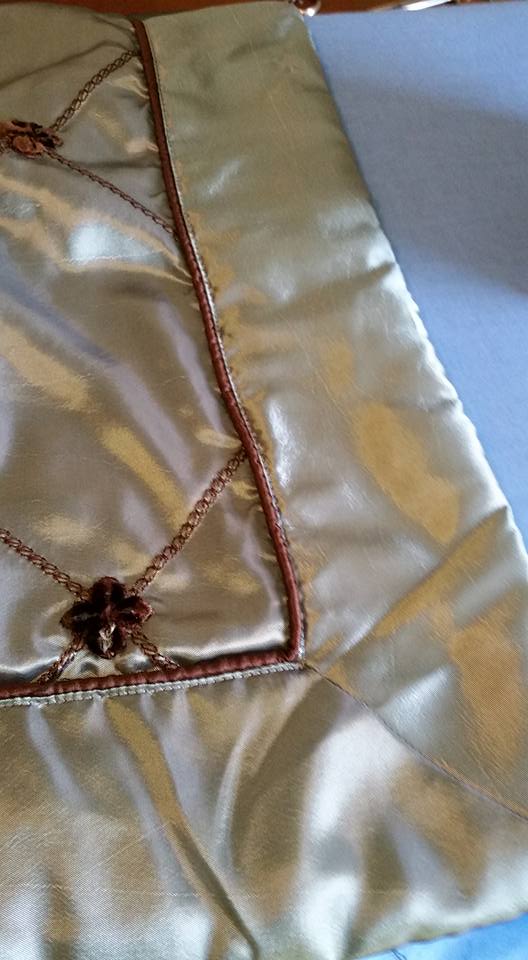
I cut the top edge off right under the brown piping.
Once the top was cut off, I tore strips of the same length from the bedskirt, leaving a length of fabric at the end to make undersleeves.
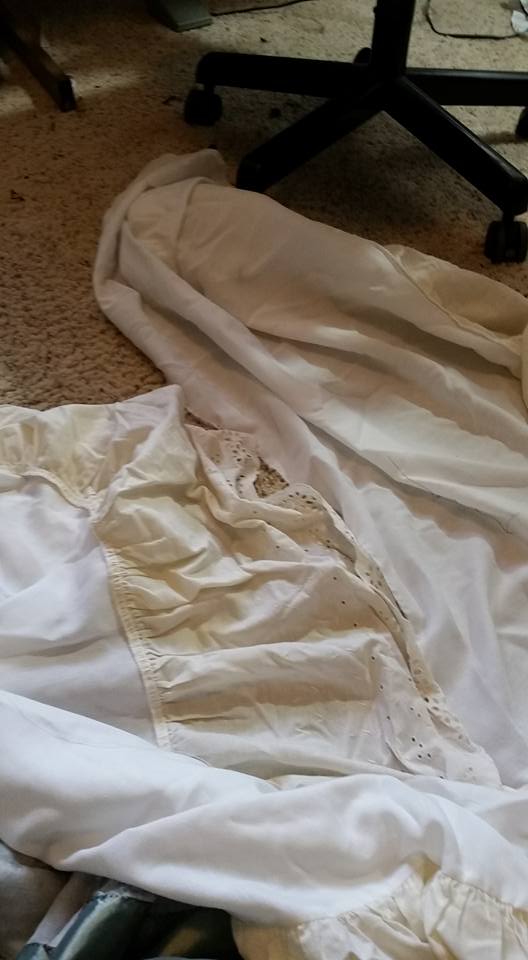
Two strips for the underskirt.
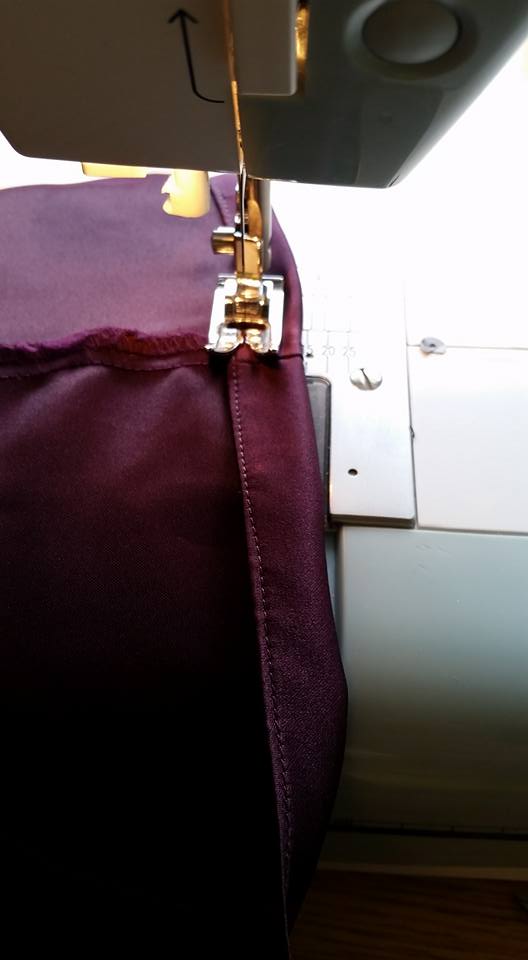
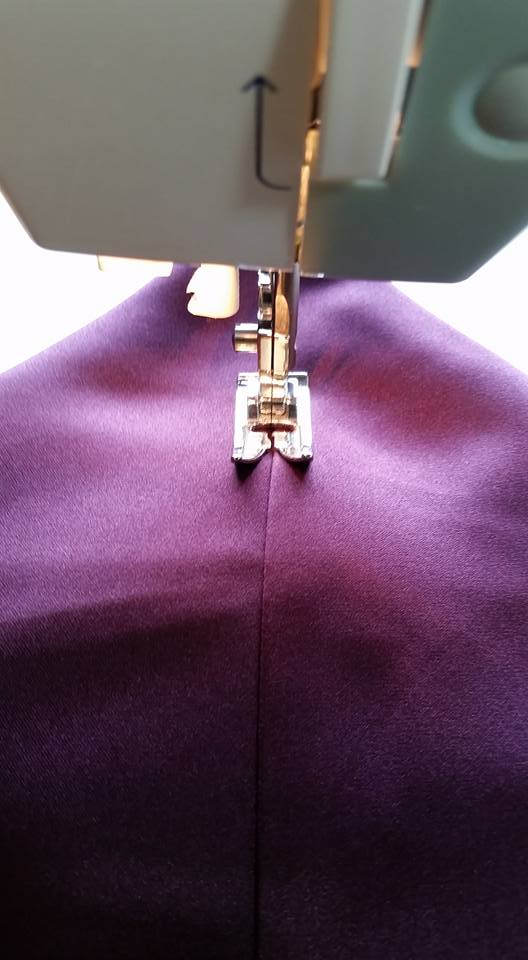
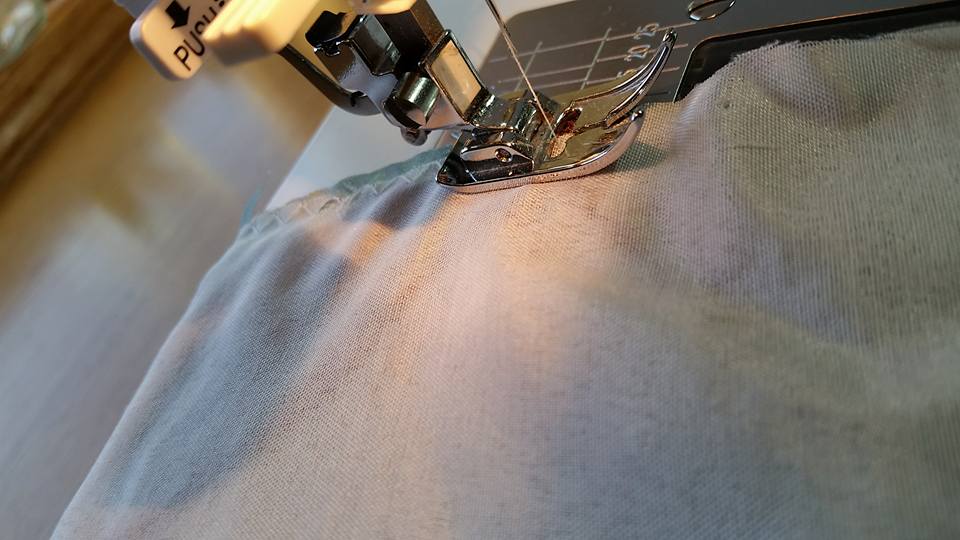
I then sewed all of the strips into a tube (bedskirt, pillow sham, bedskirt). I pressed in a casing along the top. For a short hem, I will often just roll it by hand. But for a long casing, I think it is much easier to take the time to press it before sewing.
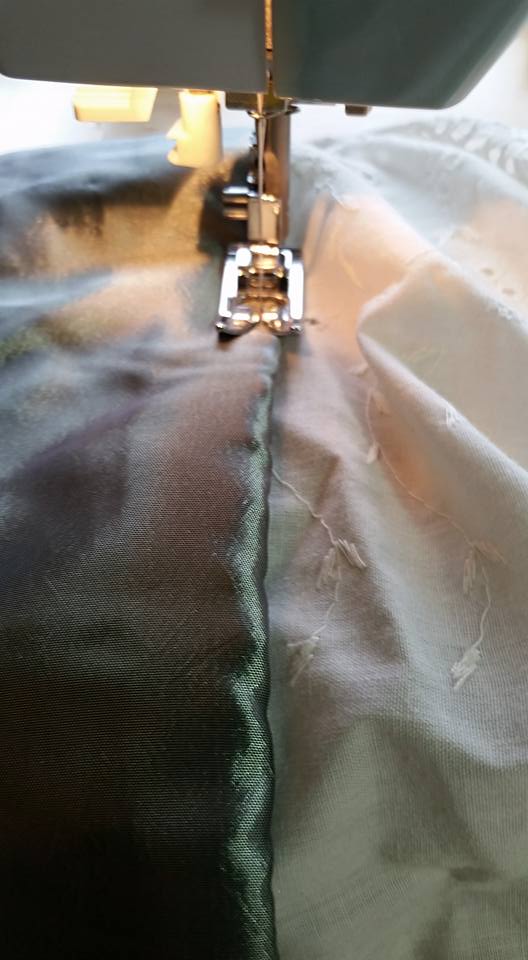
Top stitching the pillow sham to the bedskirt pieces.
Pressing in the casing.
I left an opening in the casing to thread a drawstring through. I used a piece to twill tape. And, the underskirt is done. Somehow, my bedskirt pieces seem a bit short. I image that is because the pillow sham is heavier and hangs straight down and the bedskirt poofs out, which in effect makes it shorter. It is OK for this since it is an underskirt, but, something to keep in mind.
At this point, I realized that since the overdress opens to slightly above the natural waist, there was going to be a gap. I stitched the lining down, and it luckily stuck out a bit. I reinforced the bottom edge with a bit of ribbon. When it comes time to wear this . . if there is a noticeable gap, I can add another bit of fabric or ribbon. I could get matching fabric from the lining of the bodice, the sleeves (on the inside of the point) or there is some sewn in lining at the opening of the skirt . .. but for now I am going to ignore it.

The sleeve additions:
To start with, I cut the valance in half along a fold and zig-zagged the raw edges. I then sewed the pieces together into tubes. I used a sort of modified flat felt seam–I sewed right sides together, and then sewed that seam allowance flat.
For the “chemise” sleeves, I cut pieces of the eyelet bedskirt. I held the fabric up to my arm to figure out length. I then used a piece of bias tape to make a casing at the wrist.
 I ran elastic through it the casing, pinned the elastic in place, and then sewed the fabric into a tube. This is a quick and easy way to make a sleeve gathered with elastic. Since the elastic is sewn down it is not adjustable.
I then made a casing at the top of the sleeve, making sure it would be wide enough to run my chosen elastic through. This elastic I wanted adjustable, so I left a gap in the casing so I could pull it out. I adjusted it by tying it in a knot.
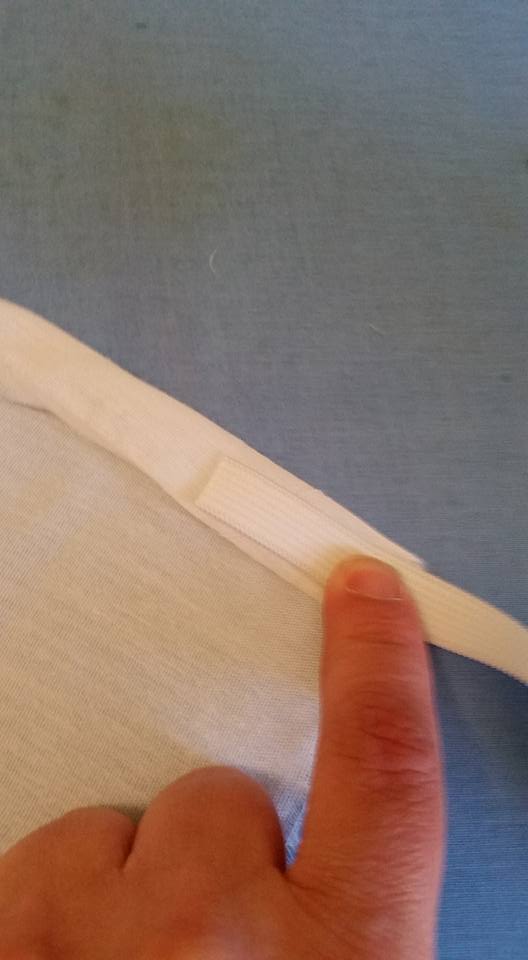
Making sure the casing would be wide enough for the elastic.
I sewed the “chemise” sleeve to the inside of the undersleeve . . .and they were done!
Originally, I had thought to make the undersleeve and the chemise sleeve separate . . . and there would be merit to that idea for flexibility, but, for this project, I decided to sew them together. These sleeves stay on remarkably well. If they tended to slip they could be pinned to the underarm seam, and/or ties could be added so that they would tie to the overdress.
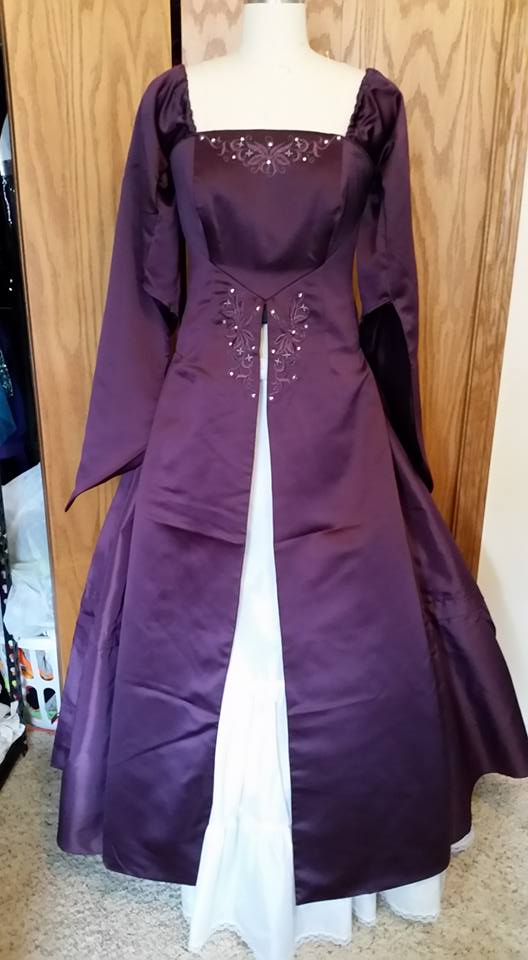
This is what the completed dress looks like! Overdress, sleeves, & petticoat, wearing an additional poofy petticoat underneath, and a coordinating hat.
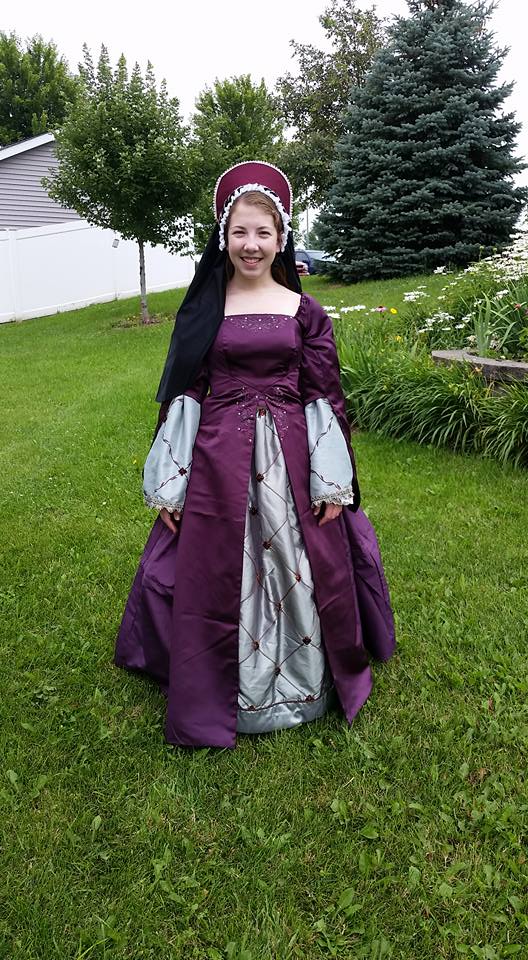
My wonderful daughter modeling for me 🙂

Cost: Eggplant bridesmaid dress $3, pillow sham $1.88, valance, $1.88, bedskirt $2, plus a little elastic & thread. Poofy petticoat, $6.99
Time: About 8-10 hours.
I will write blog posts shortly that discuss how to make the headpiece, AND, how to re-use the overdress and give it a more casual look.


Pingback: French Hood: Quick & Easy & Almost No-Sew | costumecrazed
Pingback: Eggplant Bridesmaid Dress Post #3: A more Medievel Look | costumecrazed