I am almost getting to the end of the Cinderella Waltz dancers. I put these eight girls in pastels and tried to make their dresses fairly homogeneous. This next dress wasn’t my first choice, but I was running out of time and options.
I began with this older Prom dress:


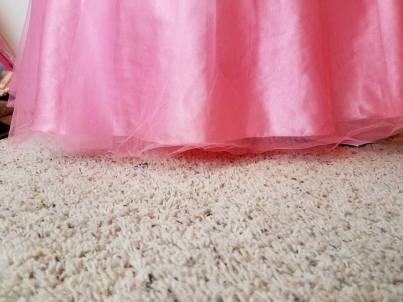
The lack of a back rather adds to the challenge, and takes away some of the advantage of starting with a base dress. The beading is coming off a bit on one side of the front, but, that really isn’t noticeable. The tulle layers are a bit longer than the underskirt.
I added Dress #2:


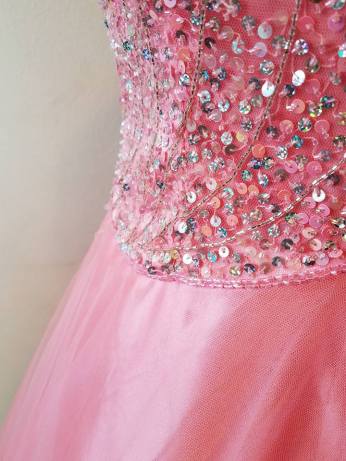
This is shown over the hoop. It is a strapless pink dress with a zipper back. The skirt has three double layers. I had originally purchased this dress as a possible option for Elle Woods last year.
The colors of pink were not perfect, but toned well enough to work, especially in the front. The skirt was a little small, so it would be left open in the back.


I needed to shorten the skirt. The options on how to do this were limited a bit because the lower edge of the bodice was edged with a double row of beading.
I measured down the amount that I needed to shorten the skirt, and pinned the layers together. Then I ran a row of basting thread along the pin line. The skirt was folded up and either eased or tucked along the lower bodice edge.


The loops on Dress #1 were cut off and then he bodices of both dresses were stitched together. A combination of straight stitches and wide zig-zag was used depending up on the amount of beading.


I wanted to jazz the dress up a little bit. I had 3 yards of a pink sequin organza fabric I wanted to use for the underskirt. The easiest way to add that would have been to cut a straight piece and just gather it to the waist. However, after I measured the lower circumference of the skirt and the length I would need, and did a few calculations, there was no way to get the bottom skirt width that I needed.
My fabric did not have a strong directional design (especially if under a different fabric), so I was able to cut three gored panels out.
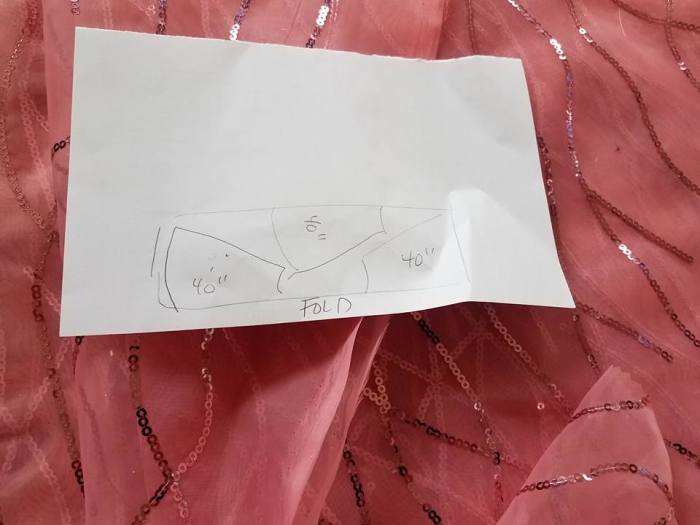
I used the underskirt as my pattern. I was OK with cutting off a bit of the width, as I figured it wouldn’t show. I used the first one as the pattern for the next two.
Three panels cut out. Two are on the fold, and one is in two pieces. I will put the divided one in the center back.
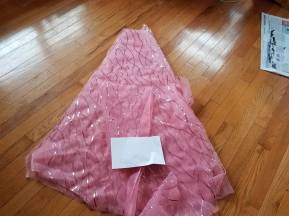
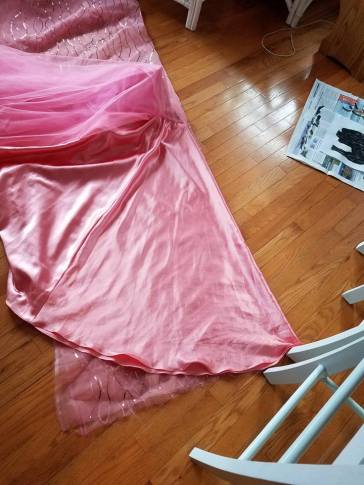
After stitching the thesequined fabric together, I zig-zagged it under the soft mesh overskirt.
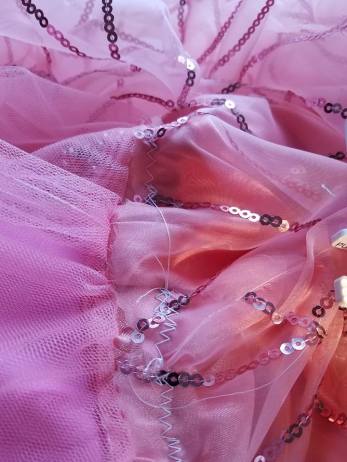
These two pictures show where the bottom didn’t quite meet at the bottom–totally invisible under the overskirt.


Next I needed to do something to the top. I decided to use the layered skirt from Dress #2. I draped it over the shoulders and shaped the neck with pins and tucks.


I added sequins to the edges of the layers. The drape is stitched to the bodice on one side, and closes with velcro on the other. It very nicely hides the color difference in the back and draws attention away from the split in the top of the back skirt.
And the dress was done:


This is not my favorite dress, but it does look nice on stage and the sequins glitter quite well.
Cost: Dress #1: $8, Dress #2: $6, fabric for underlay $9, extras: string sequins and velcro.


