
If you have been following along with my blog, you have seen a few posts along the way detailing how to make this sort of adjustable tie-waist skirt (Peasant Skirt/Petticoat Tutorial for “Cinderella” Sewers: Over the Bum Pad and Eggplant Bridesmaid Dress Post #3: A more Medieval Look)–so sorry, nothing new. I recently posted a youtube tutorial and this is the companion written tutorial to go along with it.
Thrifted linens are a great source of fabric for costumes. One of my favorite items are bedskirts, especially frilly white ones! A double bonus is that they tend to be cheap, and the ready-made ruffles are just the icing on the cake.
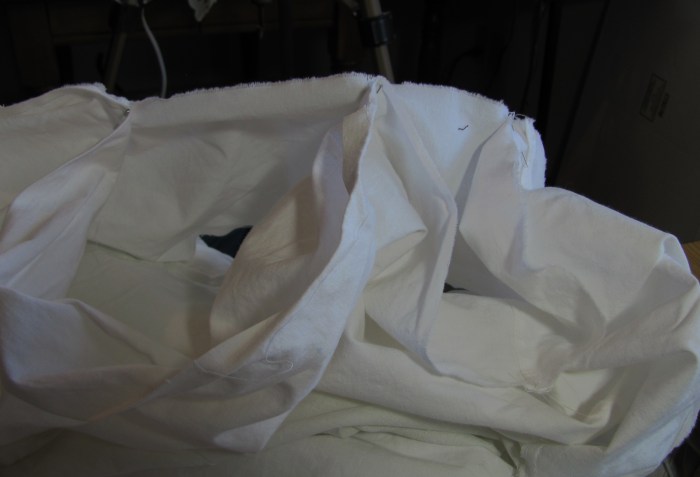
This project begins with a twin sized eyelet ruffle bedskirt, supplemented with part of a white sheet.
I began by laying the bedskirt out flat and trimming off the short end of the eyelet. I will save this for another project some day.

Next, fold the bedskirt in half the long-way, lining up the edges of the ruffles. It may be tempting to tear the bedskirt . . . however, IF the bedskirt is not made on the straight-of-grain (and it happens more than you would think), you may end up with very uneven strips. This was a lesson learned the hard way. Trust me. Cut the bedskirt down the center so you have two even pieces. (One exception–if you are using king-sized linens, you may want to cut the sides off separately, depending on the length you with your petticoat to be. You might be able to get two petticoats from one bedskirt, depending on the sizes you need).

For this example, I wanted about a 44″ length. My bedskirt was 34″ wide, so I added 10″ strips along the long edge. My bedskirt pieces were 70″ long. My sheet piece was only about 60″ long . . . no problem, I just spliced in additional pieces to get the needed length.

You also need two waist pieces. I cut mine about 4″ wide.

Lastly, you need something for the ties. You can use strips of fabric, or you can use something else like twill tape, bias tape, ribbon, whatever. I like to make my waist pieces separate from my ties. However, you can make a narrower waist, and make it one continuous piece of tie section-waist section-tie section.
To make my ties, I folded my fabric in half and made an iron line. Then I opened it up, and folded the raw edges to the center and pressed it. Then I folded it in half and stitched the two open edges together. When I am in a rush, I often just fold the strip in 1/3’s and run a line of zig-zag down the center. This isn’t as nice, but it is quick.


Next I sewed my fabric strips together. I stitched the 10″ strips to the long edges of the bedskirts. When I am making petticoats, I like to finish the seam by sewing the seam allowance down flat (instead of zig-zagging together). I like the extra line of stitching holding the seam together as I think this adds strength in the event someone steps on the bottom of the petticoat.

Once the front and back are complete, it is time to sew the side seams. Start at the HEM. It is easier to adjust the top than to adjust an uneven hem. Stitch from the bottom of the petticoat to about 8″ from the top. This will make the placket for the overlap. I am going to just turn the raw edges under and stitch. You could just zig-zig or serge the raw edges, bind it in bias tape, or whatever you want.


Now it is time to attach the skirt front and back to the waistband. Begin by marking the skirt front and back in quarters. I use a heat-sensitive pen so the marks will disappear. Make corresponding marks on the waistband pieces (leaving the seam allowance on the ends). (If you prefer to gather the skirt, now is the time to run the gathering threads).

Pin the skirt to the waistband at the quarter marks.
Then pleat the skirt to the waistband, switching the direction of the pleats at the center.
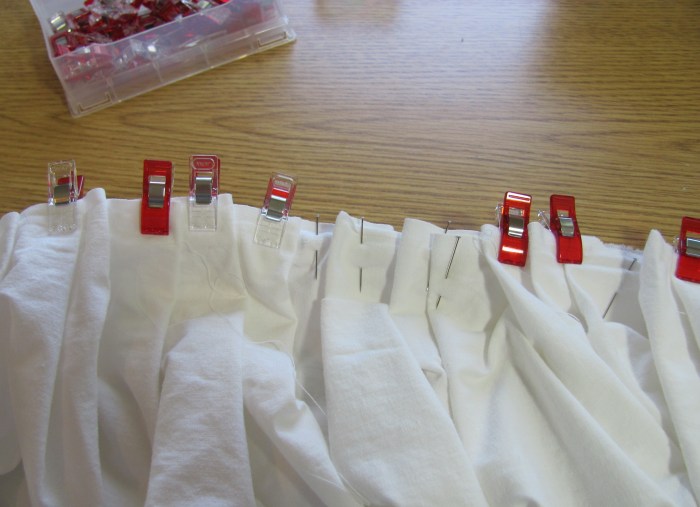
I prefer to pleat from the back side. So, I put my pieces right sides together, and then flip the waistband piece up and over to the back. You can also do it the other way. You can also fold the waistband in half, and sew it to the skirt, leaving the raw edges exposed. There is no right or wrong way to do this.
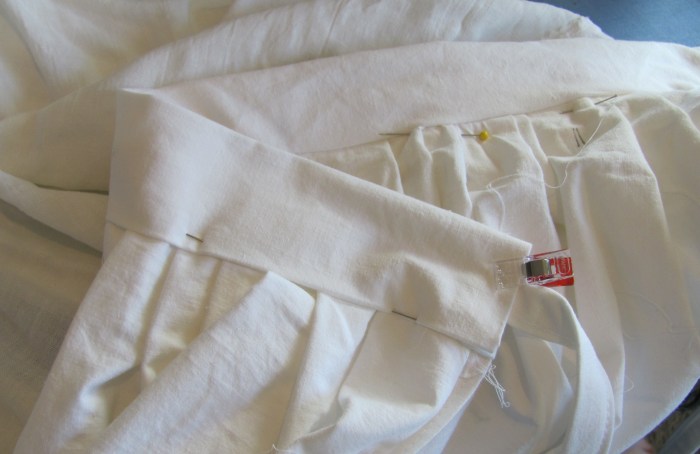
Here is the right side of the skirt.

Working from the back side, I press the side seam allowances of the waistband in. Then I fold the top down a bit less than half way (this form the “interfacing”). Then I fold the waistband down so that the back edge COVERS the seam where the skirt is attached. I pin this carefully so that when I topstitch the waistband from the front, the back will be caught in the line of stitching.
I insert the ties into the ends of the waistband. I reinforce this insertion spot with some backstitching to help prevent tearing.

And . . . that is it. The petticoat is done.


Remember, to put it on you tie the back on first, and then tie the front on.

One of the nice things about this petticoat is that the skirt is made with rectangles. If you need to make it shorter you can press in a tuck and baste (or pin) it in place. This style of waistband is very versatile and will fit a wide range of people.


Pingback: A Flowered Hoop Dress: Curtain upcycle | costumecrazed
Pingback: Fiddler on the Roof: Peasant Costume #5 | costumecrazed
Pingback: Fiddler on the Roof: Peasant Costume #7 | costumecrazed
Hello!
I was wondering how to make the petticoat longer? I am recreating this from a black preferably Cali King/ King bed skirt would this be the right sized bed skirt so that the petticoat can be longer that a 6 teir hoop skirt or should i use two bed skirt to get more size and length. I am 5’4.
Thank you.
H.
LikeLike
Pingback: Pattern Testing: Turn-of-the-Century costumes; Pink Ensemble (Meet Me in St Louis) | costumecrazed