As you can guess from the title of this post . . . I am making some costumes for a local production of “Young Frankenstein”. This little costuming adventure is a new experience for me as I am getting to play the role of worker bee and am NOT in charge of the whole thing. It’s kind of fun. The idea of finishing my task, dropping of my costumes and feeling “done” is sort of liberating.
The back story to this costuming marathon begins with a fellow costumer who ordered some costumes for her production from an overseas supplier. Her bundle of costumes is . . .well . . somewhere . . .lost . . . between China and the midwest . . . and her opening night is in two weeks. So, when I got her email saying “Do you happen to have any peasant costumes?” (and all mine are at another local high school for their production of “Cinderella”) . . . it seemed like as good an excuse as any to pitch in an make some new ones! Over the course of about 24 hours I made seven outfits . The missing costumes were described as “German serving girl” costumes, brighter colors/primaries, a little on the campy side, inspiration late 1800’s.
I was anticipating jumping into my task since the “Cinderella” peasants were darker colors, and definitely not campy/silly. I was able to dig into my stash of tablecloths, fabrics and trims and up the fun, and have the satisfation of using mostly stuff that I had on hand.
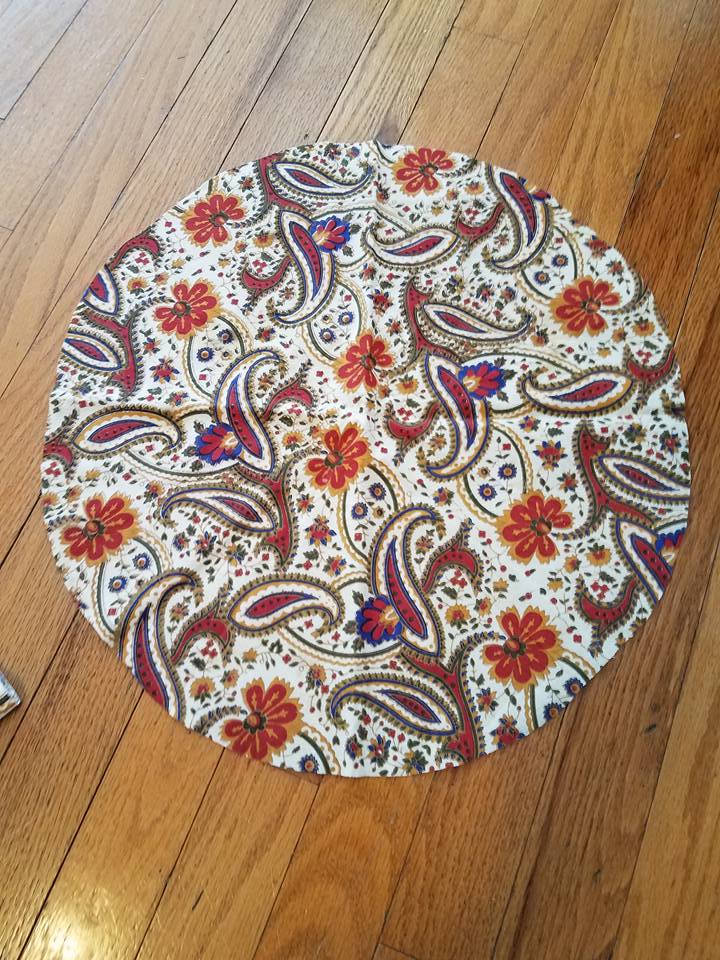
I begin with a round tablecloth to make the skirt:

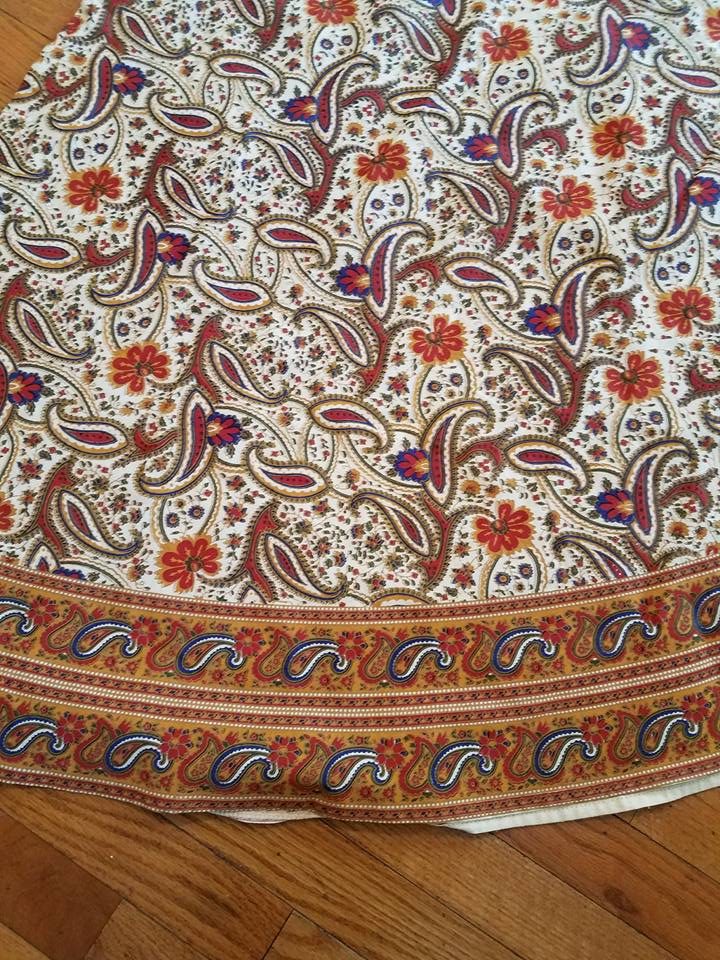
I love the pattern on this tablecloth, and I really like the printed border aong the edge. I think it has an Eastern European feel, in a costume sort of way.
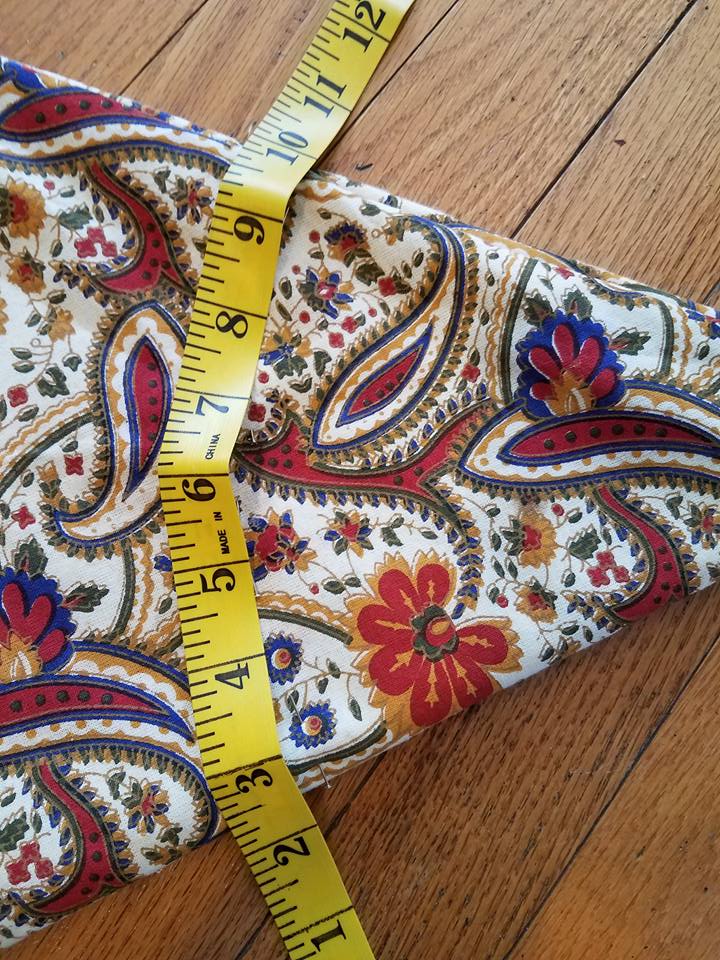
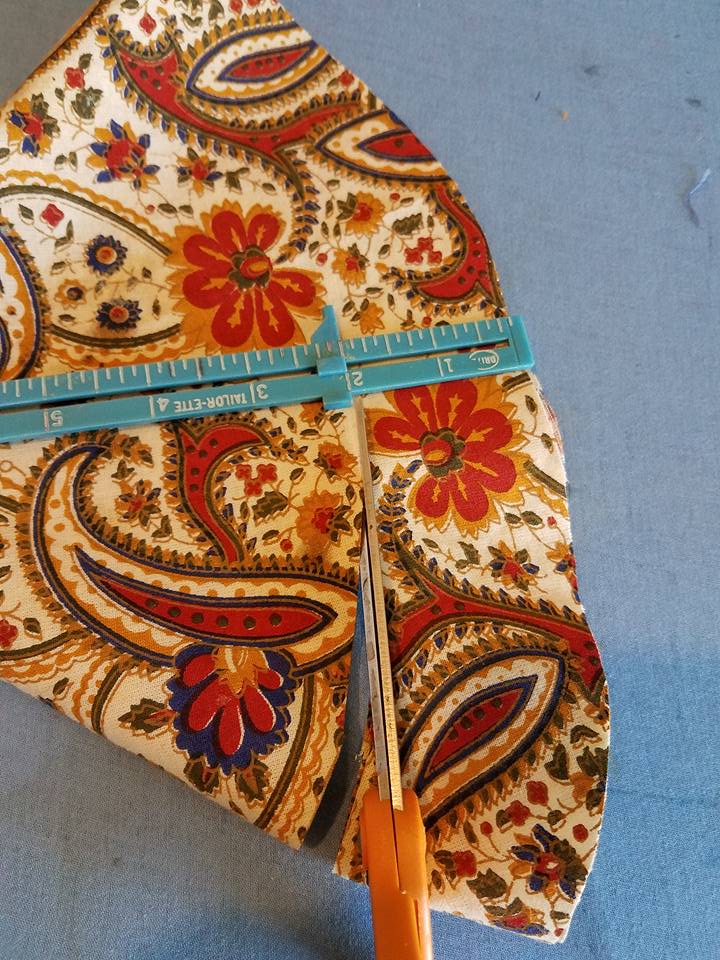
I began by carefully folding the tablecloth into 1/8’s:

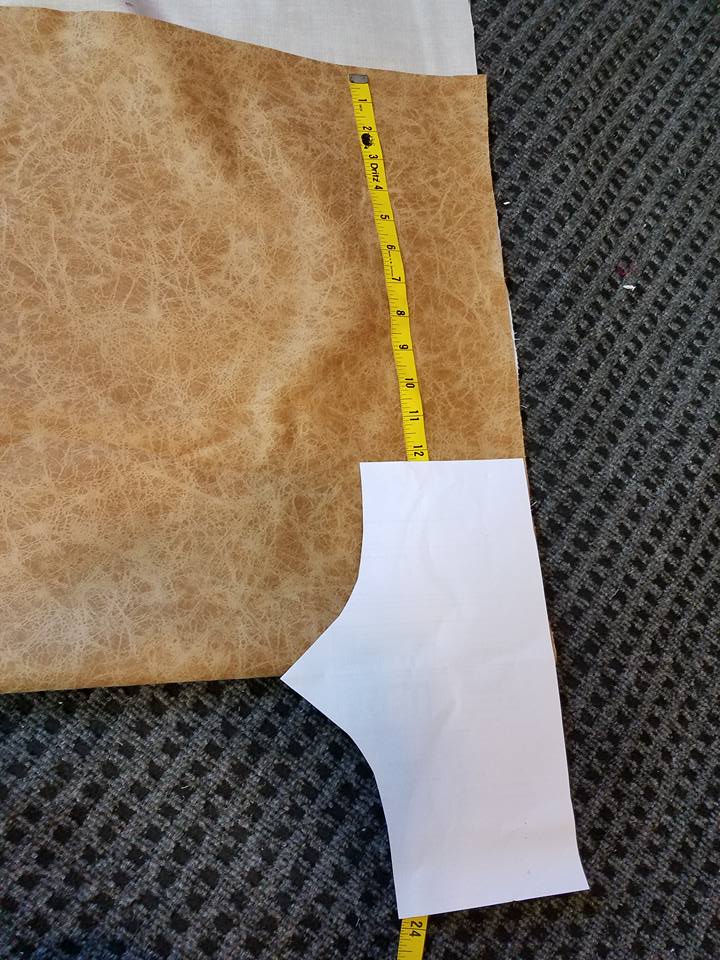
I decided how long I wanted the finished skirt, and I measured up that high on the side and marked the height with a pin. I did this on the opposite edge, and at intervals along the curved edge. When I was done, I had a curved line (shown with the tape measure as the pins didn’t show up in the picture). I cut along this line, and the inner circle was removed. In this case, I didn’t care how big the inner circle was as my focus was on the skirt length. If you were making, for example, a 50’s circle skirt, you would want to pay attention to how much fabric you cut out (recalling the fabric is folded in 1/8’s, so you don’t need to cut out much to get a waist-sized hole).
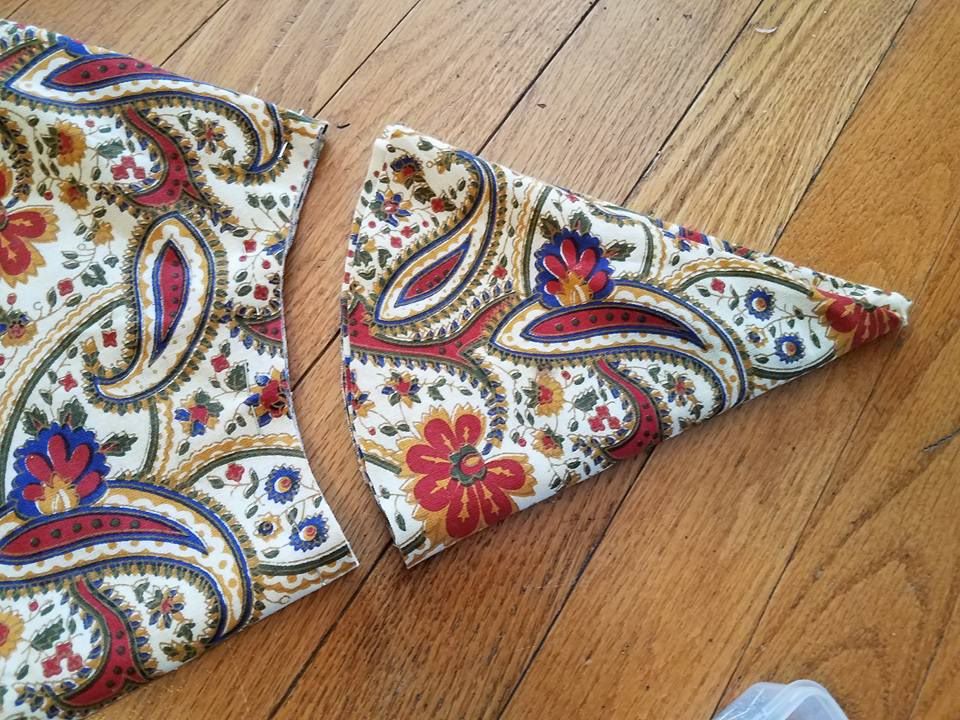
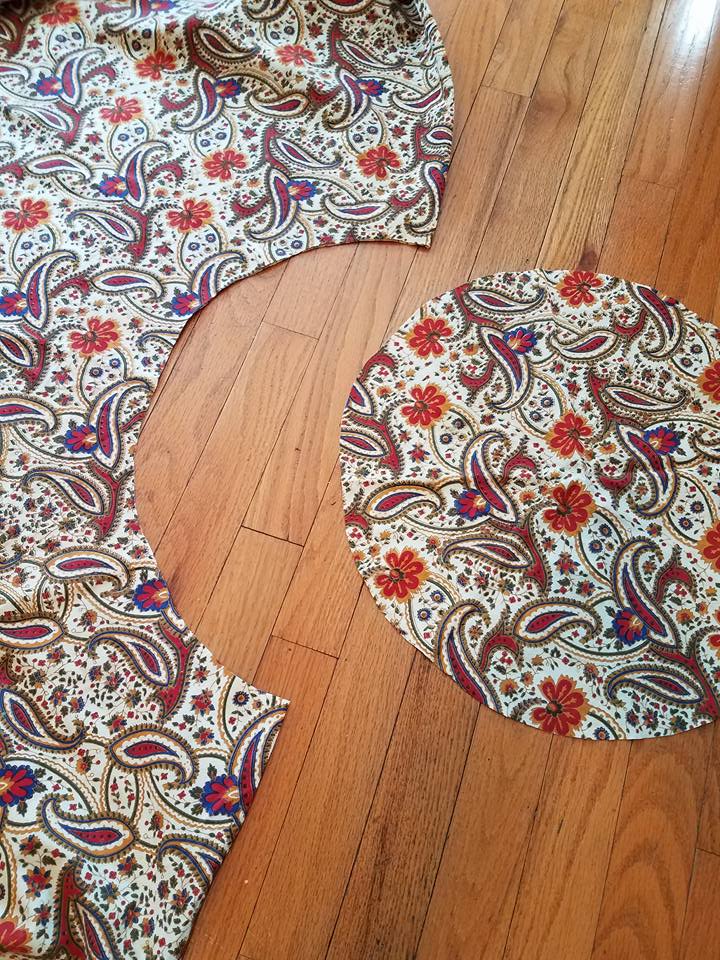
The circle I cut out is the only scrap fabric from the skirt I had, so I knew I would need to plan ahead to make the top coordinate with the skirt.
I didn’t have measurements for any of the cast members, so I wanted to make costumes with flexible sizing.
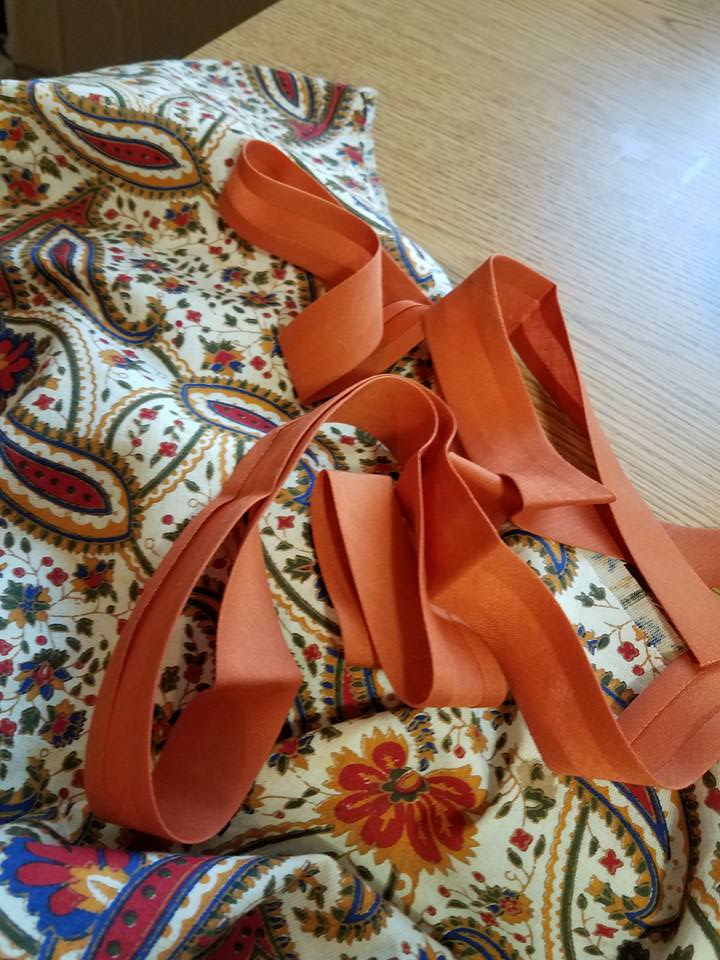
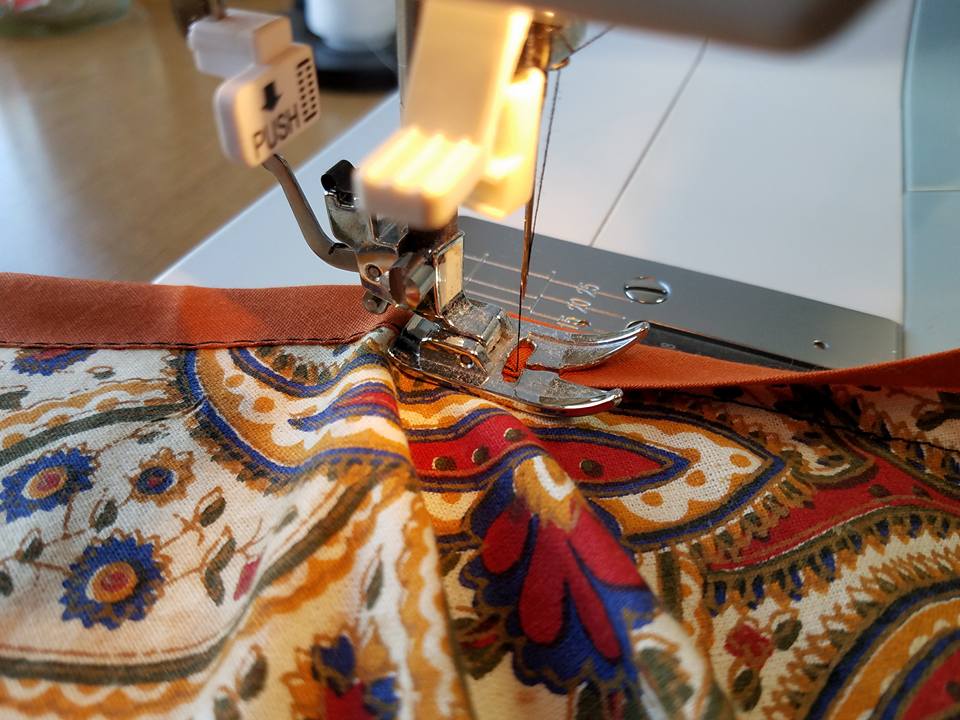
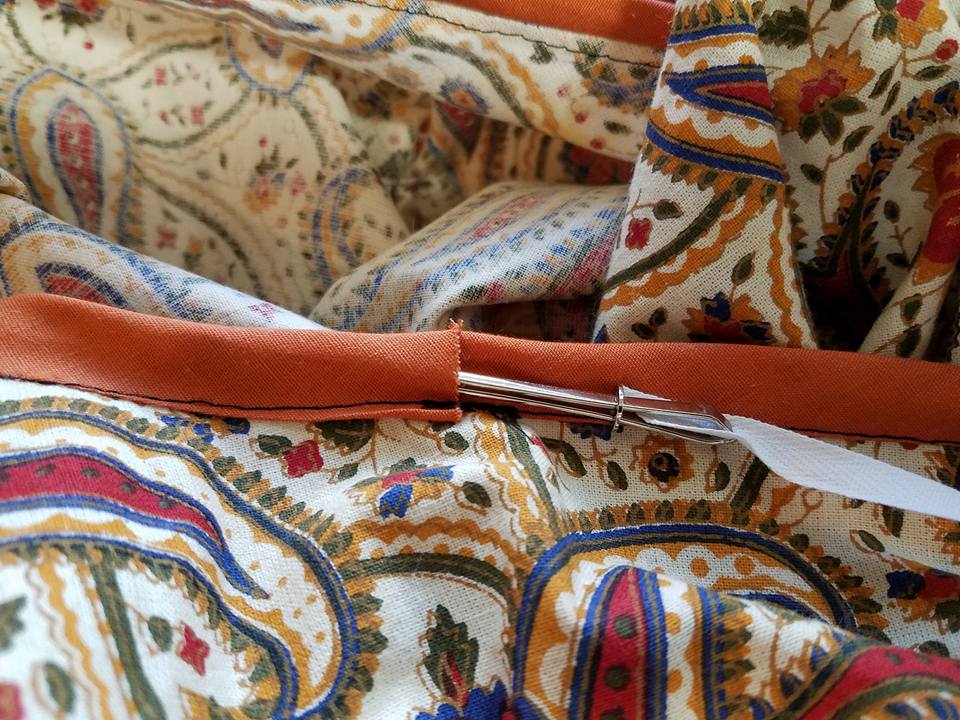
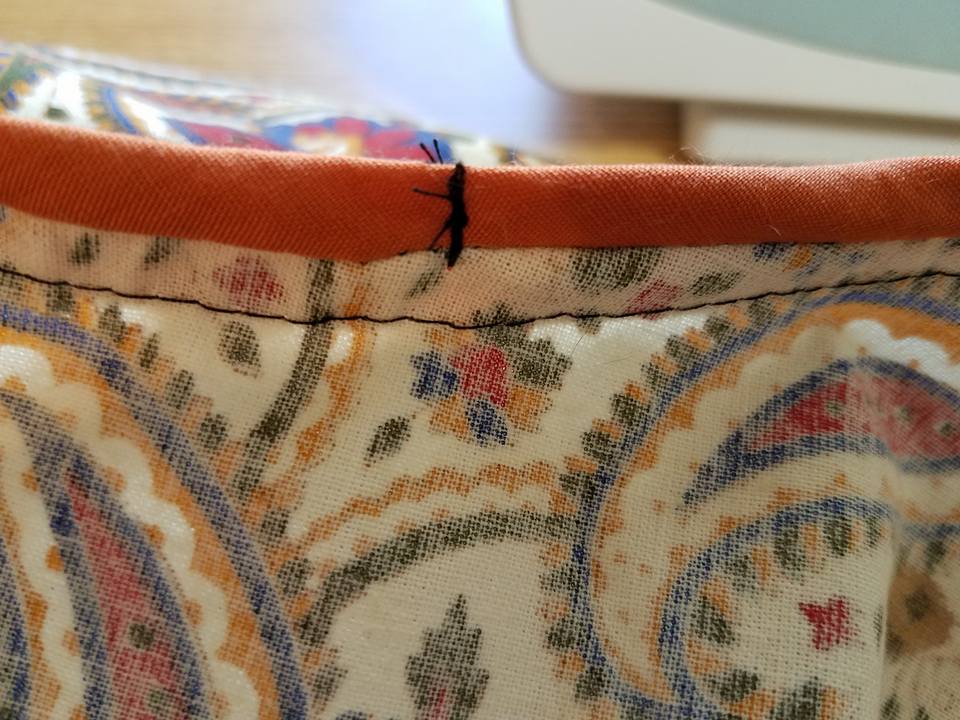
For this skirt, I decided to make a drawstring waist. I found some wide bias tape in a coordinating color. I stitched it to the wrong wide of the skirt and then folded it to the front and top-stitched it in place. The ends are just butted together with some extra back-stitching along the bottom. Sometimes I will stitch the top edge together as well, especially if the waistband is wider.


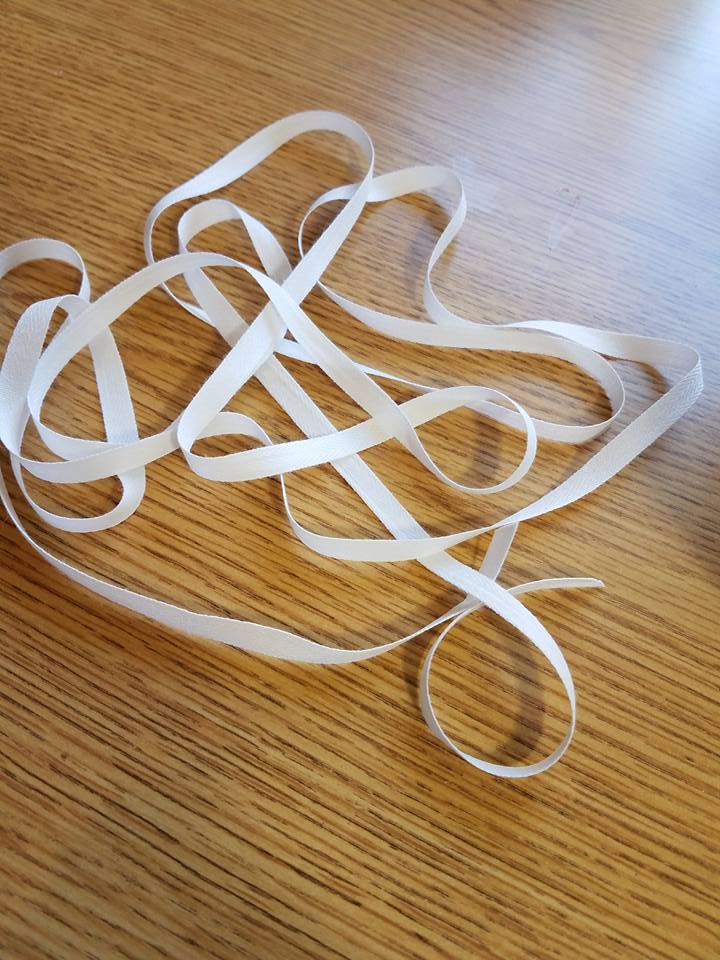
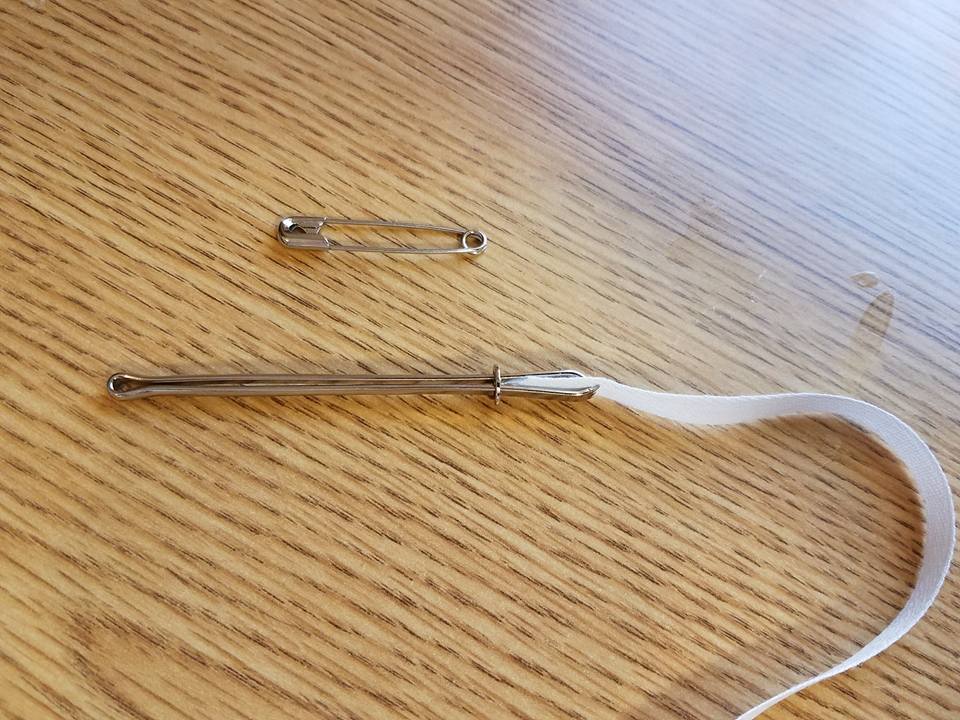
I used twill tape for the drawstring. I used a bodkin to pull the tape through, but you could also use a pin. Make sure that the string is longer than the waistband or you risk the tie being pulled back into the casing by either over zealous cast members, or the laundry. I always tack the drawstring down to keep it in place. (A little mishap with the drawstring in Belle’s hoop in the middle of a performance taught me that important lesson).
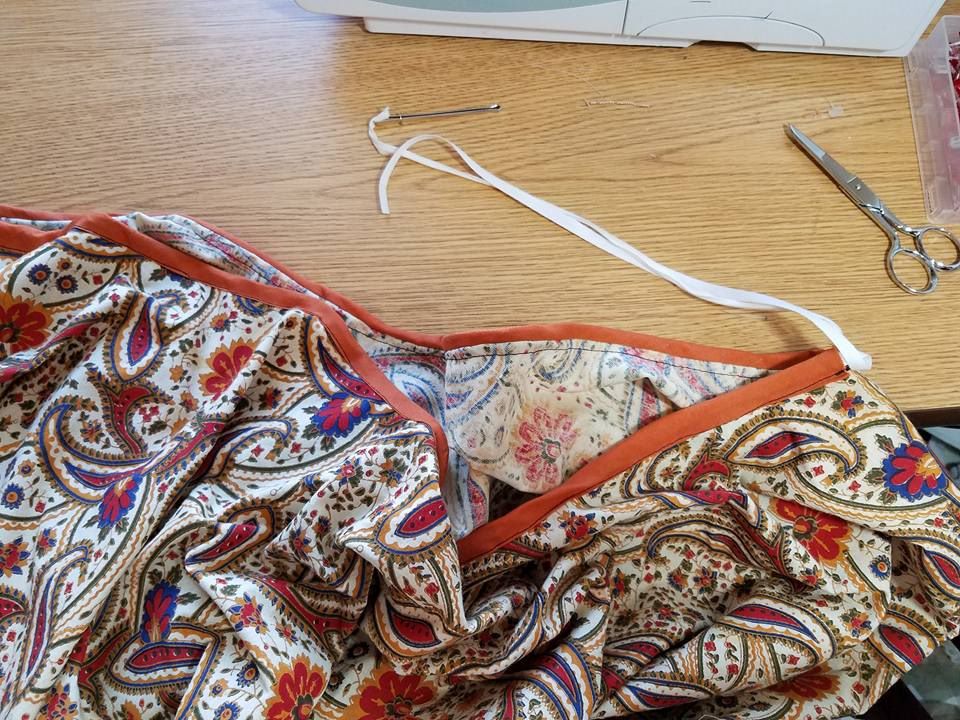
And . . . my skirt was done.

So, on to the blouse. I began with a base garment:

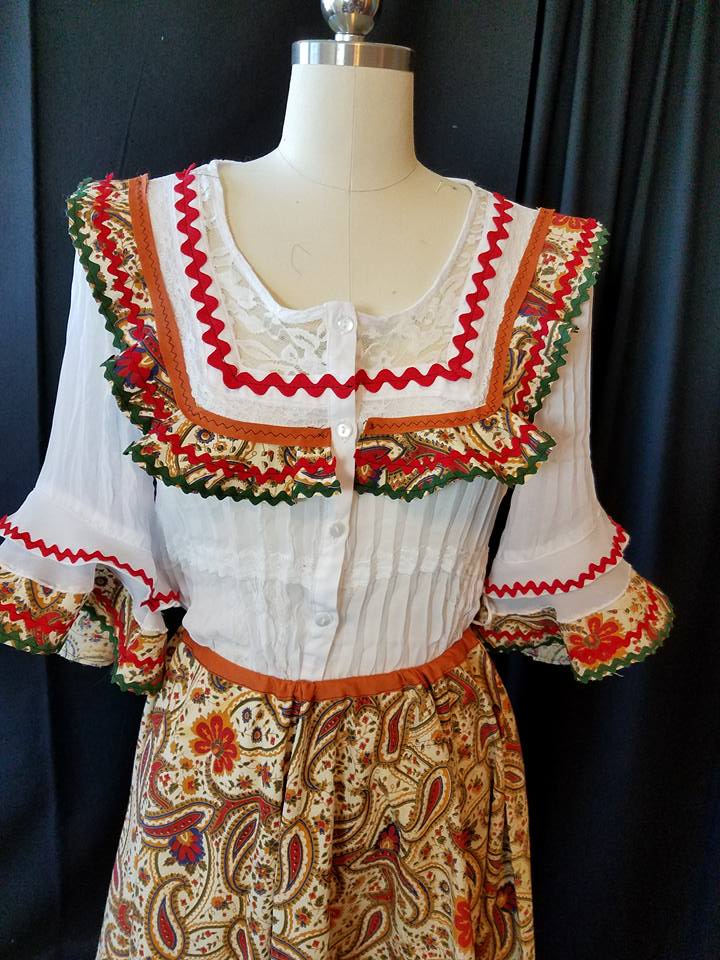
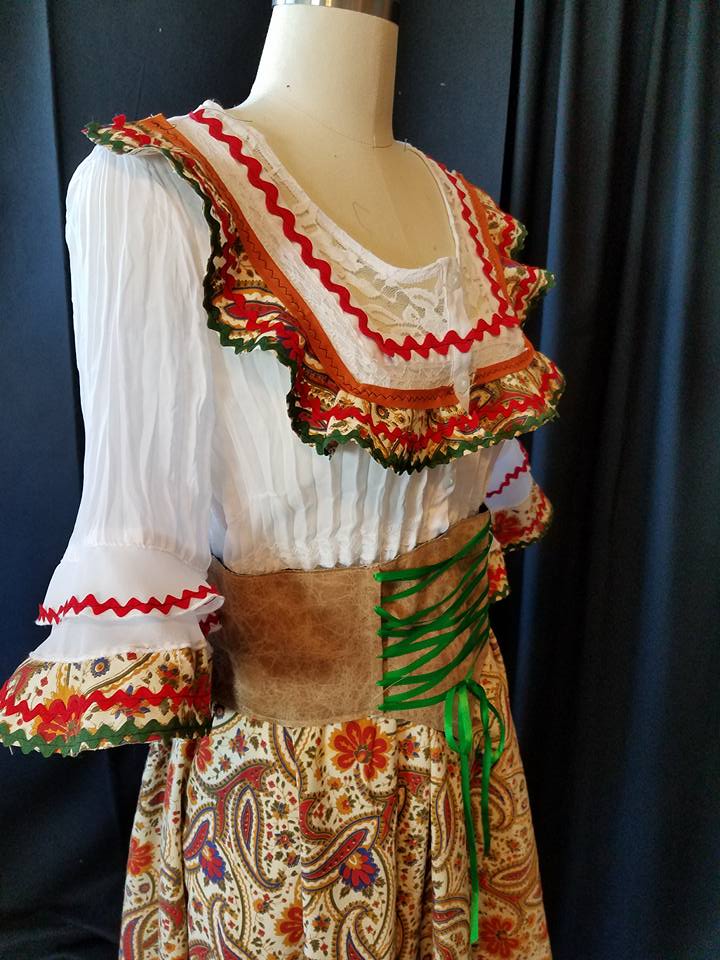
I picked this blouse up mainly for the neckline. It has the square shape, and the inset lace which gives the feeling of undergarments and layers. Other interesting details include the seam across the upper chest, and the ruffles on the sleeves. I wanted the blouse to coordinate with the skirt, so I cut circular “ruffles” out of my little scrap. Since one side of the strip is longer than the other (due to the curve), the fabric will wave a bit.
I used some of the strips to decorate the sleeves and some went on the front of the blouse. I used some of the bias tape for trim, and then I was inspired to use ric rac. Really, nothing quite says campy to me like ric rac does. I like how it looks tucked in a seam, but it is one of my least favorite trims when appliqued on, but I will admit, after this project it is growing on me!

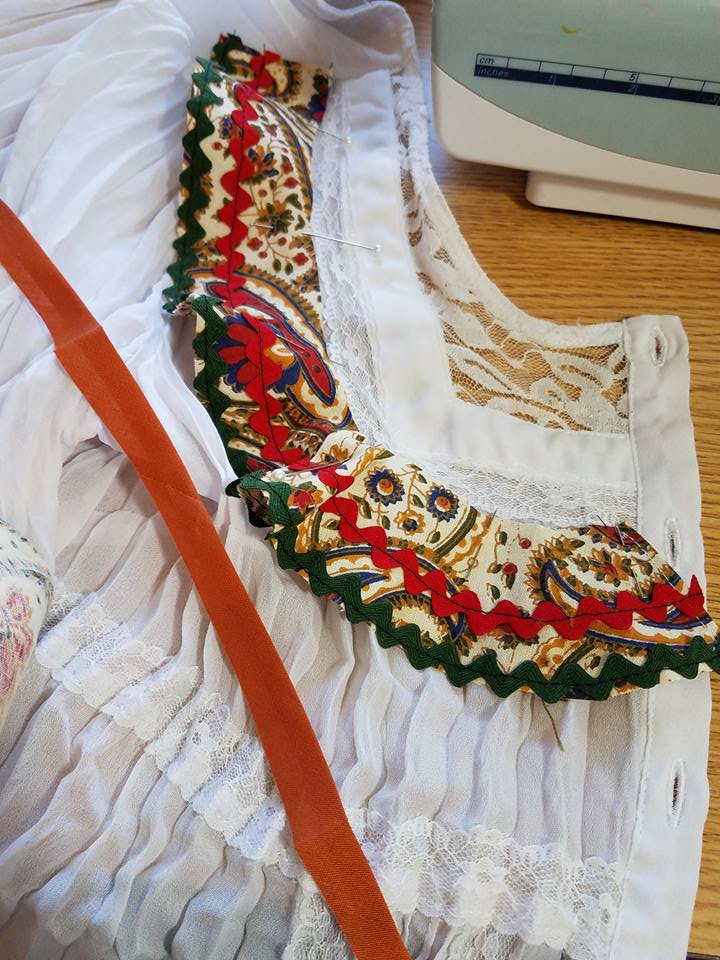

I needed to cut more strips for the neck ruffles. Each strip has a tighter circle so it waves differently. I cut the two pieces I had in half and stitched them together in the opposite direction so that the fuller part was on the lower front, and the straighter part went up the side of the neckline. The “ruffles” will hopefully not fray much as they are cut on the sort-of bias, and the ric rac also helps to finished and stabilize the edges.

The outfit needs a little something else . . . so it is time to make a fake corset. Corsets are a bit of a conundrum for costuming. Lacing looks great, but, isn’t conducive to fast costume changes (and teenagers struggle with it). Since I needed to do a number of costumes quickly, I decided to go with non-functional lacing and a simple waist corset. From experience, I know that pinning and stitching down fake lacing can take longer than you would think. I also had a goal of creating a waistband that would be somewhat flexible in sizing without requiring sewing. One option is to put 3-4″ wide elastic in the back. You can buy this in a roll, or you can buy old belts at a thrift store and harvest the elastic. The widest I had was 2″ elastic, so I thought I would begin by trying to use it (somehow). (Keep in mind, I knew that these costumes would be worn by “average” size girls, but I did not know their specific measurements, so I needed to have flexible costumes).

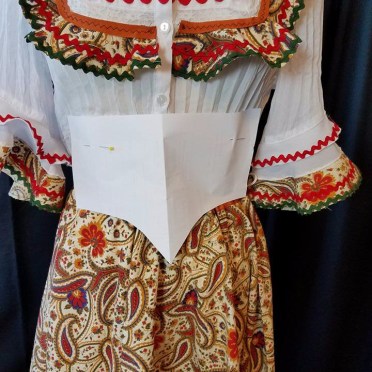
I began by drafting a pattern. This was super complicated. I cut a shape out of paper and held it up to the costume and said “Good enough”.
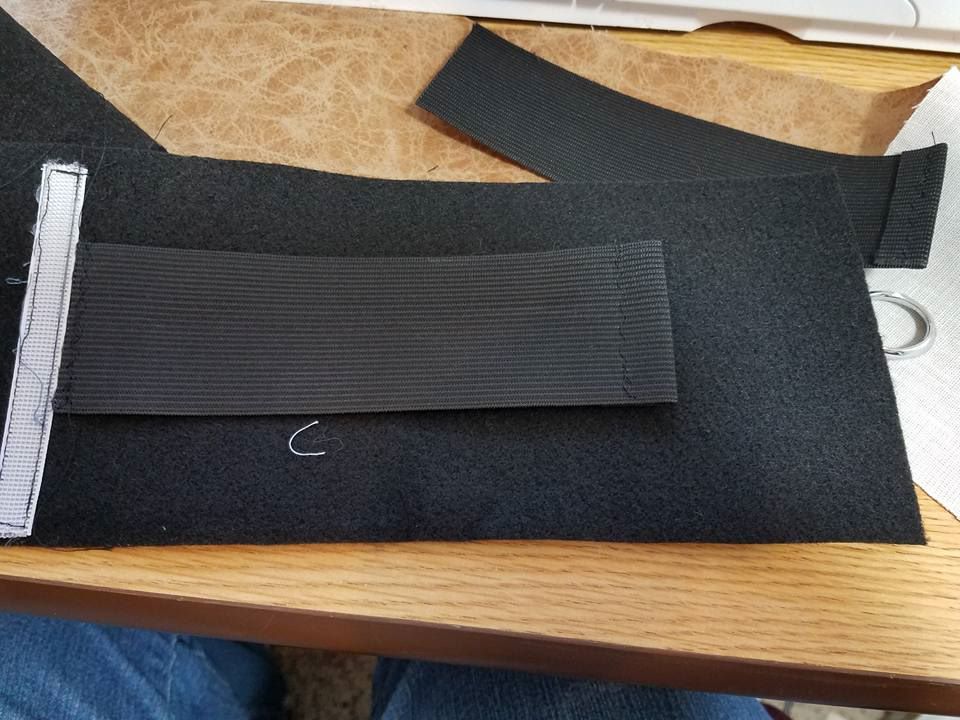
I cut the front of the waistband out of a leather print “pleather”, and the backing out of black felt. The story of how I got this piece of fabric is kind of funny. I happened to stop at a garage sale on my way home from work one morning, so it was early, probably around 8 a.m., which meant I was one of the first customers. The people had no prices marked, and when I asked they said “Just make an offer”. I picked out the fabric I wanted, and then I looked to see how much money I had–and it wasn’t much. I didn’t want to offer everything I had because I knew they would counter offer, so I gave an extremely low-ball offer. Legit, I think I had a 3+ yard piece of vinyl and 4-5 other good size pieces of some nice fabric. I put my “I’m a reasonable person” face on . . . and offered $10. The young lady got a funny look on her face, kind of stammered, looked away and squeaked out “OK”. To this day I feel a little guilty, but then again, the moral of the story is: If you are going to have a “make an offer” garage sale–you better be prepared to say “no”–or at least counteroffer!

At any rate, back to the waistband. I wanted the waistband to have some body so it wouldn’t roll. I used some scraps of sew-in boning that I had salvaged out of a dress and stitched it to the felt lining.
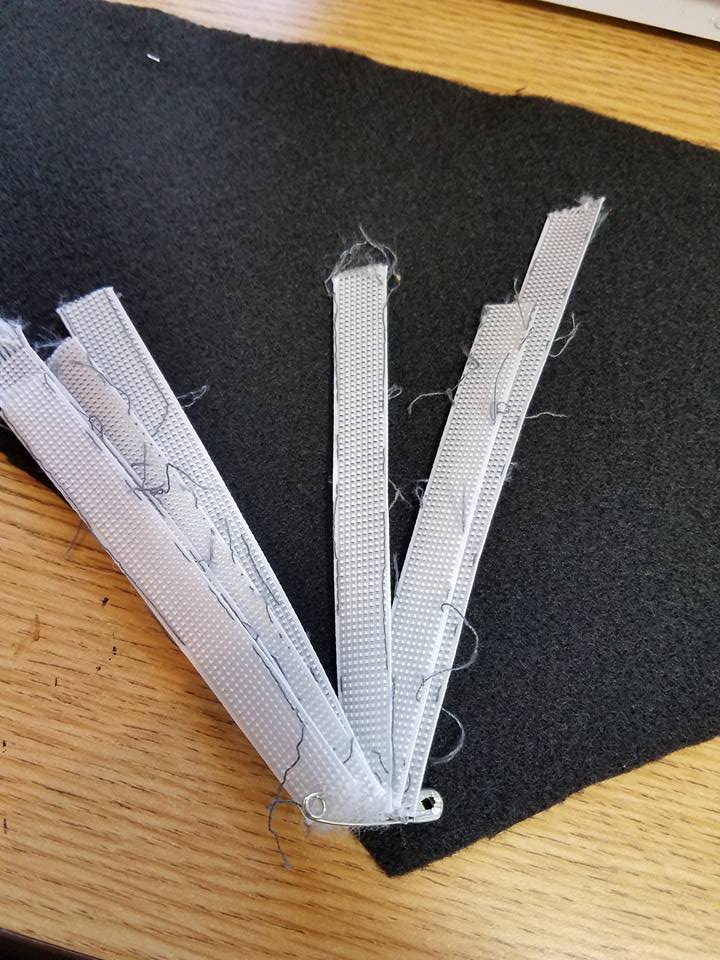
My idea for making this waistband adjustable was to insert pieces of elastic on the inside of the waistband in the back. I sewed one end down and pinned a “pulling thread” to the other end. After I sewed the edges of the waistband, I pulled the elastic and stitched that end down.

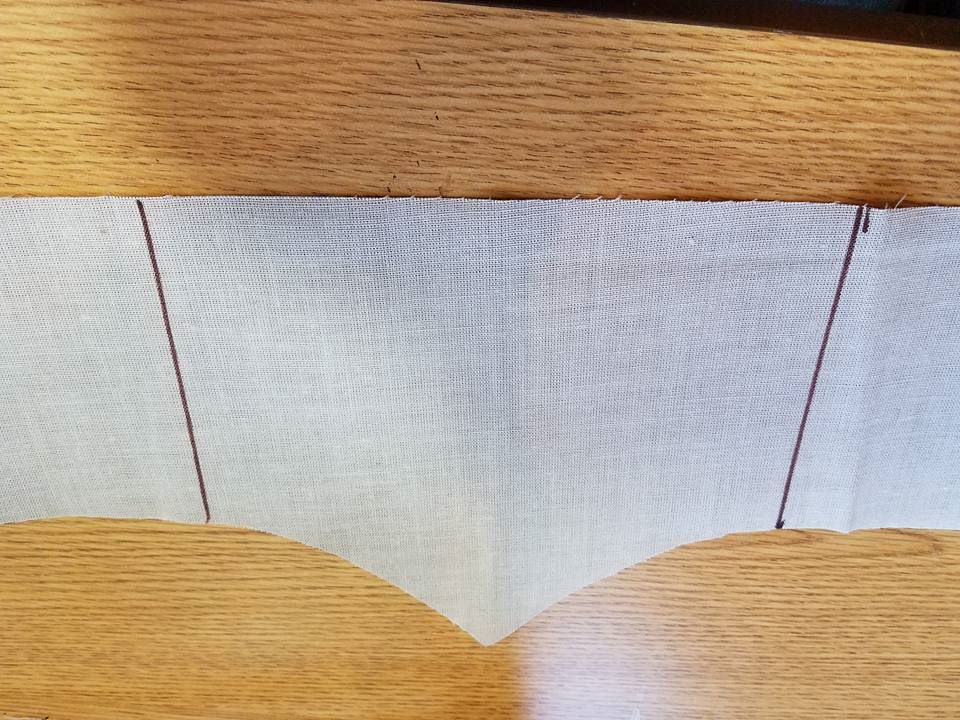
Before I sewed the front to the lining, I made the front lacing. I marked the back of the waistband on both sides of the center front. I made a tuck on the right side of the vinyl. I marked pairs of dots along the width of the waistband.

After poking the holes through the vinyl with a larger needle, I threaded the ribbon through.

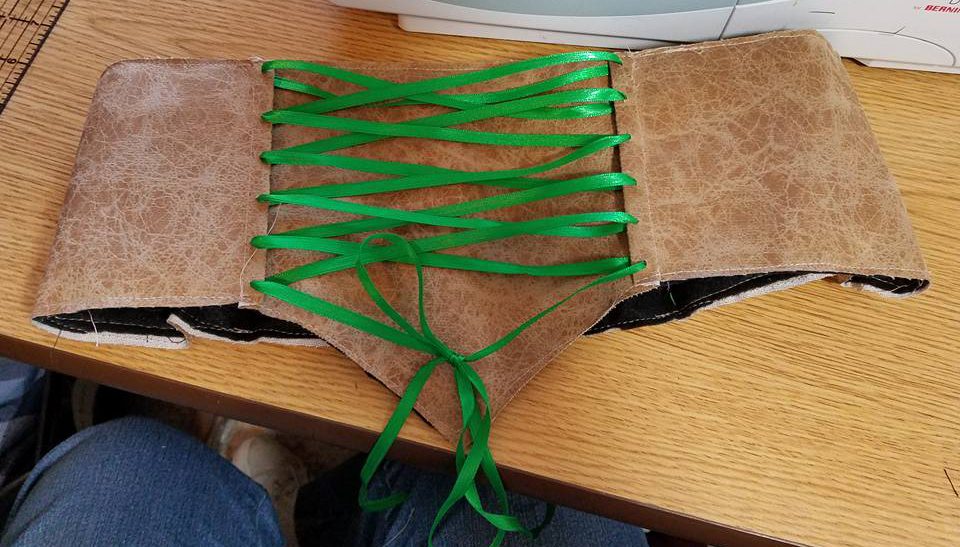
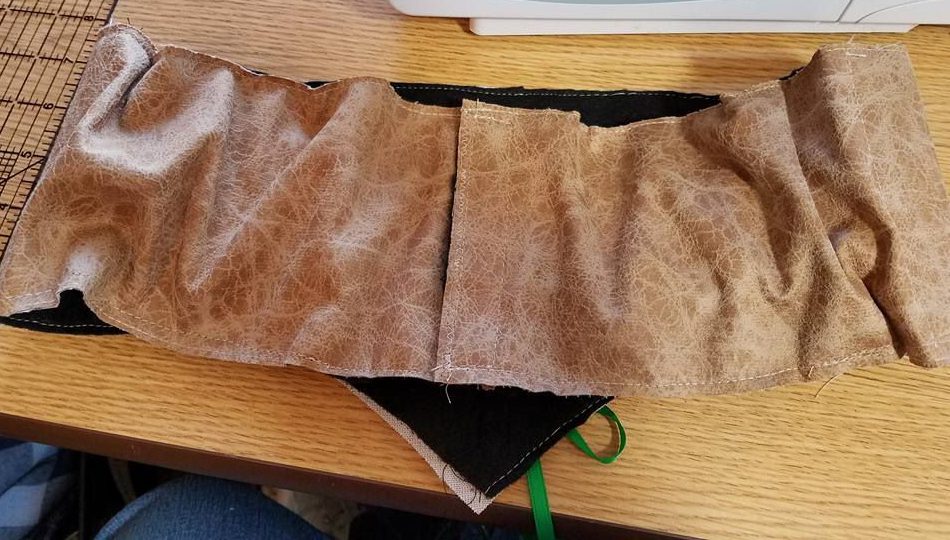
The back was finished with some hook and loop tape. This method of inserting the elastic does make the outer layer buckle some, especially at the smaller size. I would need to see it on an actual person, and from a distance, before I pass final judgement.

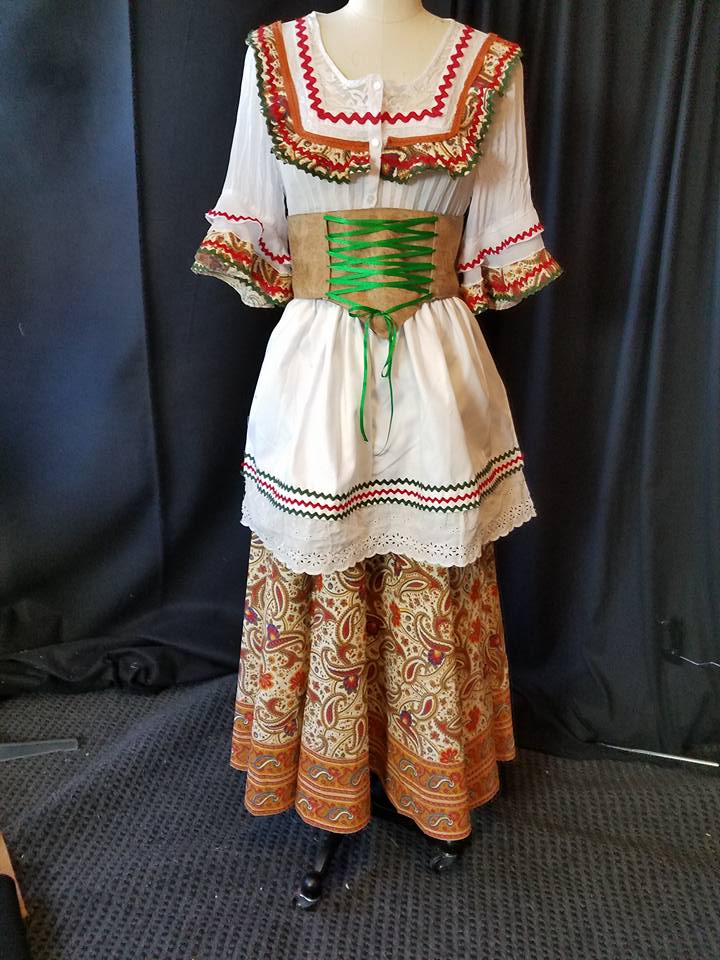
The finished outfit:
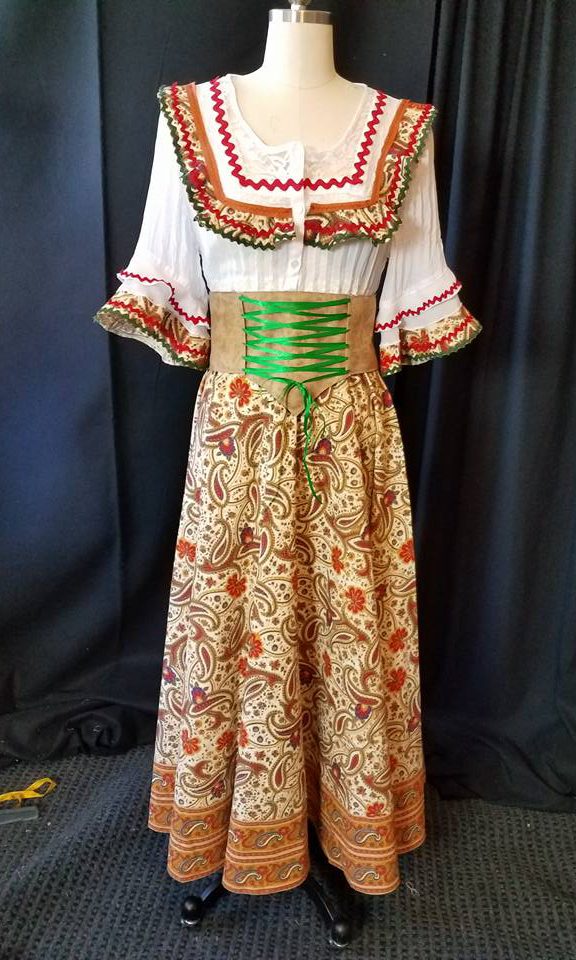
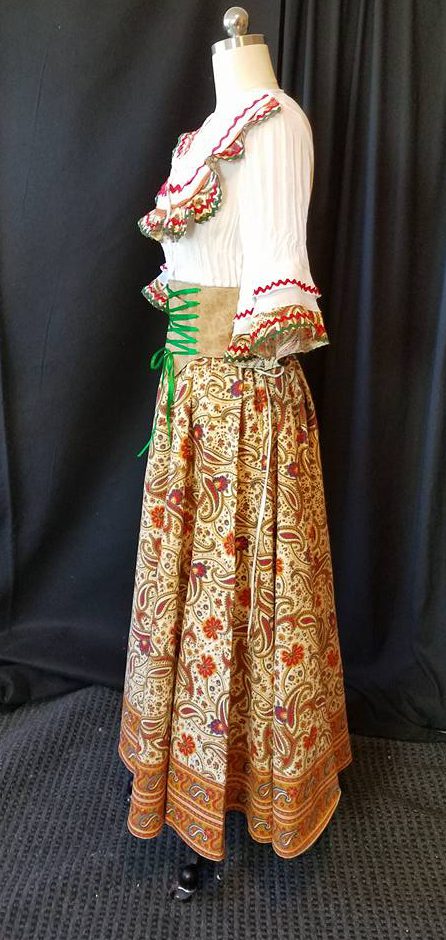
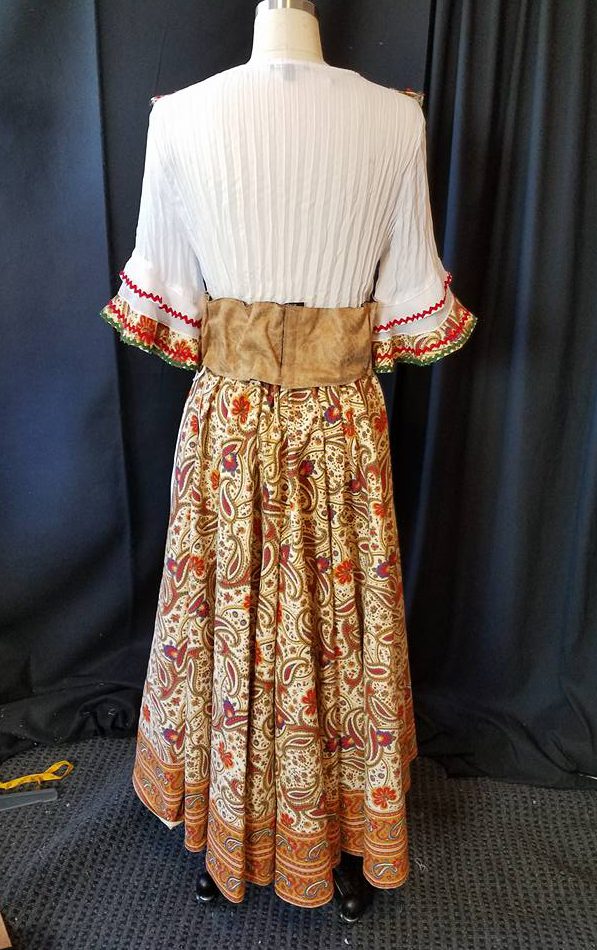
Well . . . not quite finished. I found the bottom of a pair of scrub pants that I had cut off to make a pair of upcycled bloomers, added a few rows of ric rac, gathered it on to a piece of twill tape, and made an apron.
Now, it is finished,

Overall, I am happy with this outfit. After talking to my friend, I think I made the skirts too long. How will I solve this? I will raise the skirt at the waist. After determining how much shorter the skirt should be, I will mark that distance down from the waist. I will then ruse a Frixion (heat removeable) marker to draw a line around the skirt (or pins). That line needs to be topstitched right under the waistband. Depending on your preference, you could either run a gathering thread, or pleat the excess. There will be an extra pleat of fabric hidden on the inside of the skirt. Go ahead and leave that there–you never know when you want a longer skirt, and all you will need to do is remove the stitching. I wrote a post with a good example of this here


Pingback: Young Frankenstein: Peasant Girl #2 | costumecrazed
Pingback: Young Frankenstein: Peasant Girl #3 | costumecrazed
Pingback: Young Frankenstein: Peasant Dress #7 | costumecrazed