This post is about the third costume that I made for a local production of “Young Frankenstein”. These costumes were brighter and more eclectic than the ones I had made for “Cinderella” and “Beauty and the Beast”, and I was able to incorporate more colors and patterns. The look is fun and colorful, and they were a lot of fun to make–and a great way to use up a few pieces from my stash. This costume was probably the quickest and easiest to make–no major structural changes, just tweaking and trimming.
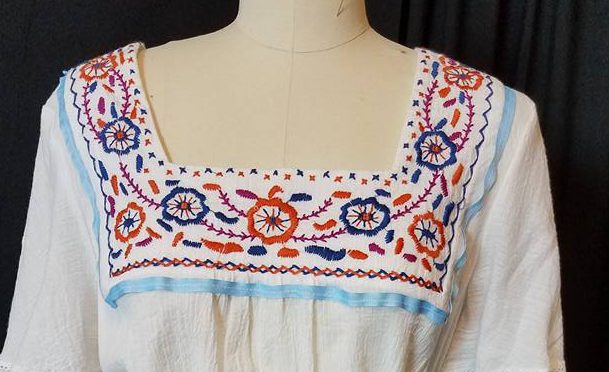
I began this costume with an embroidered blouse:
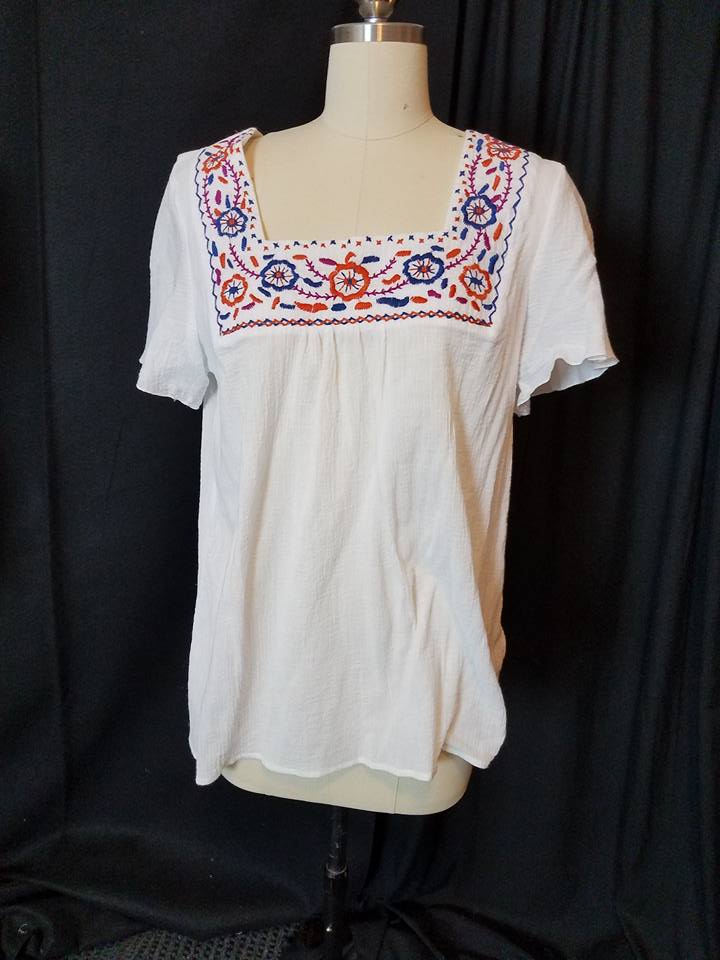
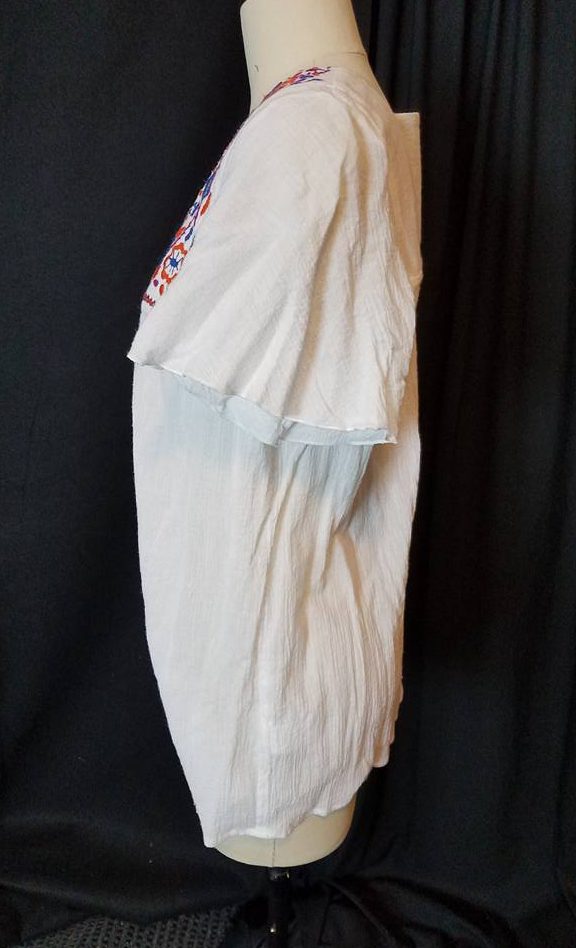
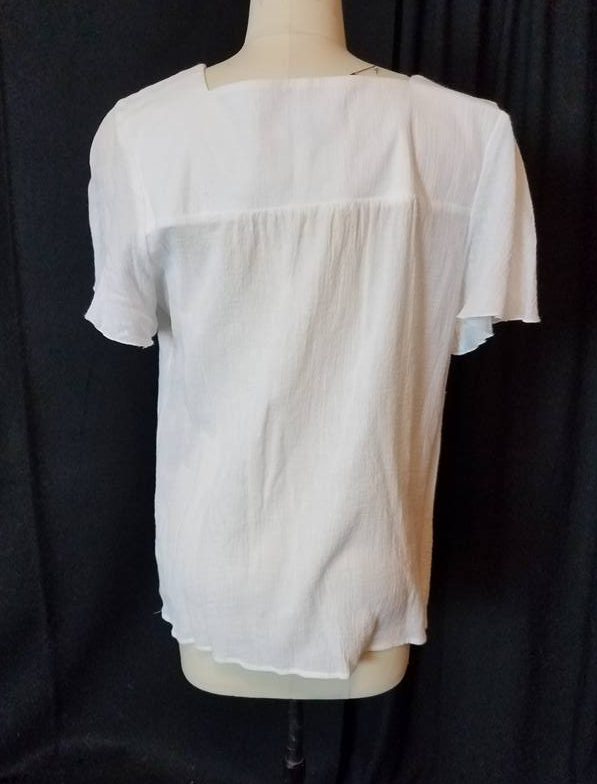
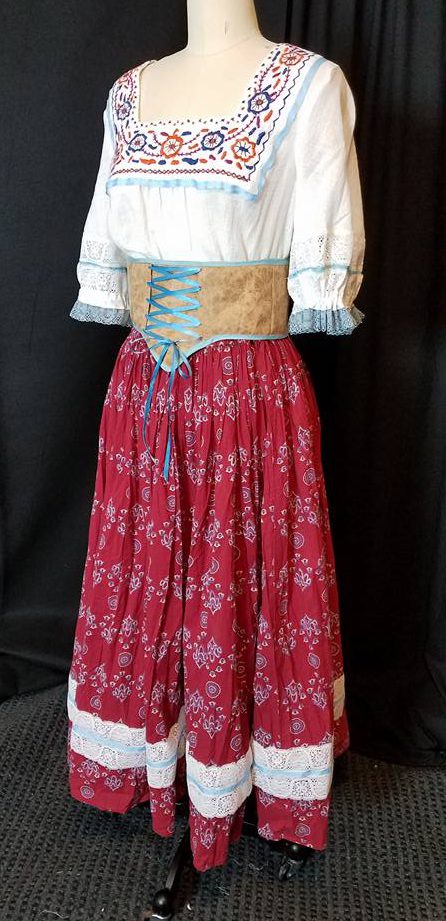
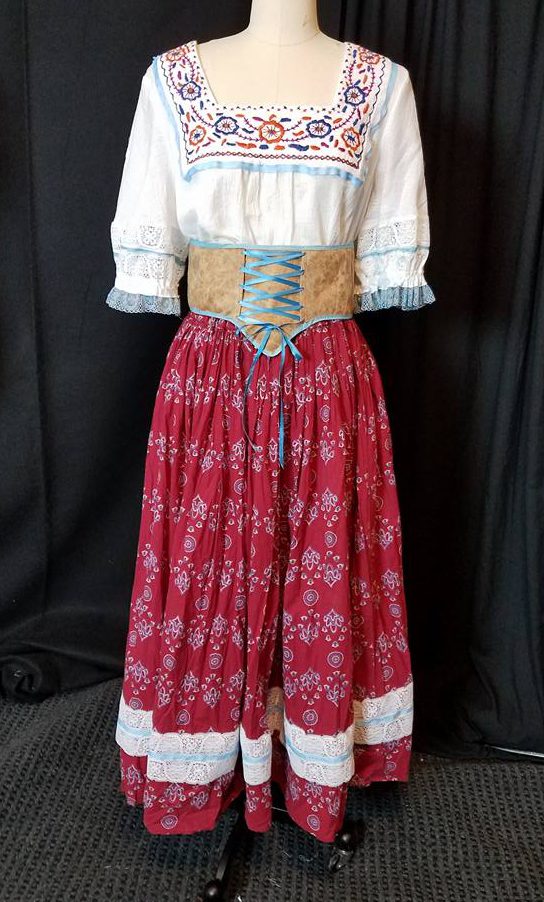
The blouse was made of a light gauzy sort of fabric. It had a square neckline and wide fluttery sleeves.
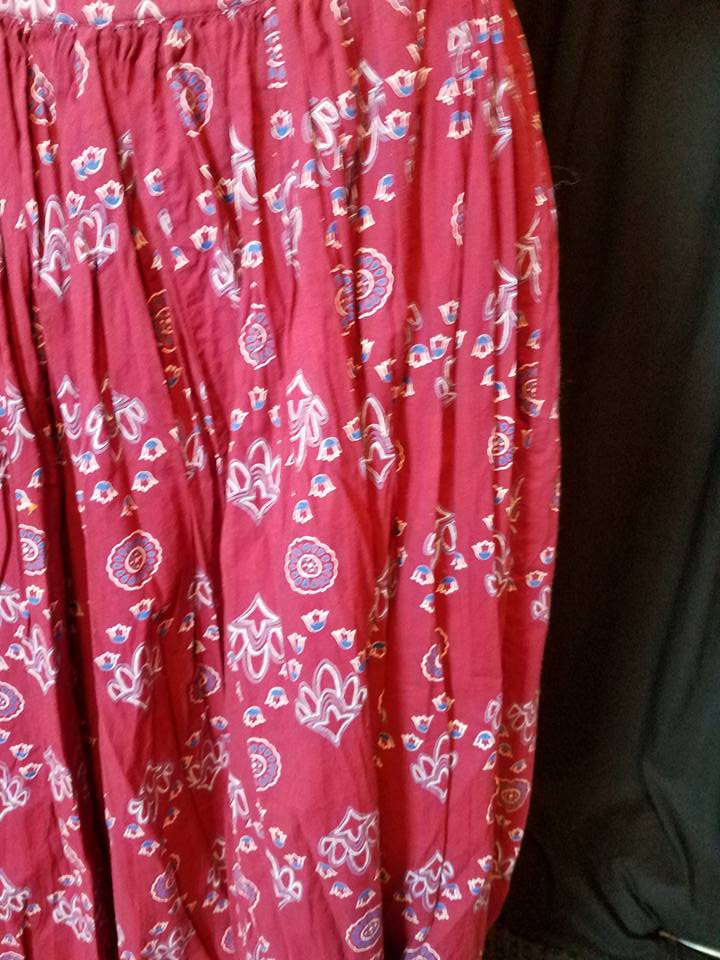
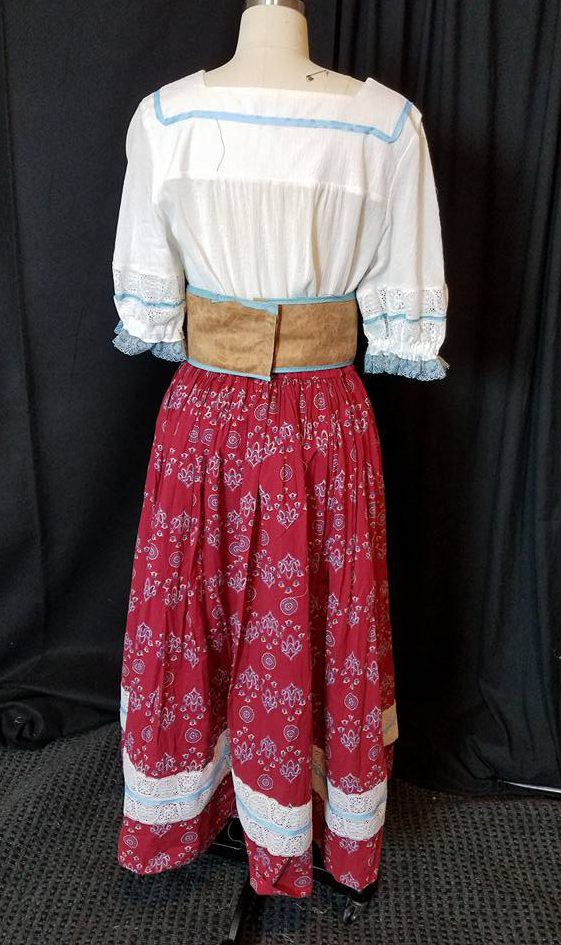
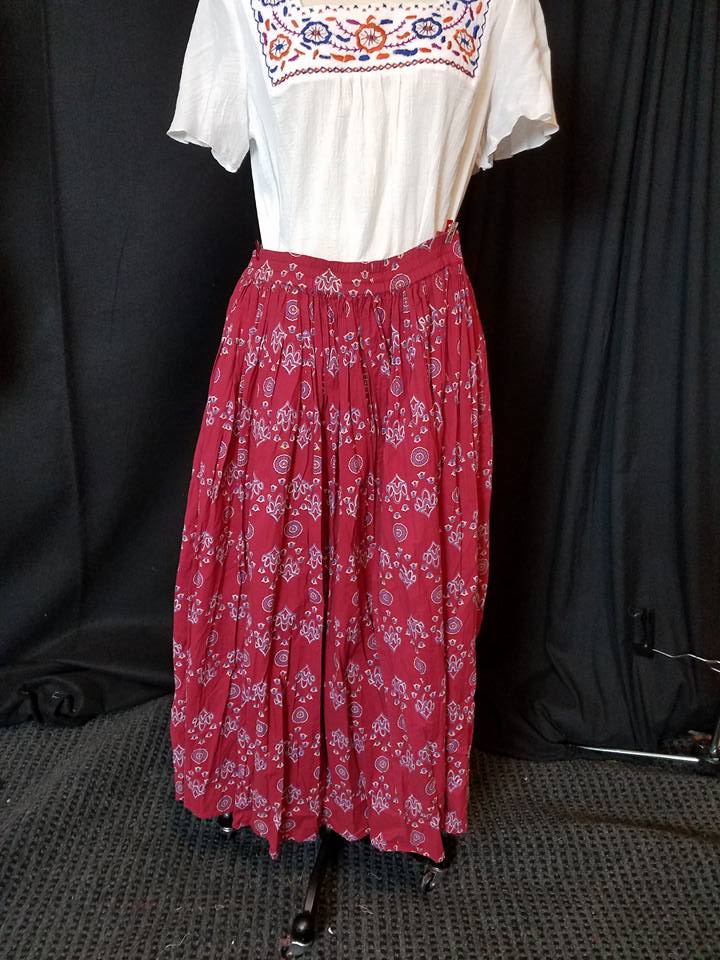
I paired this with a full patterned skirt, that had some rather worn, stretched out elastic in the waist.

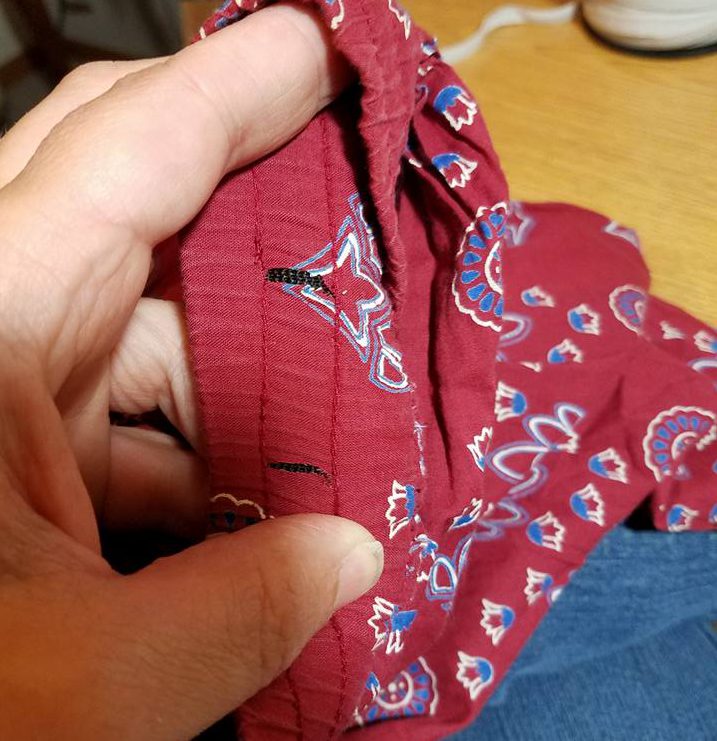
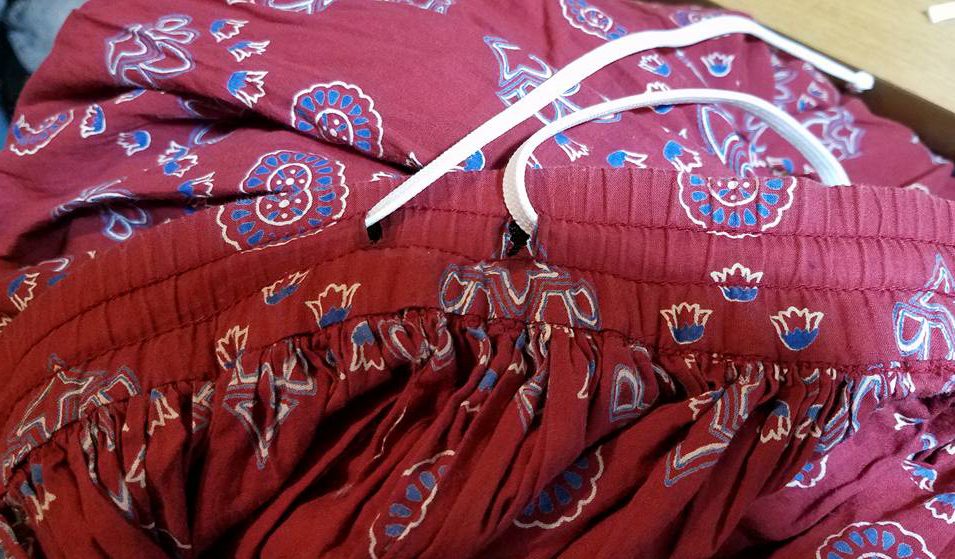
As mentioned in previous posts, I was making the costumes without knowing anything about the measurements of the cast members, so one of my goals was flexible sizing. The old elastic in the skirt was stitched into the waistband with several rows of stitches. Rather than mess with trying to remove and replace the elastic, I used the center row as a channel for a new drawstring. I cut two holes in the fabric and treated them with an anti-fray product. Then I simply pulled a string through, and that part of the skirt was done.
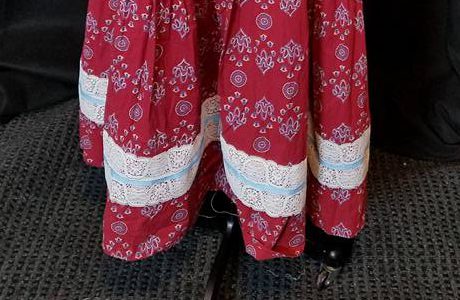
Since the previous two skirts I made had detailing on the bottom, I wanted to add some trim. I had a large quantity of a wide cream lace. I stitched two rows to the bottom, and then added a row of blue ribbon. To quickly add trim to the bottom of a skirt, I line the fabric up so that the hem-edge is butted up against the body of the sewing machine. This eliminates the need to mark a line. Originally I thought I could follow the pattern in the skirt fabric–but it isn’t straight! Luckily I noticed that early and only had to rip out about 12″ of stitching.
I used the same lace and ribbon to lengthen the sleeves. I used some double fold bias tape for a casing, and a bit of pre-gathered blue lace at the bottom–and the sleeves were done.

I added a bit of the blue ribbon to the neckline. I only added it to the front because I ran out of ribbon.
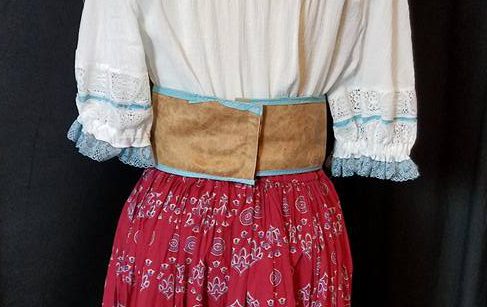
I made a waist belt similar to this one. The main difference is that since I wasn’t really happy with the way the elastic looked in the belt, I just made this one without any creative attempts at multi-sizing. If it needs to be adjusted smaller, it will need to have tucks sewn or pinned in. Otherwise, the only difference is that I used bias tape to trim the edges. I like how this looks. The back is closed with hook and loop tape. The holes were poked in the vinyl (carefully) and then the ribbon was laced through using a darning needle.

And . . . that was it.

Before and After:
While the first picture isn’t great (since I was focusing on the skirt), I think the before and after comparison is worth a side-by-side look. The original outfit is definitely “good enough”. You can see how each bit adds to the overall appearance. I didn’t make an apron for this outfit, but it would have been a cute addition. I like the border at the bottom, and I also like how the bits of blue tie all the parts together.
This was probably the easiest of the peasant outfits that I threw together. A few simple changes can make a big impact on appearance.


Pingback: Young Frankenstein: Peasant Girl #6 | costumecrazed