I’m continuing in my exploration on different ways to upcycle thrifted garments and lines to create the peasant/villager outfits for an upcoming production of “Fiddler on the Roof”. I am continuing to work with combining different patterns and textures, and hoping to end up with an Eastern European feel. In my first costume, I ended up shortening the shirt so that it could be worn on the outside of the skirt.
I began this project with a woman’s striped shirt:


I began by cutting the collar off above the band, leaving a 1/2″ rim, and turning that to the inside and stitching it down. Next I cut the sleeves out. I turned the shirt inside out and began to shape it with tucks and pleats. I raised the shoulder seams, tapering to the neck-band so that wouldn’t need to be altered. I eliminated additional fabric from the side seams.


I took some shaping darts/tucks in the front and in the back, mostly just deepening the shaping that the blouse already had (one difference in starting with a woman’s shirt instead of a man’s).


I marked the waist, and folded the bottom up, making a tuck on the inside and pleating the shirt to fit. My thought was that this stitching line could be removed in the future to make the shirt long again.


The armscye is smaller and the shirt is more fitted with the flaring peplum.


A little piece of hook and loop tape closes the gap in the top. I should have changed thread color, or only made vertical stitching lines.

The original cuffs had an extra end flap that folded up. I trimmed that off, and turned the seam allowance to the back and stitched it down.

I ran a gathering thread along the top of the sleeve, and re-inserted it into the armscye. Since the armscye is smaller, there is just enough extra fabric to create a little puff at the top of the sleeve.


My daughter happened to be home, so she tried the blouse on and was able to raise her arm above her head–so we are good to go for choreography.
Original and remodeled blouse:


I had found a woven table runner in some nice coordinating colors.

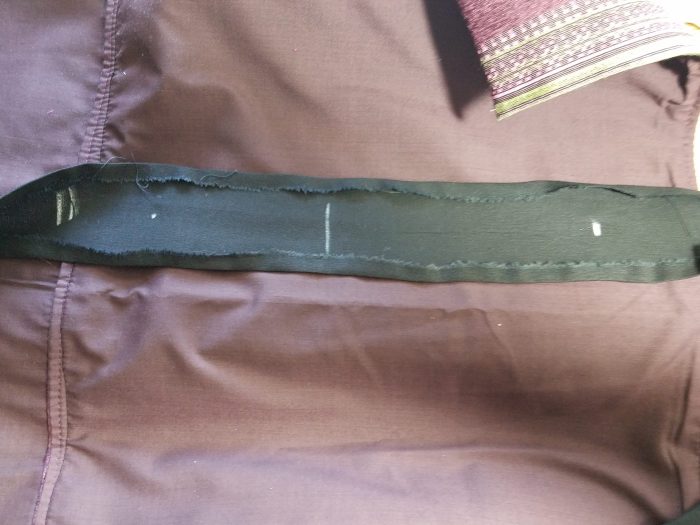
I didn’t take many pictures of this . . . but I divided the table runner in half. I then stitched the two halves together to make a wider piece, matching the stripe. I pleated the top together to create a pattern, and stitched each pleat down about 3″ from the top. I used some scrap black fabric and cut enough to make a sash. I stitched the ends together like a tube and turned them so all the edges were finished. In the center (shown below) I left it open. I marked the center front and the edges of the desired width (this I didn’t use in the end, as I used the fabric pattern on the table runner to determine the width, instead of a measurement). Once the table runner was stabilized by stitching down the pleats, I sandwiched it between the open spot in the sash and stitched it together.
My picture of the apron and the blouse together didn’t turn out, so, we’ll move on to the skirt. I had a piece of gray woven fabric, I think it was a wool blend. I made an apron style skirt, omitting the dip in the front. I added a row of black trim braid along the hem.
After I divided my piece of fabric in half to make two lengths of fabric (one for the front, and one for the back), I trimmed off a length from one side that I used for the waistbands and the ties.


If you follow my blog you know these are my favorite style of costume skirt. You can find a video tutorial here.
Here’s the skirt and blouse:


And, here the apron was added:


I’m not 100% sure I like the black trim around the hem of the skirt. I think I would like it for a different show, but I think it is maybe a bit too formal. I’m just going to leave it as is, because if the skirt needs to be shortened, it might be folded up into the hem and not seen. I’m also a little disappointed how the pattern in the apron disappears from a distance.
I like the look of the fitted blouse, and how it gives the sleeves just a bit of a gather.
Turning the blouse inside out when you get to the shaping part makes the sewing go quickly since you don’t need to reverse the darts, etc. You can flip it around to double check that you like how it looks before sewing. Be sure to pin the front shut, or do up the buttons (backwards) so that it hangs correctly
Cost: Blouse: $1.50, table runner $2.69, fabric: not sure, plus braid, a scrap of black fabric and a bit of hook & loop tape. This was a quick outfit. I think I was under 3 hours from start to finish.


Pingback: Fiddler on the Roof: Peasant costume #3 (navy blue) | costumecrazed